Gear maker
-
Posts
1,605 -
Joined
-
Last visited
Everything posted by Gear maker
-
Quickly click and drag to duplicate FX
Gear maker replied to JYCREATIVE's topic in Older Feedback & Suggestion Posts
Ronny, by the time I get back to turning on the fx I have forgotten if I had only an Outer Shadow or did it also have an Inner Glow or was this the layer that had a 3D. Basically when I turn it back on I'm just about starting over to apply the fx. Then I wonder why it doesn't look quite the same as I remember. -
Swatches recent color selection problem
Gear maker replied to Gear maker's topic in [ARCHIVE] Designer beta on macOS threads
Andrew thank you. I appreciate it. -
I am trying to do a Power Duplicate in the new beta. I have a stroked line that is to be repeated at 60 px intervals down the page. When I do the subsequent cmd+J's the line doesn't show until I do an directional arrow, then the line jumps into position plus a pixel in the direction of the key I pressed. If I don't press the directional arrow, the new line sits where the only line was. I don't think I have ever had this problem with any of the beta's before. Is it just me or is there a new bug?
-
Ctrl click seems to do the same for me as just click on selecting layers, one is selected. I need to do a shift click or cmd click to select multiple layers.
-
I tried this using math statement in the Transform panel -=10 px and it still looks like it did the change using a percentage. I don't know how you get it to stop that. Sorry.
-
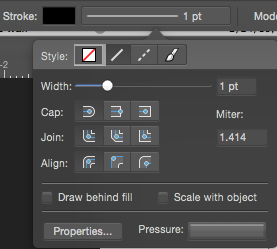
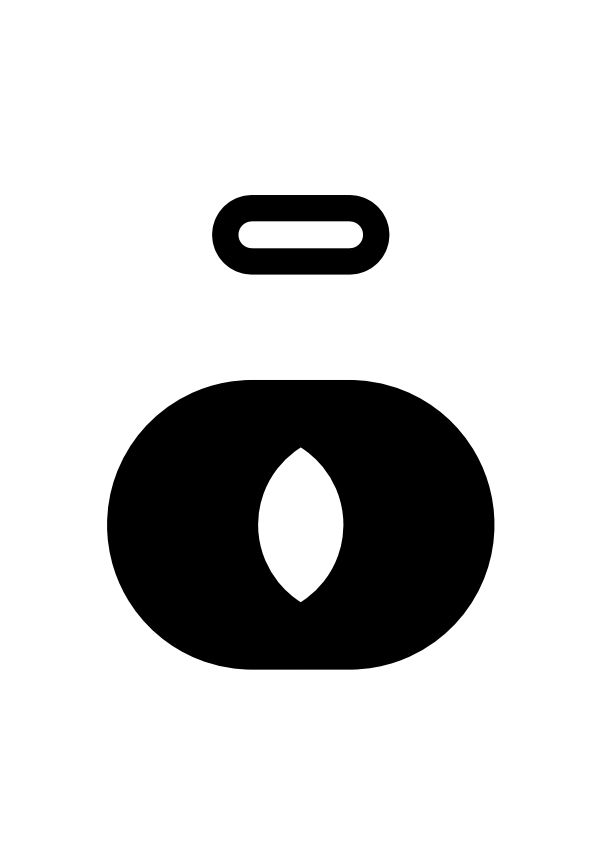
Matt requested that we check the new beta for any bugs. So even though most of these have been reported before I am listing all that I find. 1. When a new document is created and the default resolution of 300 dpi is just accepted, the document is created using the resolution of the last document, not necessarily 300 dpi. 2. The stroke panel that pops up on the left of the screen, has an odd light gray area around the "None" selection icon. 3. When I use the HSL Color Wheel, if the selection dot is all the way in the corner of the triangle (saturation close to 100%) and I very carefully click on the center of the dot what I get is a hue change of +/- 120 degrees. I have to always click the portion of the dot closest to the center of the triangle which then selects it but makes a saturation change. I should be able to grab that dot, anywhere in the dot, without making any change in HSL until it is moved. Most of all hue shouldn't be affected when my cursor is over the SL dot. 4. The rotation field in the Transform panel will not accept negative numbers. Also when using the down arrow to change the reading it will not wrap around to 359, it is stuck on 0. The Skew field handles both these operations correctly. 5. I made a new 300dpi document and then a rounded corner rectangle with no fill and a fairly large stroke (my rectangle was 2.098" wide & 1” high and the stroke was 22px). I clicked Scale with object. I then went into Document Setup and changed the resolution to 72 dpi. My rectangle was way oversize so I used transform to get it back to 2.098" x 1”. Seeing as Scale with object was checked it scaled nicely. But then I did an Expand Stroke, it came out with a horizontal equivalent of a stroke over 2" wide (not 22 px) and a vertical equivalent of a stroke over 1" high. The Transform panel shows the size as 5.844” x 4.746”. 6. If I am zoomed into the drawing so that the edge of the drawing/layer is off screen I can't remove a guide by dragging it back into the ruler. The guide is just moved to what ever location is currently behind the ruler. Same with dragging it behind the tabs or tool bar. With either horizontal or vertical guides it doesn’t work. 7. In the Swatches, "Recent:" line, there are 10 blocks with the last colors selected. This only concerns the right 4 blocks, when I click on the left third to half of a color block I get the color of the block to the left of the one I am selecting. This happens in both the docked pallet and the Fill and Stroke above the drawing. To get the color I want I have to click on the right half of the block. The other (left, newer) 6 color blocks do not have the problem. 8. A round donut has 4 nodes. When an Expand Stroke is done it should end up with 8 nodes but instead ends up with 41 nodes on the outside shape and 31 on the inside shape for a total of 72 nodes! 27" iMac late 2009 Yosemite 10.10.1

-
Quickly click and drag to duplicate FX
Gear maker replied to JYCREATIVE's topic in Older Feedback & Suggestion Posts
I totally agree that there needs to be a better way to copy an fx. The shift+cmd+V is currently the only way to copy an fx and it copies too many things to be very useful. There also needs to be a way to turn off and on the visibility of all the fx of a layer at the layer level. Like PS's shift click on the layer's icon. -
Default stroke
Gear maker replied to Gear maker's topic in Pre-V2 Archive of Desktop Questions (macOS and Windows)
Thanks Tony. I guess it makes sense to have a stroke to be seen. Though if there is a fill, then the stoke really isn't necessary for that. Okay I wondered what that use fill option was really for. Looks like that does it. I appreciate it. -
Bounding box visibility
Gear maker replied to Gear maker's topic in Older Feedback & Suggestion Posts
In the current beta 1.1.2.23074 I have noticed that when using the fx panel I can press the spacebar before clicking on the fx panel and the bounding box then is locked hidden for all fx operations. In fact it says invisible until I press the spacebar again when the image is active. Thank you for adding this! It's almost as good has having a hotkey to hide the bounding box. Other than stumbling into this how should I have known that this had been added? The fx operations are so subtile that with the bounding box visible they are next to impossible to get correct. This is great! Thank you guys (and gals?). -
Default stroke
Gear maker replied to Gear maker's topic in Pre-V2 Archive of Desktop Questions (macOS and Windows)
Okay I selected a layer with no stroke then clicked on the Synchronize defaults to current selection. The next new layer created with the pen tool had a stroke. Tried it again and still a stroke. Does the Synchronize defaults to current selection work for anyone? I'm in the current beta 1.1.2.23074. -
What determines if a new object will have a stroke attached or not? I'm in the middle of a large drawing and I'm pretty sure none of the layers have a stroke, but the new shape made with the pen tool has a stroke enabled. I'm not sure if I've had to turn off the stroke on all layers but many have needed it. I usually don't think of doing a Synchronize defaults to current selection. Does this lock the default for the life of the drawing? Or until reopening the drawing? Or restarting AD?
-
My favorite mode of using AD is separated. It provides several handy benefits such as having 2 or more separate images next to each other visible at the same time. Or even better 2 or more views of the same image all visible and active. I often have one view of the majority of the image and two other views zoomed into different areas of the image. I can change one area and see the effect on other areas immediately, without zooming out then having to zoom back in. Extremely handy. About the only thing I don't like is every time I open an image, it comes up using about 20% of the screen, so the first thing I have to do is resize the screen and then cmd+0 to fit the image to the screen. I size the image so that it just fits between all the panels, with nothing covered. Just like in non-Separated mode. I don't like using the new Yosemite full screen mode for normal work (clicking the green dot) because it places the panels over the image. Only 1 image at a time can be seen. And it does weird things with just a change to another application and back. Likewise the alt-green dot (old full screen mode) places the panels over the image. And only allows 1 image on the screen at a time. What I would like to see is either have AD allow a preference of the screen size and image position for when images are opened or created. Or a keyboard shortcut that would resize the screen to use all available space between the panels. Also something like a Tile selection that would split the usable area into 2 or more areas would be handy. Thank you.
-
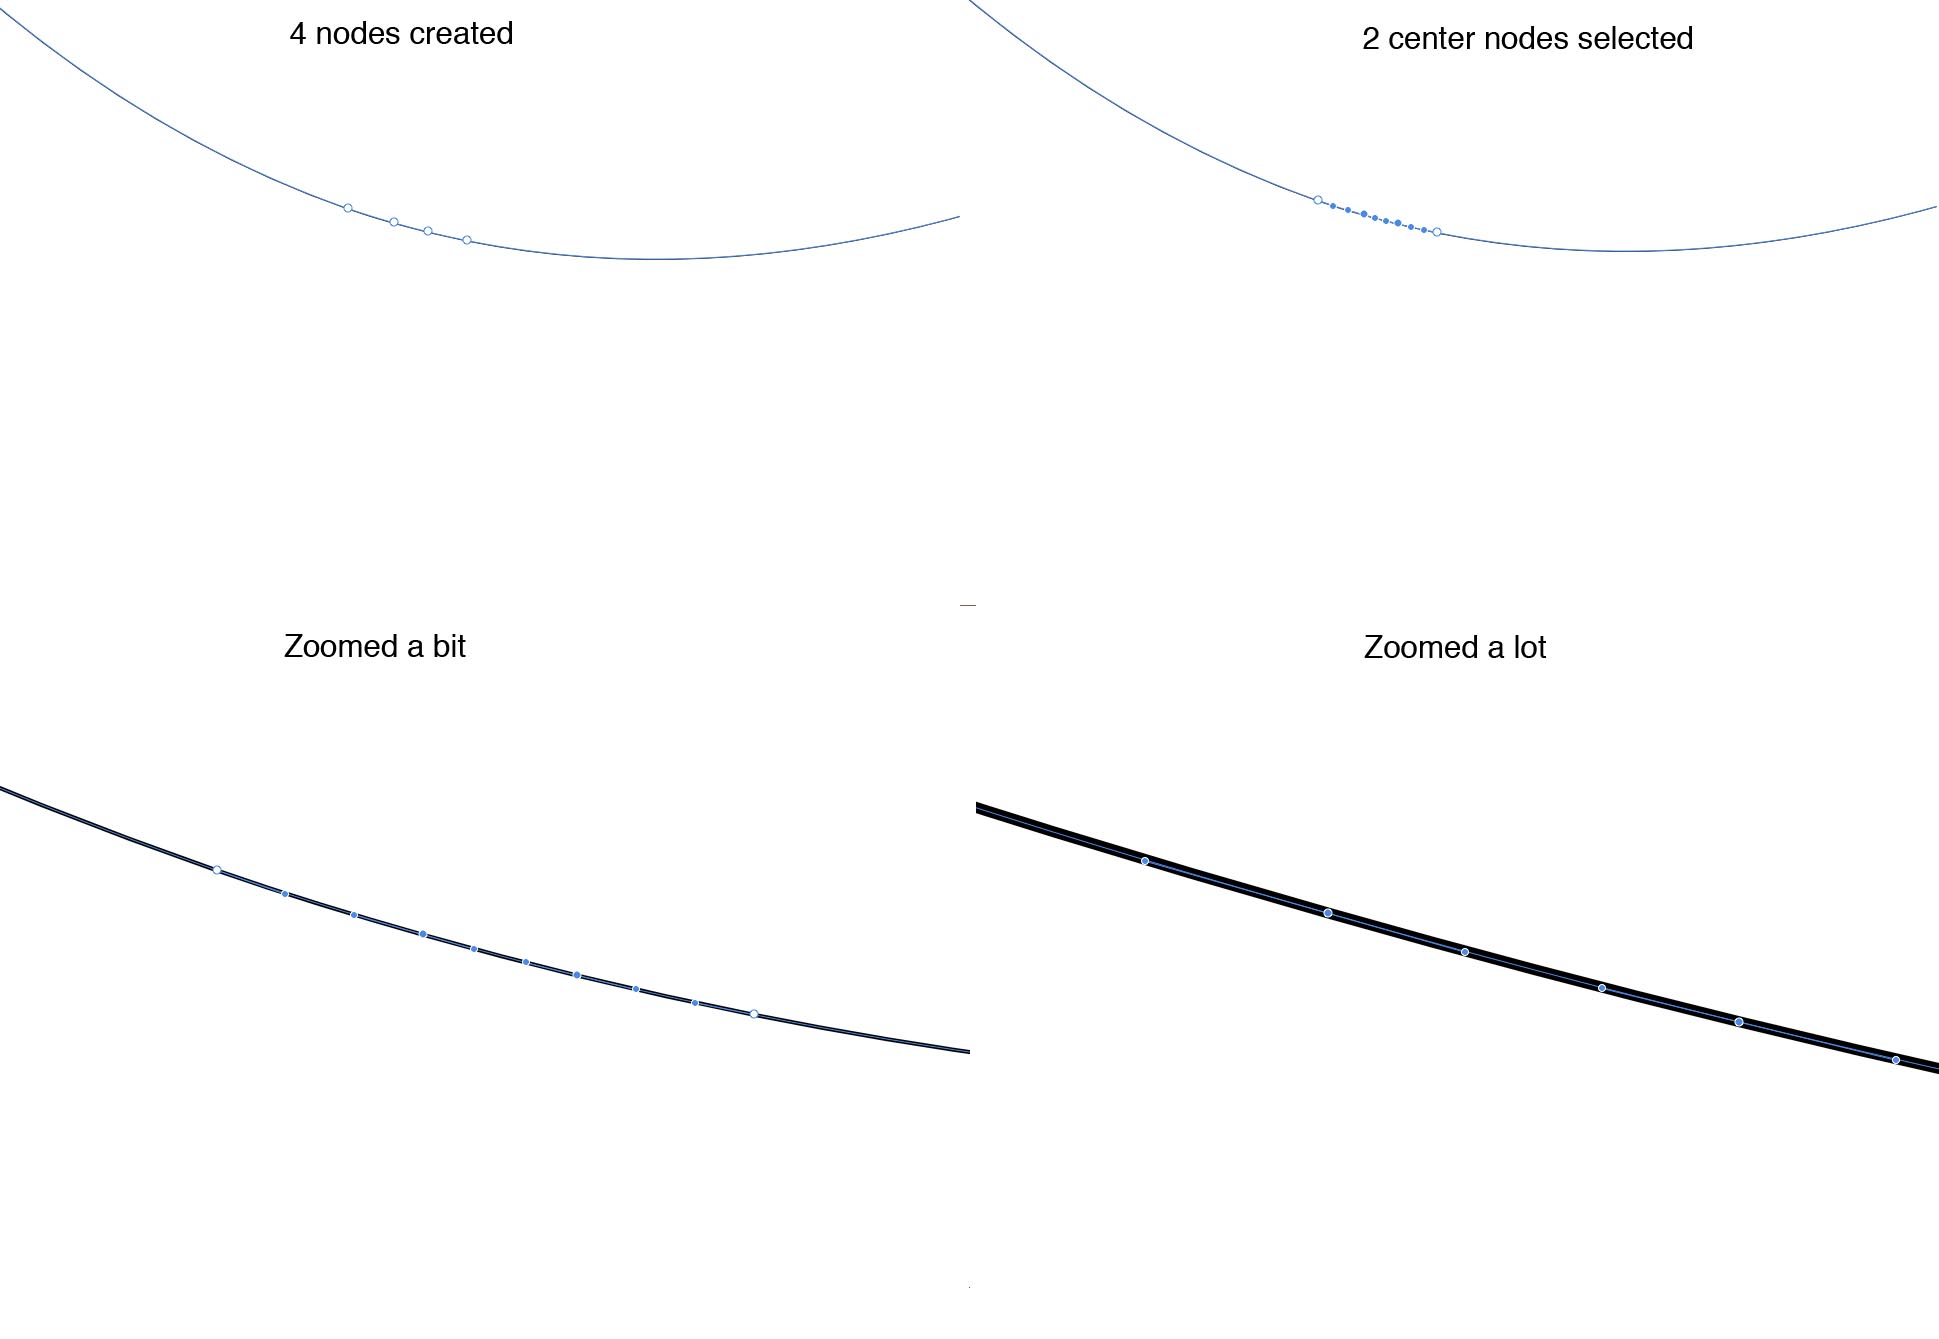
What Lille might be noticing is a problem I have had as in the attached example. I have a curve and I want to create a breakout. So I create 4 nodes. Then select the 2 center ones to move them. I zoom in and the nodes and the handles look pretty much the same. As I zoom in further they look even more the same and I can't tell if the 3rd from the left is a node or a handle. And I really can't tell which is connected to which.
-
Color wheel improvements
Gear maker replied to sleepycal's topic in Older Feedback & Suggestion Posts
I agree, I like the color wheel much better than the Apple color picker. The wheel has a few minor problems, but seems so much more versatile. If you have the screen space the AD color chooser is really my choice. When displaying the color wheel it is larger making it easier to use and does away with some of the problems of the smaller version. It allows input of RGB (hex and decimal), HSL, and CMYK! It also has several other modes of display and operation like RGB, HSL and CMYK sliders, hue, lightness and saturation. These screens all allow the data input. But they also allow crossovers to other color characteristics. Like the saturation slider allows a hue and lightness change also. The hue screen allows extreme control of the hue and throws in saturation and lightness. It's by far my favorite color selector in any program. Whichever of the designers came up with this screen deserves a lot of attaboys (and more) in my opinion! :D AD seems to want to keep this screen a secret, but in my opinion they should be shouting from the rooftops about it. <_< -
Type units
Gear maker replied to Timbigger's topic in Pre-V2 Archive of Desktop Questions (macOS and Windows)
MEB FYI after loading the beta I had to uncheck Show Text in points then recheck it to get it to stop showing text sizes in inches. I don't know if others are seeing this. -
Wow I think this is the best update so far since initial release. Great job team!!! The text on a path seems to work great and will be fun to use. Lot's of control. Matt's corner tool is going to take some time to master. I've never used anything like it before. The basic operation is fine but... If I turn a rectangle's corner into a rounded corner I can't do any more to it. Is that because it doesn't really have corners after that? On an ellipse it looks like it's trying to do something but nothing happens. Can't wait to see some instructions. Oops I crashed it after a couple dozen plays with the corner tool. Report sent. I had sure missed not being able to change opacity by typing a number. This is great. Just yesterday I was thinking it would be great if this were added. Fantastic job AD team. Thank you all.
-
Adding guides in any mode or tool
Gear maker replied to rui_mac's topic in Older Feedback & Suggestion Posts
I totally agree. Also if zoomed in we should be still able to drag a guide out of the ruler. And if the Guide Manager is used to add guides the new guide should be placed in the area viewed on screen. Not in the center of the drawing. -
Customise Tools?
Gear maker replied to Psiaku's topic in Pre-V2 Archive of Desktop Questions (macOS and Windows)
Psiaku, go to View -> Customize Tools... at the bottom change Number of columns to 2. Then Close. The columns has to be at least 2 to have the width for the icon. -
Round corners on any figure
Gear maker replied to Ernest's topic in Older Feedback & Suggestion Posts
I thought the development team just lived in their office. :D -
MEB, when I press Close Curve I get my O back instead of a C. I even turned the end nodes until they almost touched and they still jumped the long distance to where they were when I broke the curve. I tried selecting the curves and I tried selecting all nodes in both curves. No difference, still O's. I then tried to snap the end nodes from both curves together. Pressed Close Curve and it still completed the O just very misshapen. The inside curve tried to heal and the outside curve tried to heal.
-
Fill for open paths, wow. I don't see how the software could figure out where it would go. It must remember where it was from. I'll try what you suggest. Because the two objects are from an Expand Stroke they are both in the same layer and when one is selected the other is automatically selected. Or, do you mean select all nodes in both curves? I didn't try selecting all nodes, just the two that overlap. Thanks for the help MEB.
-
I've seen lots of topics on Breaking curves and Joining curves and I am still having trouble. I have an elongated rounded corner rectangle. I'm trying to turn it into an elongated C. I did an Expand Stroke. Then I selected a node on the outside curve, hit Break Curve. Then selected a node on the inside curve and hit Break Curve. I can now move a node so that they look to be separate, no path between the nodes. But the fill still continues between the broken nodes. Then I try to do a join and they will not join. I used the snap to get one node from the outside curve to align right over the node from the inside curve, select them both by holding shift and drawing a box around the two nodes, hit join curves. And sure enough they are still separate. I suspect the join just isn't going to work seeing as the fill continues along that they aren't truly broken. I would guess that I couldn't have fill if I had two truly open curves. Has anyone any ideas? Has anyone tried breaking a shape following an Expand Stroke?
-
A_B_C Sounds good I'll give it a try. Thanks for the suggestion.
-
Faster font selection
Gear maker replied to AshTeriyaki's topic in Older Feedback & Suggestion Posts
Argyle, I have had the same problem and have never figured why scrolling works sometimes and doesn't others. I thought it was just me. I usually have to click on each one. When the scrolling worked it was really nice. Tried it in the new beta that just came out and the scrolling didn't work. -
I have a shape with a gradient that is many many times longer than it is wide. And a linear gradient. The gradient control goes across the short way. Does anyone know any tricks to adjust the control to get it running parallel? It's not at a 45 degree angle, so shift doesn't constrain it. As short as the control is the smallest movement makes the gradient end swing from too far one way to too far the other. I guess I could rotate the shape until it's at 45 degrees, then use shift to move the gradient control then rotate the entire shape back into position. That seems like quite a hassle. Too bad the Transform panel doesn't control the angle. But with only a 0.1 degree resolution it might not be any better.