David in Яuislip
-
Posts
1,642 -
Joined
-
Last visited
Everything posted by David in Яuislip
-
 Each language folder must also have its .aff file, this should be available from where you found the .dic files Here's an example for Hungarian
-
Compositing question
David in Яuislip replied to chriscaldwell's topic in Desktop Questions (macOS and Windows)
Yes, umbra, penumbra and twaddle, twaddle being my second choice
-
Compositing question
David in Яuislip replied to chriscaldwell's topic in Desktop Questions (macOS and Windows)
Yep, so would I So I had a quick go and it looks pretty ropey
-
Macros Causing Constant Crashing
David in Яuislip replied to WeblabsTech's topic in V2 Bugs found on Windows
I'm using V1.10.5 so I didn't have much hope but after running your macro several times it finally worked and I exported it as BlindsMacroAgain.afmacro as evidence I recorded a similar one of my own and that crashes too In both cases, loading the macro into the Macro panel and turning off all steps it still crashes None of this will be any help to you but it may assist Serif in sorting the problem out Crash report attached - used my macro I think you've found a nasty bug, have a bump BlindsMacroAgain.afmacro BlindsMine.afmacro Crashreport.zip -
See the last post on this thread It worked on Windows Photo V1, good luck
-
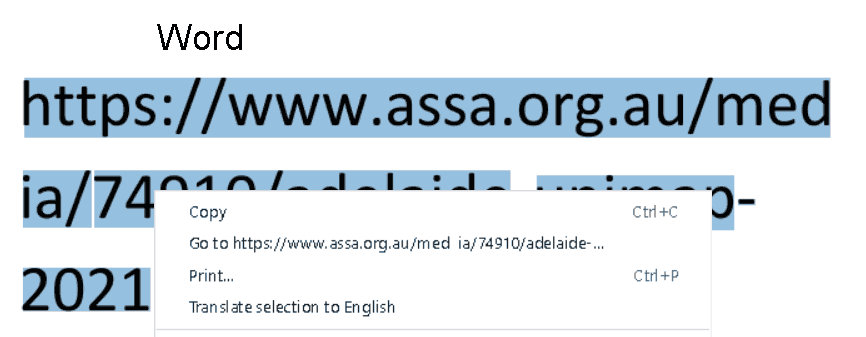
Yep, that appears to be the issue I've created a pdf in Word, opened it in Chrome and there are additional spaces so neither Go To or copy/paste work Link-Word.pdf
-
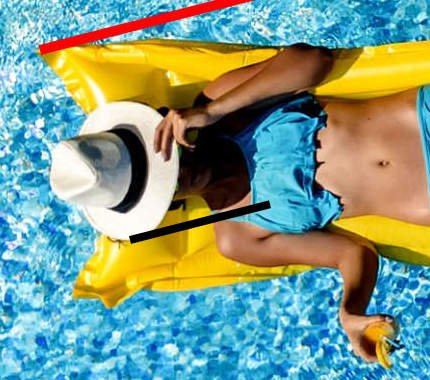
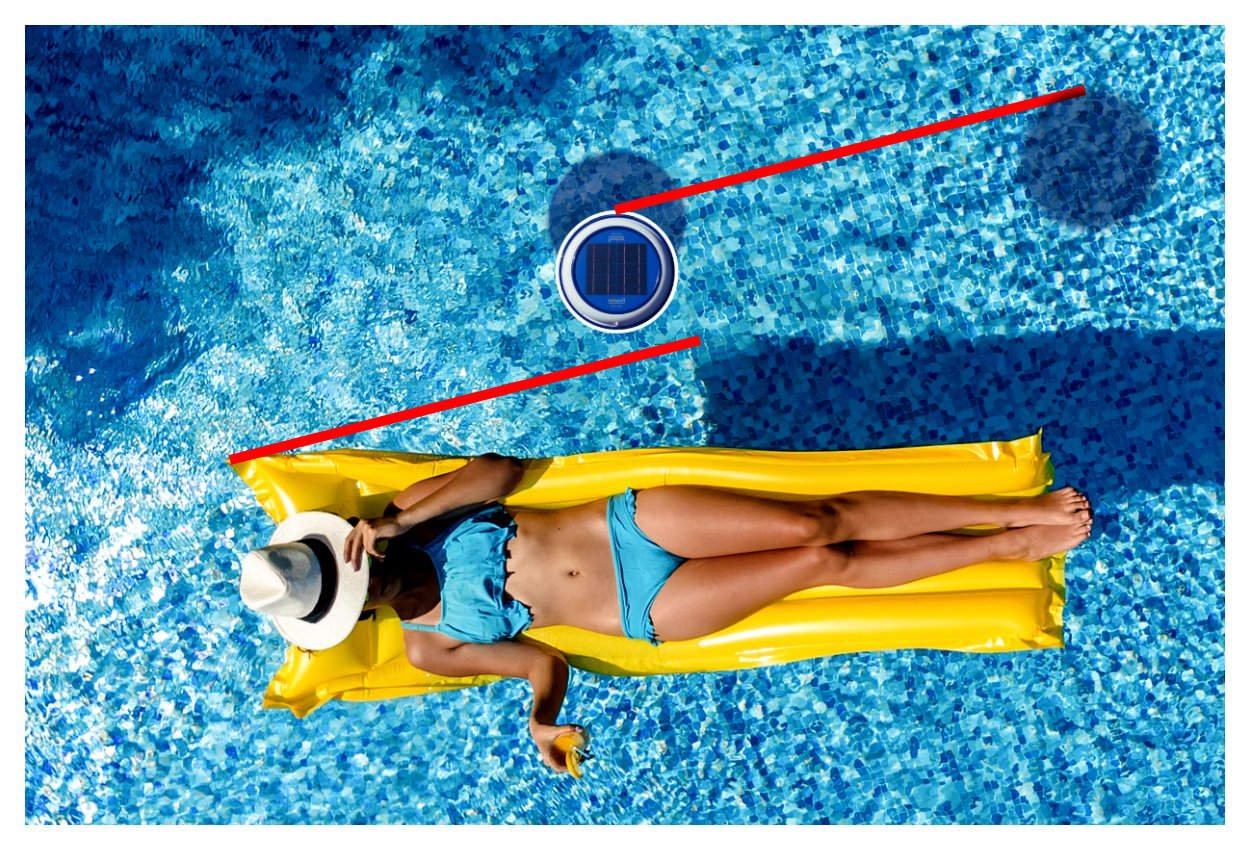
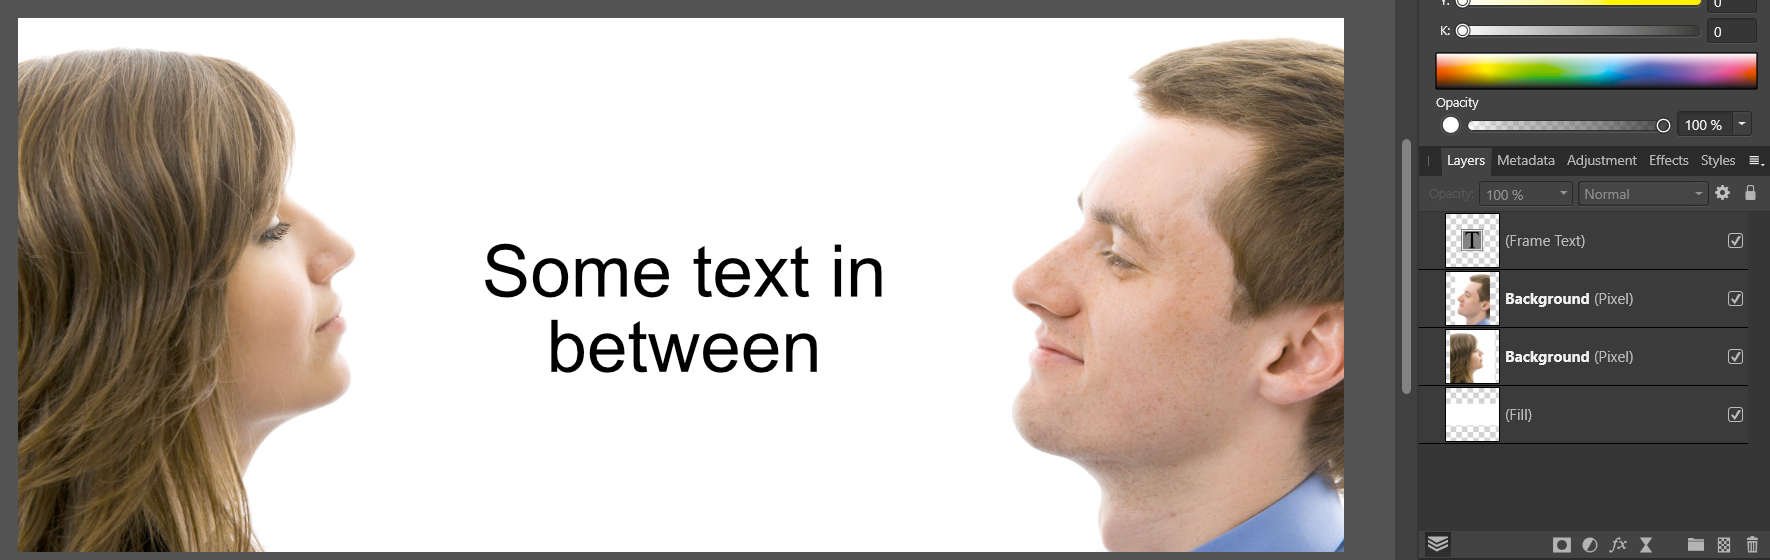
Marquee the man <ctrl>J - will copy man to new layer Select original layer and press delete <ctrl>D - delete marquee Add fill layer at the bottom Now you can extend the canvas as required Right align man layer Add text
-
If it's for a website consider using an svg rectangle with a filter using <feTurbulence - Perlin noise, AD can't do it but Inkscape can Here's a quick example with big lumps and smaller ones The png which shows here is 22.5KB, the svg is 1.33 BlueNoise.svg
-
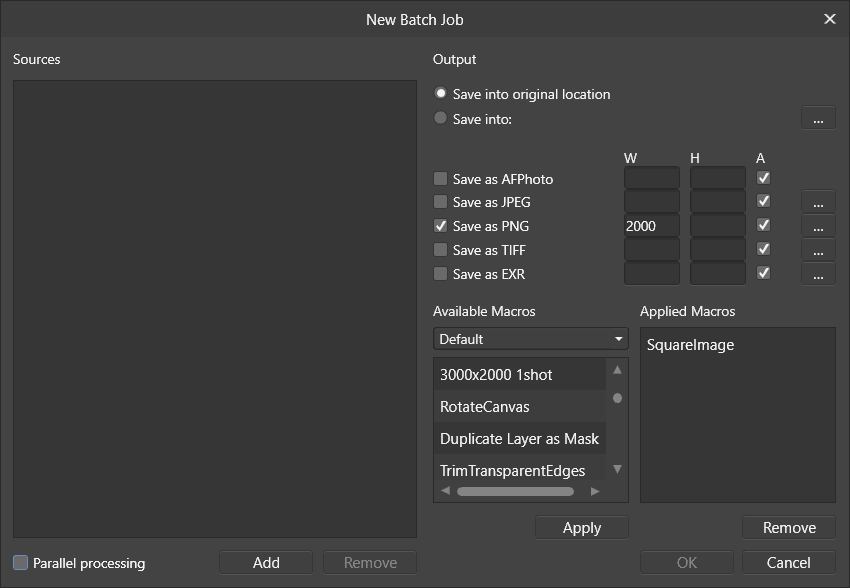
You can use a macro in a batch job - see attached The macro will square the image then the batch job parameters can be set to resize the image as required Be aware that resizing images usually requires sharpening afterwards so you could use a second batch job to apply a sharpening macro Personally I'd use Imagemagick to do everything in one pass SquareImage.afmacro
-
Procedural Texture Clouds Rotation
David in Яuislip replied to Silversnapper's topic in Desktop Questions (macOS and Windows)
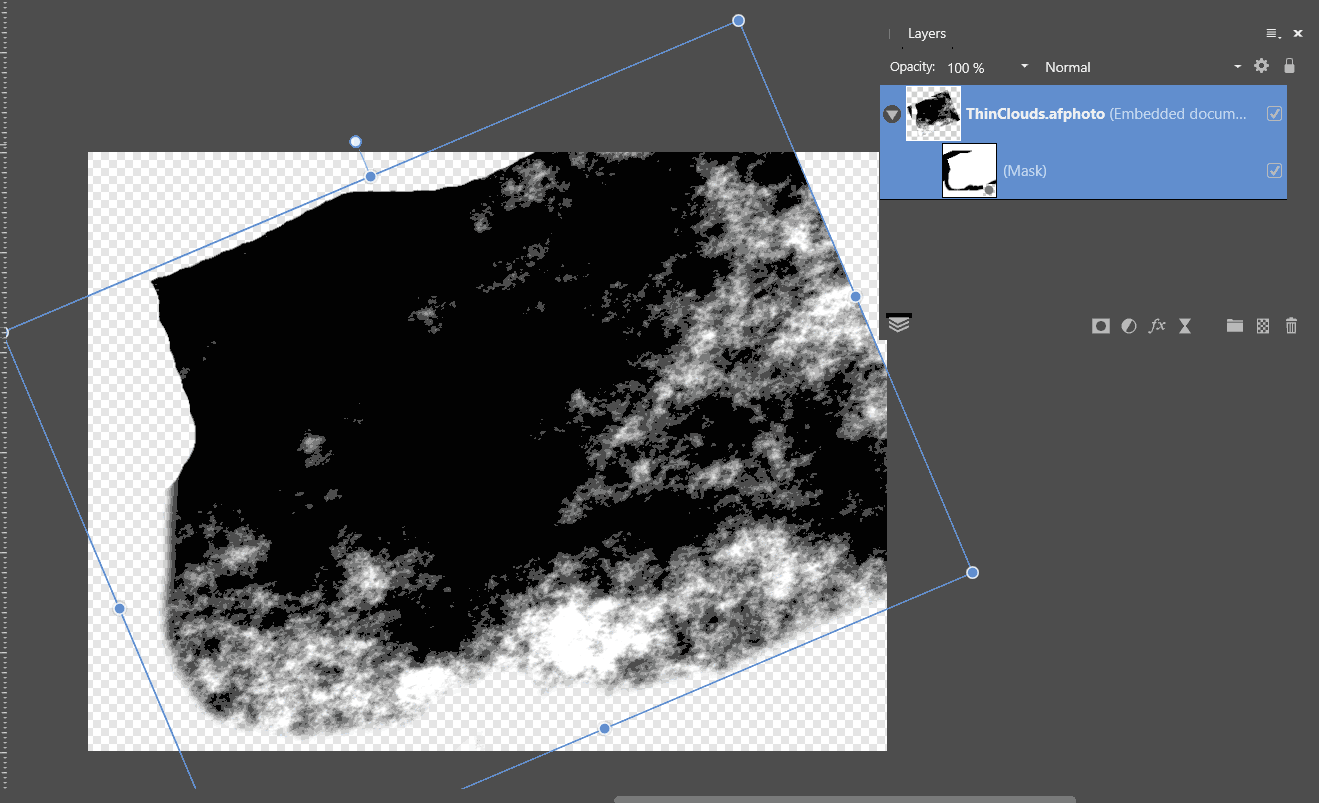
If the clouds are created seperatly, saved as an afphoto file then Place that file into your main image then the clouds can be rotated & masked The procedural texture stays live within the embedded document and can be edited Not exactly user friendly but the best I can think of without more coffee
-
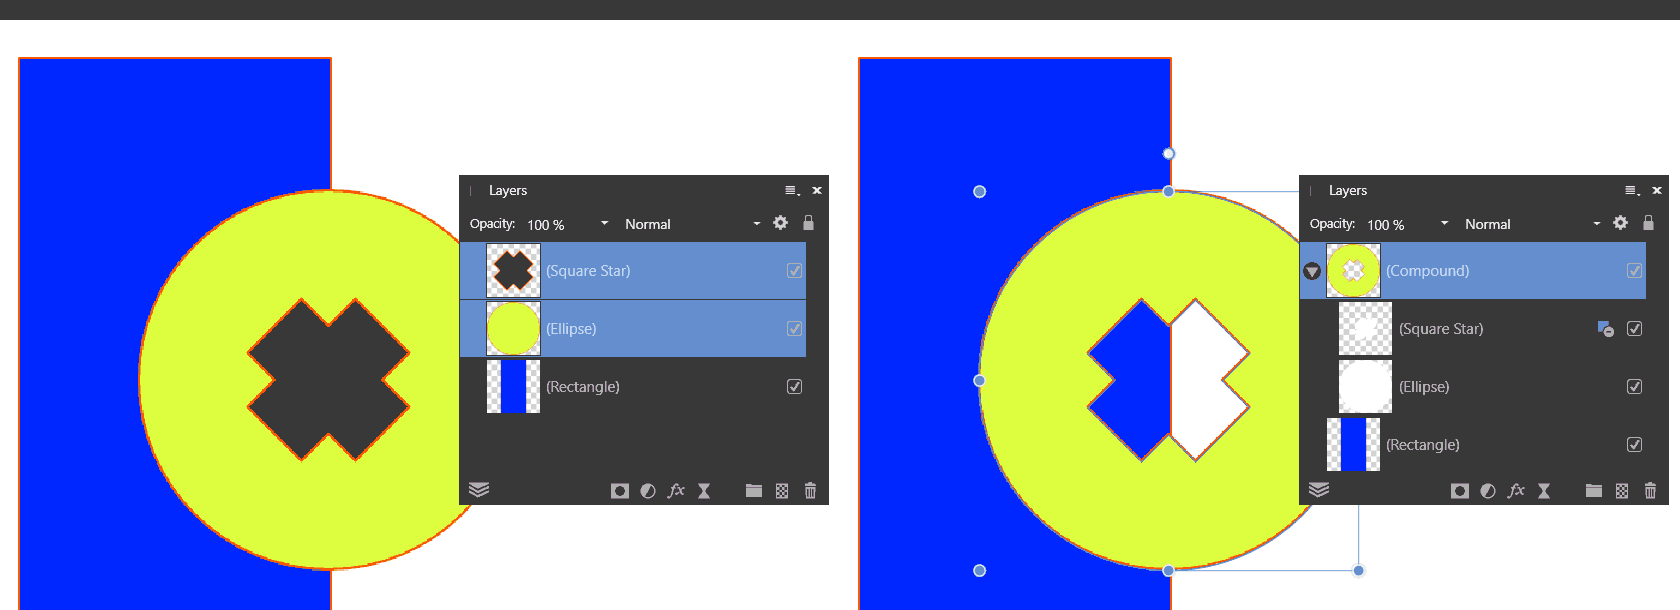
Select Star & Ellipse layers <alt>Subtract
-
It's Indexed color which I suspect is stuffing Photo If you convert it to rgb with Imagemagick magick Plus42.psd -colorspace rgb Plus42IM.psd then it opens in Photo Plus42IM.zip
-
If I reply to a single point then the highlight/quote selection works ok If there are multiple points then I tend to copy the post into a text editor and write the replies there Just me being lazy
-
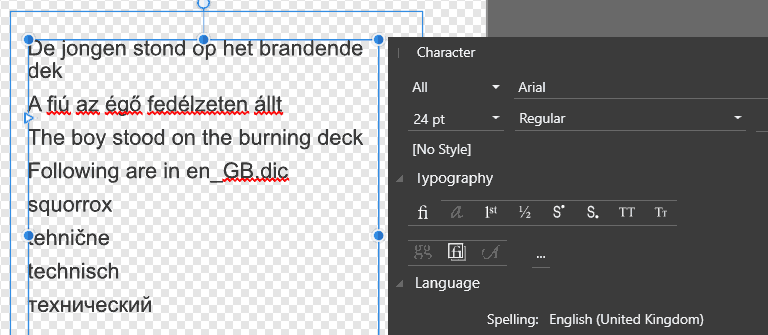
So your principle would not detect "mine" as misspelled within a Dutch phrase? - Correct If your text input has "to be certified as correct" (= does not contain any misspelled word): What is your use of such an extended dictionary? - If the Dutch is correct and the English is correct then there is no need for any spelling check at all
-
Copy Paste Special/PDF will convert the triangles to curves and reset rotations to 0
-
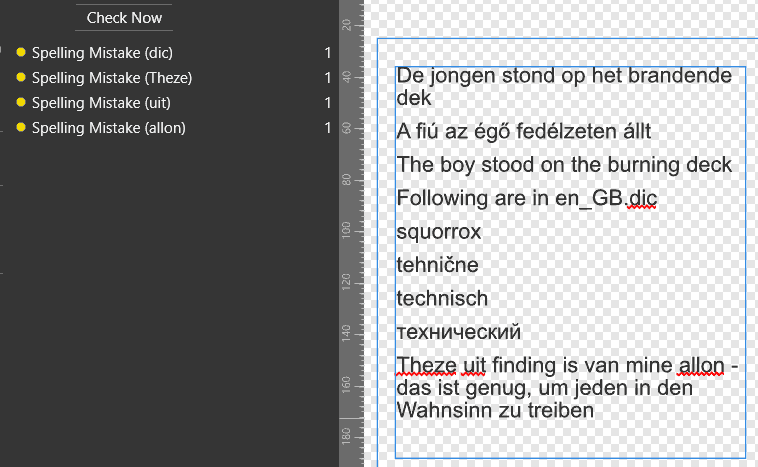
How do you detect misspelled words in Dutch text if they exist in English? - As above but reversed, if a Dutch word is misspelled but is valid in English then no error will show, ie you don't. And how do you choose a correction if both languages are listed*, for instance with "Theze uit finding is van mine allon" - That wouldn't happen if I were compiling a document with various languages; the quality procedure would require submissions to be certified as correct, I wouldn't rely on me and a computer program
-
Affinity has interpreted the text as curves, run it through Ghostscript to produce a pdf and see if that's better, it's certainly smaller MORB_TMH2O.pdf
-
Then all text in this frame is set to English - Correct Do you see an advantage … or why do you try / mention this? - Yes, it applies both Dutch and English dictionaries. I originally thought I'd have to clear the C:\ProgramData\Affinity\Common\1.0\Dictionaries\en_GB folder, add the Dutch files and rename to en-GB but then I tried what I've described and it works as shown I assume this way spell-checking gets more or less useless, for instance for misspelled words in a sentence of one language that exist in another language / the added dictionary (with same or different meaning), for instance | mine - mijn - mein | mon - moon - mond - monde - mohn | etc. - Correct. If an English word is misspelled but is valid in Dutch then no error will show. But since my English speeling is impeccible I don't see a problem....
-
Yes. Text pasted in with Edit/Paste without format
-
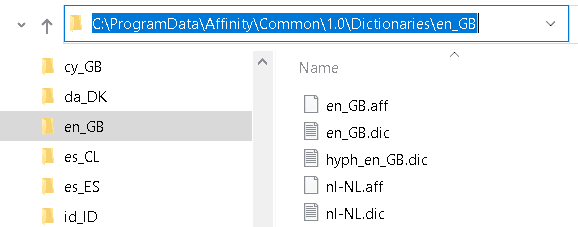
In V1, anything added to C:\ProgramData\Affinity\Common\1.0\Dictionaries\en_GB supplements the basic en-gb rules in C:\Program Files\Affinity\Publisher\Resources\Dictionaries\en-GB Here I have modified en_GB files plus the nl-NL Hunspell files Dutch ok, Hungarian fails, English ok
-
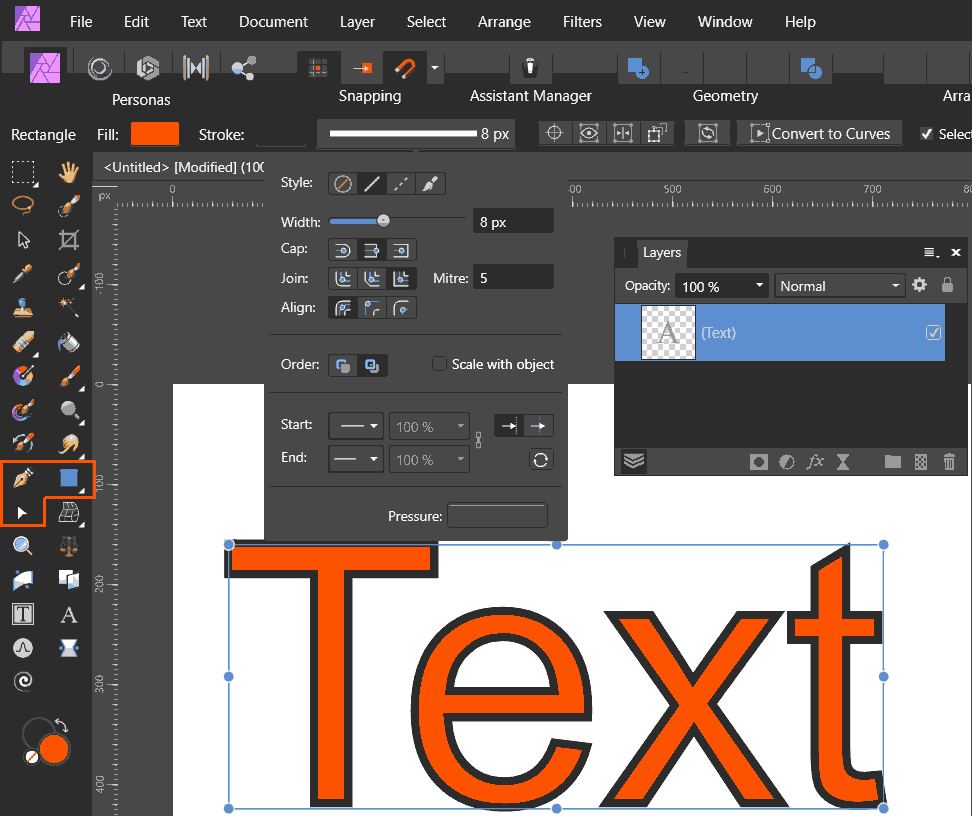
If you are using Photo, select the pen, node or shape tool to get access to the stroke panel, no need to convert to curves
-
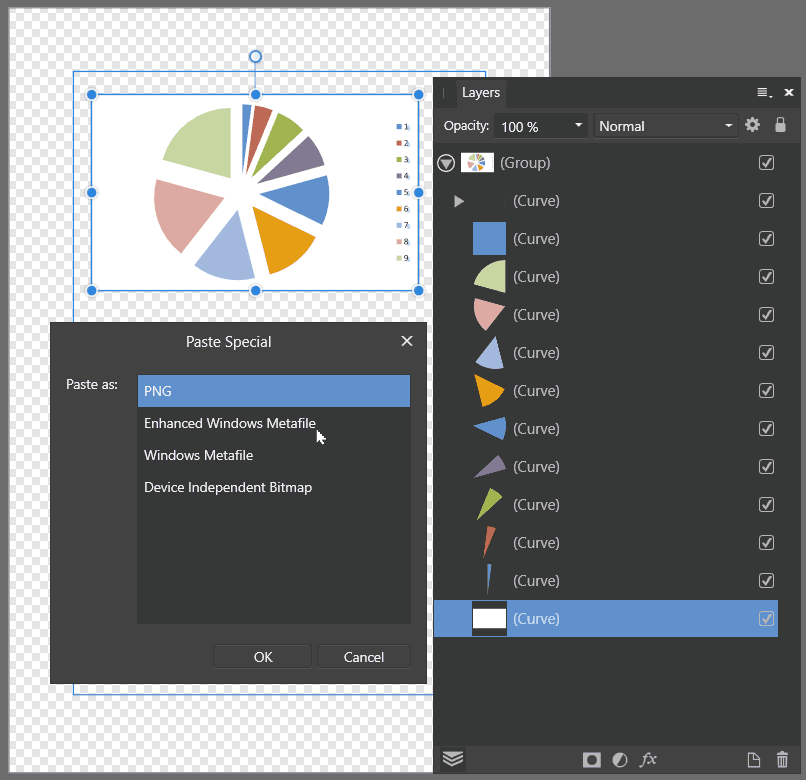
I copy the graphic in Excel then Paste Special/EMF in Publisher. It stays vector and remains as sharp as a sharp thing
-
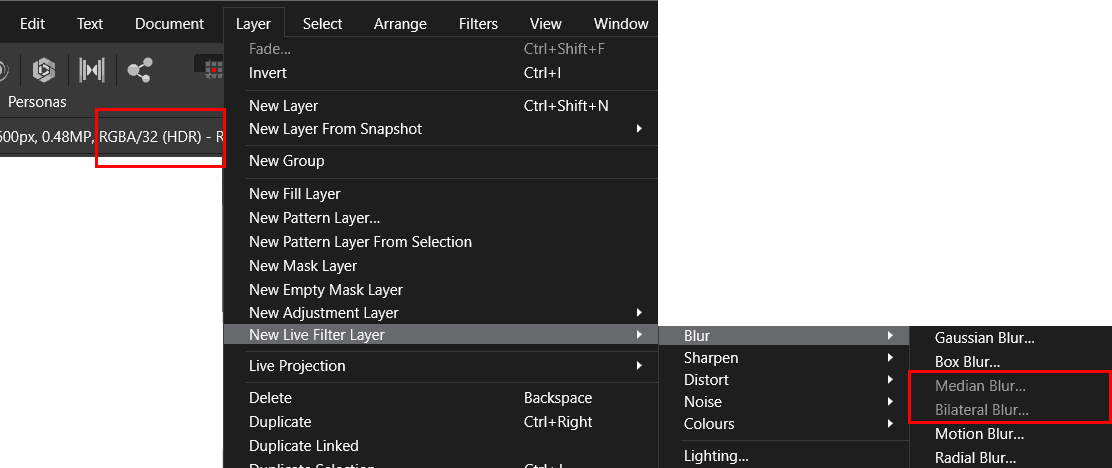
Median blur live filter greyed out
David in Яuislip replied to LevelB's topic in Desktop Questions (macOS and Windows)
I suspect your image is 32bit, that layer only works for 8 or 16
-
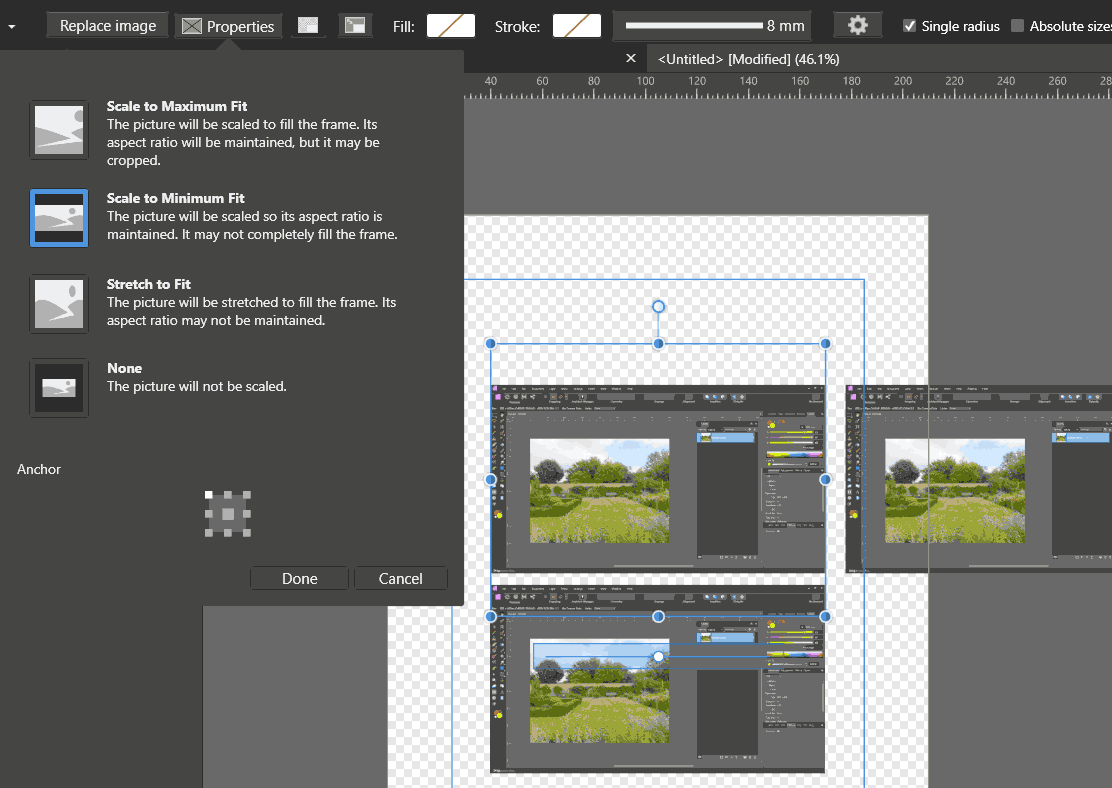
Image Distortion
David in Яuislip replied to tkarl__nn's topic in Desktop Questions (macOS and Windows)
Set picture frame pproperties, scale to minimum fit
-
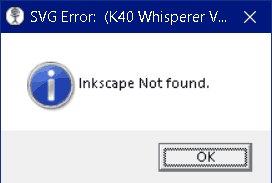
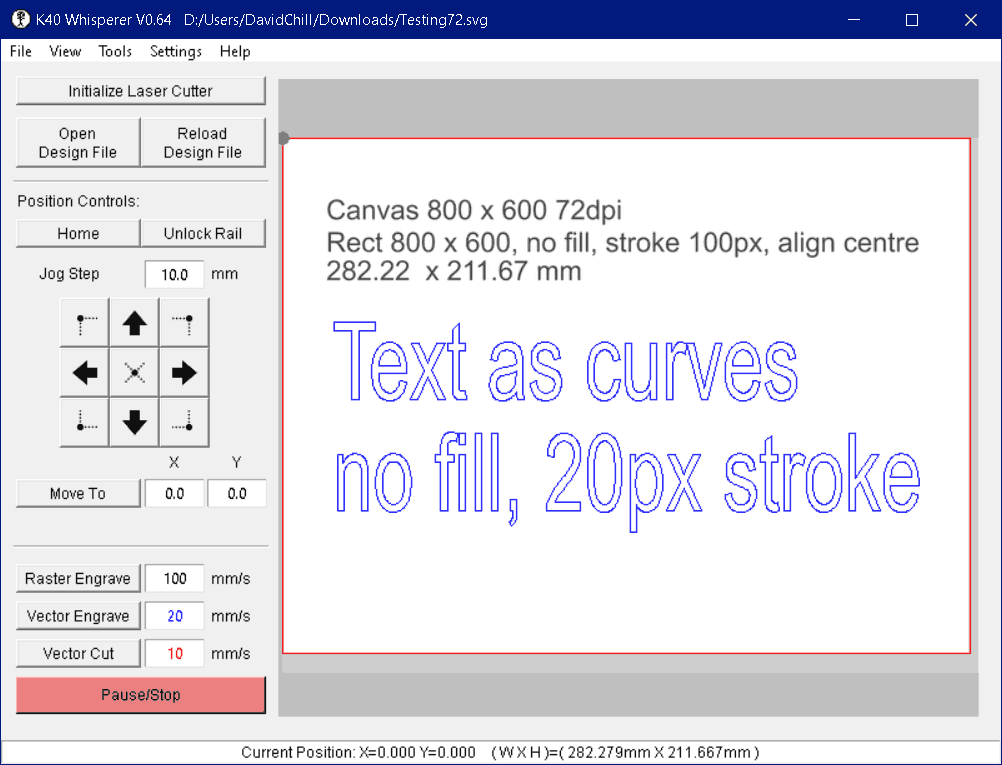
Yes but what do you see? Please provide a screenshot of the K40W window when it fails, also provide the svg file This is all a bit circular, my experience with windows: Red can be 255,0,0 #f00 or #ff0000 Affinity svg's must be imported at 300dpi, even if the drawing was made at another resolution K40W will sort that out as images below show K40W needs Inkscape to be available otherwise Anyway, I am so intrigued by all of this that I shall pony up a monkey to see what I can do Testing72.svg