MarcBr
-
Posts
26 -
Joined
-
Last visited
-
 selenita reacted to a post in a topic:
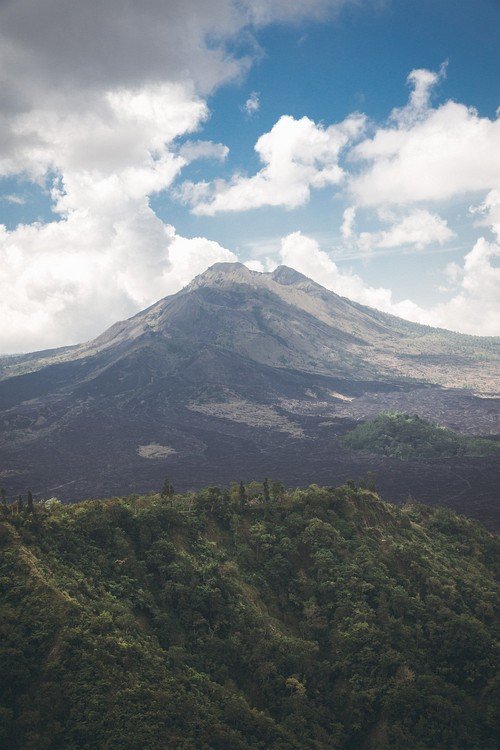
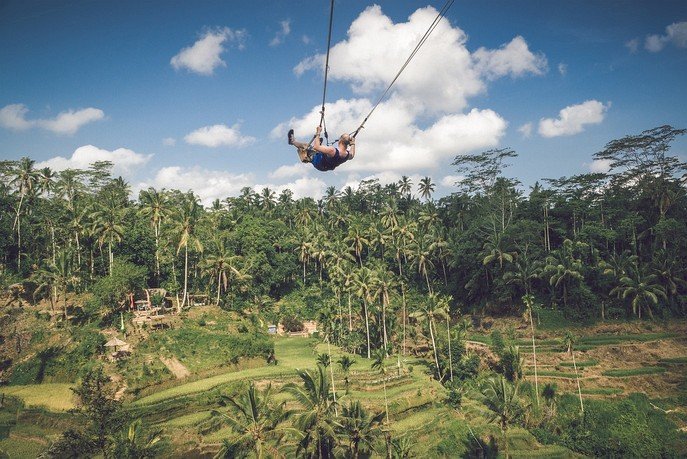
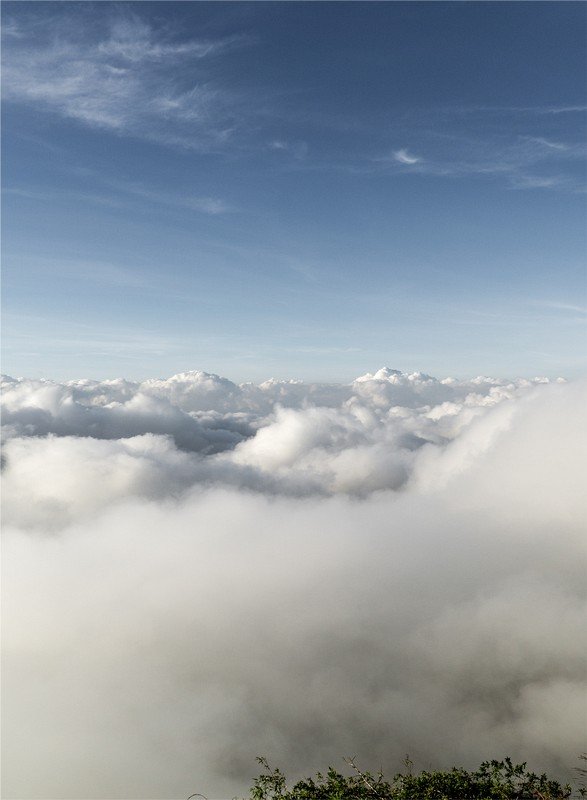
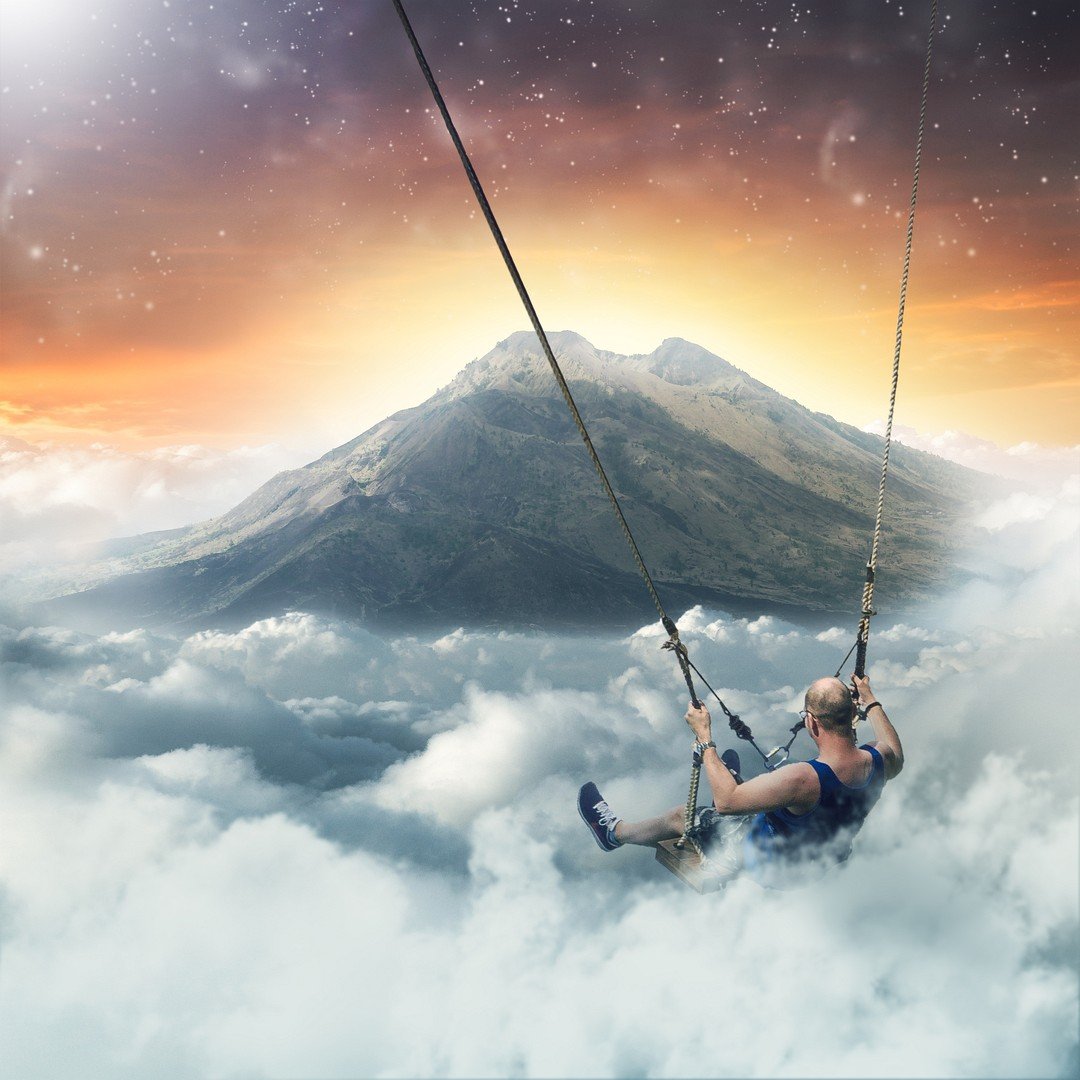
Composite: Flying high at Gunung Batur
selenita reacted to a post in a topic:
Composite: Flying high at Gunung Batur
-
rudymaurer reacted to a post in a topic:
Angkor Wat
-
 MarcBr reacted to a post in a topic:
Deal with it Affinity!
MarcBr reacted to a post in a topic:
Deal with it Affinity!
-
MarcBr reacted to a post in a topic:
Do Not Adjust Your Set
-
Smee Again reacted to a post in a topic:
Took a break to play with the $99 camera
-
affinity photo Took a break to play with the $99 camera
MarcBr replied to Smee Again's topic in Share your work
I like that third one the most! -
MarcBr reacted to a post in a topic:
Took a break to play with the $99 camera
-
StuartRc reacted to a post in a topic:
Angkor Wat
-
stokerg reacted to a post in a topic:
Angkor Wat
-
 MarcBr reacted to a post in a topic:
Angkor Wat
MarcBr reacted to a post in a topic:
Angkor Wat
-
ronnyb reacted to a post in a topic:
Angkor Wat
-
John Rostron reacted to a post in a topic:
Angkor Wat
-
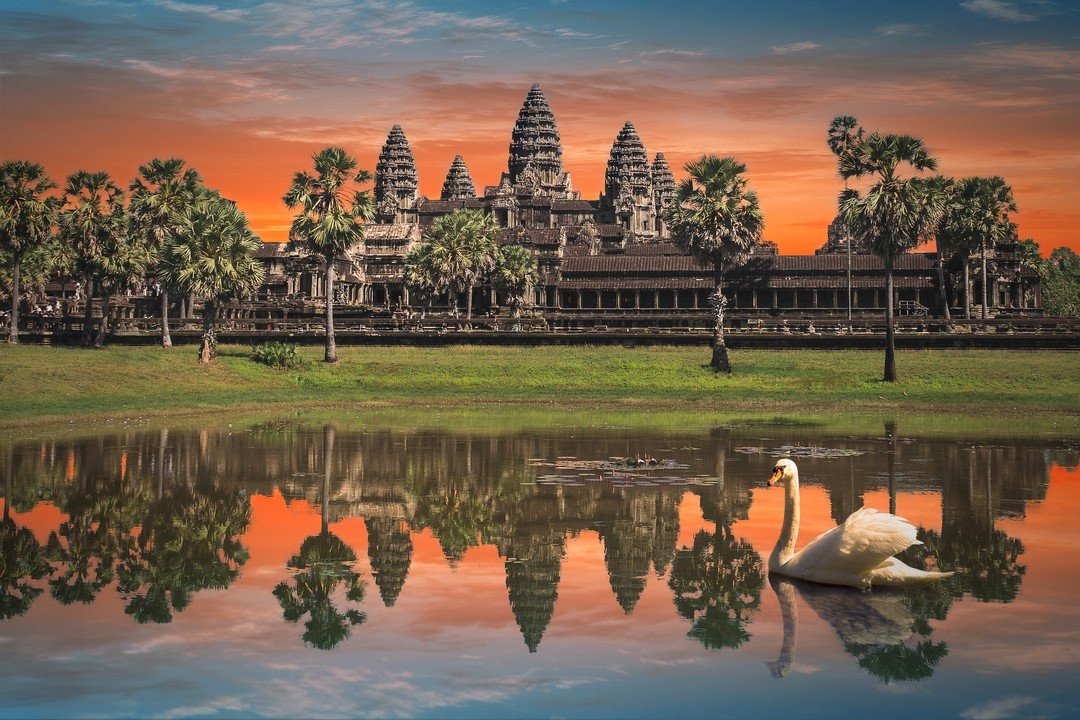
decreased swan size added more warmth and split toning as suggested

-
GarryP reacted to a post in a topic:
Angkor Wat
-
Hey Ronny, I will adjust the overall temperature when I am back home. I already applied a lens filter but it seems that it wasn't enough Thank you for sharing your thoughts!
-
MarcBr reacted to a post in a topic:
Angkor Wat
-
MarcBr reacted to a post in a topic:
Smarty Studio : Our Project (made with Affinity)
-
MarcBr reacted to a post in a topic:
Angkor Wat
-
Hey John, I didn't see any swans there, but lots of monkeys who try to steal your water I used the swan, so the pond doesn't look that empty. Because I only use my own photos, I haven't found any alternative to put onto the pond. I will try to resize the swan, but compared to the water lily in the background I can not shrink him too much. Thank you very much for your thoughts and have a great evening
-
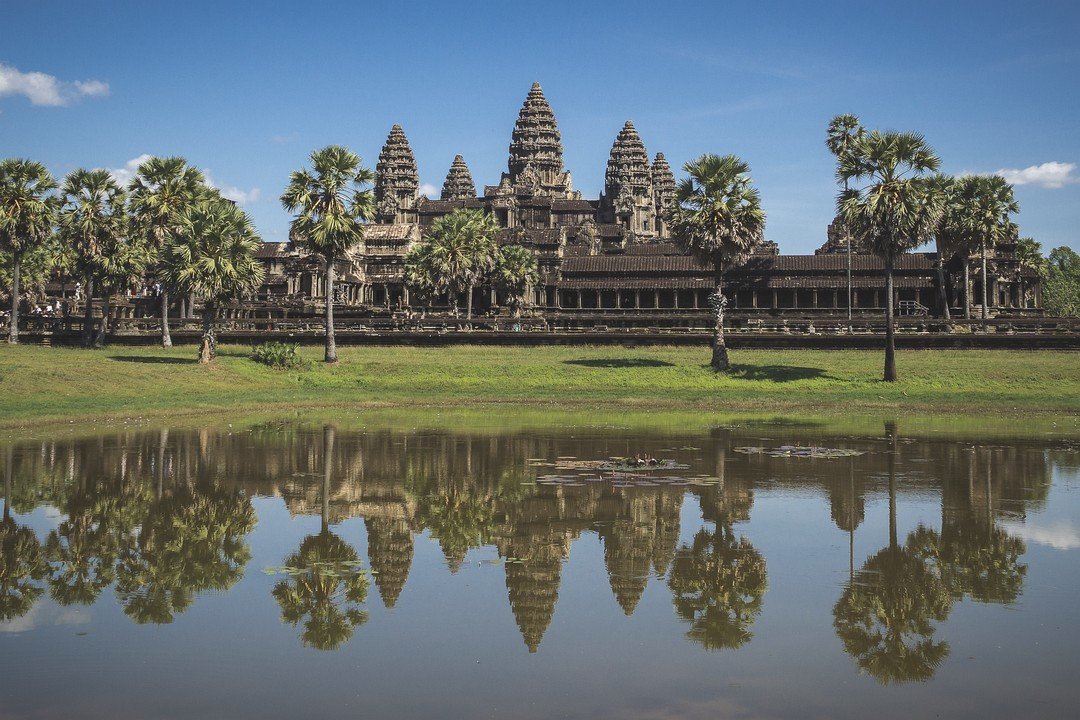
Hey folks, here is another edit/composite using AP Result (work in progress): Source: At the moment, I am not quite happy about the masking of the palm leaves Refining the mask crashed Affinity Photo several times, so I tried my best with manual masking, but I am still not where I want to have it - maybe I will have to spend another hour to get it right... If you have some good hints about better masking, I would be happy Besides, what do you think about the edit? Cheers, Marc
-
MarcBr reacted to a post in a topic:
Amateur Spotlight - Endless possibilities
-
Smee Again reacted to a post in a topic:
Wedding Couple
-
MarcBr reacted to a post in a topic:
Natural Carpet
-
MarcBr reacted to a post in a topic:
Wedding Couple
-
Robert Smith reacted to a post in a topic:
Wedding Couple
-
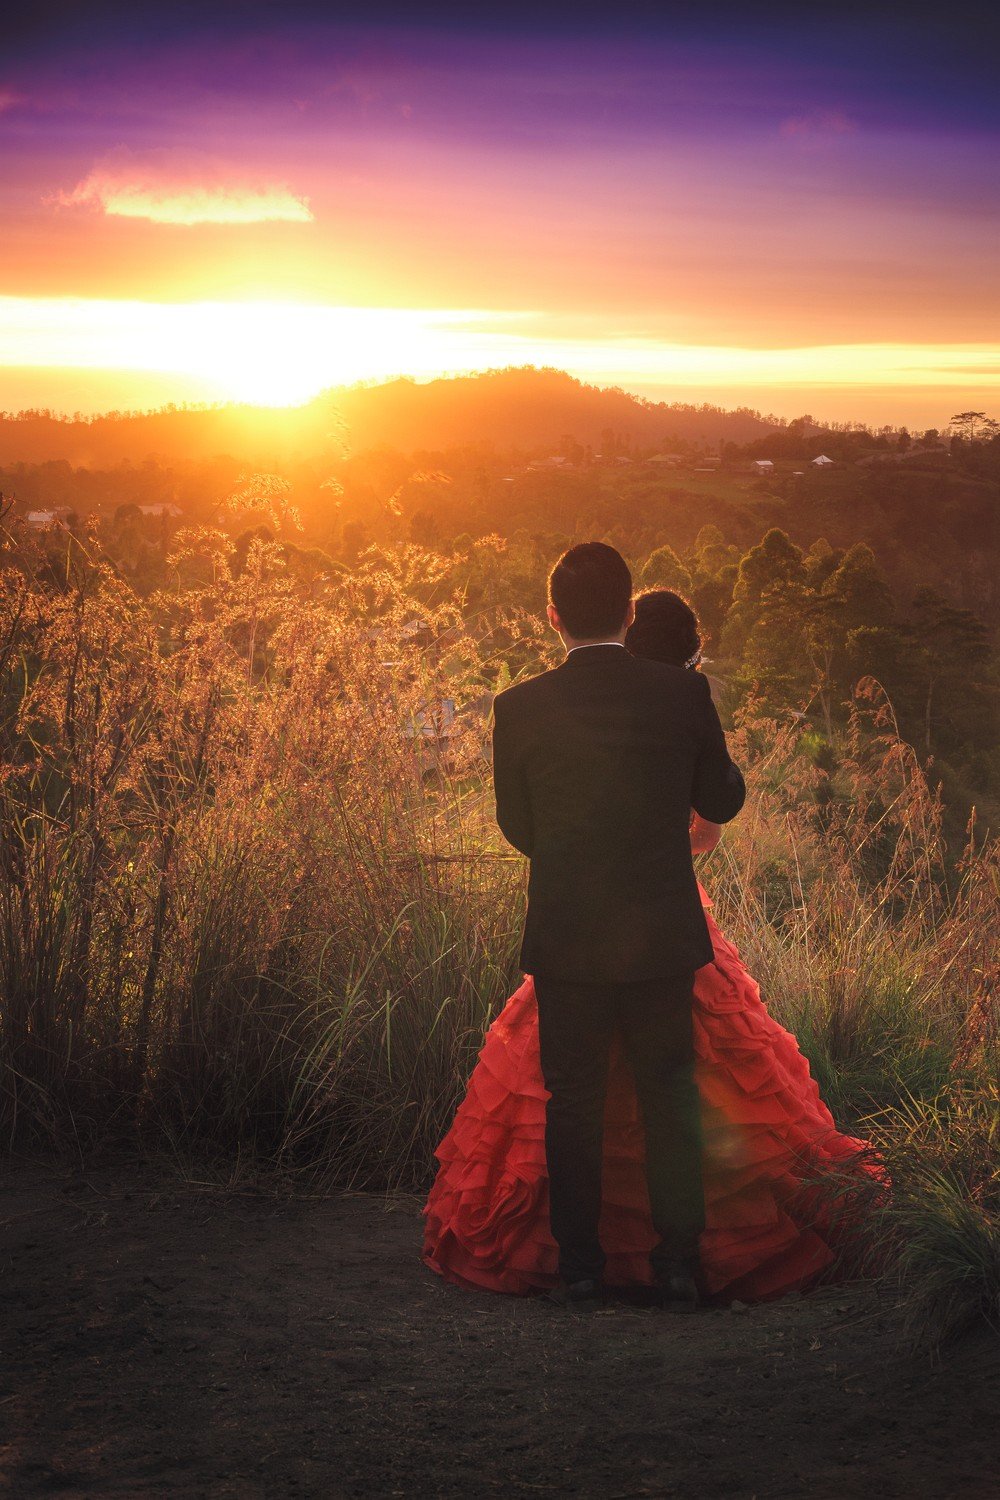
Pretty nice composite, but there are two minor "bugs" in the composite that should be fixed in my opinion: the second left bird and the most right are cloned - even if flipped, it looks unnatural to the viewer. try transforming or warping one of the bird's wing. next to the right bird on the line some part of the line is missing. try to close the gap Cheers, Marc
-
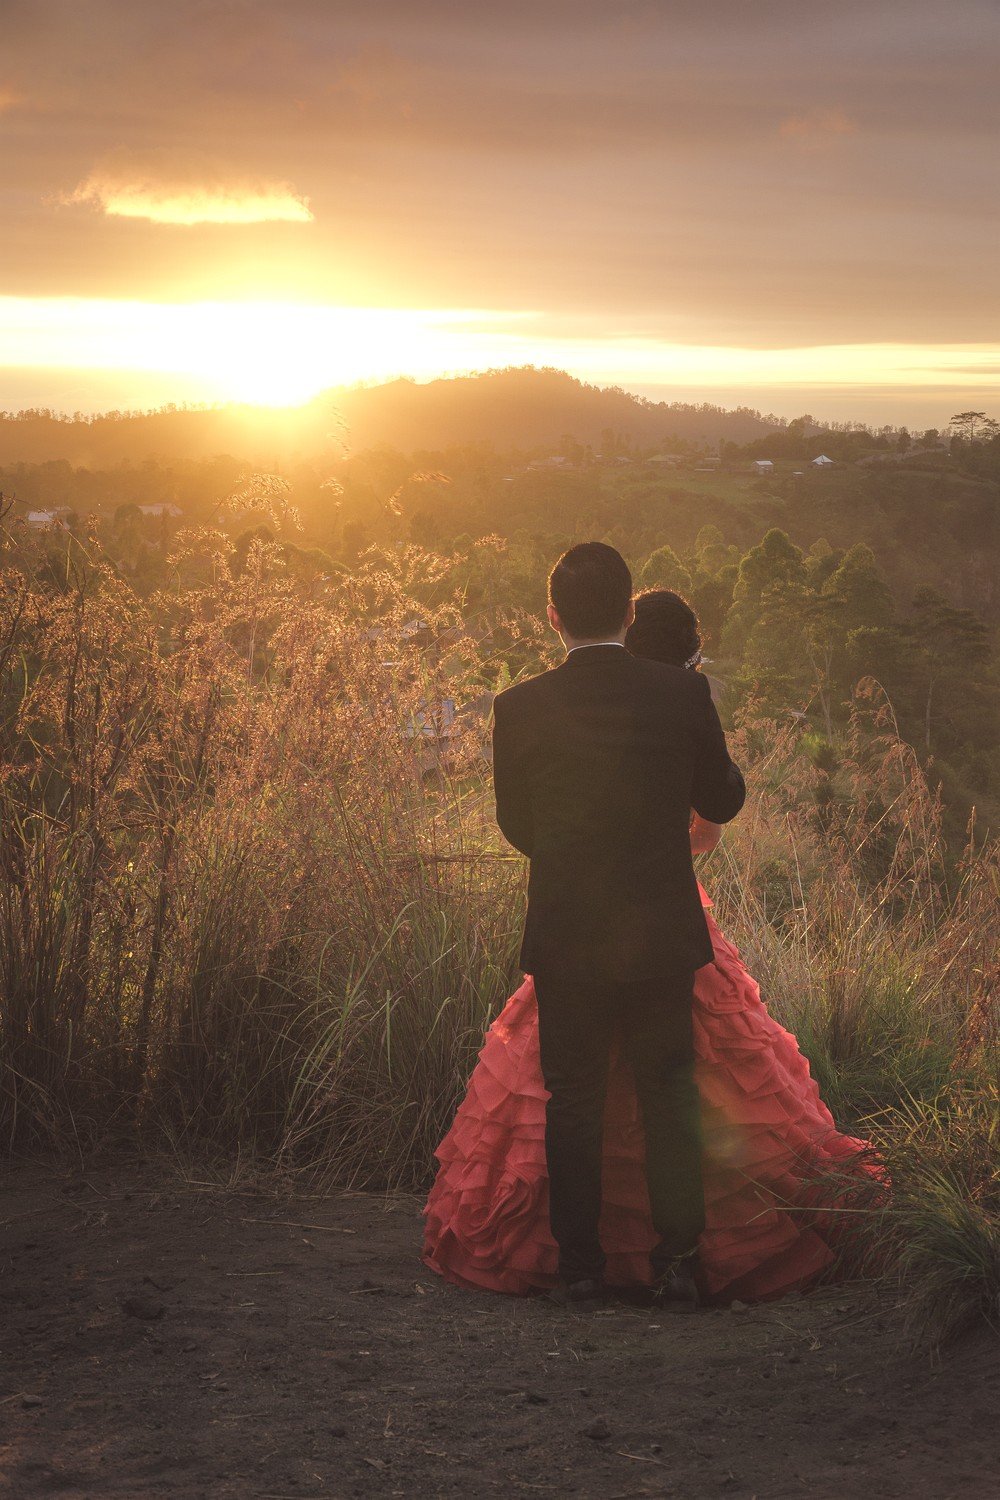
Hey folks, this time just some basic photo adjustments, dodge&burn and repairing/inpainting to clean up the ground and the couple: Original: Hope you like it - Cheers, Marc
- 1 reply
-
- 2
-
-
Here is a sample (still work in progress) I crossposted in the other thread related to the ripples macro. FYI: Here are the adjustment layers I added to the water layer: @John Rostron's ripple-equations motion blur gaussian blur exposure adjustment the built-in ripples live filter for a more 3d-ish global movement of the water surface Cheers, Marc
-
Making Ripples
MarcBr replied to John Rostron's topic in Tutorials (Staff and Customer Created Tutorials)
@John Rostron That macro is nuts! Absolutely in love with it Check out this small edit (still in progress): Some ideas for further improvement of the macro: modulation / increment of the distance between each ripple in a selectable direction (in my edit it would give a better depth if the distance between each ripple increments towards the viewer of the photo) FYI: Here are the adjustment layers I added to the water layer: motion blur gaussian blur exposure adjustment ripples live filter for a more 3d-ish global movement of the water surface Cheers, Marc
-
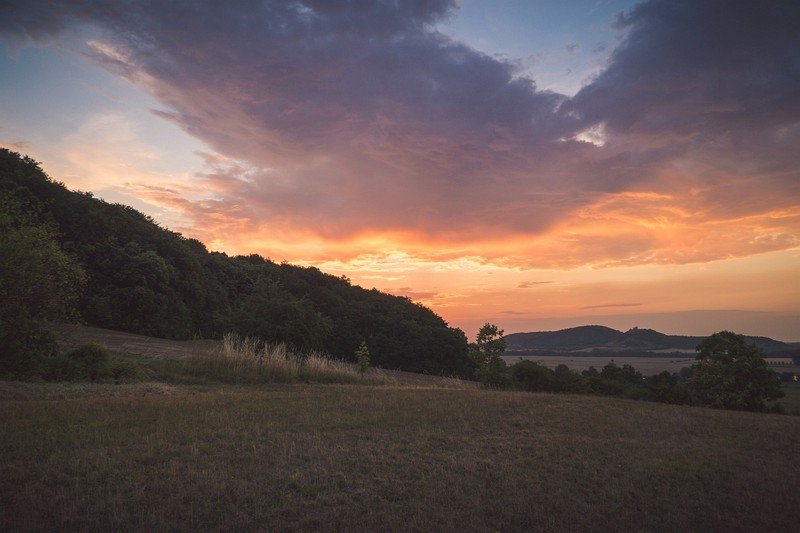
Hey folks, back again with a small composite made of three photos from last year's trip to Bali and some burning sky stuff I shot during summer. Result: It could need some more finetuning for sure, but I am pretty happy with how it turned out. What do you think? Sources: Cheers, Marc
-
Can't wait to finish work and test it out at home Thanks heaps @John Rostron
-
Making Ripples
MarcBr replied to John Rostron's topic in Tutorials (Staff and Customer Created Tutorials)
Absolutely brilliant @John Rostron! Edit: yes, a macro would be great -
This is what my result looks like now (I already uploaded it to Instagram). Nevertheless, I will be very happy for further hints on how to create a more realistic water because this will not be my last attempt Changes made: Replaced my displacement map with a water texture displacement map decreased exposure added some perlin noise and changed the masking of the shore again. @John Rostron I will have a look at this tutorial later for sure.
-
Hey @GarryP, That one is looking pretty nice! I will have to investigate further about that motion blur filter and applying some texture. My attempt was: copying top layer mirroring it transform the perspective of the mirrored version duplicated it added ripple effect with small amount added displacement map added gaussian blur to the top layer masked with a gradient to fade out ripple, blur, displacement near the shore line added masking to the layer underneath for the shore line added pixel layer and painted in some dirt textures Cheers, Marc
-
Hey @carl123, thank you very much for your hints! I had a version with a darker reflection already, but I transformed the perspective of the water way too much and forgot to add the darkening in my second or third attempt again I blurred the water with a low amount (gaussian blur 1px) because blurring it too much destroyed the displacement map I added to the water. But I will try that with a slightly higher amount when I am back at home, because your amount of blurring looks better to me. Did you apply a ripple filter? Maybe I have to adjust my settings there, too Will post updated edit later! Cheers, Marc