Search the Community
Showing results for tags 'Affinity Designer'.
-
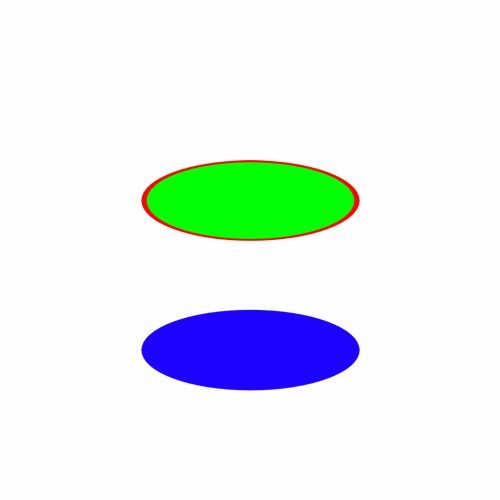
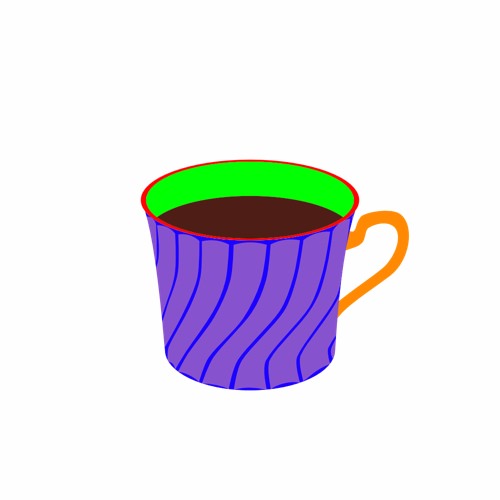
“Coffee Time” I’m really not very good with hand drawing (stick figures only!) so I really like the concept of vector drawing in which I can make changes after the fact and tweak to my hearts content. To learn how to use Affinity Designer (I have played with some vector stuff before in Inkscape but nothing much at all), I decided to make something look as real as I could that wouldn’t need too much raw drawing skill and I came up with “Coffee Time” : 100% created from scratch vector drawing (no brushes or pixel layers except for the use of the fx “Layer effects"). I did use a photo for reference but I didn’t do any tracing or anything. I’m really, really happy how it turned out. I tried out all sorts of things and learned a lot but it was a lot of fun :) As this is a "Learn and Share” forum, I thought I’d share exactly what I did (see the other other attached pictures). It’s not perfect and I’m a beginner, but hopefully others might be able to learn something, too Enjoy! :) My Process: 01 Create 2 sets of circle shapes to represent the top and bottom of the cup. Squish the top and the bottom with the move tool. The top circle has a smaller one on top to remove later to make a lip for the cup. I deliberately used bright colours to make the shapes easy to distinguish from each other. 02 Join the circles with the corners of a rectangle shape to form the side of the cup. 03 Shape the rectangle with the node tool. Add a handle. Clone the top circle and move it down to make the surface of the coffee. 04 Create a set of “shading shapes” to put on top of the side of the cup. These will then be given a gradient colour and transparency to give the illusion of a bumpy surface. 05 Create some circles and overlay some shading shapes . I used the the smart duplicate function to repeatedly rotate duplicates of the shading shape easily. 06 Squish the saucer with the move tool and move into place under the saucer 07 Change the colours to something closer to the final version and play with gradients and transparencies. I also blurred it to make it blend more naturally. Once I got something that looked good, I made a style of it and then applied it to the others and then hand tweaked each one. 08 Do the same to the saucer. Also added some detail (reflection of the inside of the cup and blurred it) to the coffee. 09 Add a background with a gradient. I used the noise slider to give it some texture. I also added some steam with just a hand drawn shape. 10 Add a shadow. I just duplicated the cup and saucer, blacked them out and then put them in place underneath everything and used the shear tool to project it out. I also added some fine detail on the edge of the side of the cup to add to the bumpiness illusion. Made the lip a nice shiny gold with a slightly tweaked version of the built in “metal” style. Added some self shadowing to the saucer and further deformed the circle shape it to give a more 3D look to it. 11 Added reflections and spectral highlights to the cup and saucer. Now it looks nice and shiny. For the final version, I also added some bubbles to the coffee (lots of circle shapes) and the text, converted to curves and then given a steam like style (actually the same one I used for the shading shapes!) and then each character rotated and scaled to make it look like steam from the coffee.

- 10 replies
-
- 13
-

-
- coffee cup
- vector
- (and 3 more)
-
 Hello everyone, I would like to cover one of our shop windows with decals applied to the back. In the print specifications, there is a trim margin (3mm) and a safety distance (3 mm), so a total of 6 mm. Since you can only print up to 1.30 m in width, I have created several artboards in Affinity Designer and simply added the 3 mm trim margin in white. However, in the final print, it did not quite fit with overlapping fonts, even if you cannot see it from a further distance. What is the best way to handle this in practice, so that it looks seamlessly perfect when fonts/logos/images span across several window sections (decals)? Thank you very much!
-
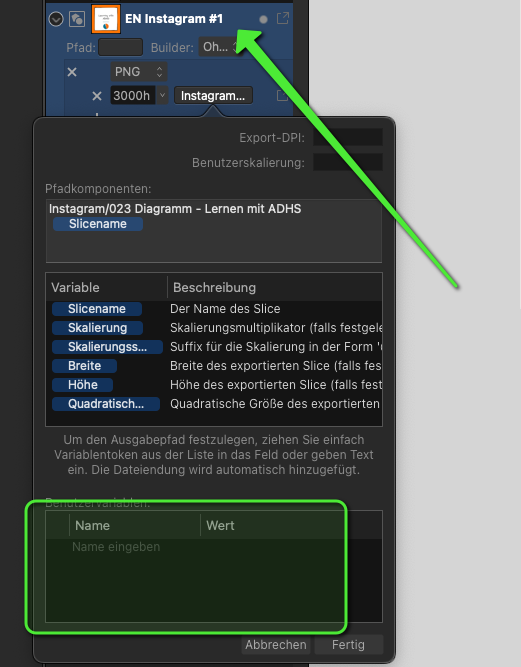
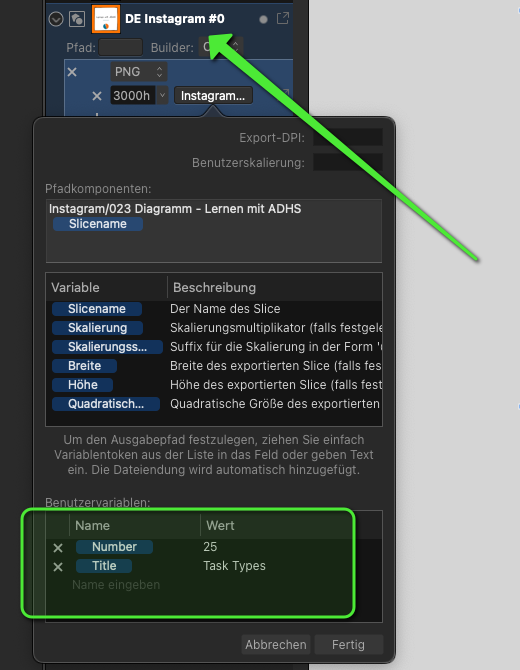
Hi, the User variables within the export persona are not working at all. You can add new variables in a slice, but they don't appear in other slices Affinity Designer 2.1 and 2.1.1 Mac Mini M2 Mac OS Ventura 13.5 No recent change in my system Definitley reproducible. Tried everything for hours old documents New document Updated AD (2.1 => 2.11) Tried to manually recreating the variables Tried to copy and pate the slice settings to clipboard => The variables are only valid within a slice Would be great if you could fix that in the near future. This will save me hours of work, since I use the export persona very extensively (with dozens of slices for each document). One of my main (and most annoying) tasks every day is to rename slices in Affinity Designer... (sorry that I recently suggested that as new feature (I just missed it) Best regards, Dave
-
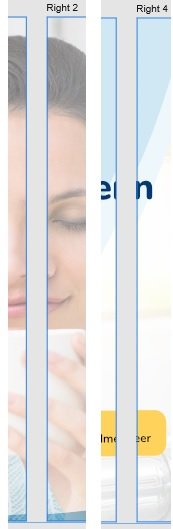
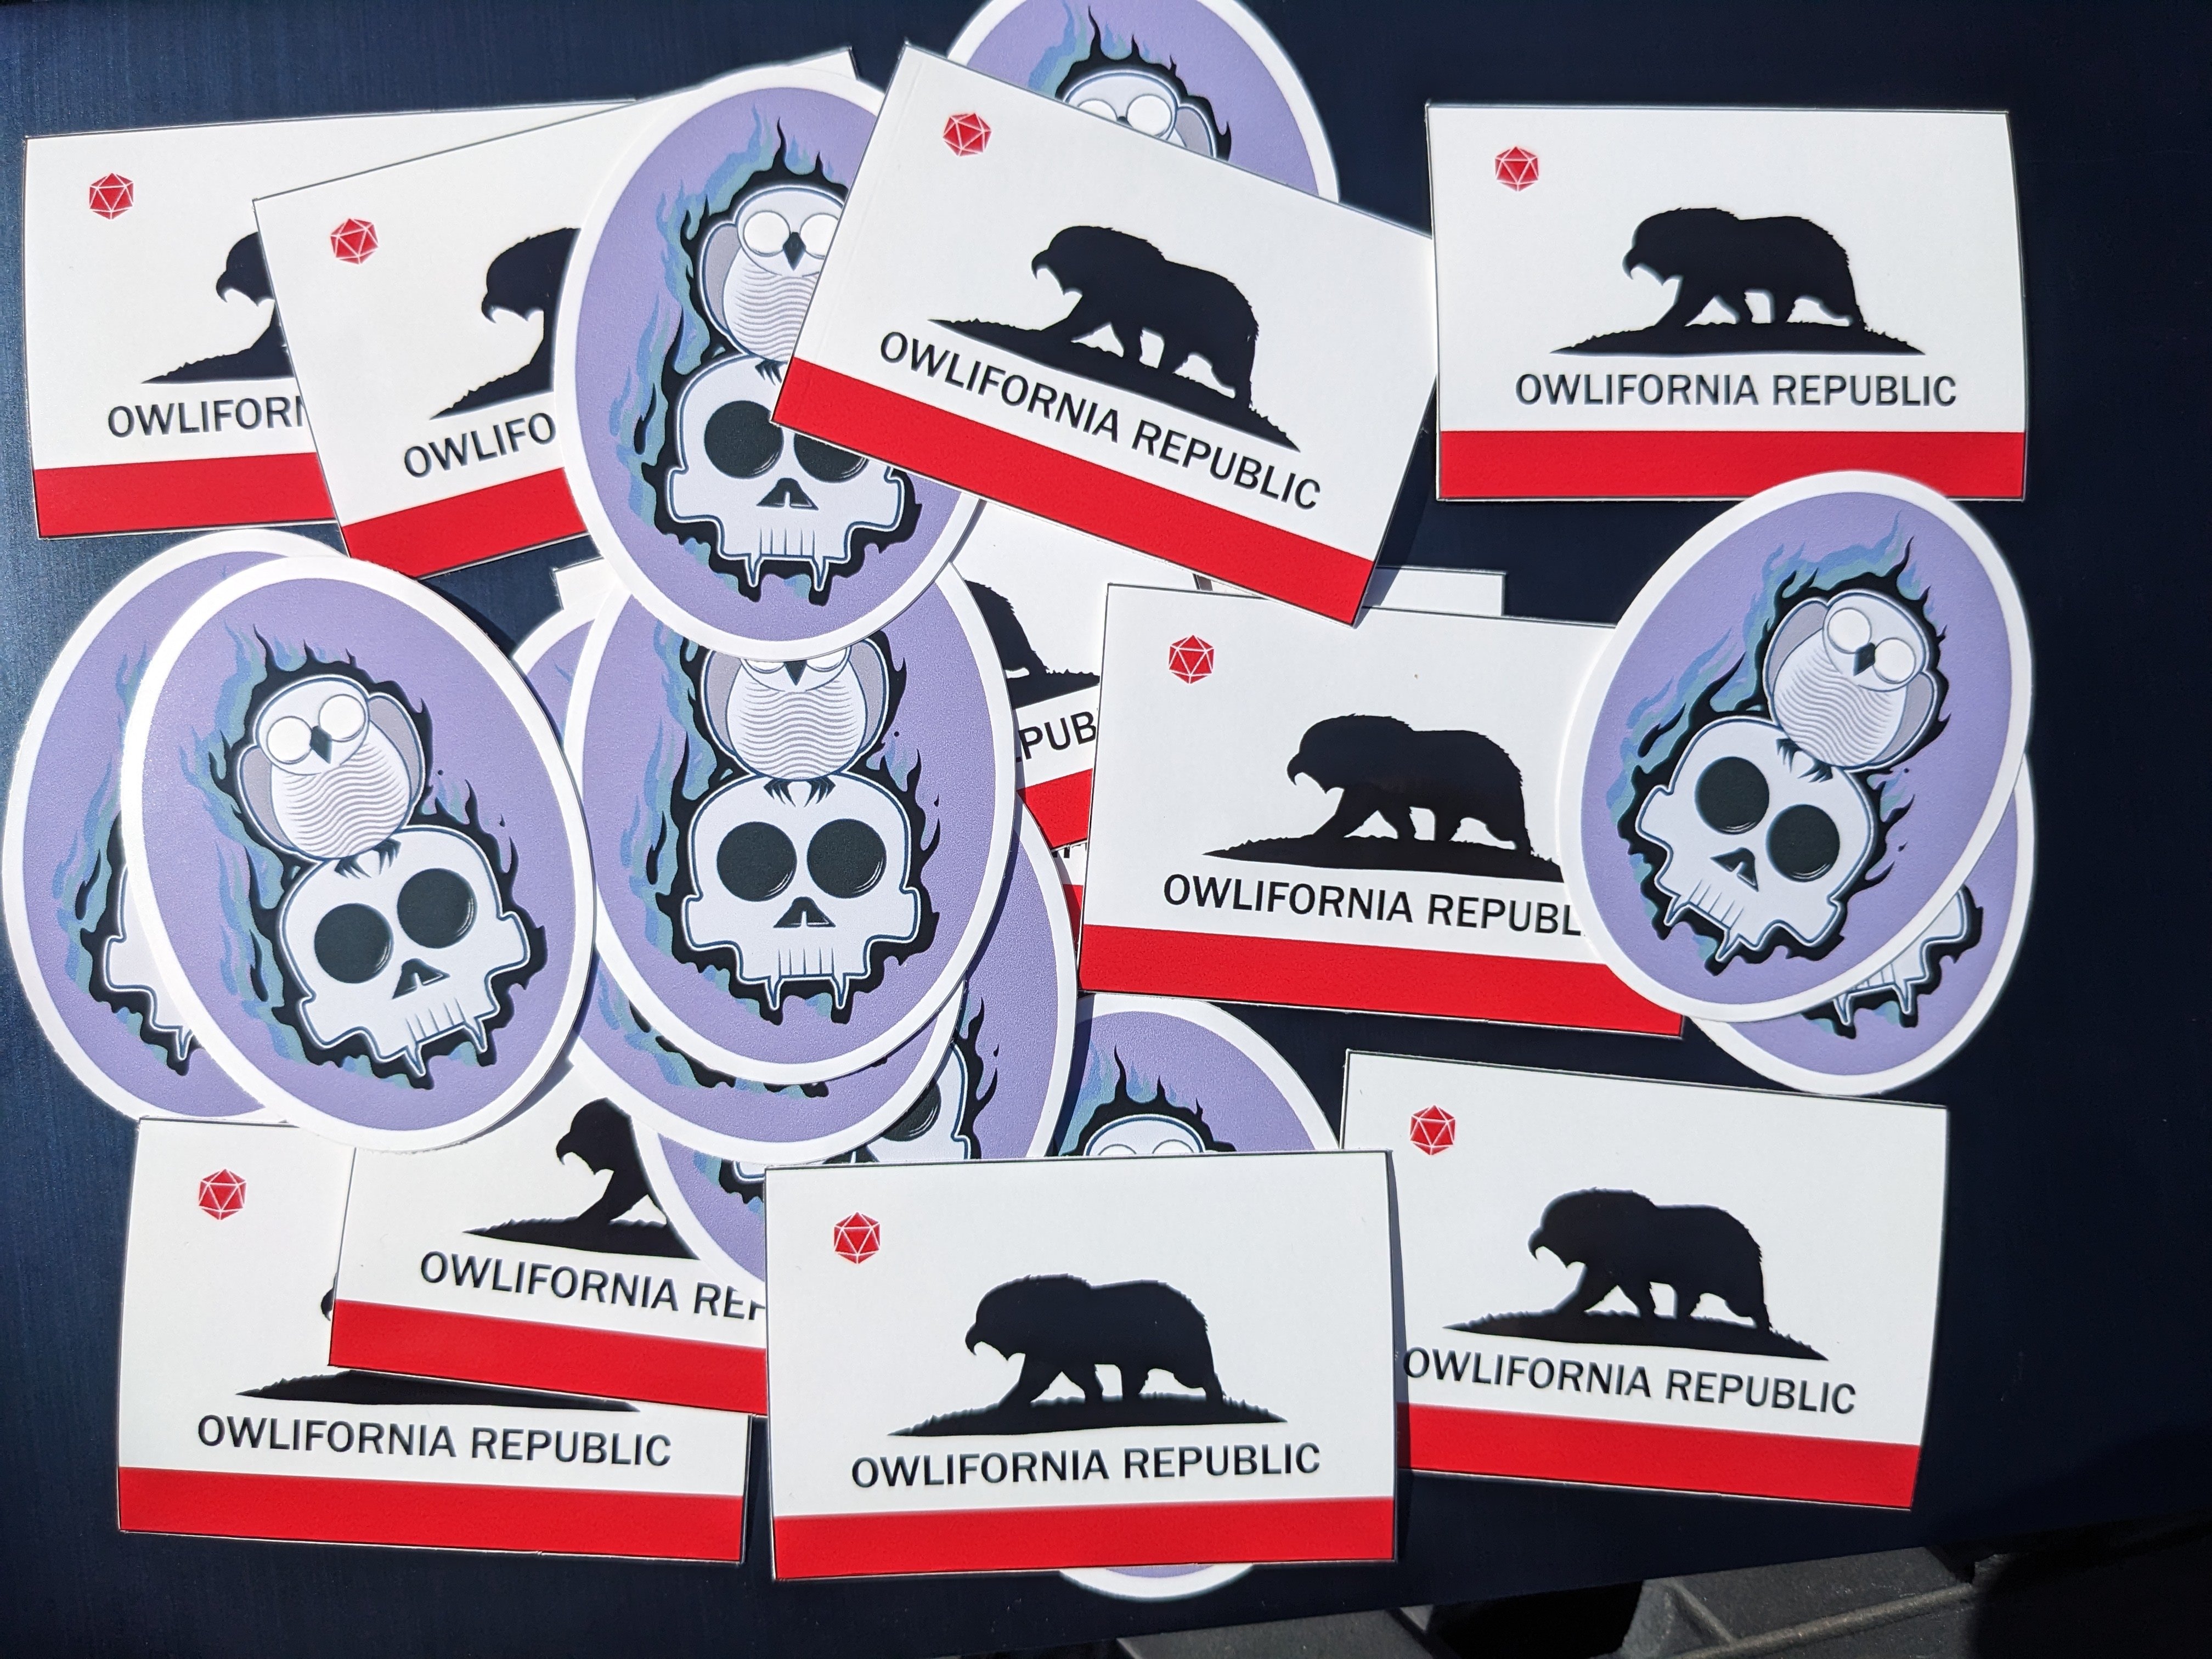
 I sent these designs to a printer. They are printed w/ digital inkjet and cut with a laser. We gave away a bunch in the swag bags at our film festival.
-
 I'm in need of converting a PMS colour to CMYK. Can't find how or any forum posts which solve this issue.
 -
I really like the feel of this one
- 1 reply
-
- 4
-
-
Here's another surfer I drew. People refer to the surfer as "he" but I used a reference photo of a woman shredding.
-
I said to myself, "What this Xbox needs is more awesome flaming sword cow stuff."
-
Hi, I'm seeing this message popup in the viewport whenever I select two specific layers. I'm guessing this popped up earlier in my workflow but I didn't notice it. I created a 5 pointed star using the Star Tool, then used the Pen Tool to create a set of lines which joined opposite corners. Then I did an Expand Stroke and Add on the lines and an Expand Stroke on the star. Trying to Add the star outline with the lines was when I first noticed it. Now without trying the Add, just selecting the two layers causes the message to be displayed. I presume this is a corner case where the maths breaks down. Any thoughts on what to "nudge" to make it work?
-
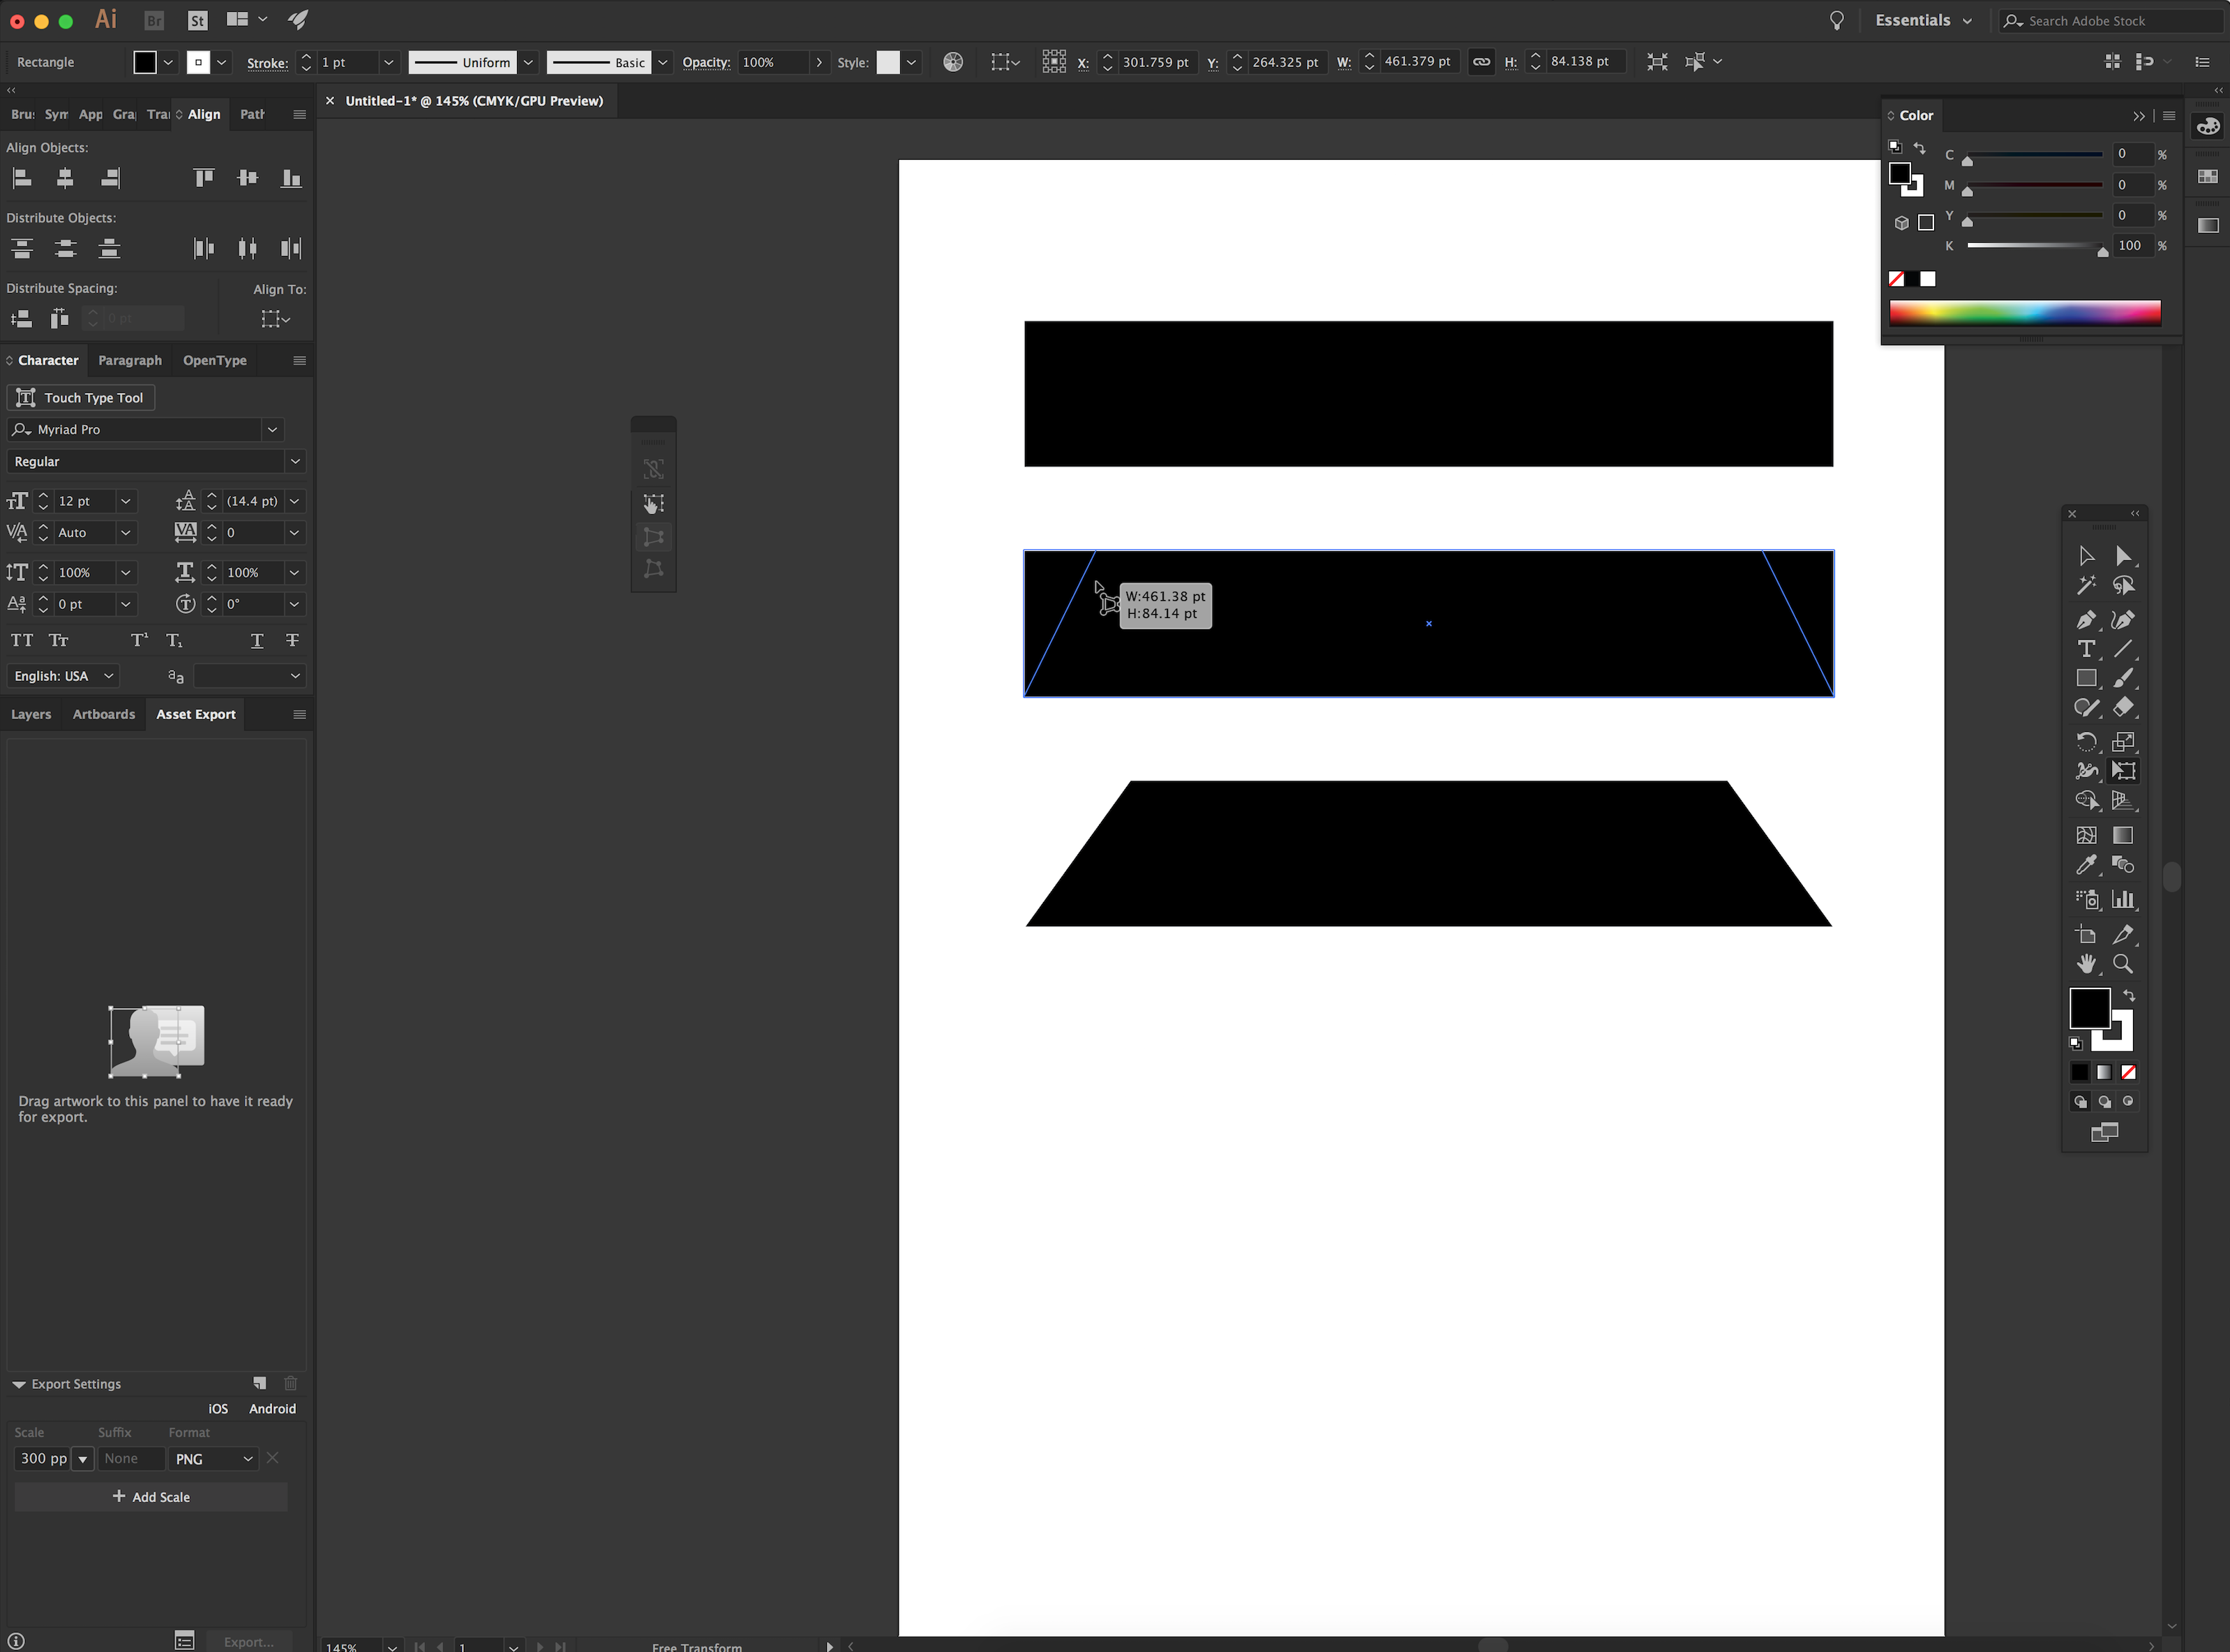
 Hello, I was wondering if within Affinity Designer is there a "Free transform tool" to allow perspective distort with shapes, this is something that can be done within illustrator where you can take two points and can move them together or further apart with equal distance like the example below. You can kinda do this with the "Corner" tool set to straight but this is set to only one angle when perspective distort can change the angle. Thank you for your time and I hope you have a great day.
- 317 replies
-
- 14
-
-
- mac
- free transform tool
- (and 5 more)
-
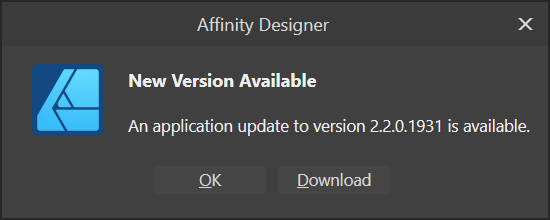
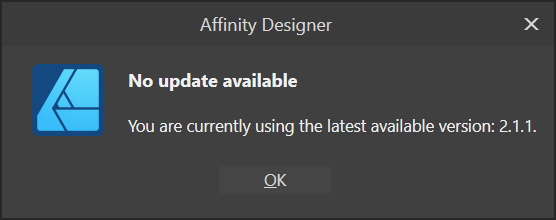
I've just started AD tonight and was presented with this message but the version that downloads is 2.1.1 - is this just a WIP and I need to be patient? Also, please can the EXE version download the EXE version and not the MSIX version? If I then hit OK and run the program and select Check for Updates on the Help menu I see:
-
 Hi there, since Affinity 1.8 it is possible to edit the metadata in Affinity Photo. Exactly this feature I had mentioned a long time ago. I wonder why the metadata panel is not included in Affinity Designer 1.8. Is there anything you can do? I ask again because I am not a friend of work-arounds. Or do I need to buy Affinity Publisher? (makes no sense to me, because I only need this feature) My old thread: https://forum.affinity.serif.com/index.php?/topic/101472-set-pdf-document-properties/&tab=comments#comment-544049 best regards!
 -
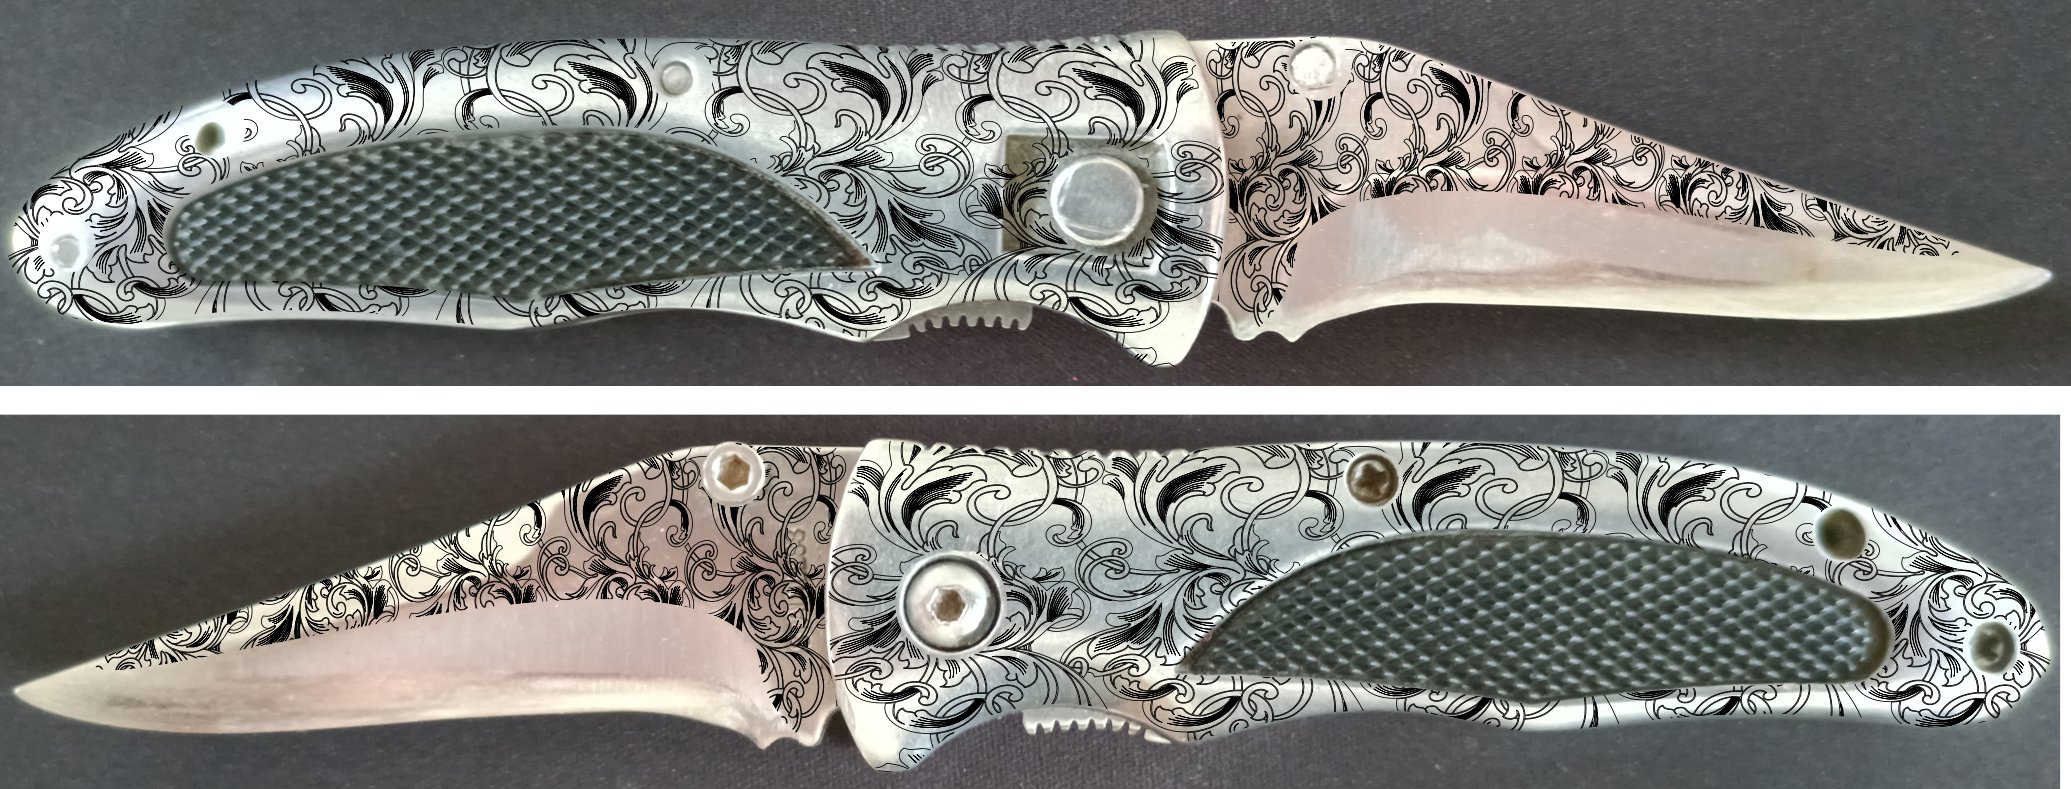
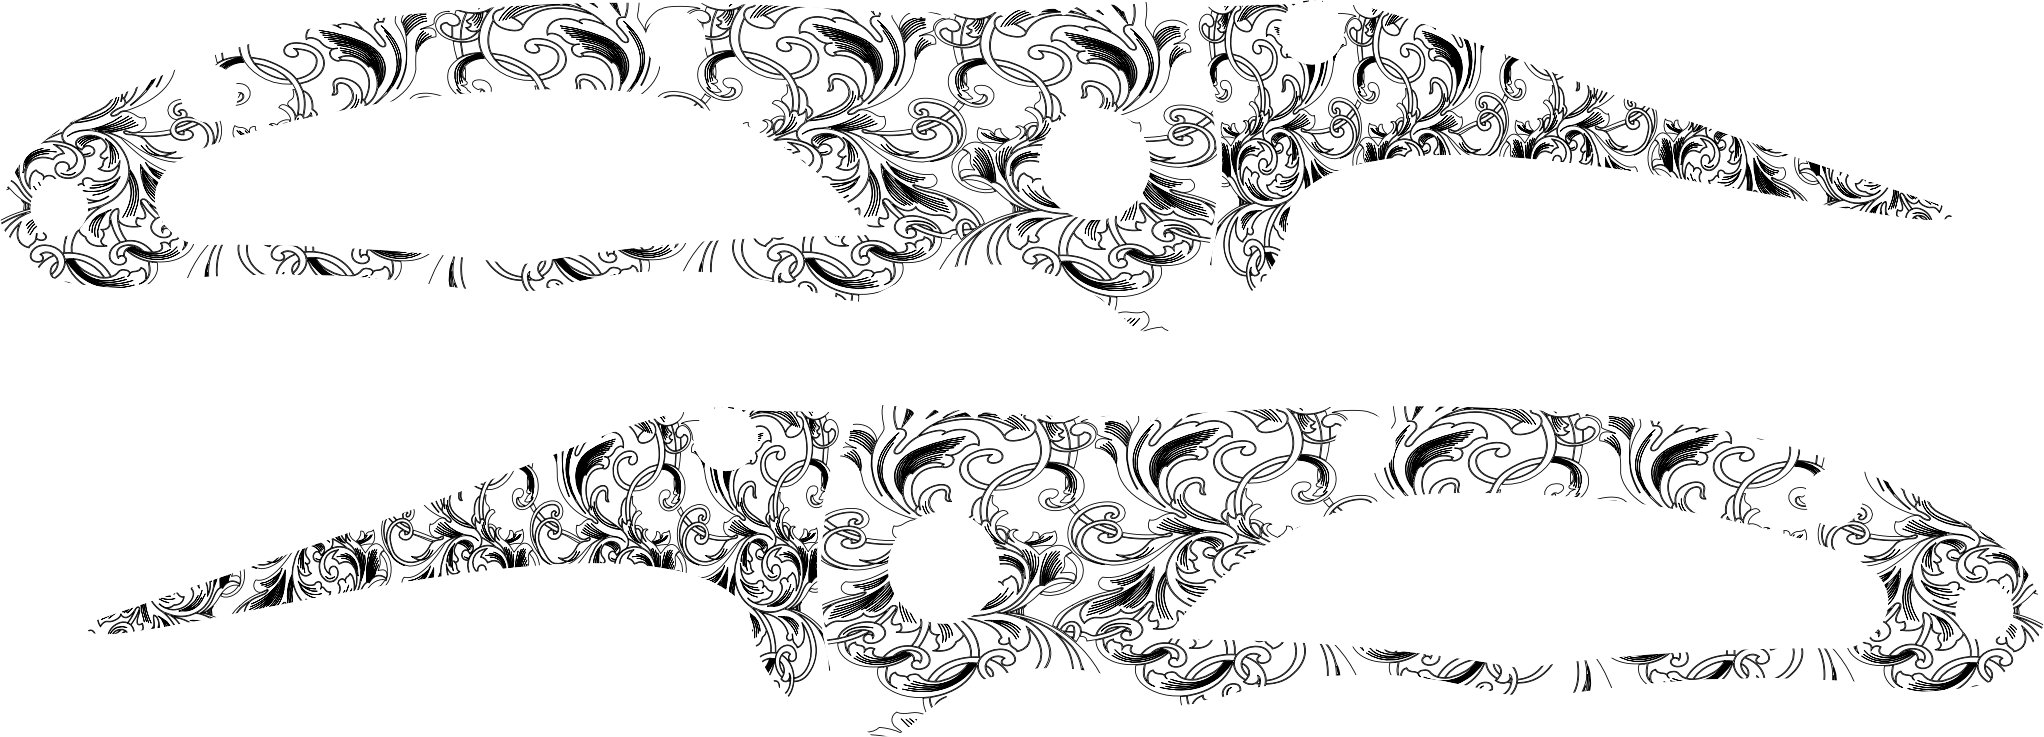
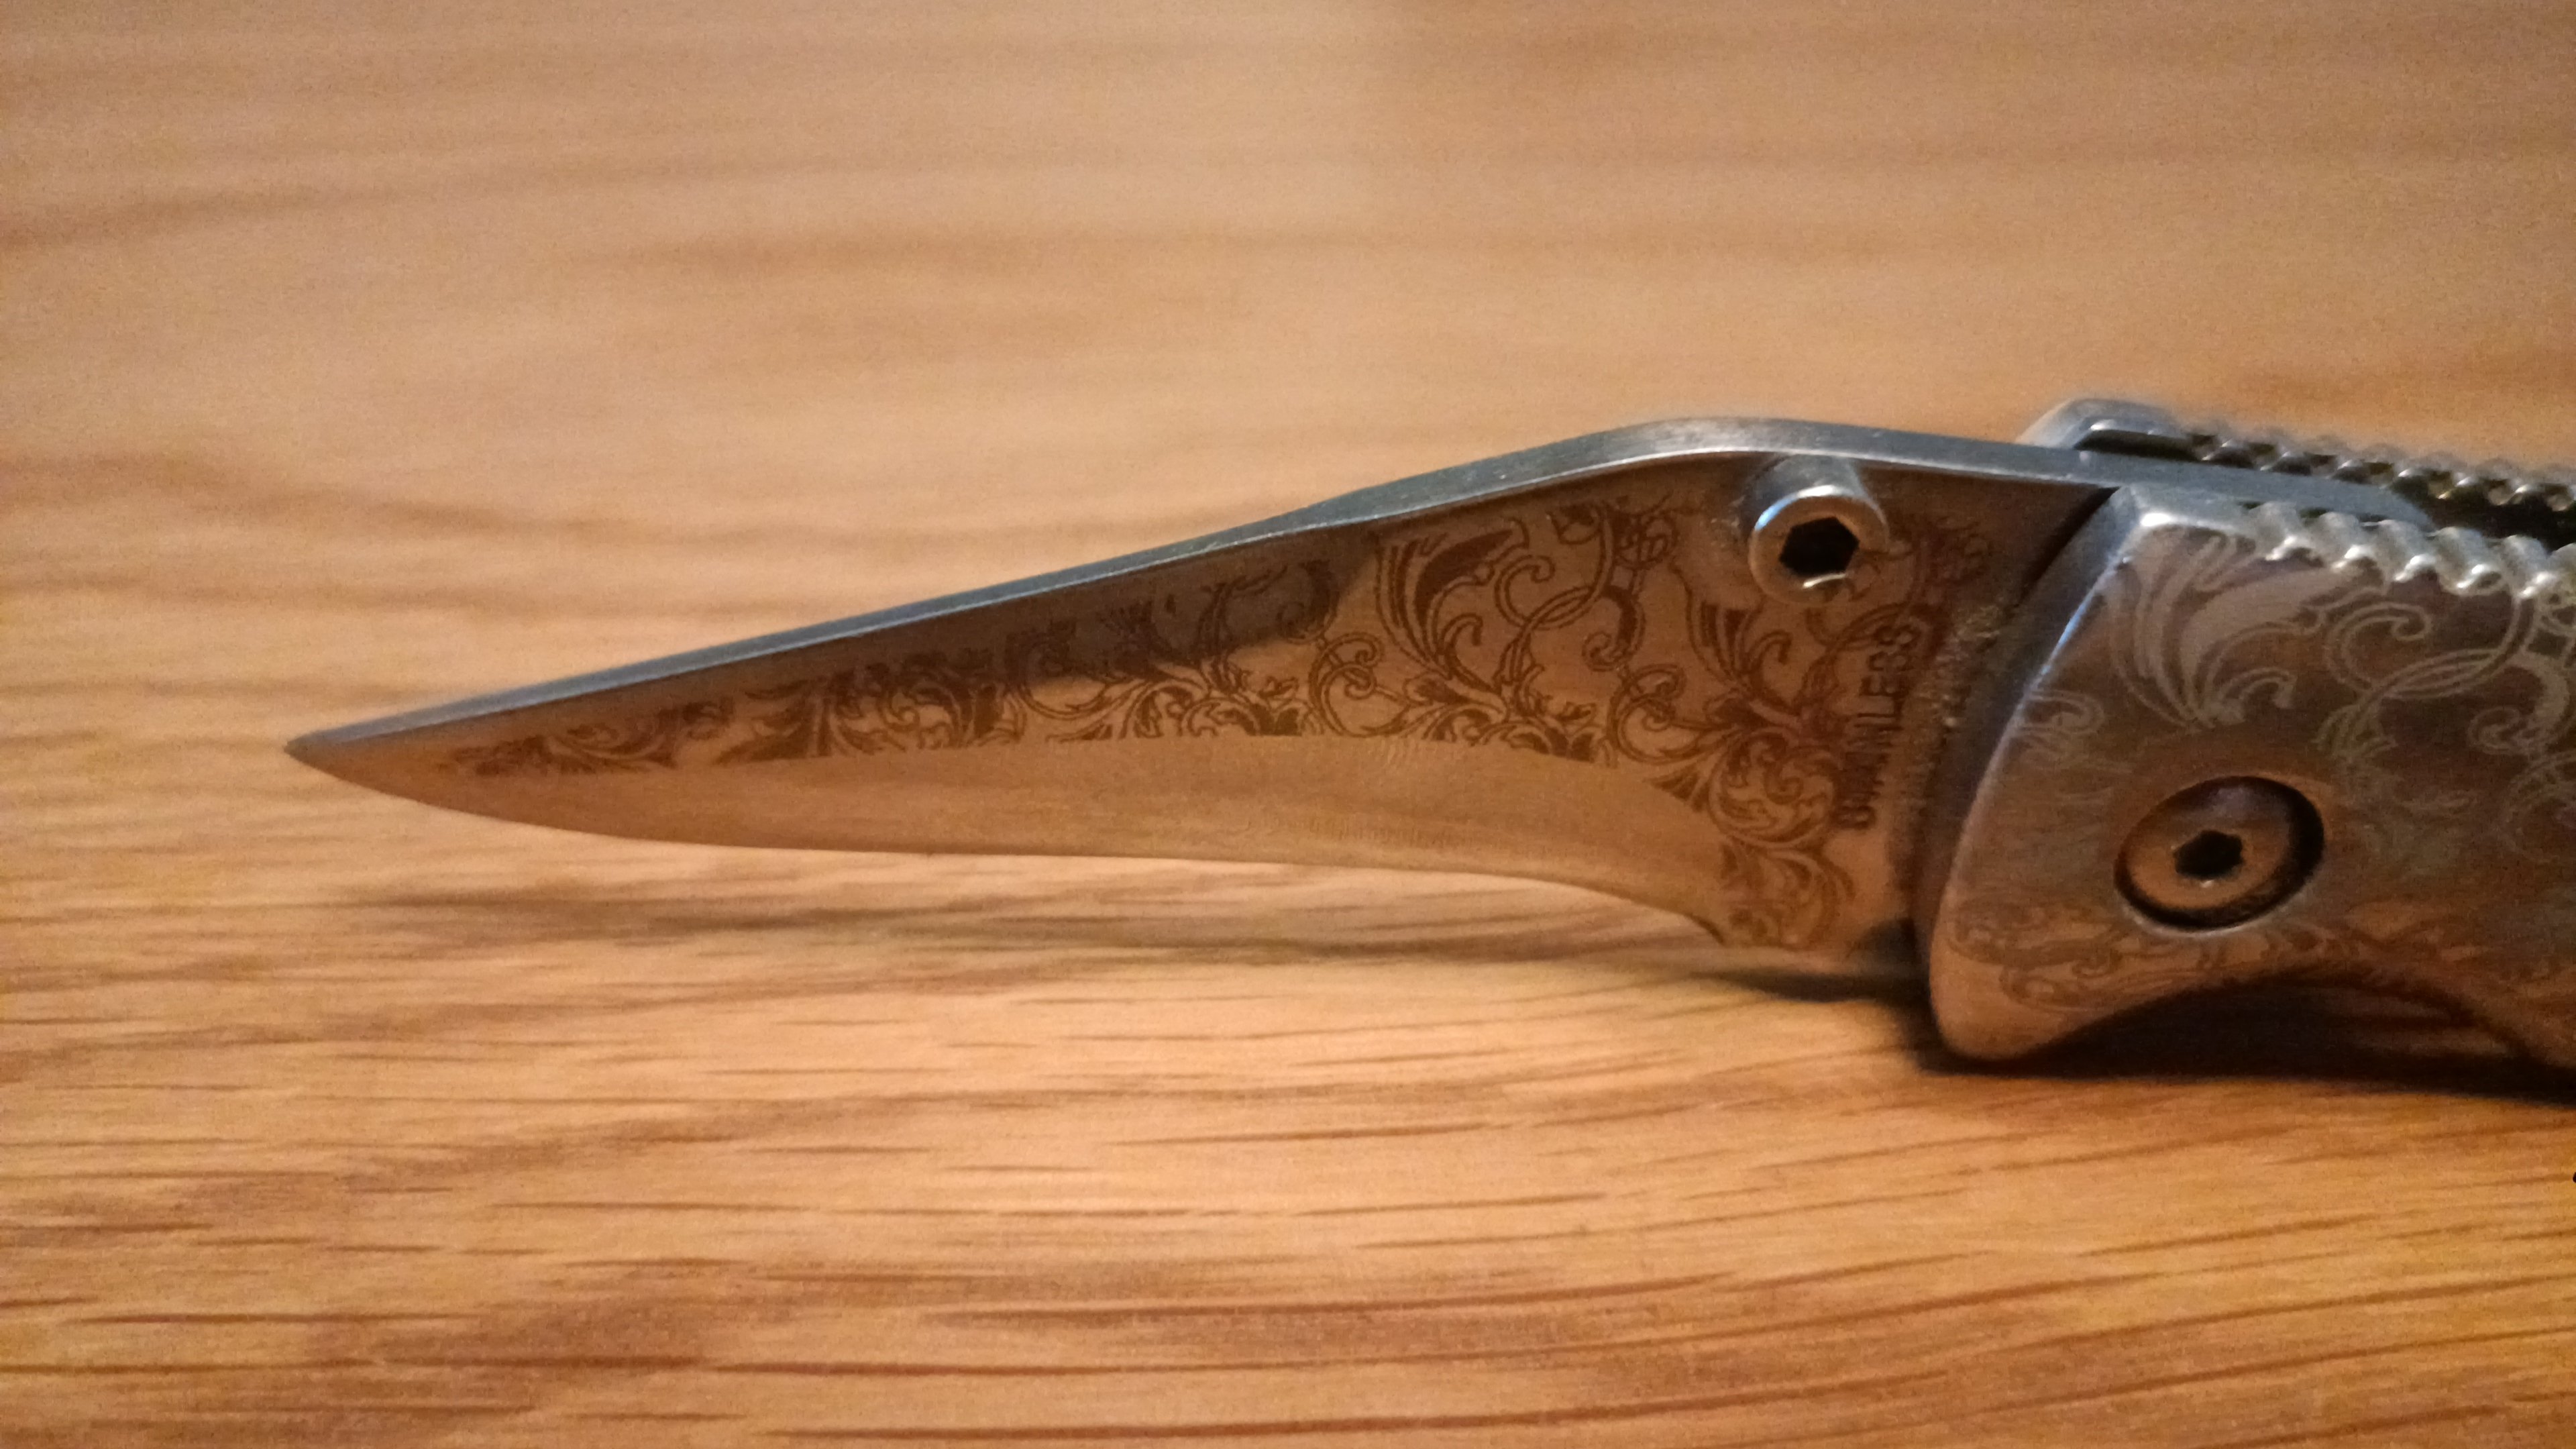
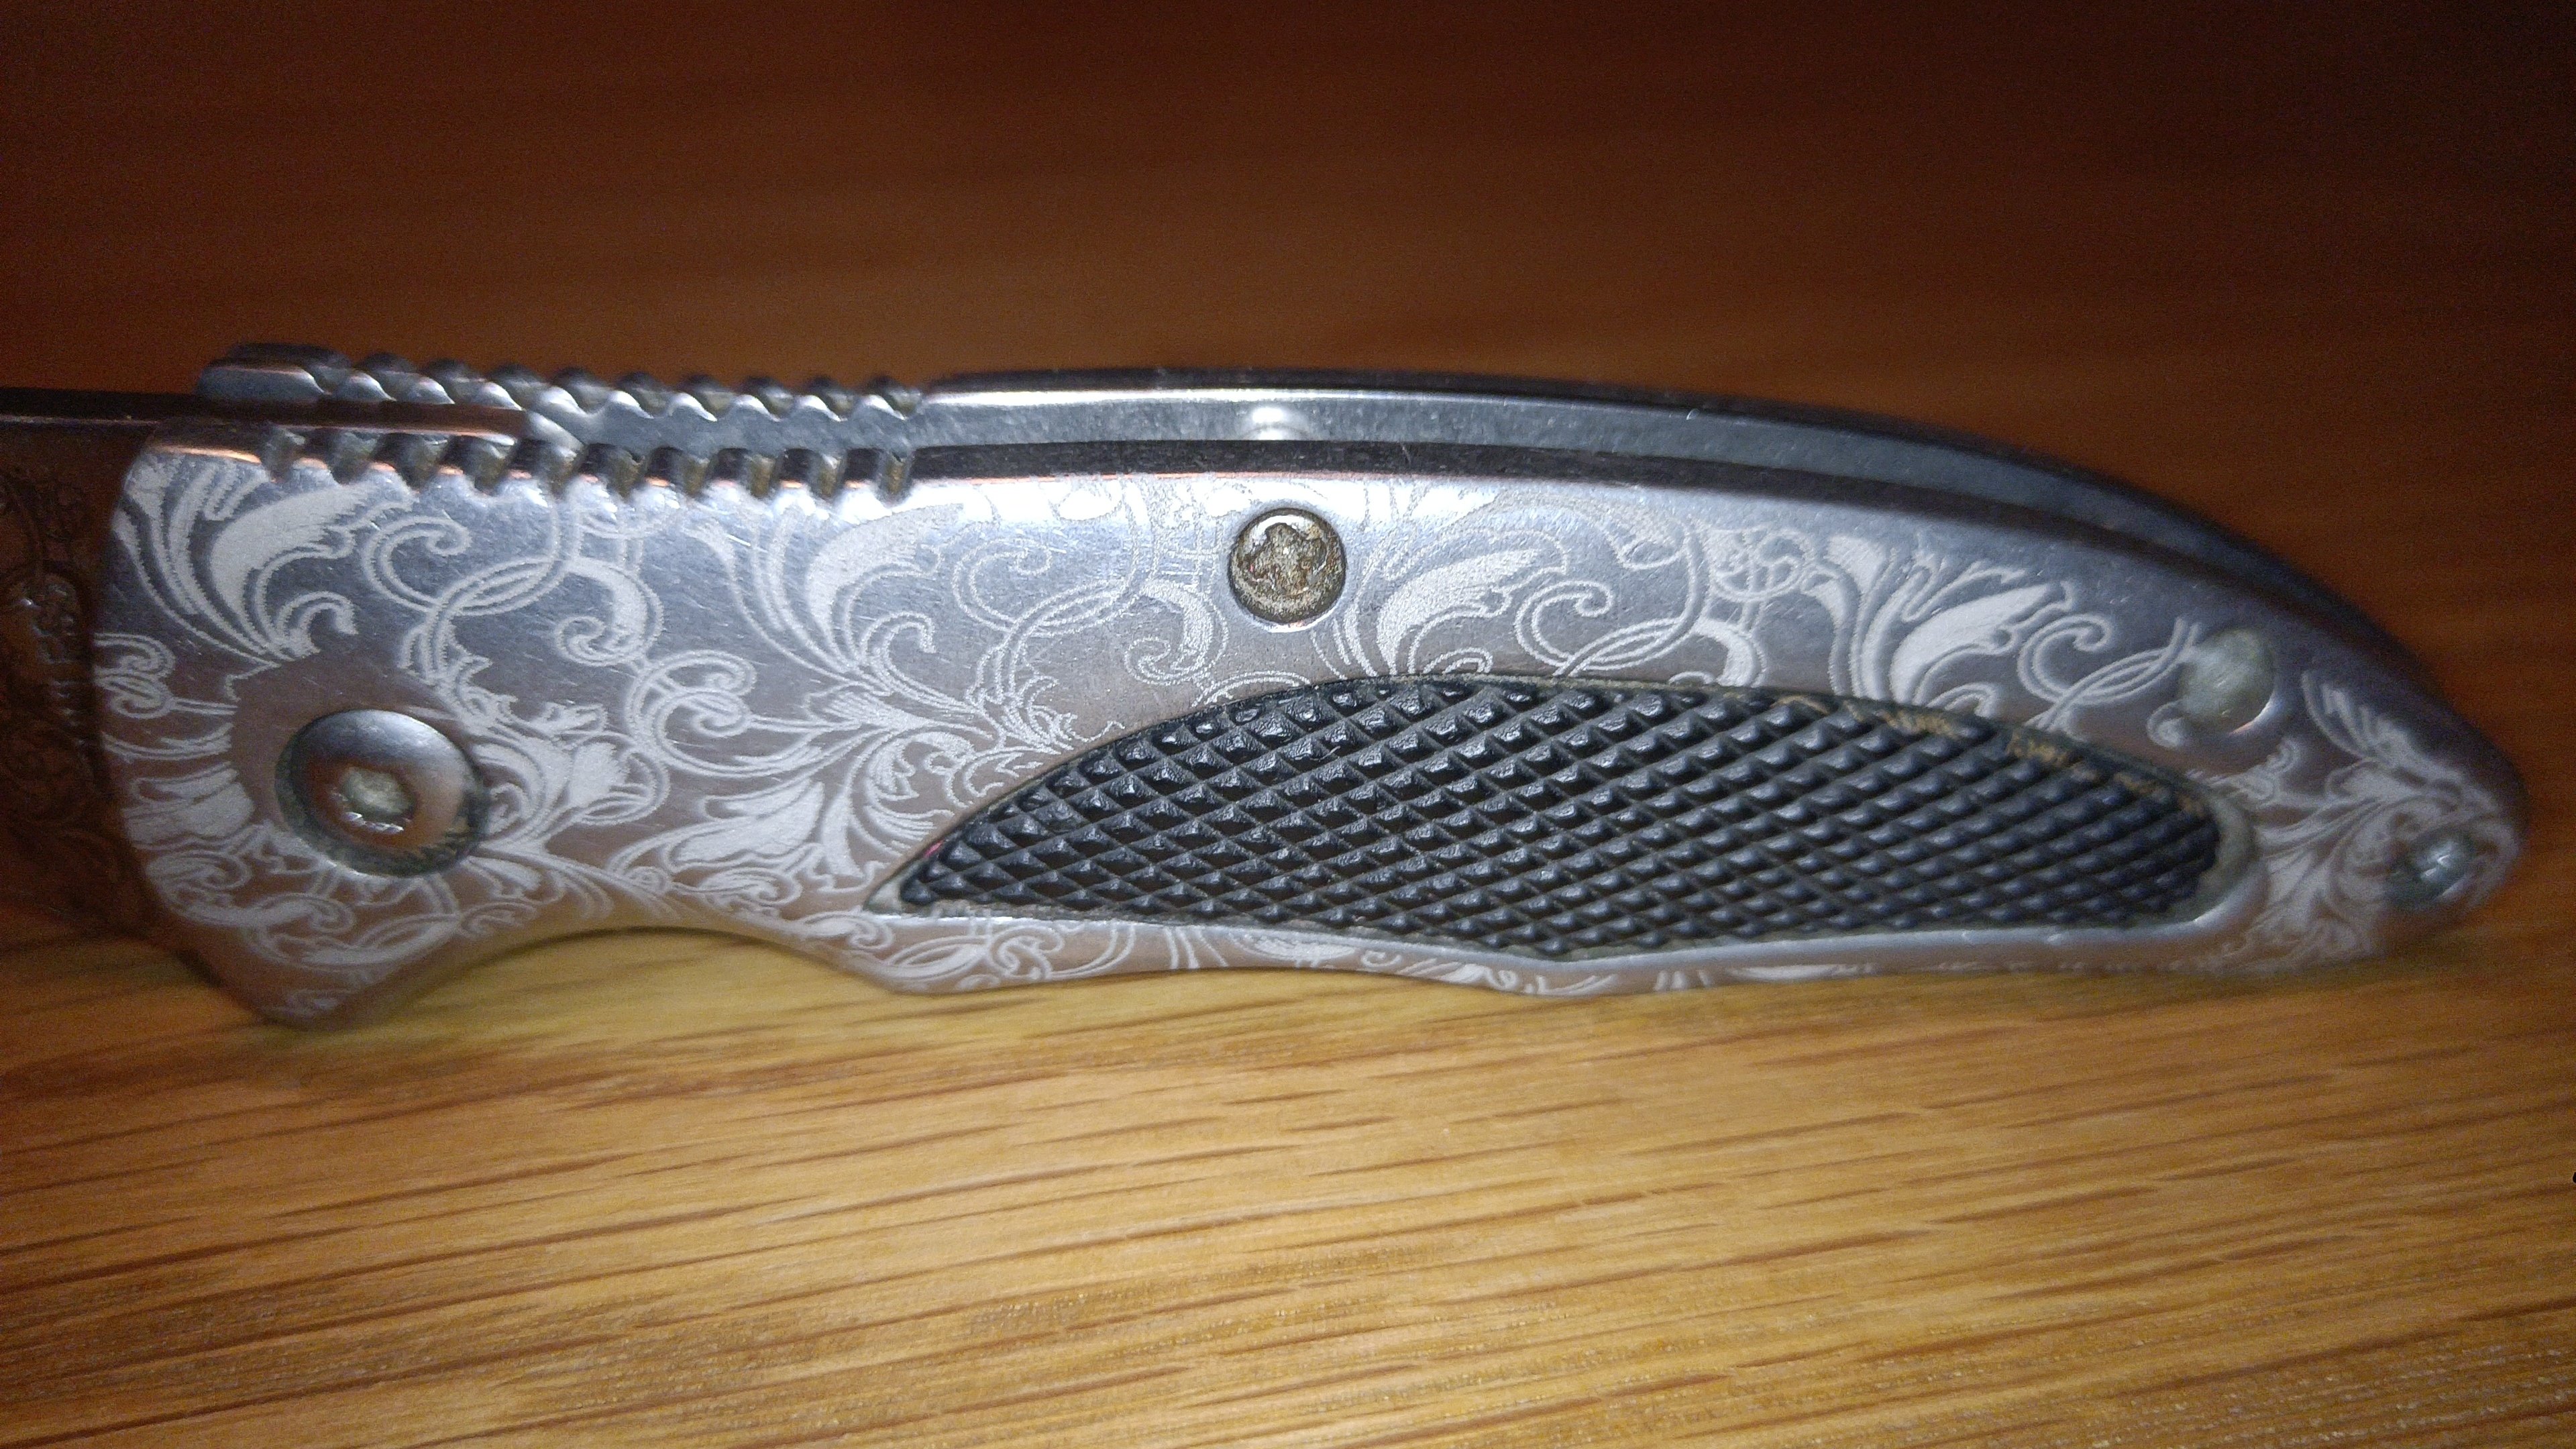
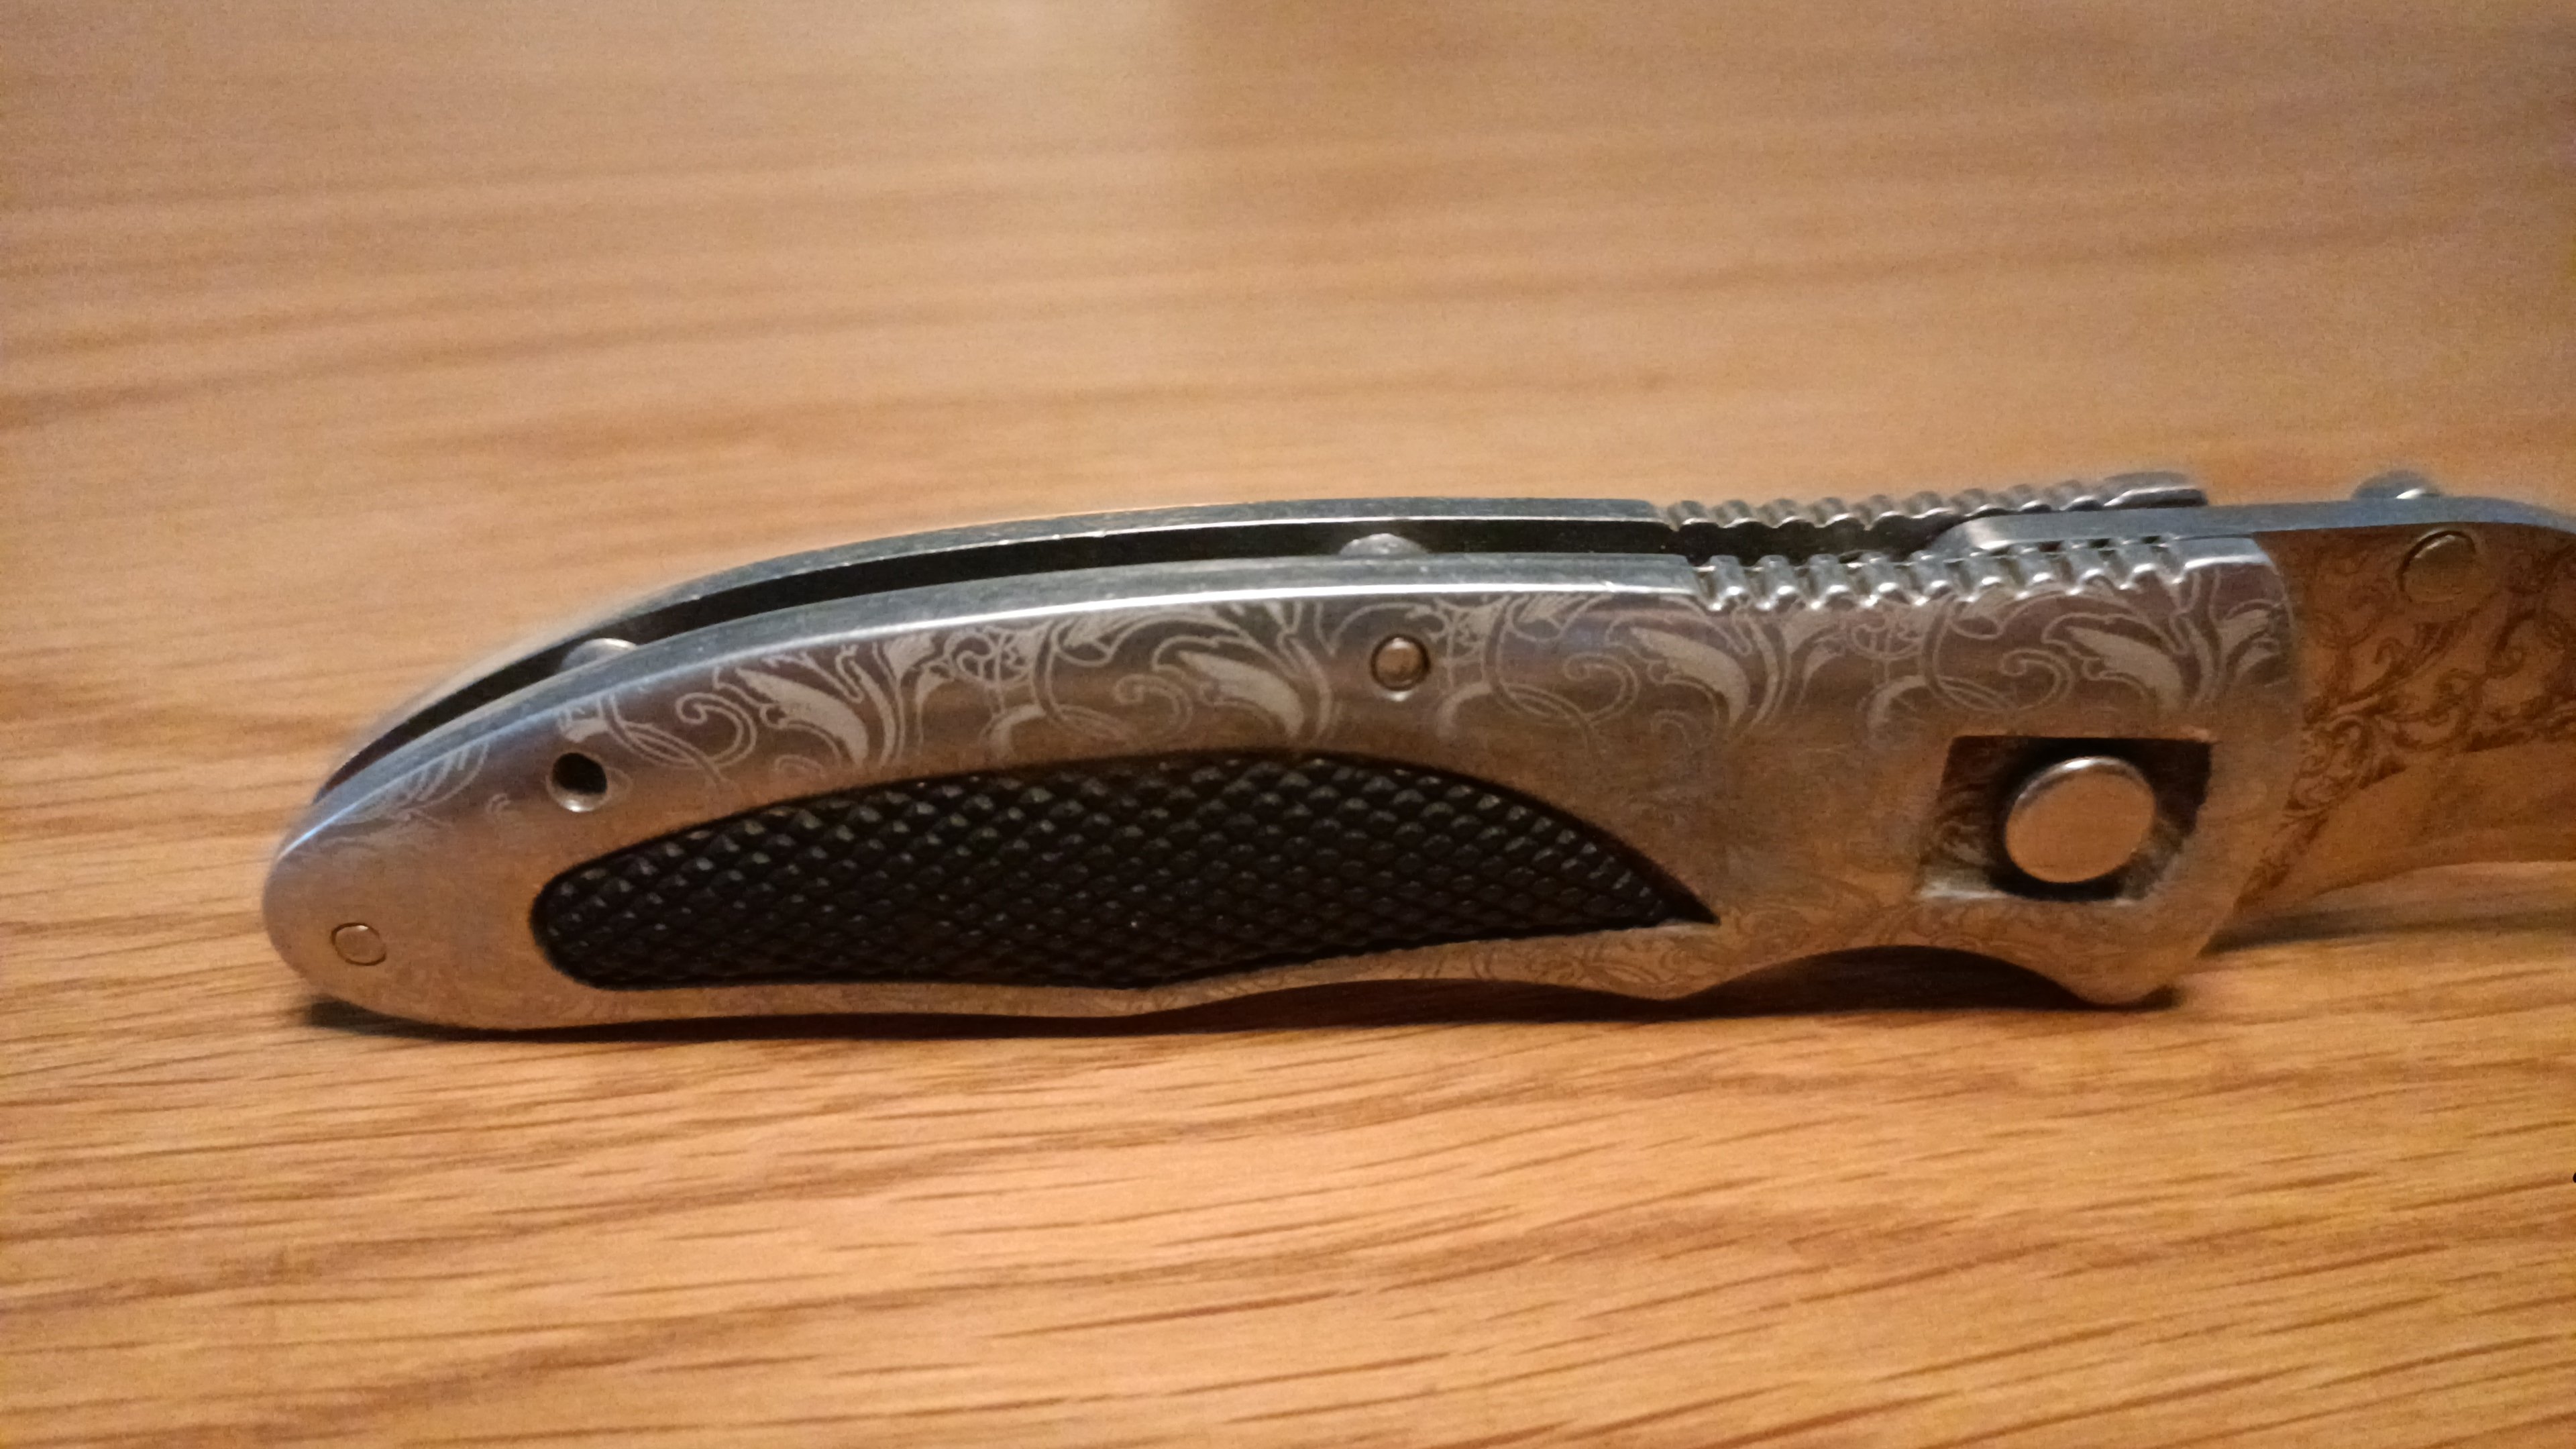
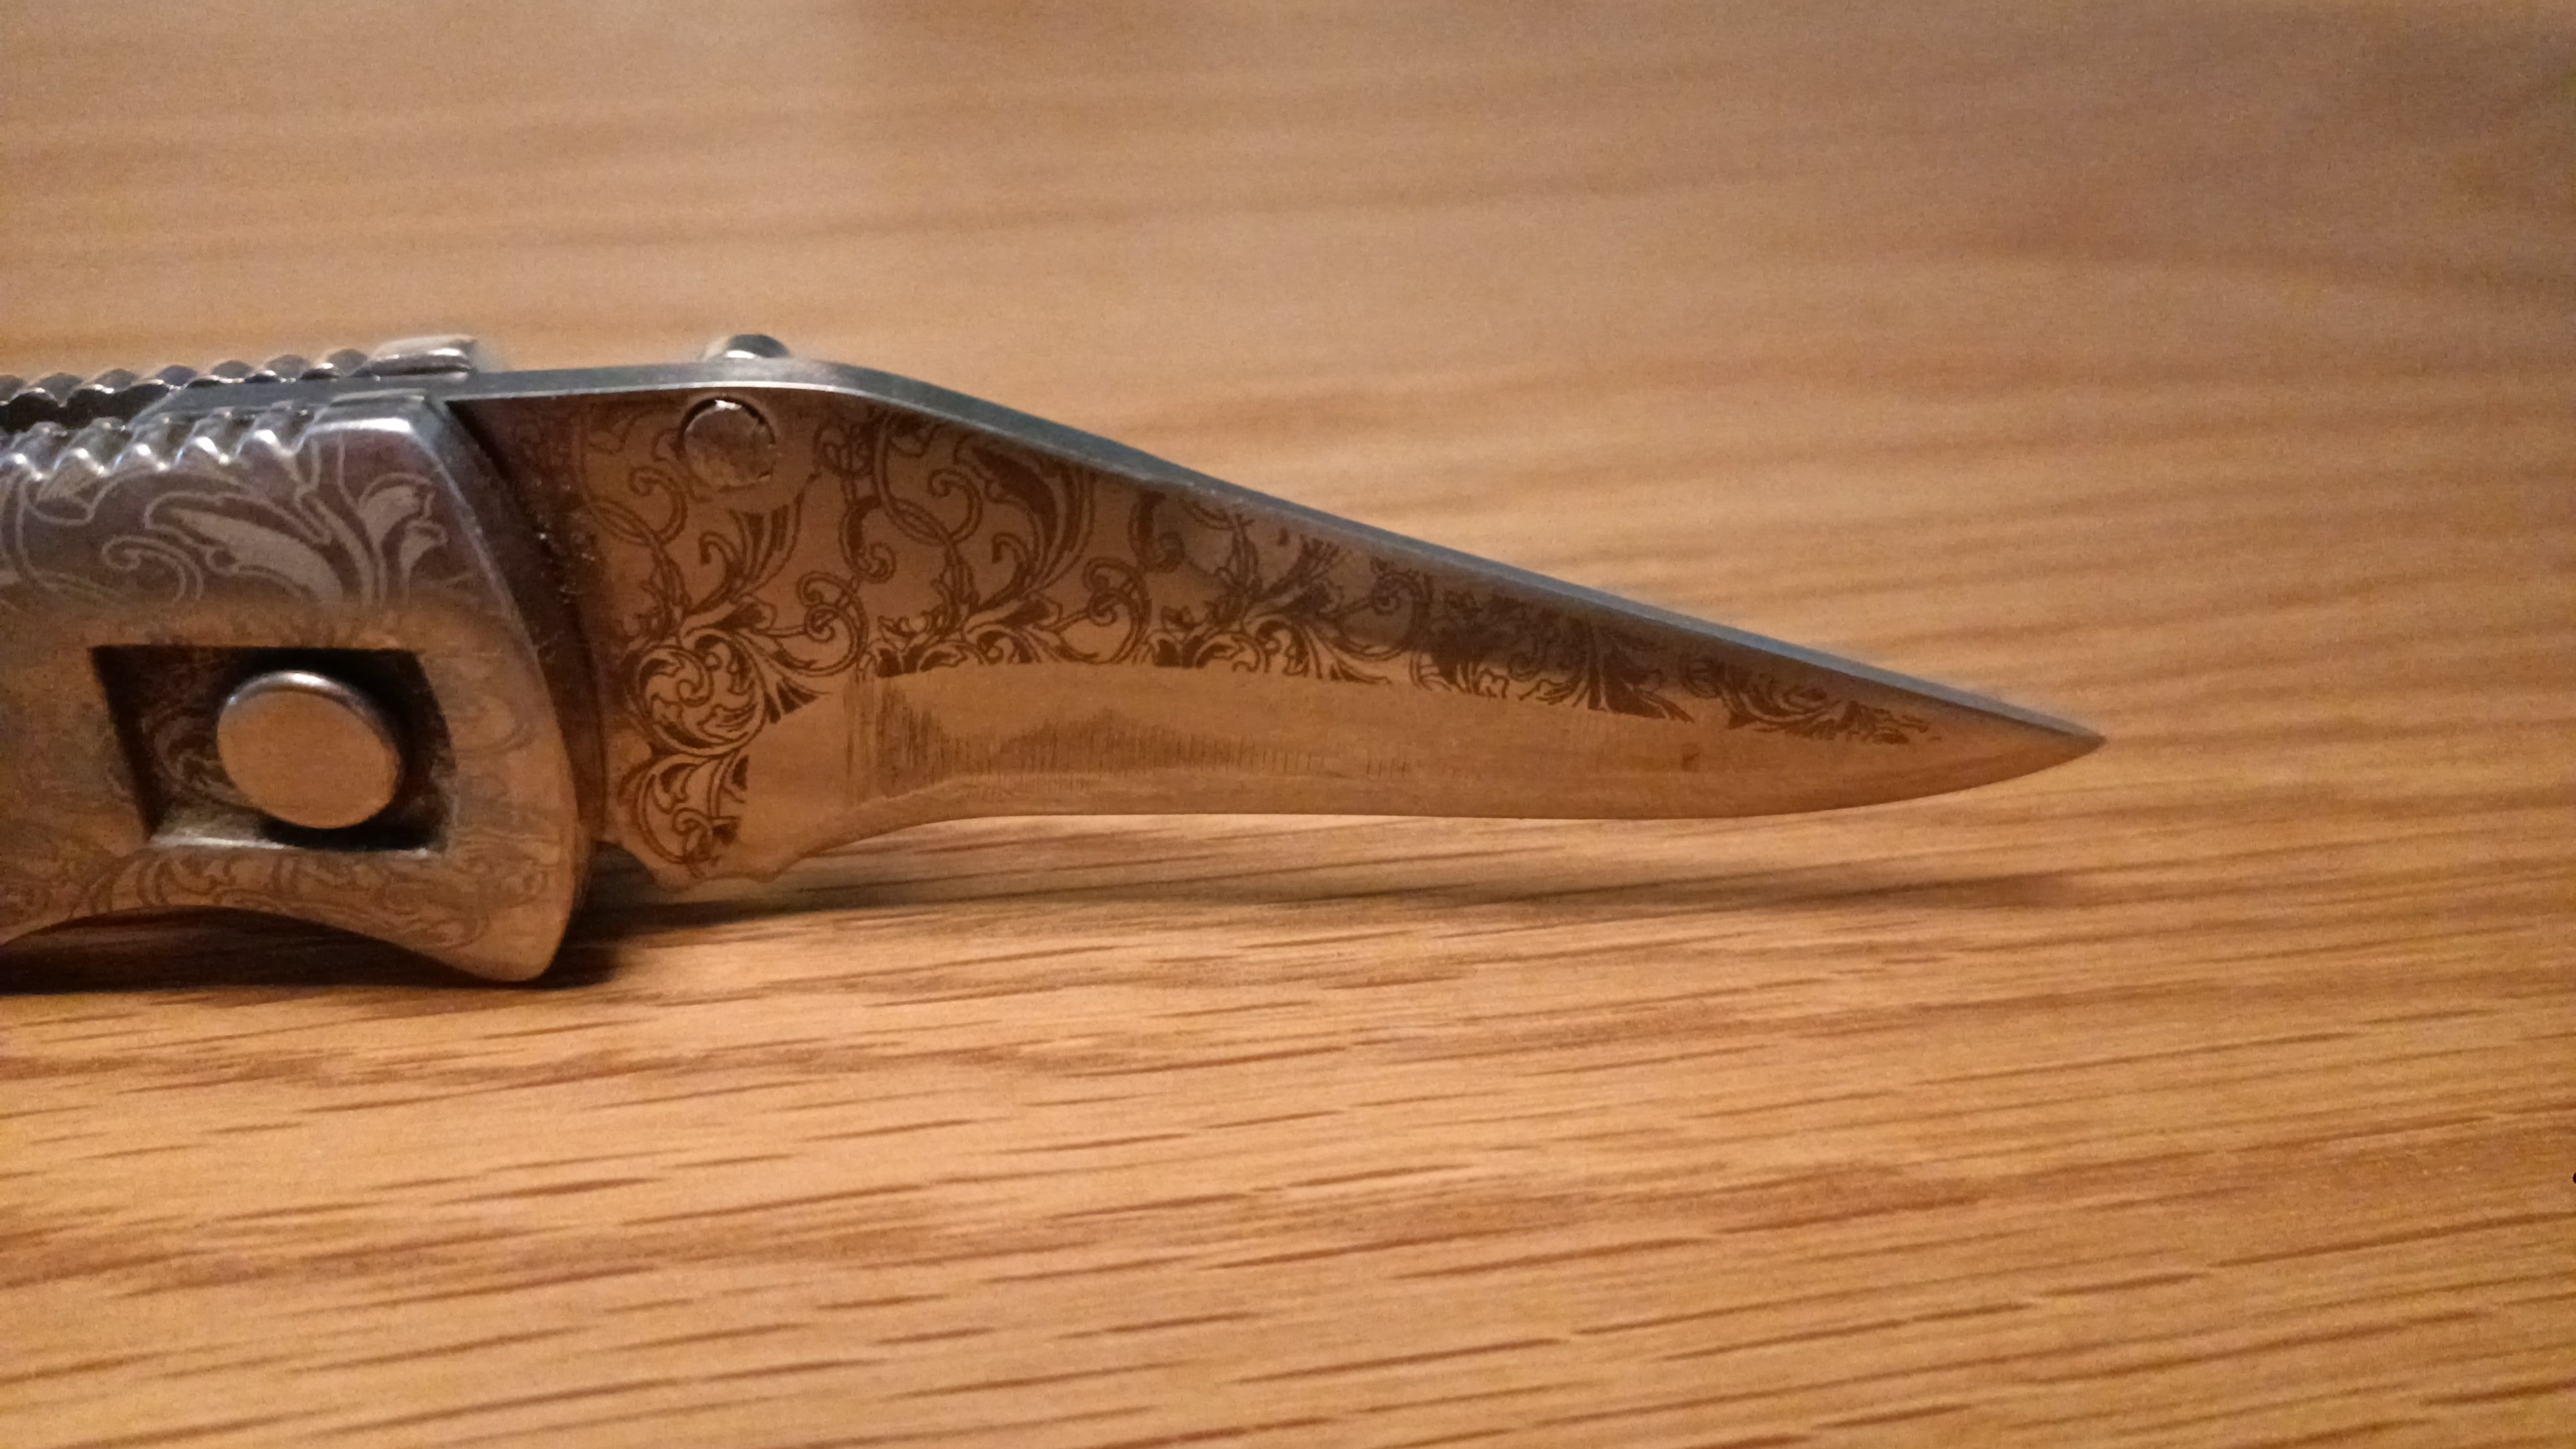
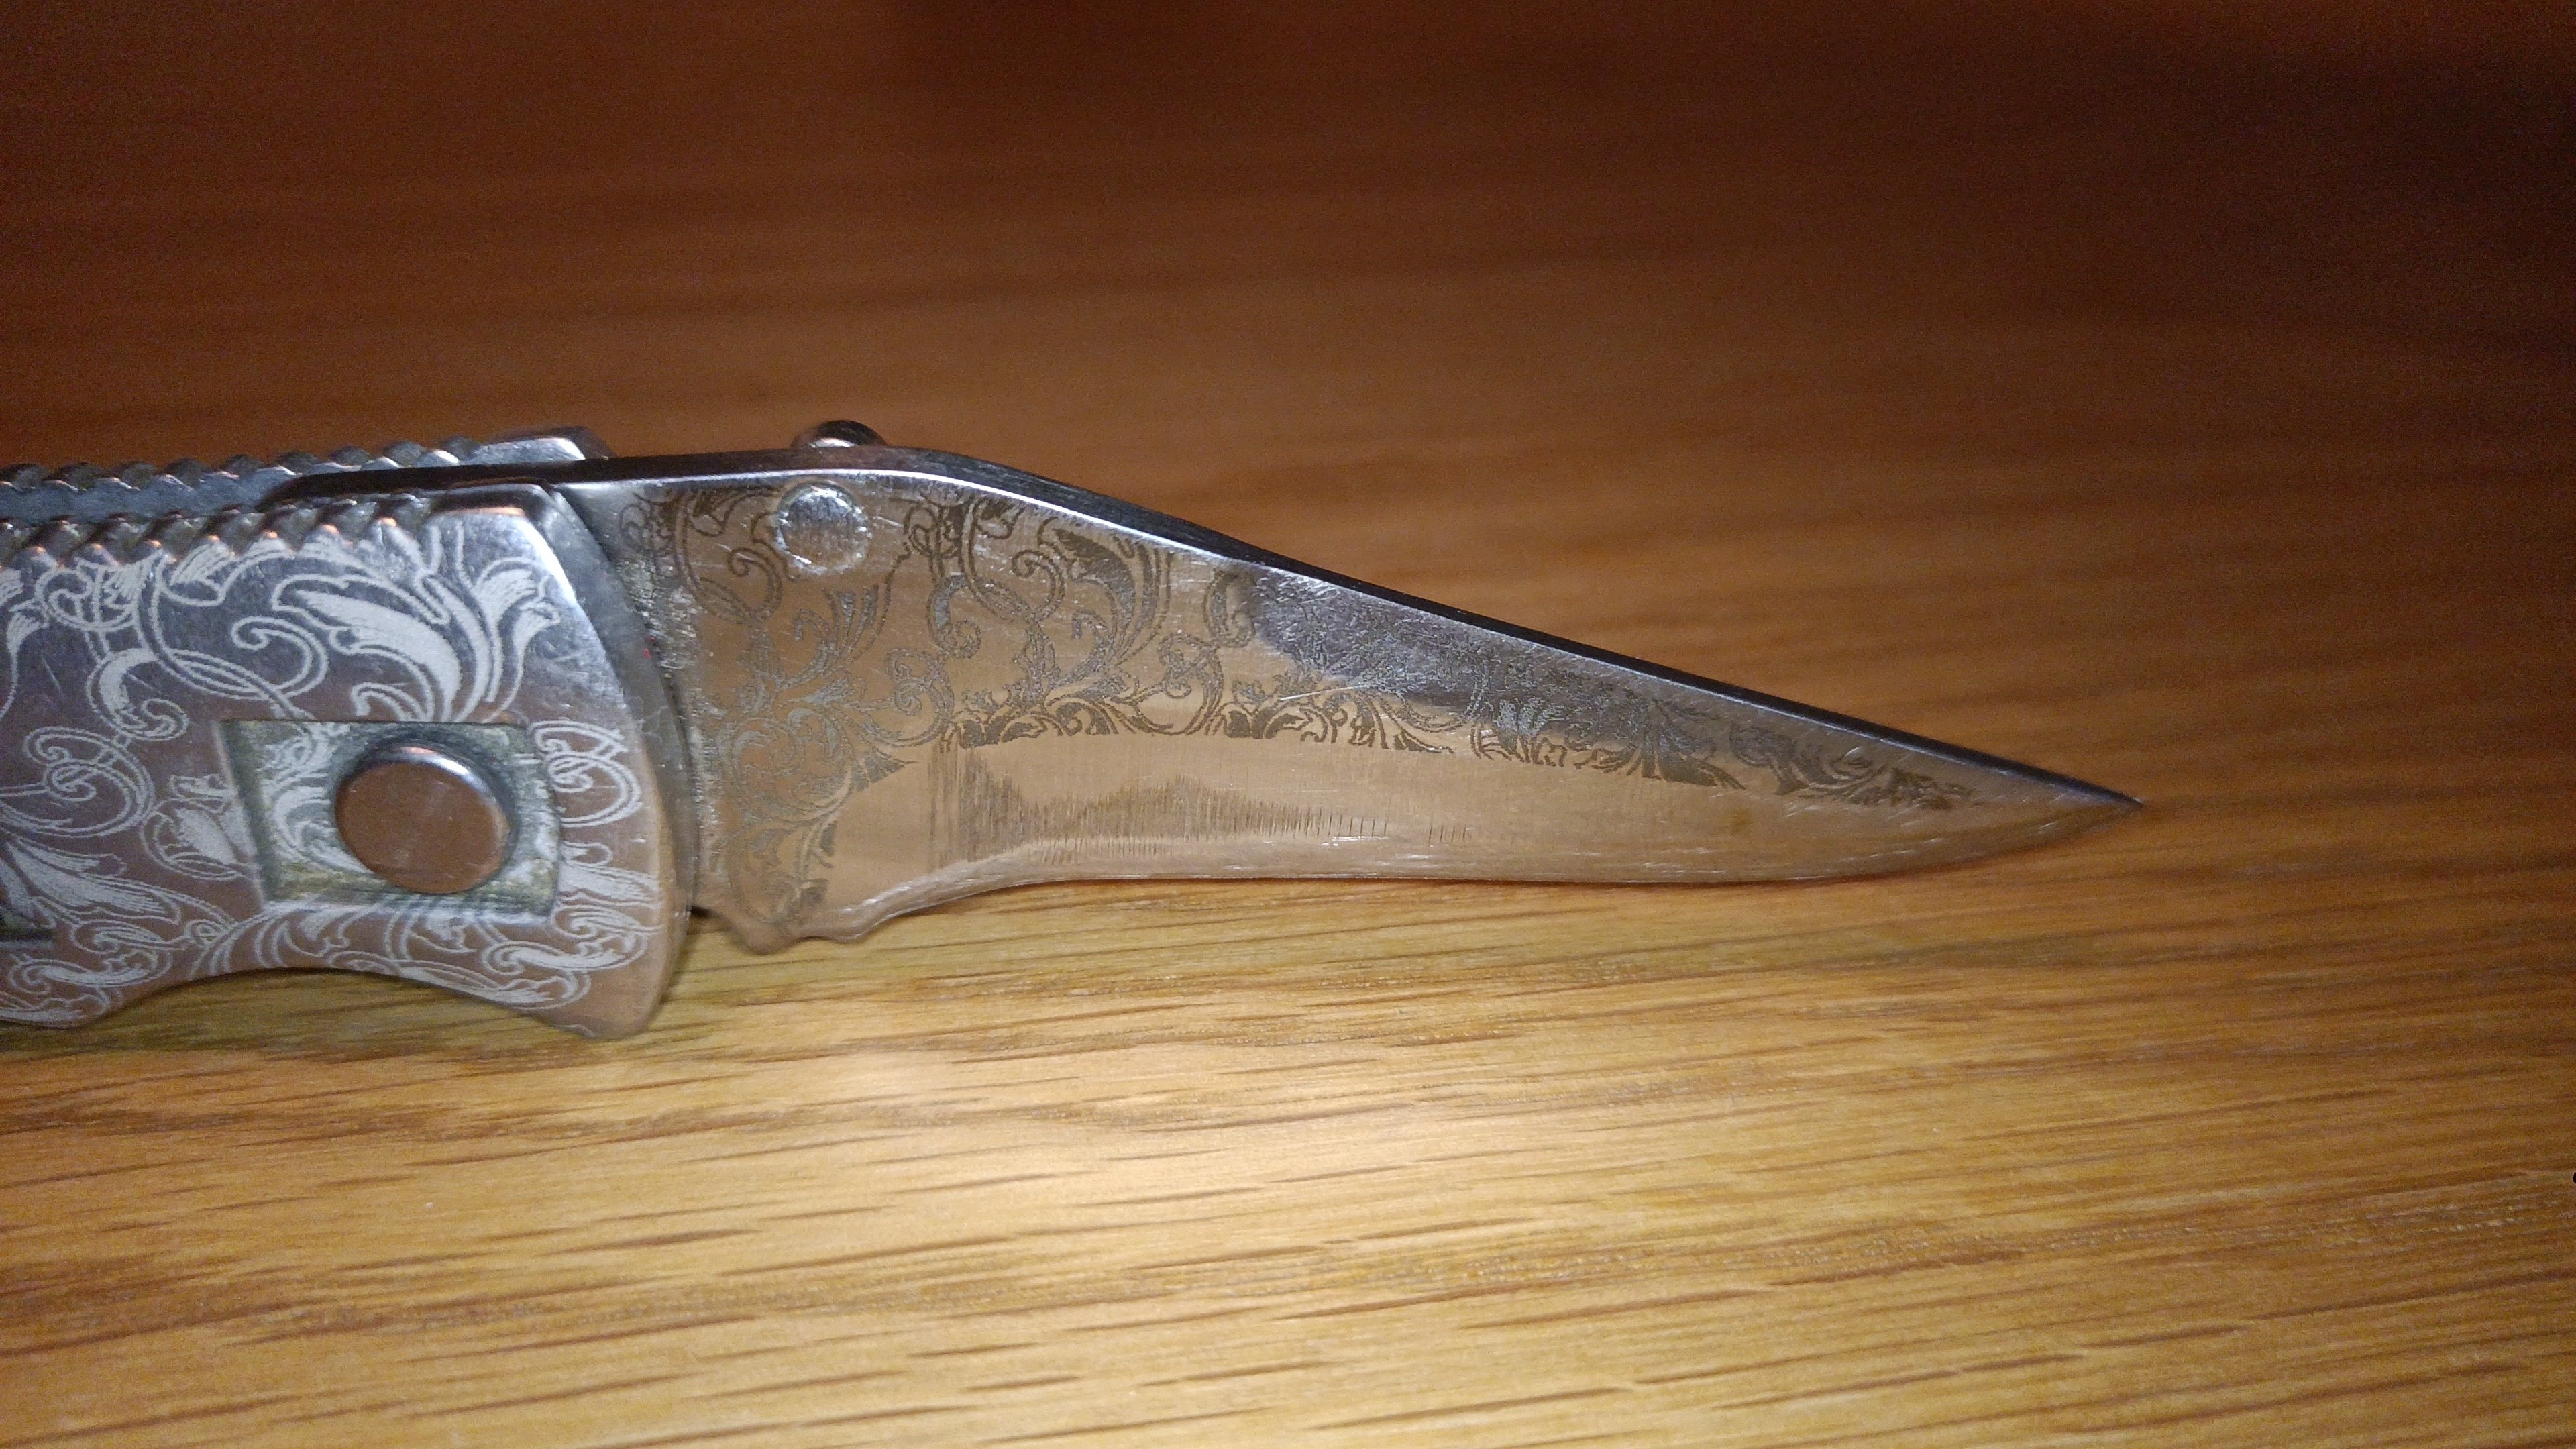
I bought a X-Tools F1 laser cuter/marker and I made å pattern that I am going to try to etch in to a knife. Made masking in Designer and positioned where I wanted it to be. I will post pictures of how it looks after I have lasered it.
-

affinity designer The big decision - Sedan or Convertible
Struguzzi posted a topic in Share your work
A fundamental question that has engaged people since the invention of the car, and has divided opinions up to today Graphic created from scratch with Affinity Designer 2.0
-
 I’m new to the ipad version of affinity Designer 2, I’ve only used V1 for Mac. So I’m still getting used to where everything is. Today when editing a brush in the pixel persona, I noticed that I can change the tool type, and this included tools that were not visible in the UI, e.g median, clone, paint mixer etc. What I don’t understand is why these tools are not accessible through the UI toolbar? I feel like I’m going crazy because I can’t find any posts mentioning them for Affinity Designer, only for Photo, and they’re not in any of the guides. I’ve found that the smudge tool doesn’t work correctly, it pulls random colours and looks very blocky and unnatural. However, the paint mixer and median tools have done the job and I will probably use them instead, but I don’t want to have to edit a brush every single time. It seems so odd to hide these tools like this and I’m not sure if I’m just missing something really obvious 😅 but I’ve spent hours looking. Is there a way to manually add them to the UI so I don’t have to keep editing brushes every time I want to use one? Thanks!
 -
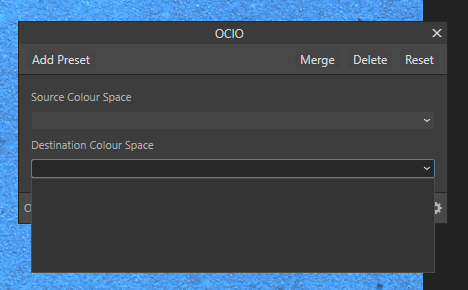
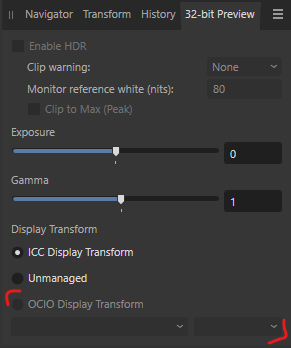
 Hey, recently I transferred to a new workflow that includes using a different Display Transform (AgX) for my images. Since AgX is compatible with OpenColorIO, I tried setting a destination for an .ocio profile (in the Colour preferences settings) both in Photo and Designer, then restarted the programs to apply the new settings, but **nothing seemed to change**. Later, I tried to do the same with Filmic's ocio, ACES' ocio, different ocio configs (v1.0 & v2.0)... No luck, still no change, all ocio setting are still greyed out. To be more specific, both the OCIO Adjustment layer and the 32-bit Preview windows have all the associated settings greyed out (shown in screenshots), as if there was no ocio config set. I looked around forums looking for a solution, but after hours of research, I have not found a solution, nor haven't encountered someone else having this specific issue. (This is the exact config I am trying to import: https://github.com/sobotka/AgX-S2O3) Any ideas where could be the problem? Thank you!
-
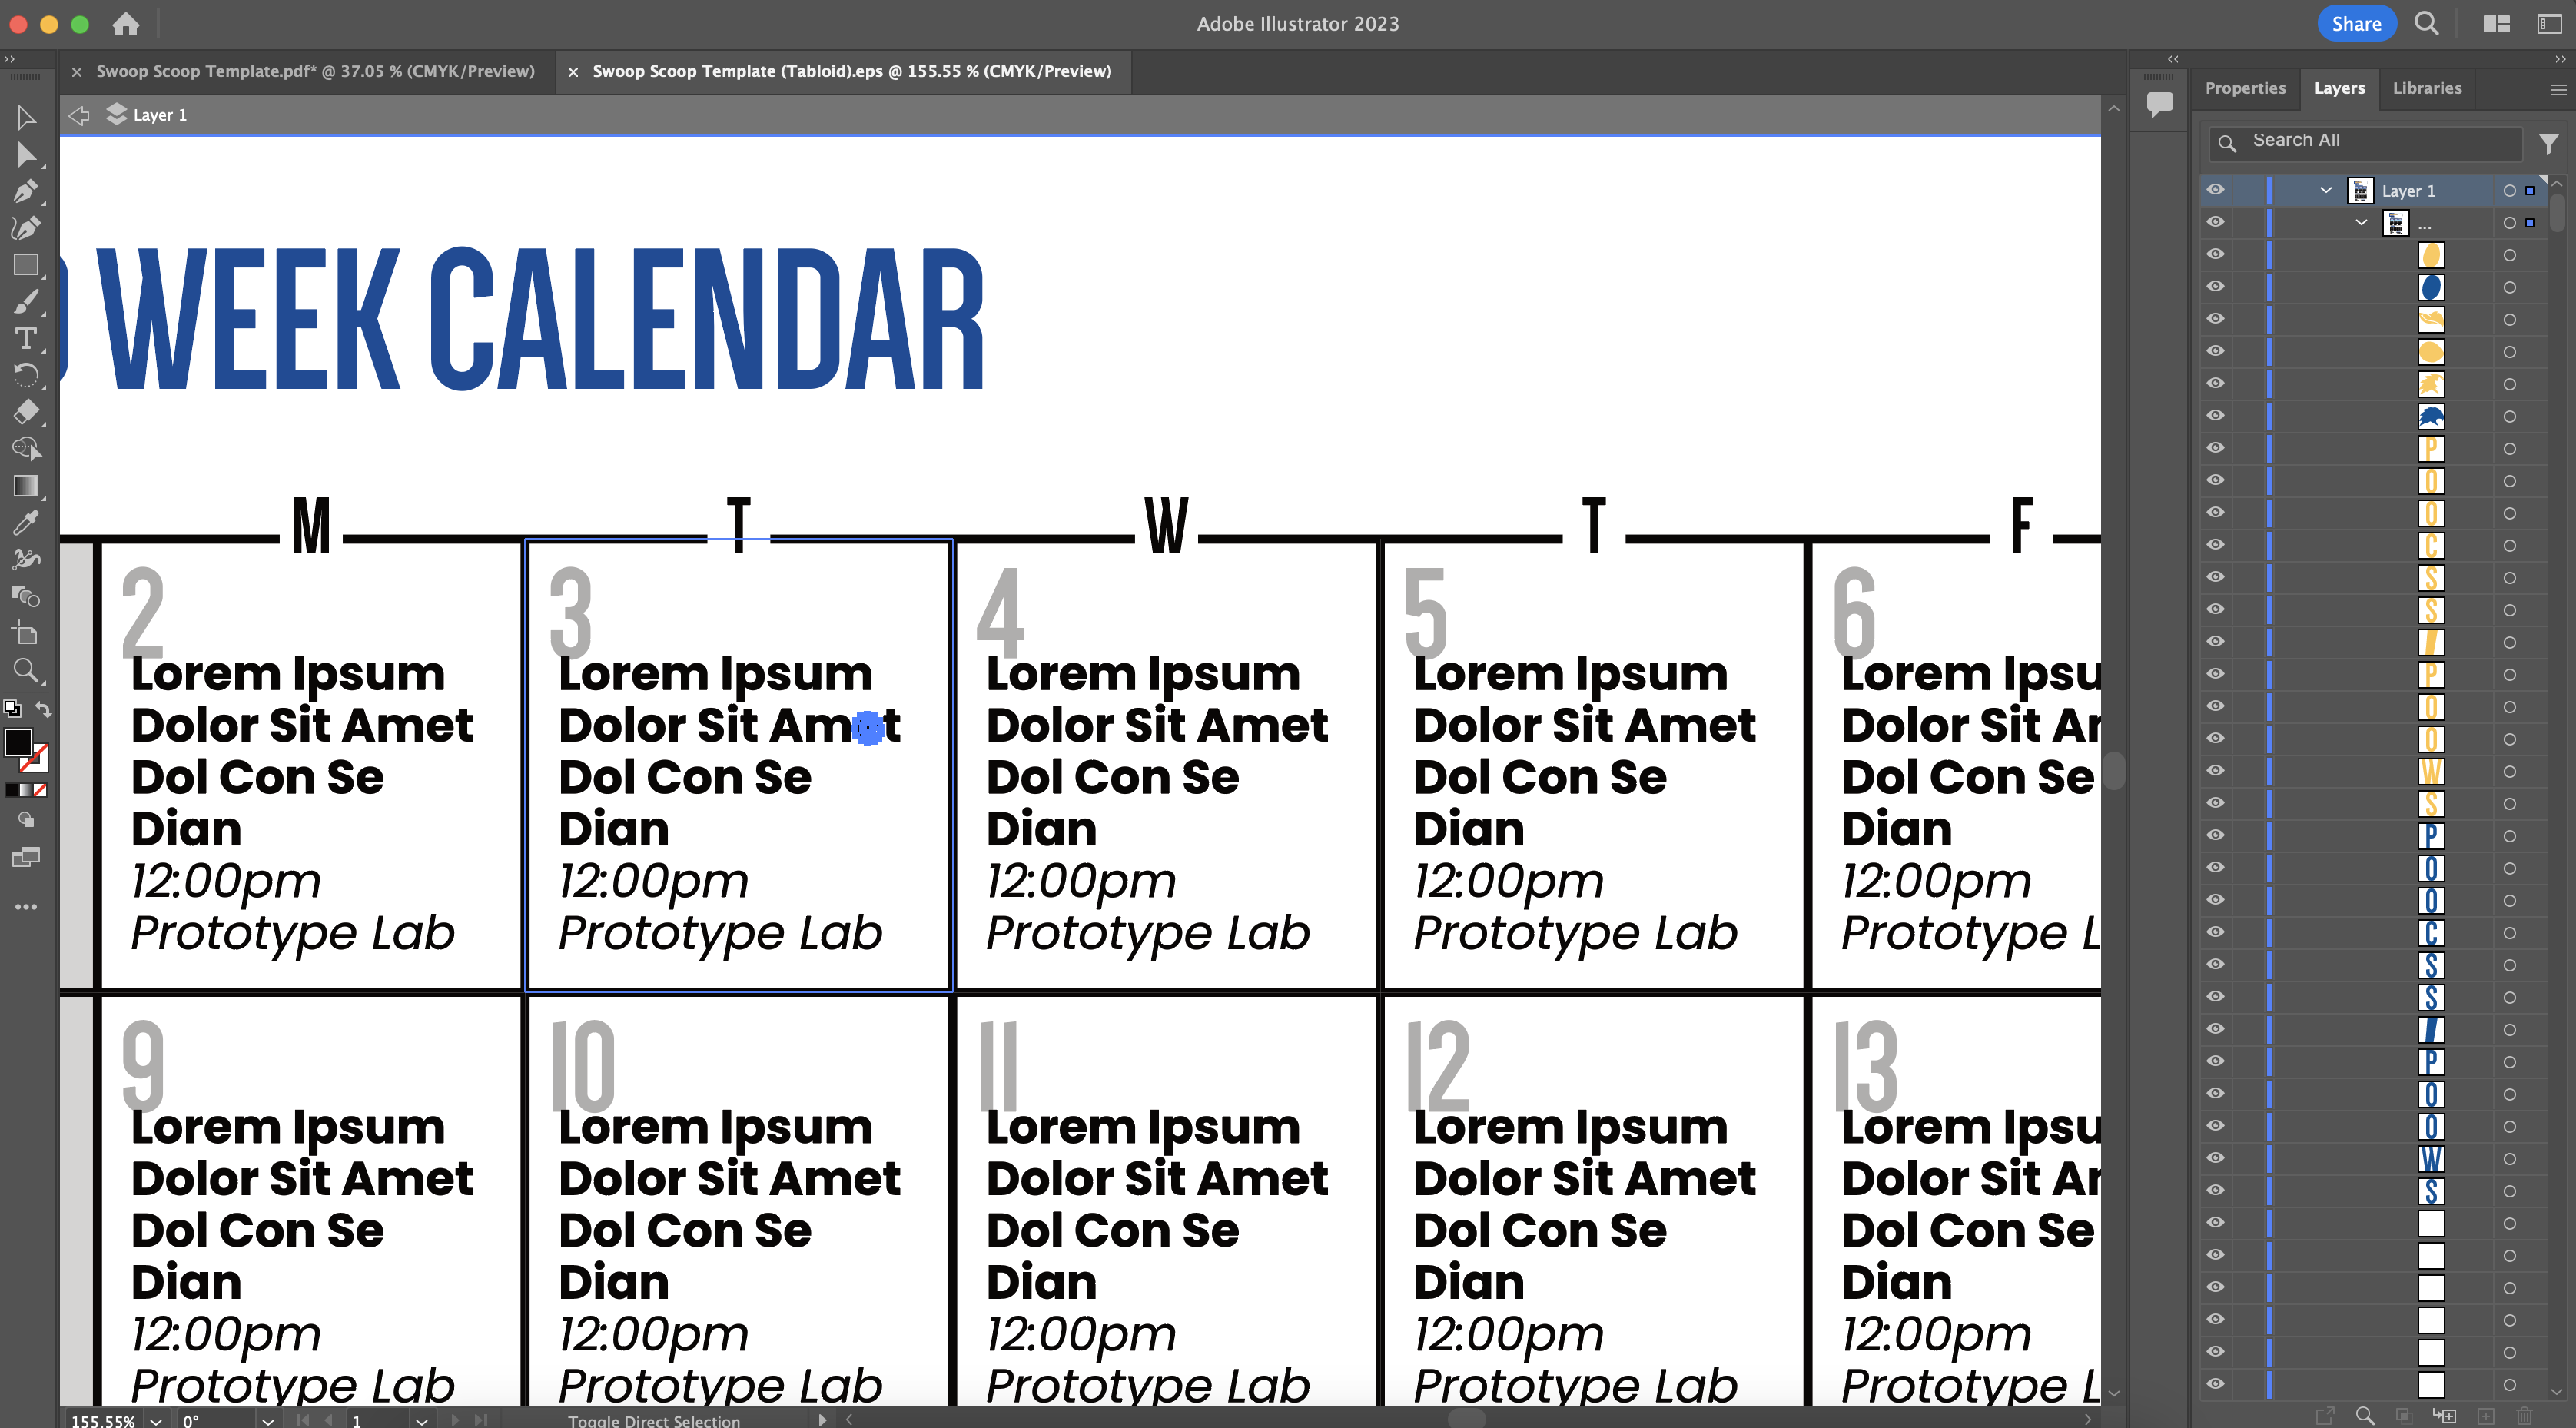
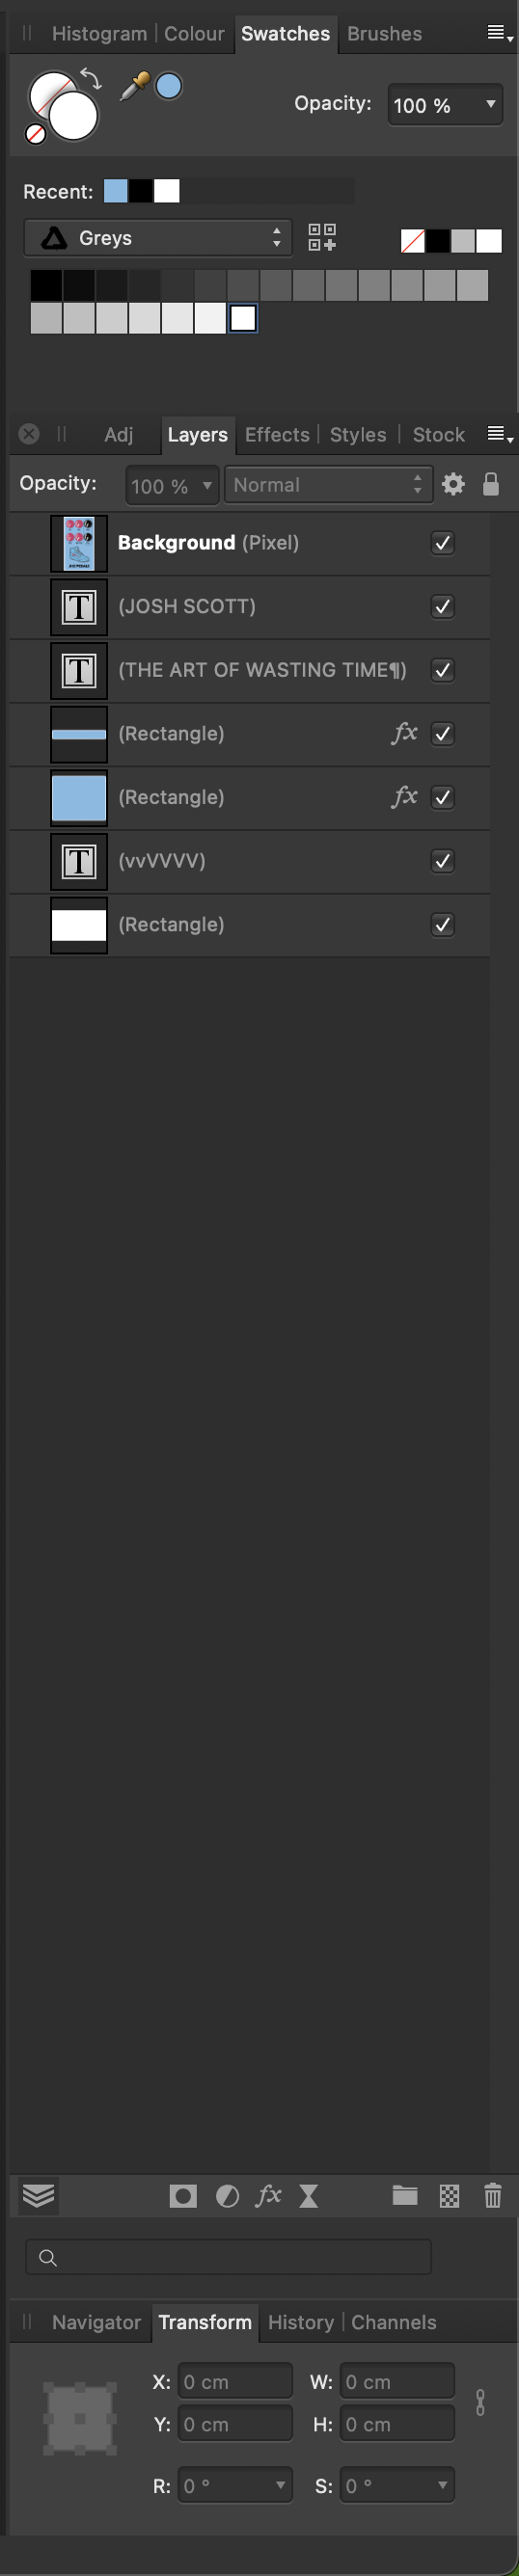
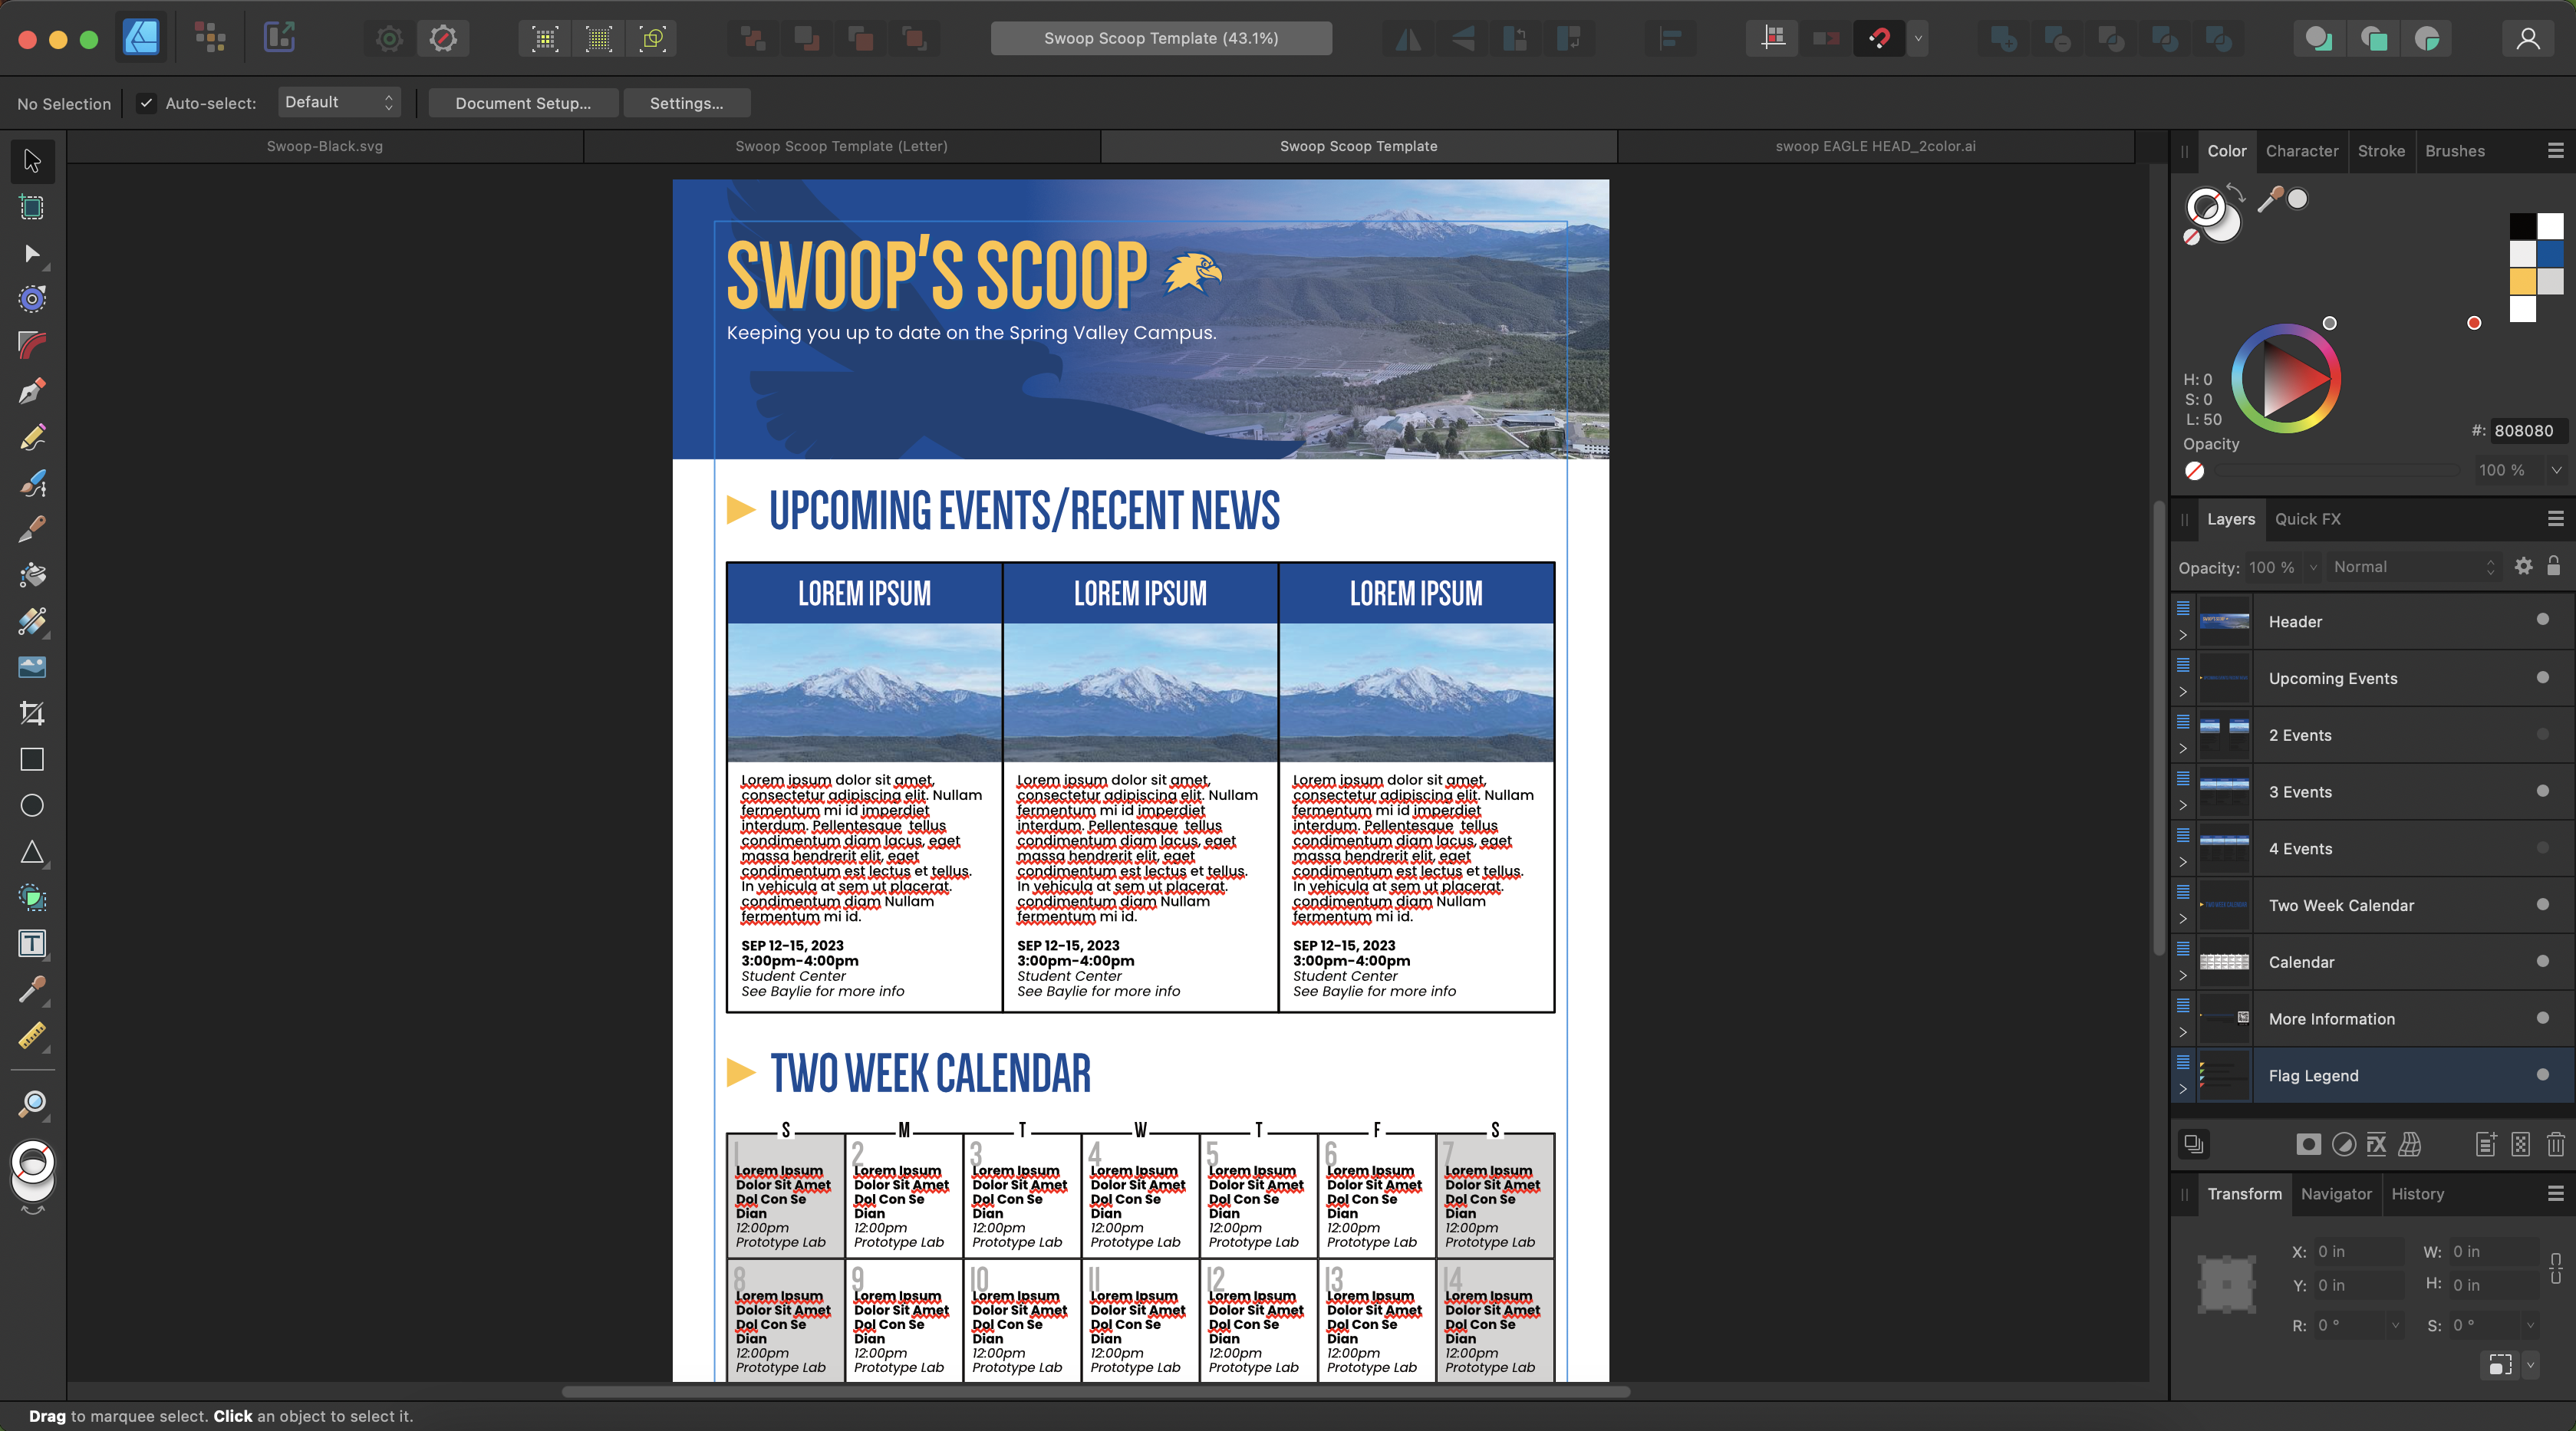
 Hi everyone, I'm not sure this is the correct forum to post this. But I'm really hoping someone else has been in this niche corner I am stuck in now. So I am creating a poster for someone else to use in Adobe Illustrator, and I spent a lot of time in Designer organizing and naming my layers (and actually putting my vector layers into a "layer") but when I try to export to a usable format for Illustrator, Illustrator just opens the file however it pleases without a care in the world for how I have organized the file. Rather than keeping the naming structure and layer structure I specified, Illustrator mashes everything together under one layer, with no names and no groups. The file I worked so hard on looks like such a sloppy mess. Even my text boxes have been divided into letters that have been converted to curves, rather than a defined box for text to reside in. So my question is, has anyone had experience successfully getting Designer to talk with Illustrator? If so, what does it take in order to do so? ^ here's my Designer panel with my organized layers palette (trying to make it easier for the person I need to deliver this file to to edit) ^Illustrator destroying a PDF ^Illustrator destroying an EPS
-
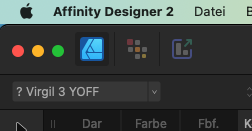
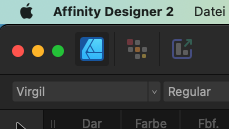
Sometimes, if I open a document in AD (2.1.0 Mac M2, Ventura 13.4.1) I get a weird warning that a font I used is missing. But the font is there! Current case: I just created a document with my default font Virgil, which I always use for my comics. I made the export and closed it in AD. I found a mistake in the exported PNG, reopened it and then I got the error message. Affinity seems to change the font name within the document. In this case from "Virgil" to "Virgil 3 YOFF" I assume that this is the physical file name of the font. I installed no software, no updates, didn't even restart the system. Just closed and reopened the file. The bigger question is: Why isn't there a tool to replace a font in Affinity (like in Adobe products)? Even in Publisher you just have this "substitution". But no option for a permanent replacement... best regards Dave
-
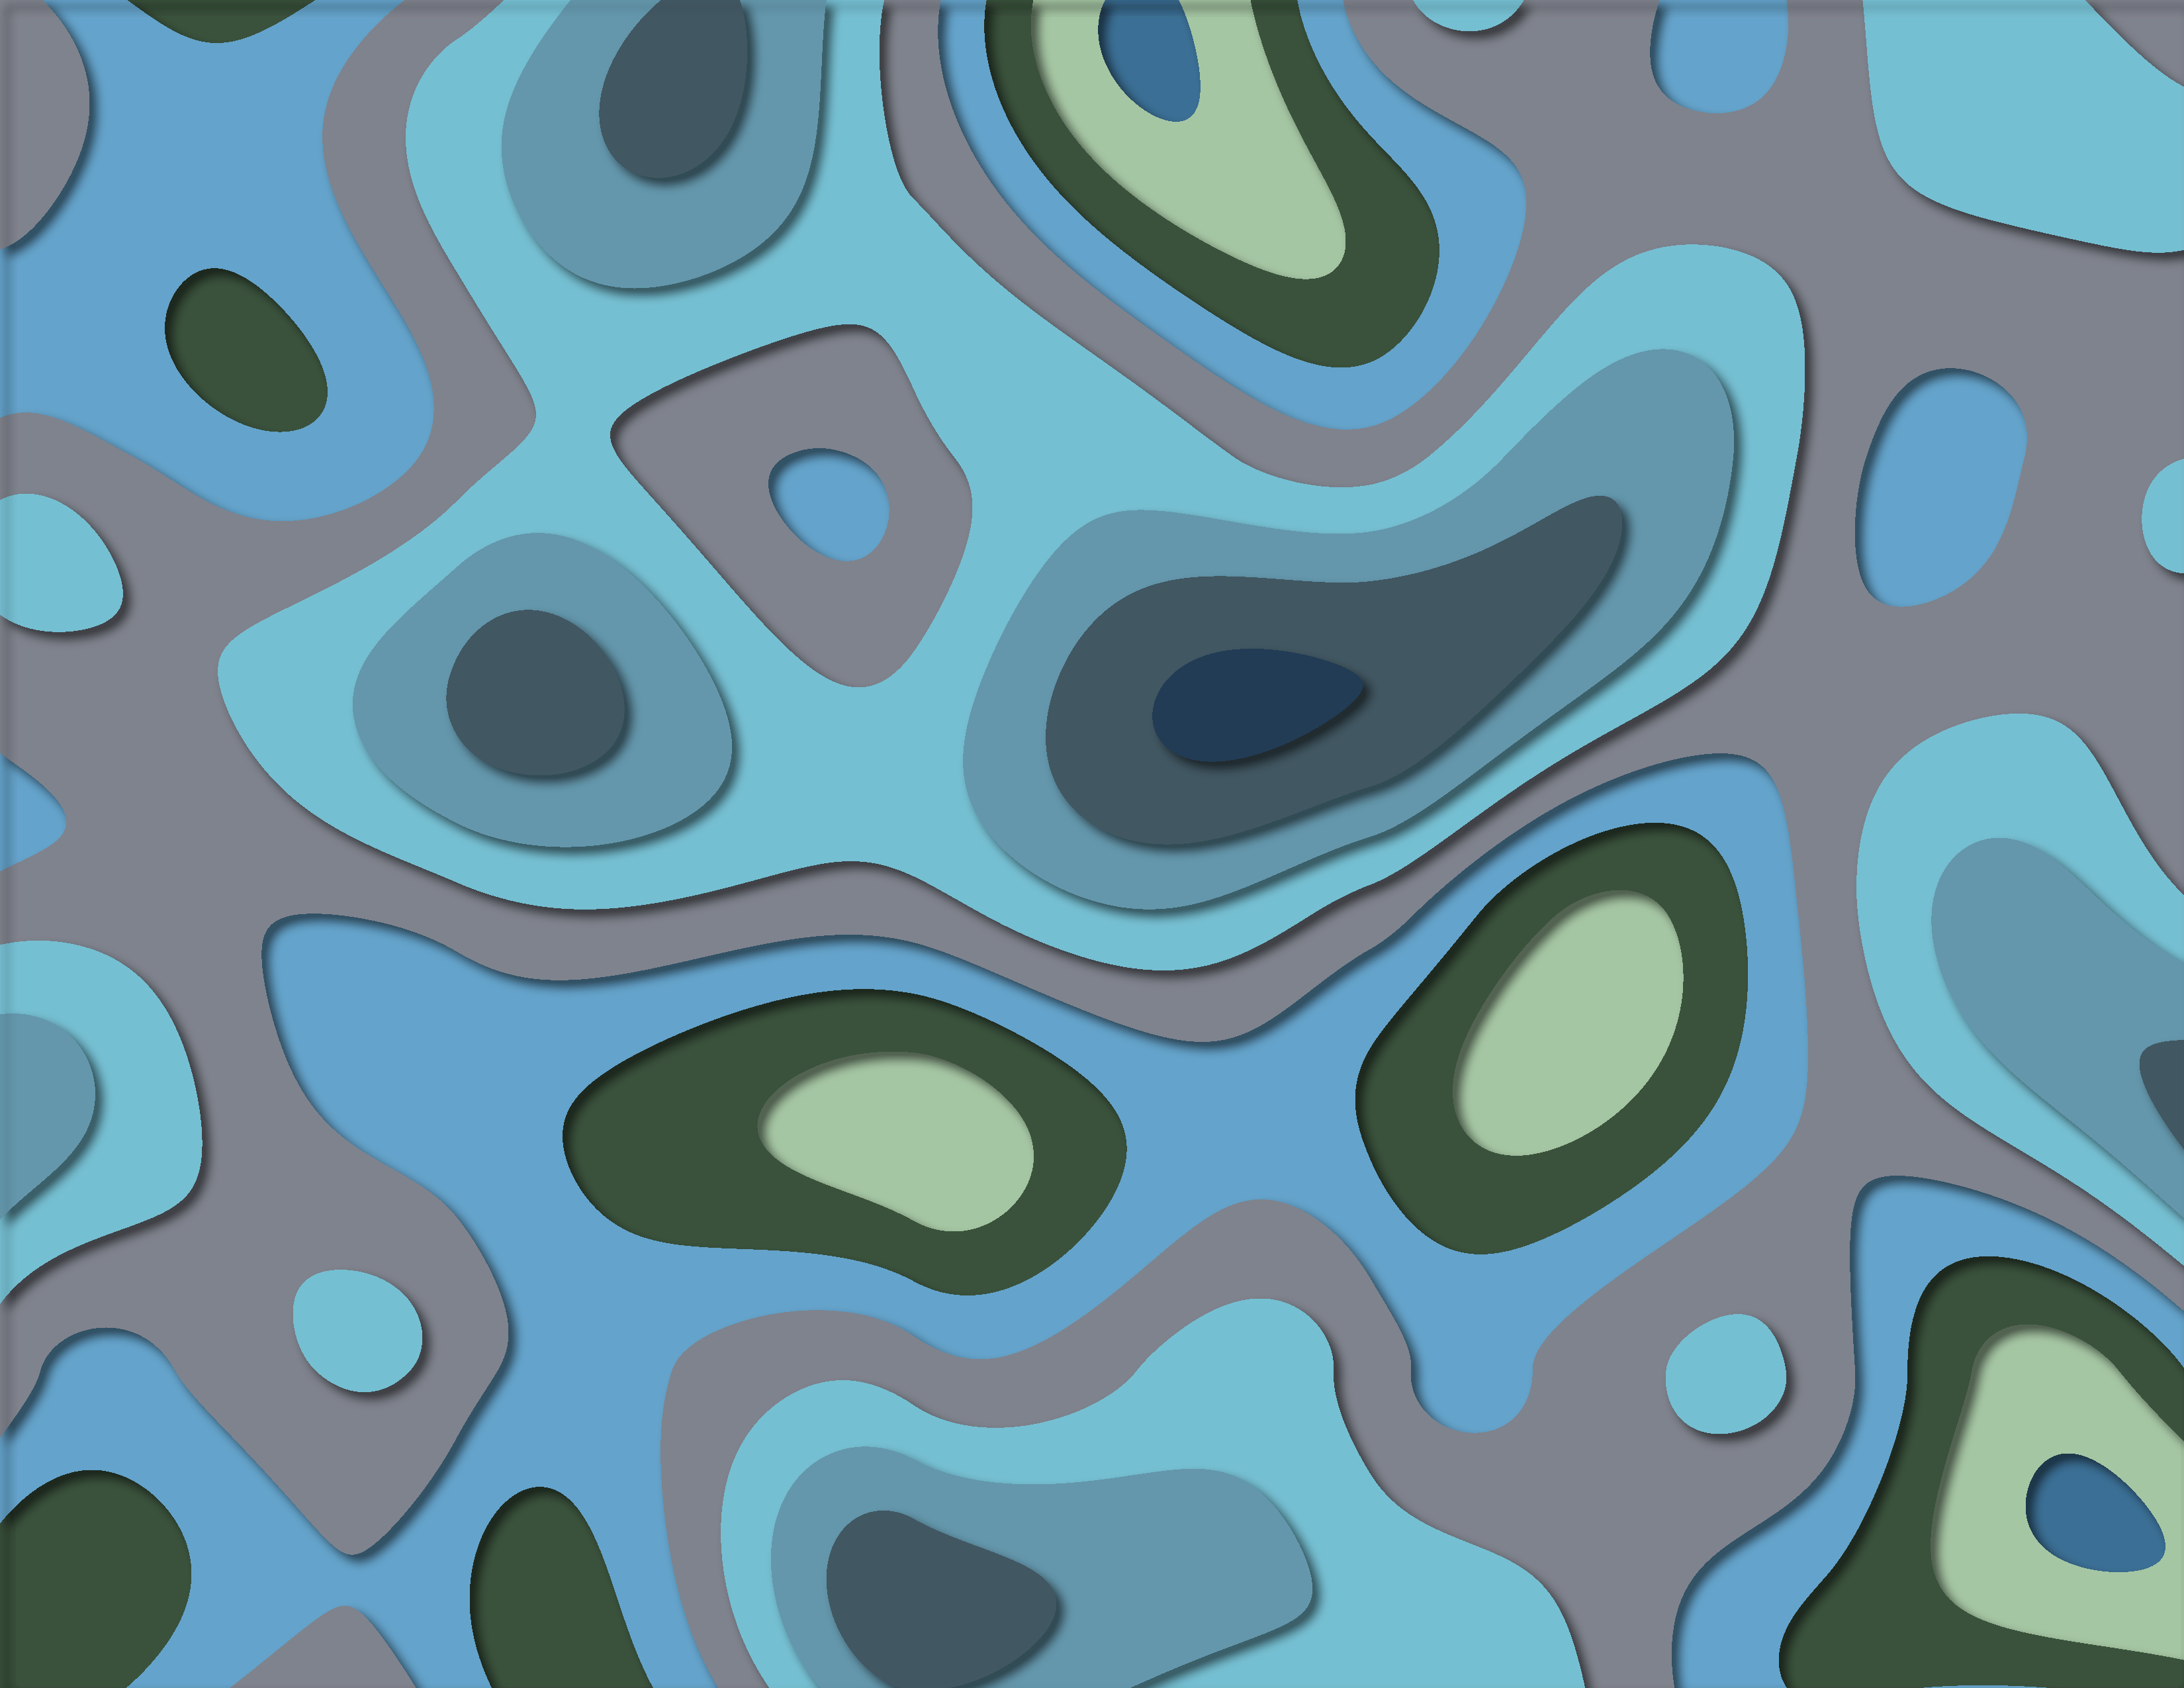
What I am trying to do/accomplish I am trying to find a way to get a vector graphic/ curve layer from an image I made in affinity photo. If I could either use an outline as the curve/path such as tracing the outline with the vector brush or filling my selection as a vector shape that is what I am trying to figure out. What I have tried Convert to curves - This has been greyed out on the pixel layers I have been trying to convert Designer flood fill - can flood my layer or selection but doesn't allow the shape to be converted to curves Creating an outline to convert to curves Masking a vector shape. Selecting the pixels of the pixel layer and using that as a mask over a basic shape. Selecting pixels from layer and using the vector brush to fill in selection A bit more info on the shape/ pixel layer I am trying to convert. I have taken a layer of perlin noise and have a posterize adjustment layer over the top of it. I am trying to make the shapes from each layer of the posterize. I can get to selecting the different layers, filling them and adding an outline but can't find a way to make them vector shapes without a third party program to vectorize each layer. ---> This is the image that I have been working on This is just one of the layers. This is what I have been trying to convert to a curve. If there as another way to generate these same kind of patterns (I need something organic) please let me know. I was also looking at Procedural Texture from this tutorial Affinity Photo : Perlin Color effect tutorial how to - YouTube
-
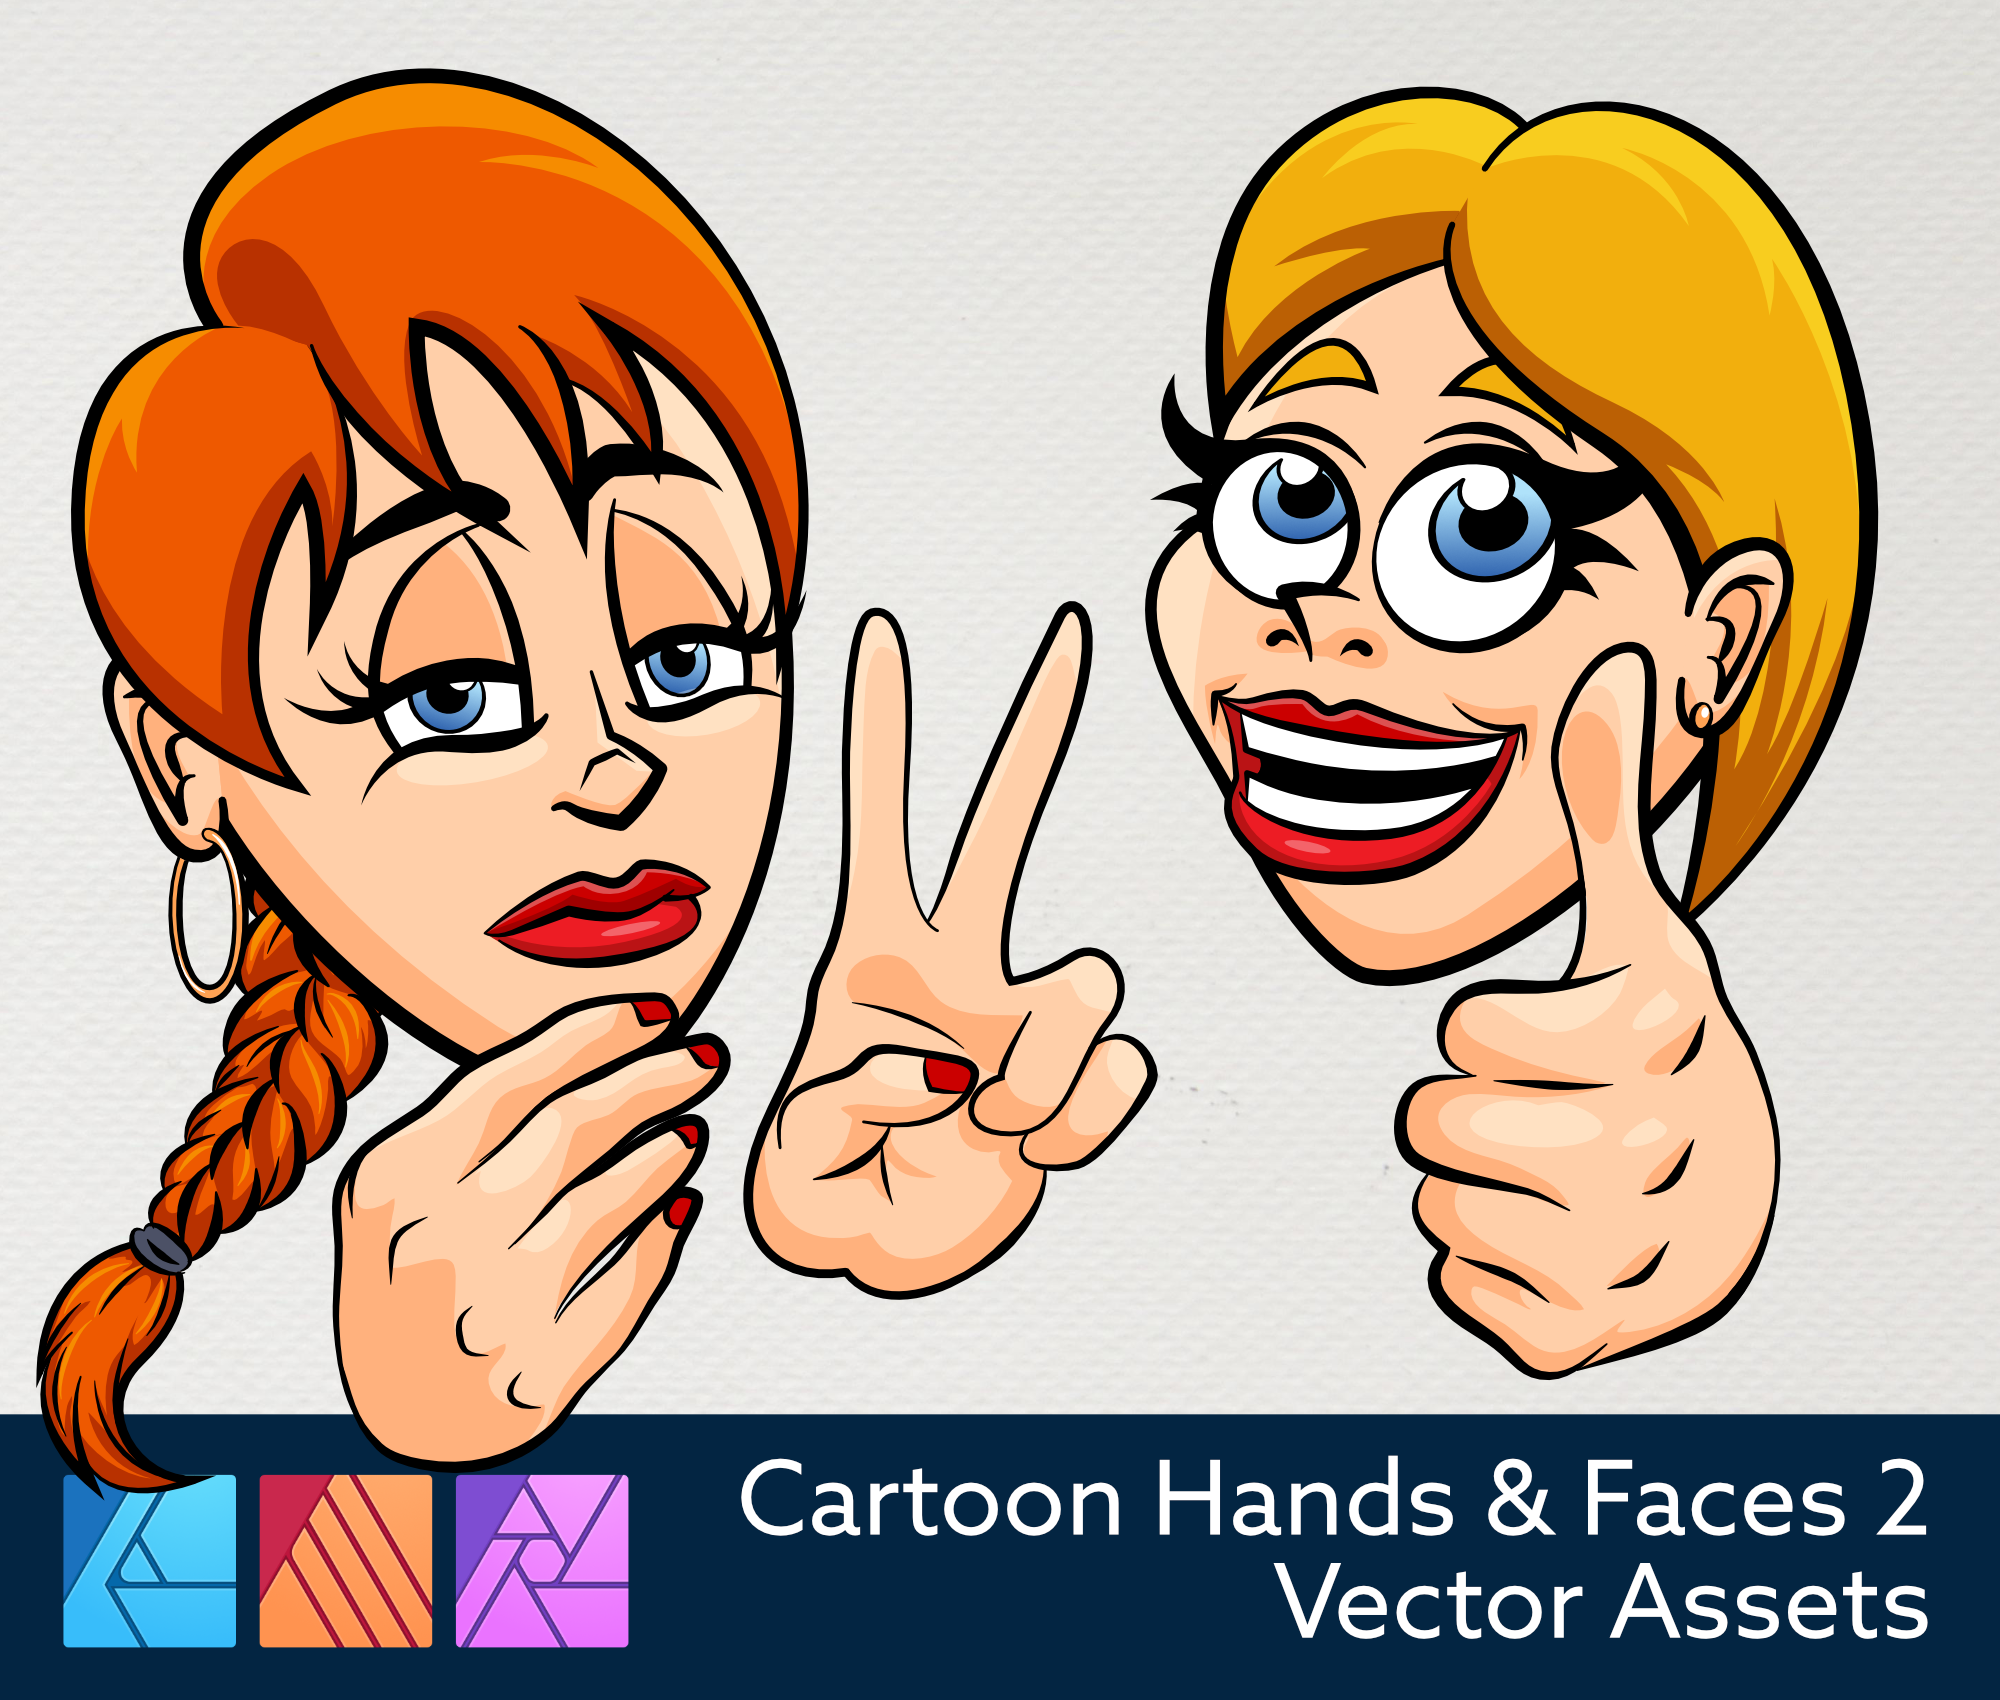
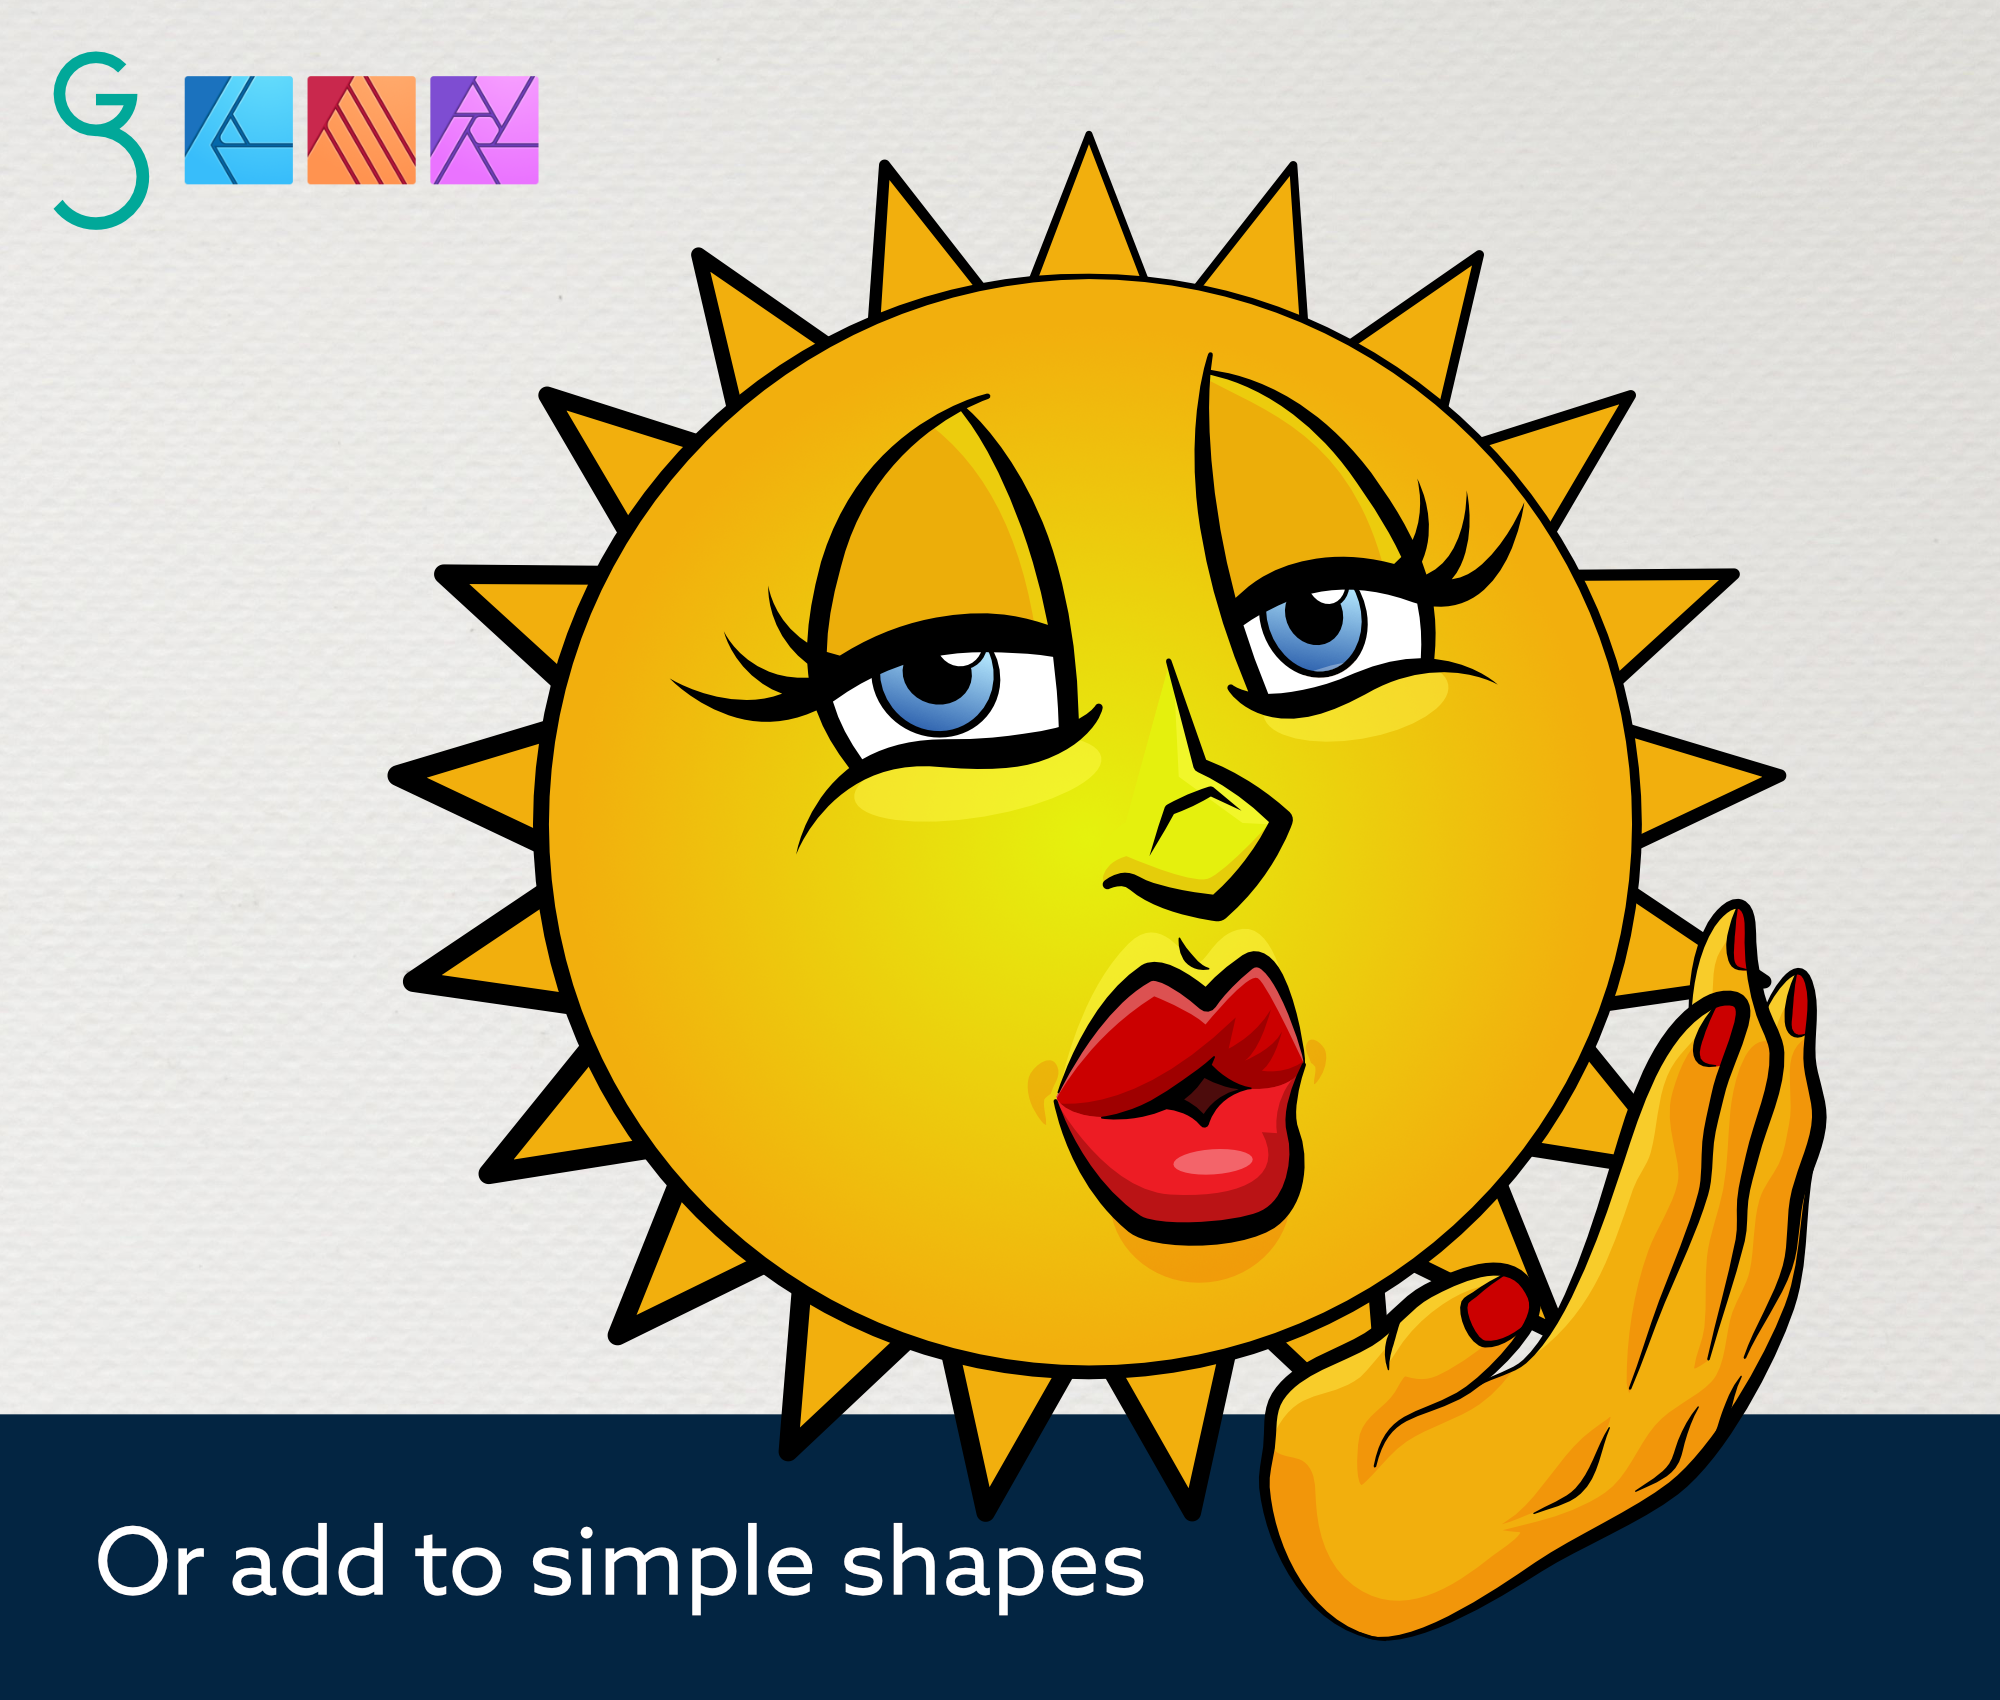
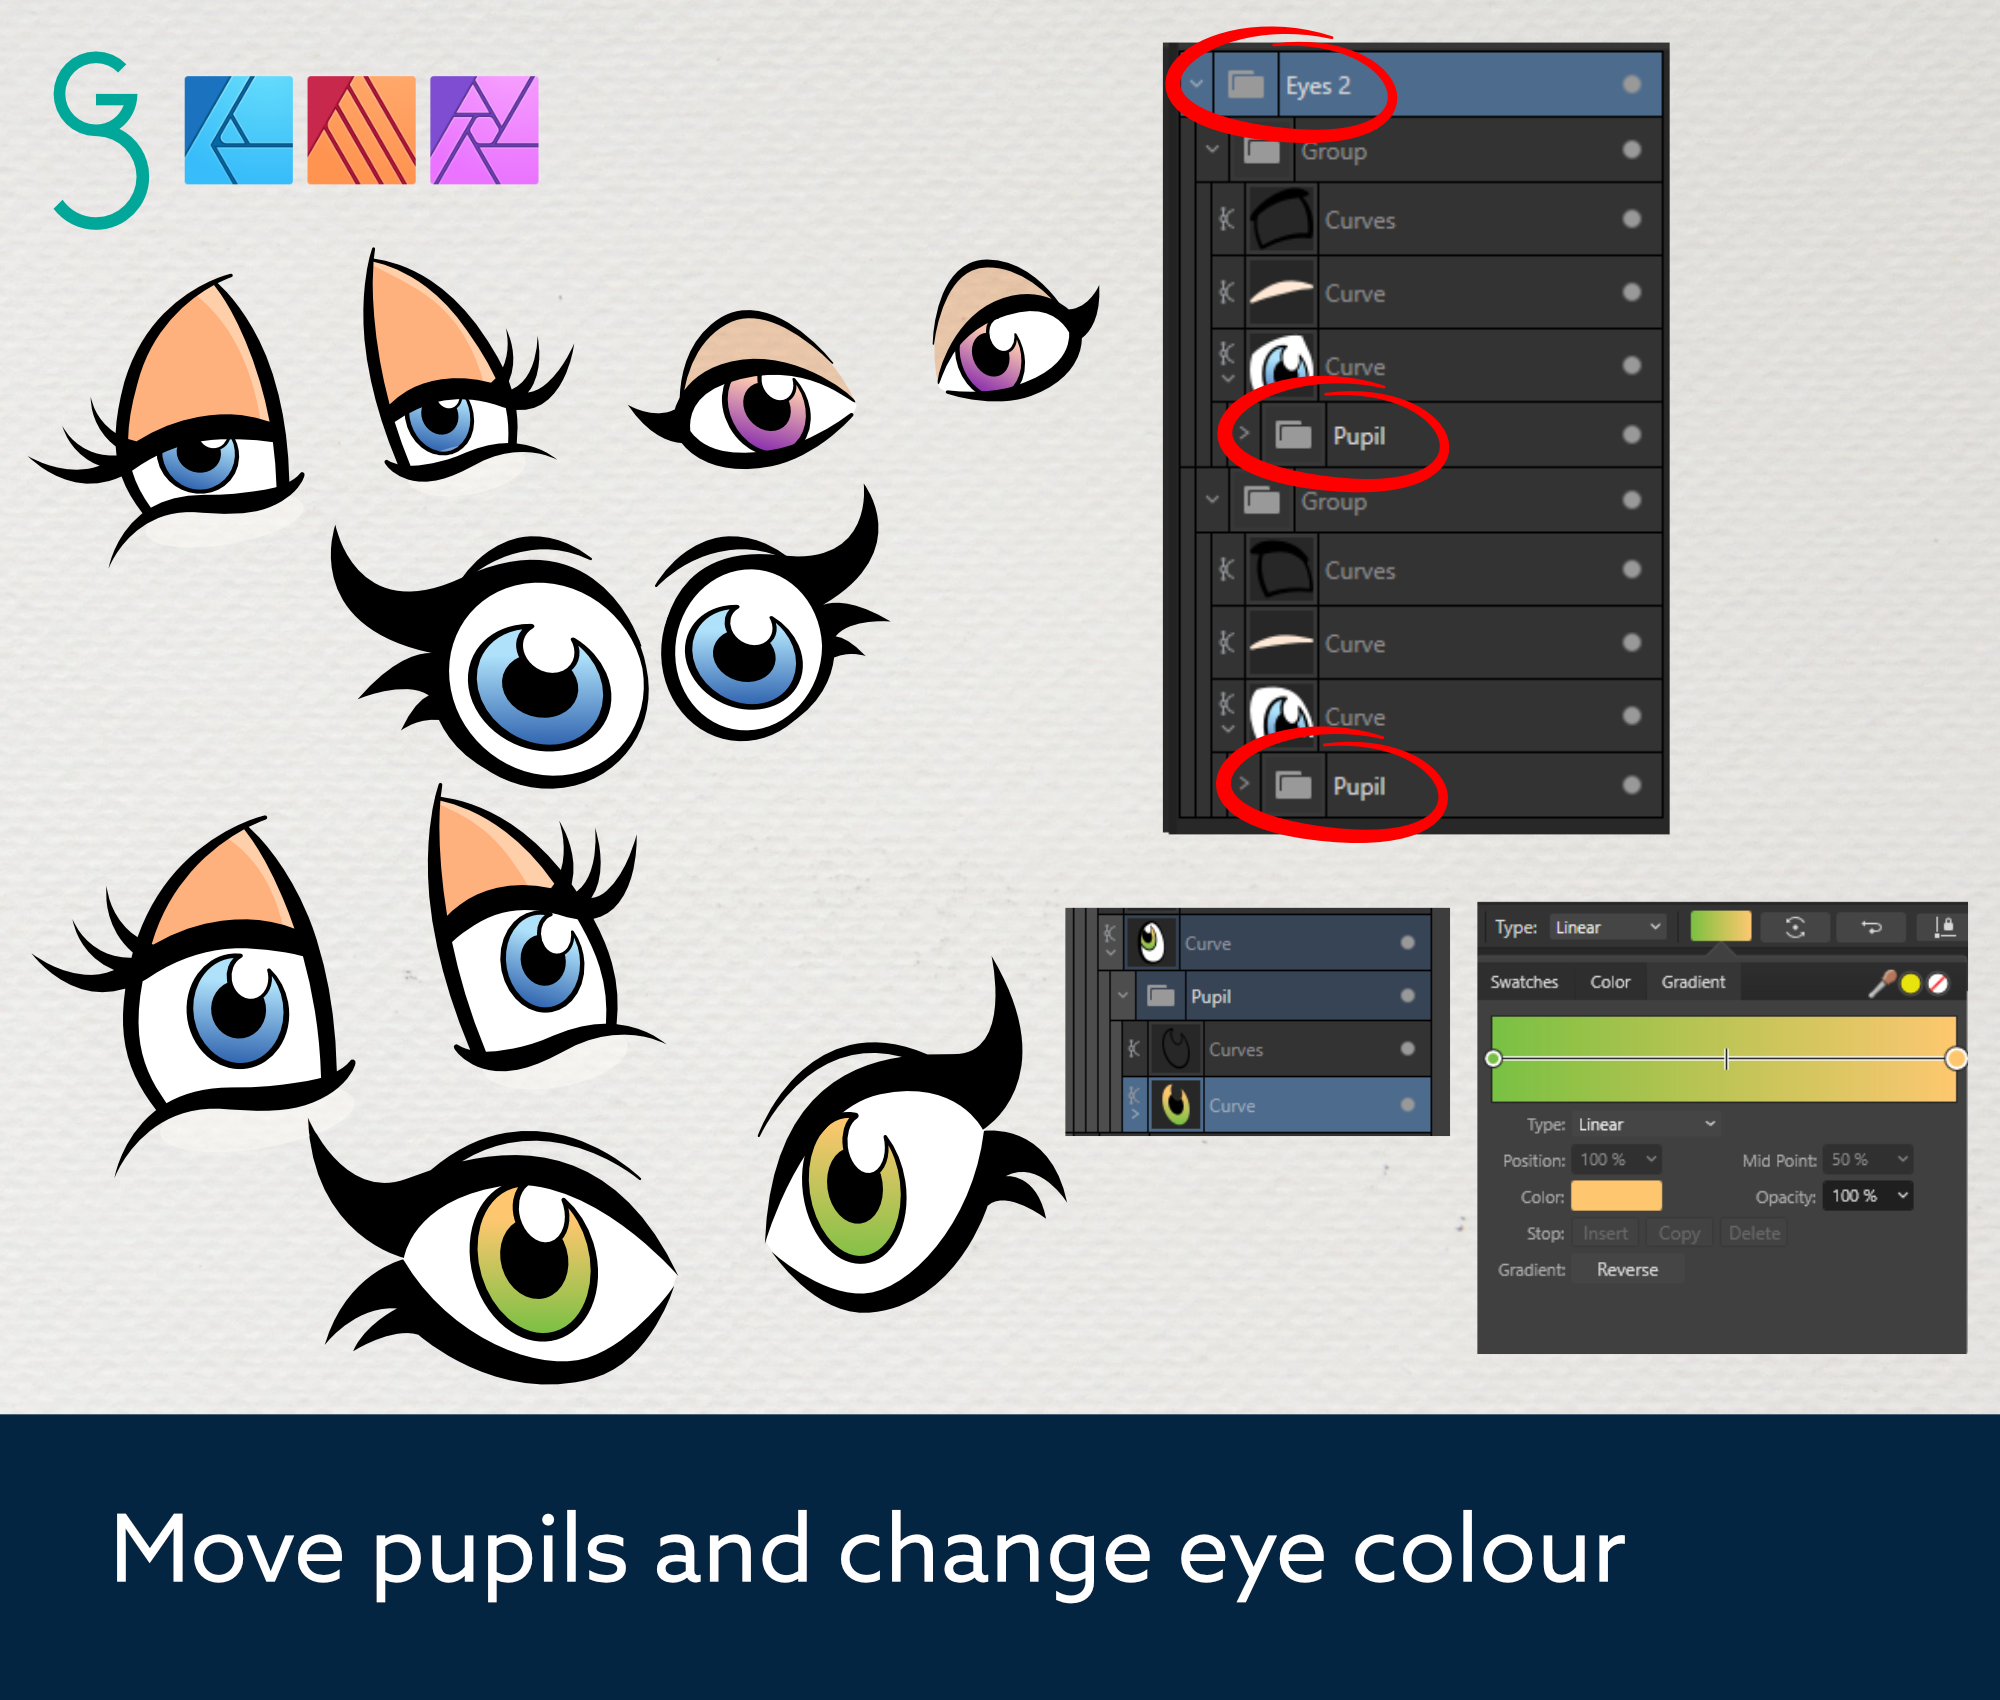
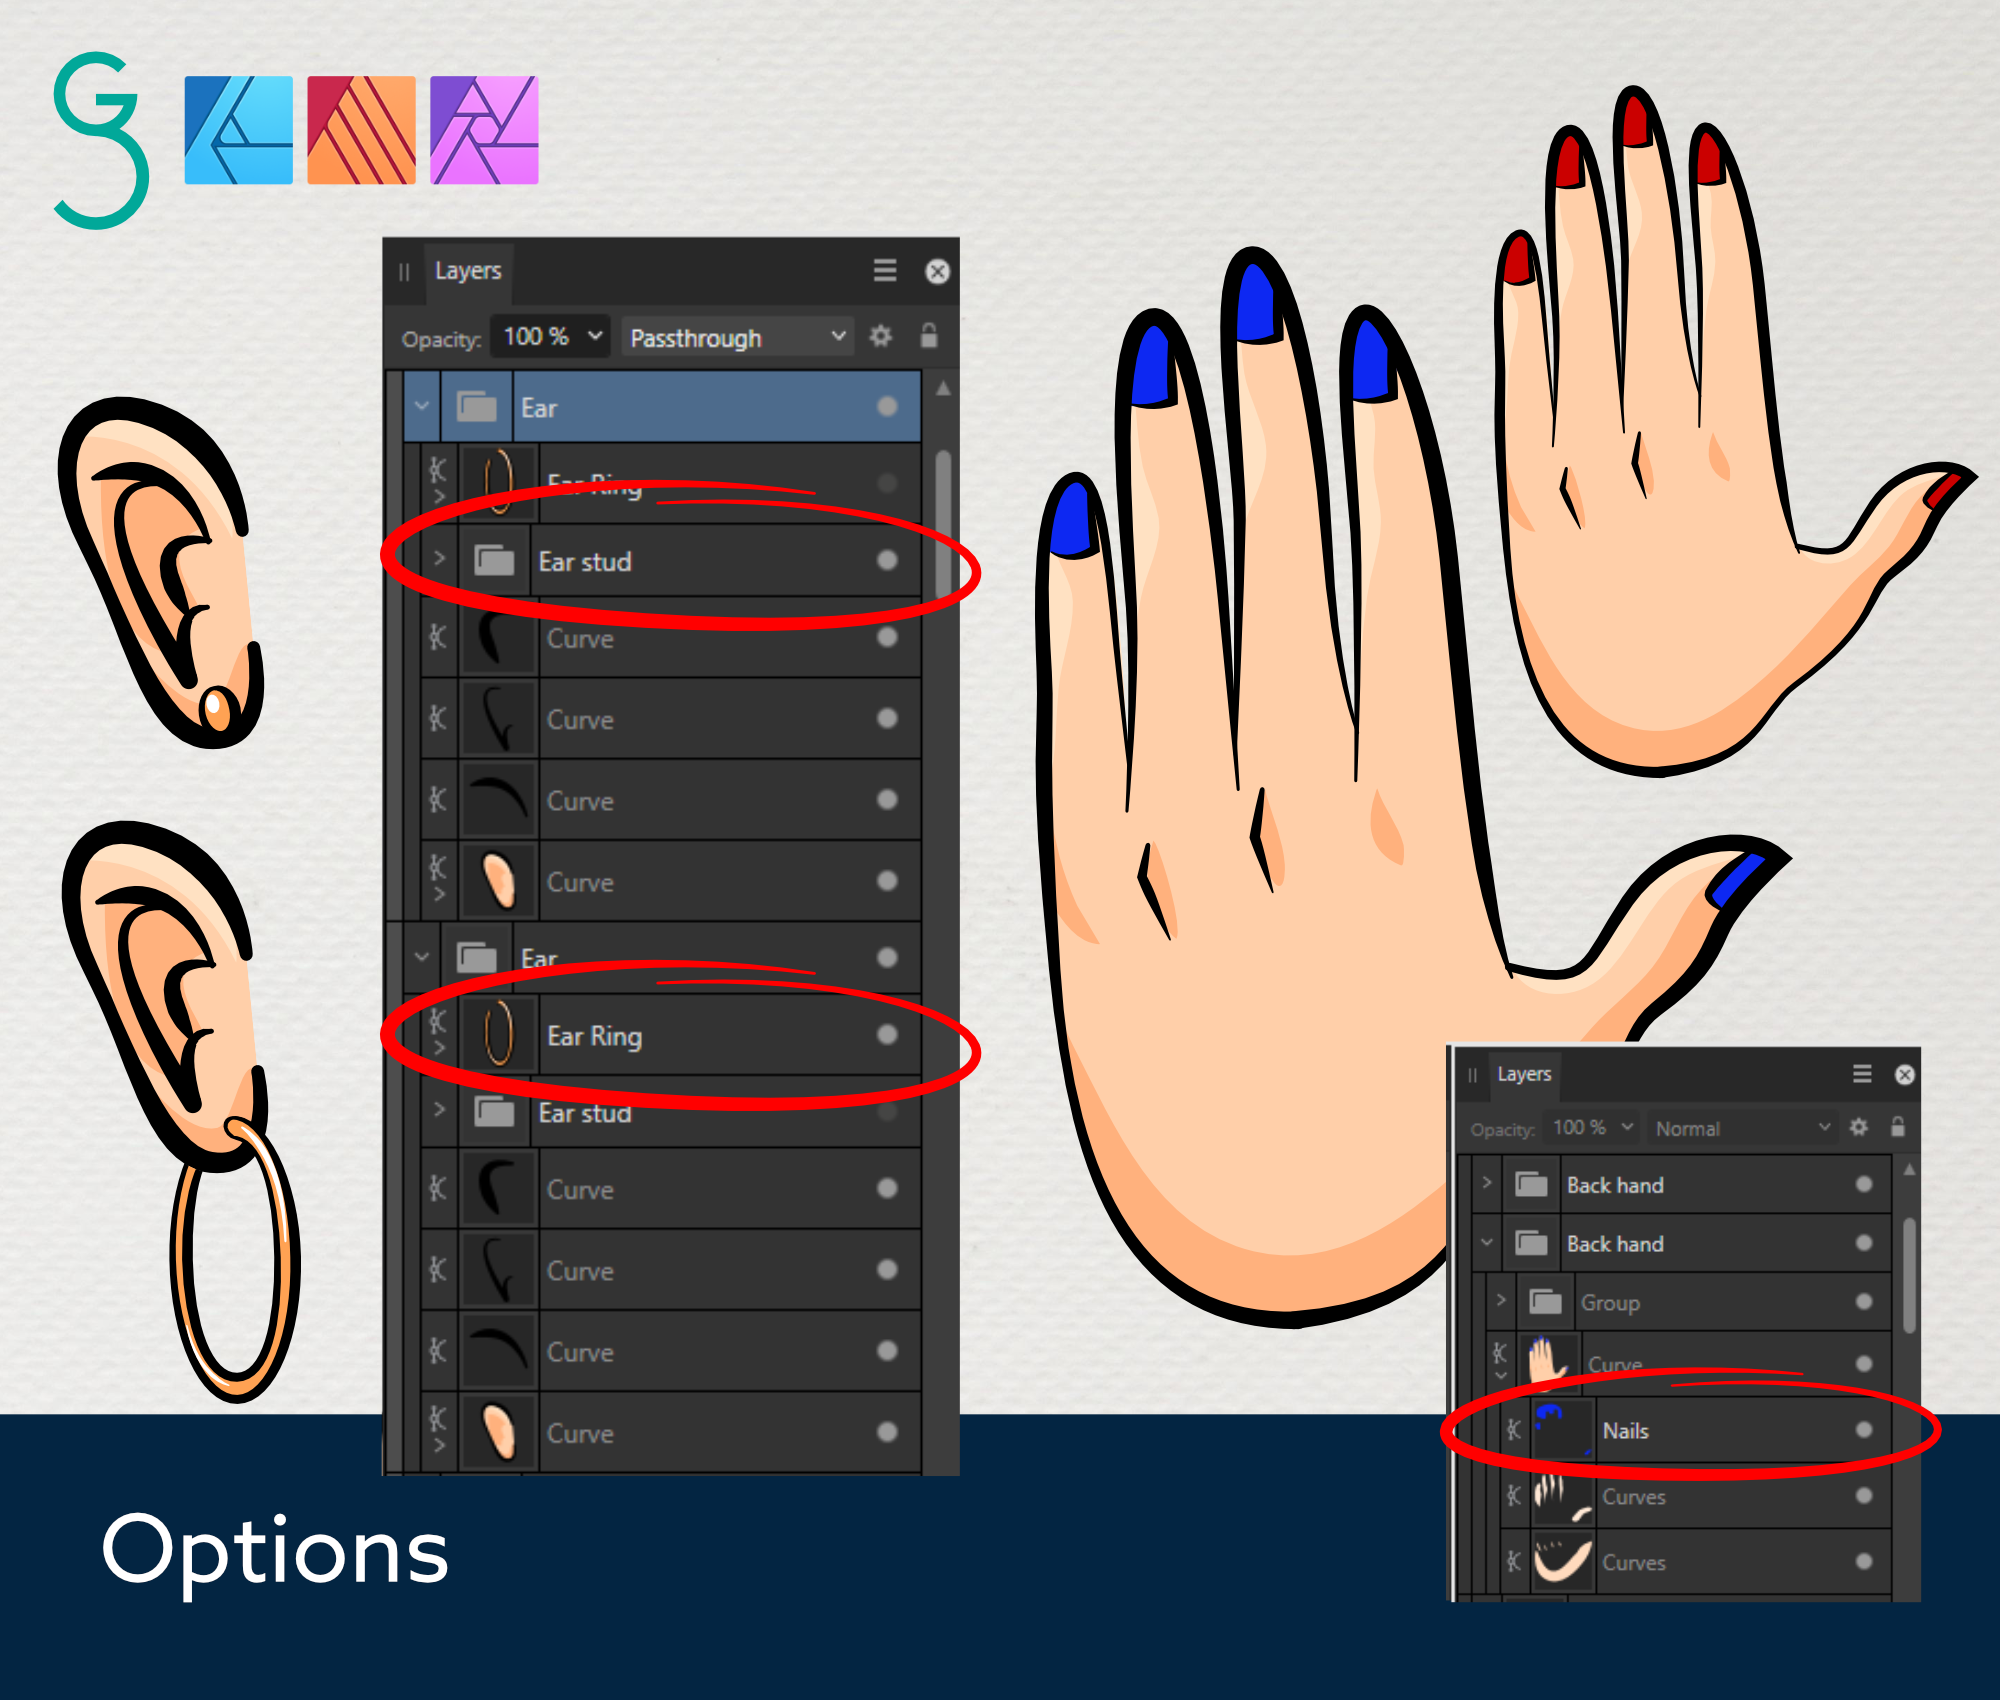
PACK 2 IS HERE!! A follow up to the first cartoon faces and hands pack. This new Feminine version works with pack 1, but are all new assets (so buy both lol ) https://www.etsy.com/uk/listing/1530413737/cartoon-faces-and-hands-vector-assets-2
-
 The attached video shows how you can (quite) quickly draw a simple paper scroll, in Designer only (because of the use of certain tools). The basic steps are: (Don’t try to follow these steps without watching the video as they won’t make much sense otherwise.) Make sure that you have all the Snapping options ON except for Grid and Baseline Grid (it helps); Pen Tool: Draw a ‘zig-zag’ with 45 degree angles (use the relevant modifier key to help you); Pen Tool: Draw a ‘fly-out line’ from each ‘bend’ in the ‘zig-zag’ at 45 degrees (just keep them short, you’ll be changing them later); Node Tool: Convert the ‘bend points' to Smart nodes and drag the handles so they are at 45 degrees (you should see the purple helpers); Node Tool: Drag the nodes/handles (keeping them at 45 degrees) until they look nice (use your own judgement); Move Tool: Duplicate the whole design at 45 degrees away from the original; Node Tool: Extend the ‘fly-out lines’ from the original to where they are on the duplicate; Delete the ‘fly-out lines’ from the duplicate; Point Transform Tool: Copy the ‘fly-out lines’ to the ends of the curves; Shape Builder Tool: Make the new shapes; Remove any extraneous shapes if there are any; Add Gradient Fills and a Stroke to taste (better than I did in the video). 2023-08-01 14-08-24.mp4
-
- 5
-

-
-
- affinity designer
- paper
- (and 1 more)
-
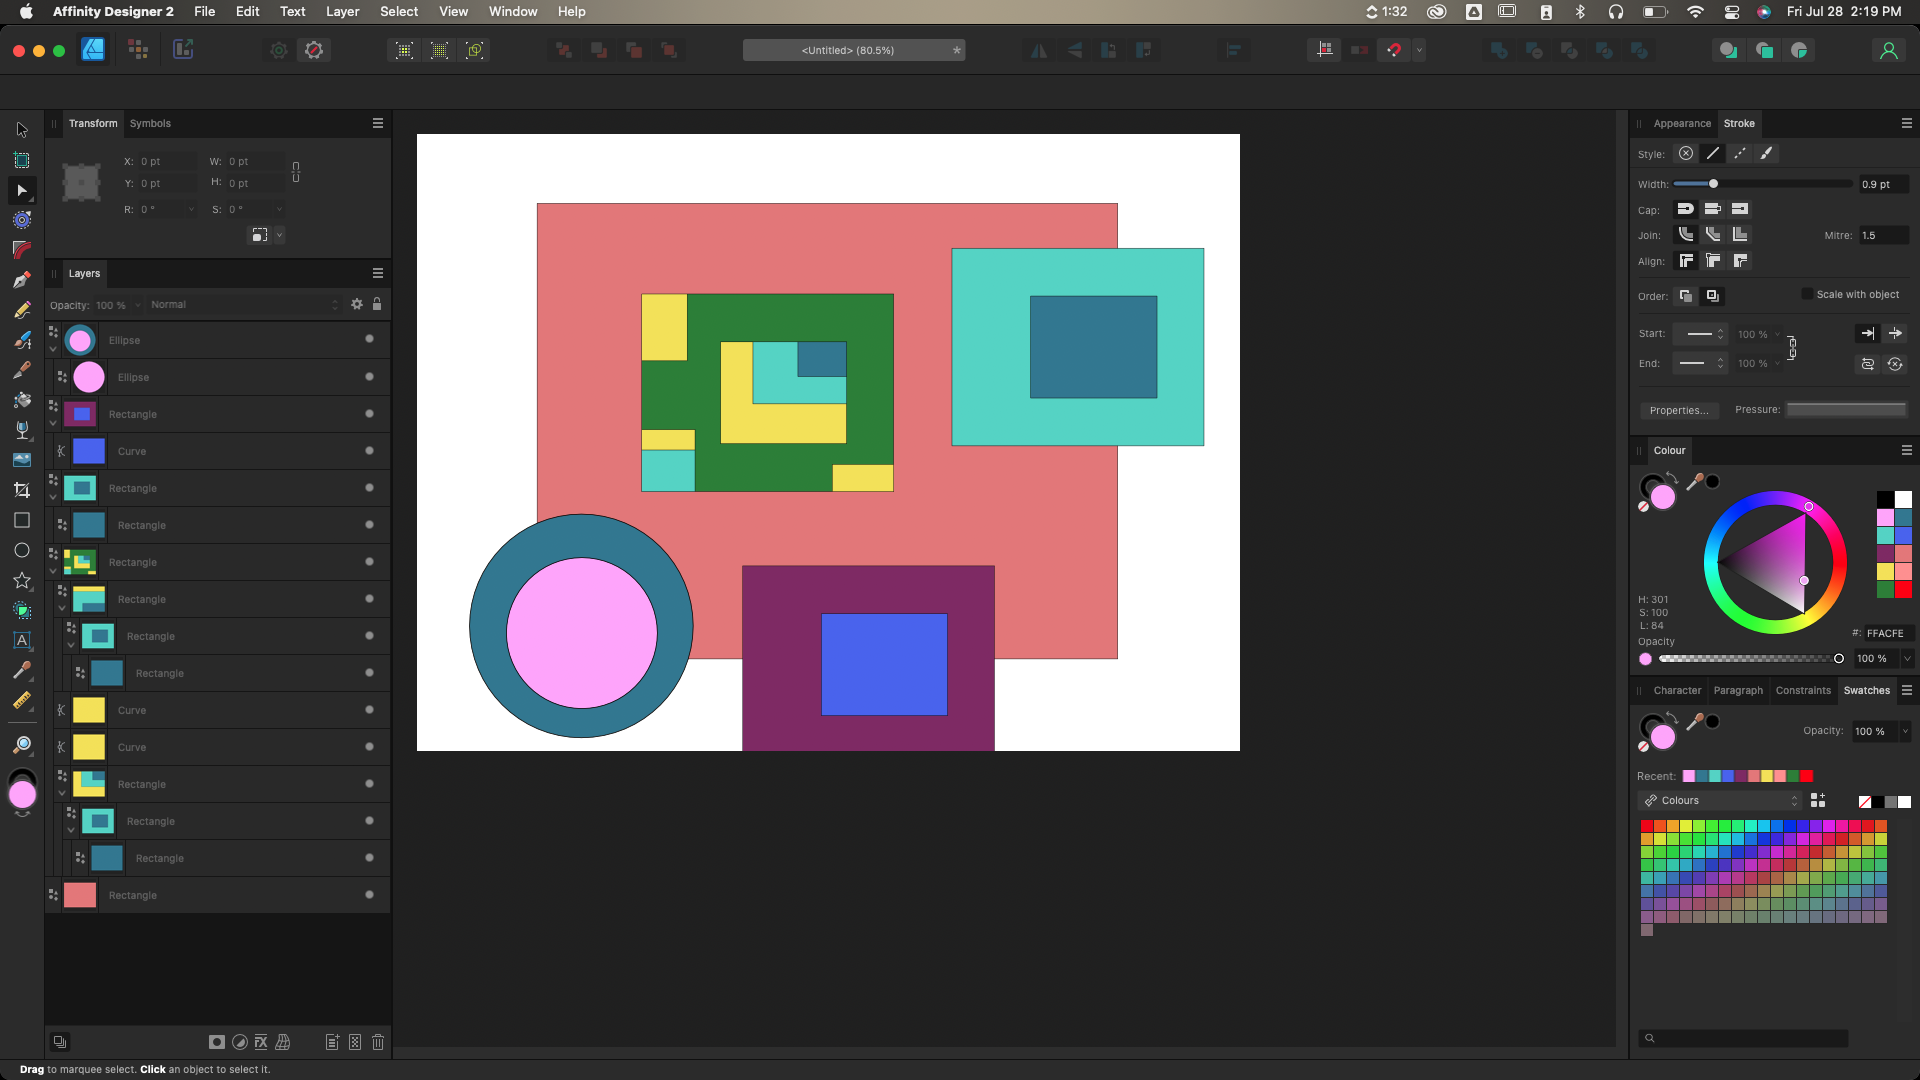
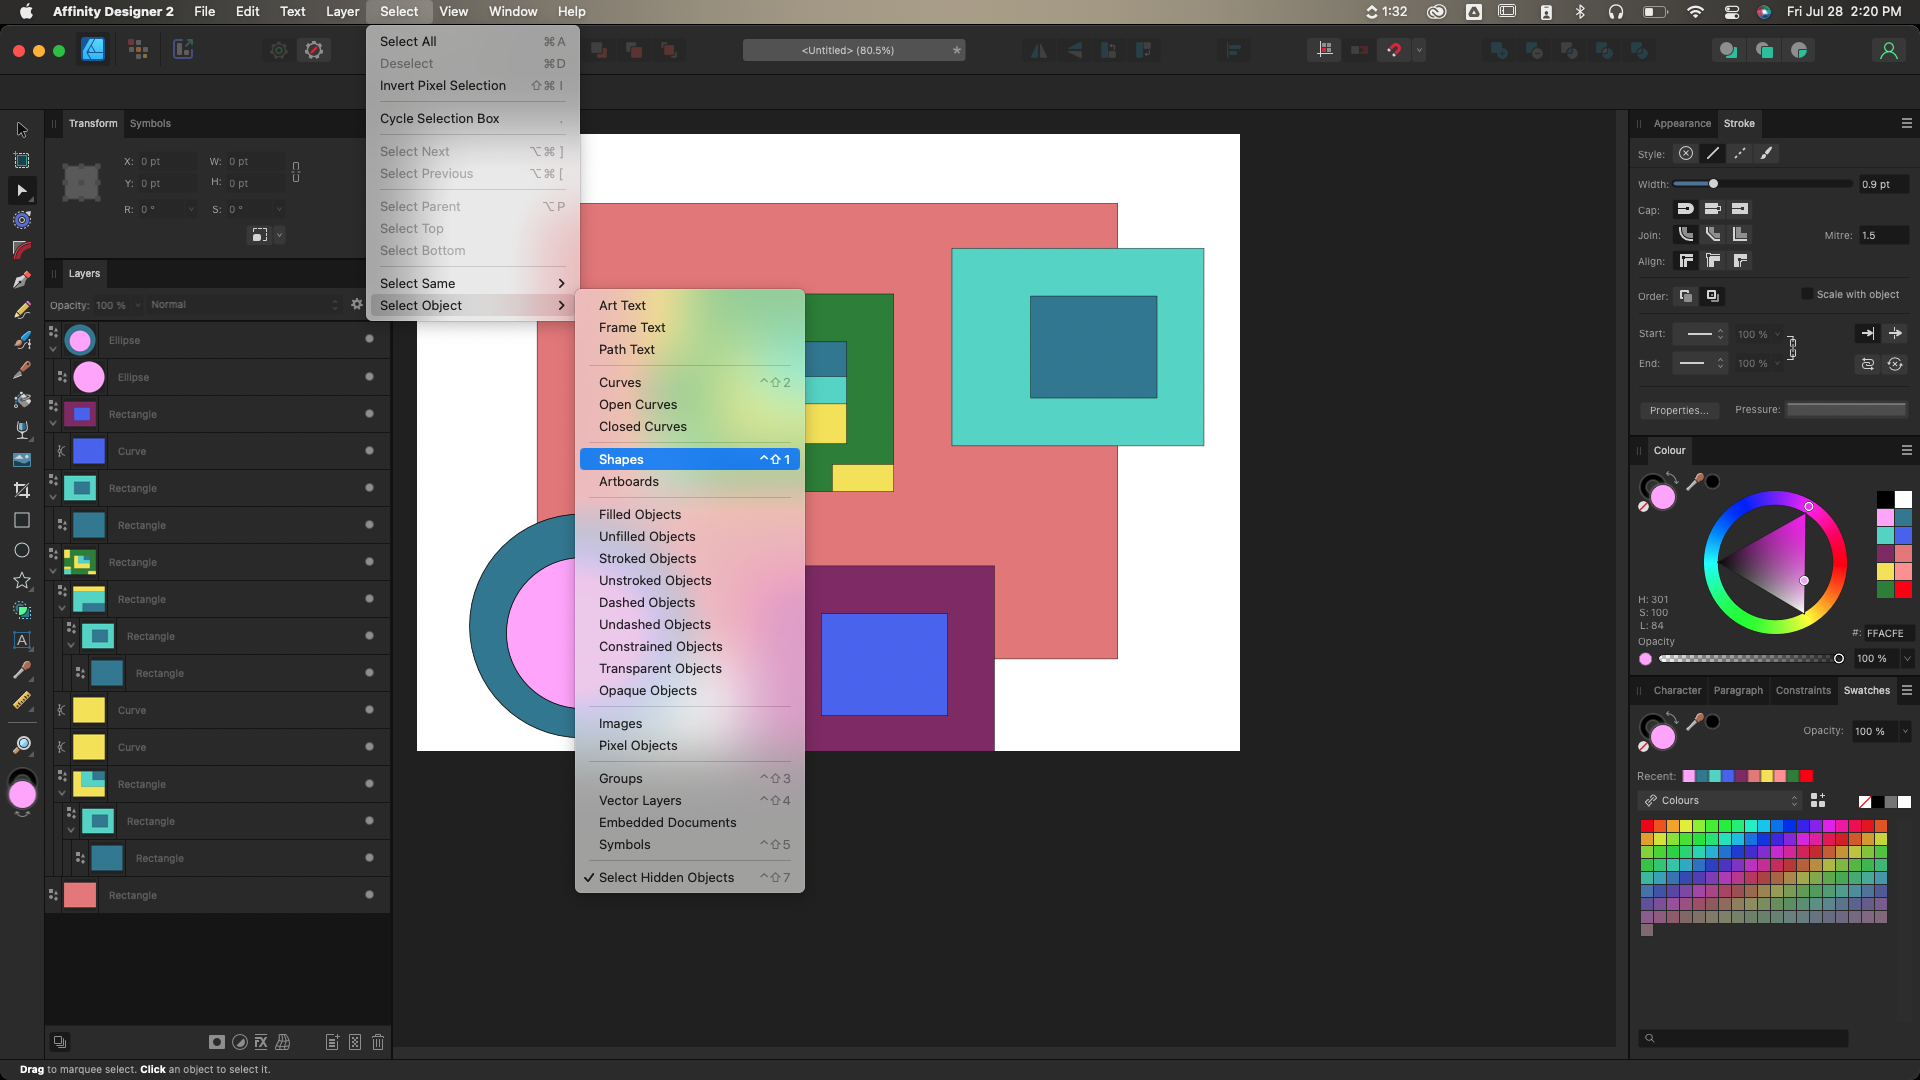
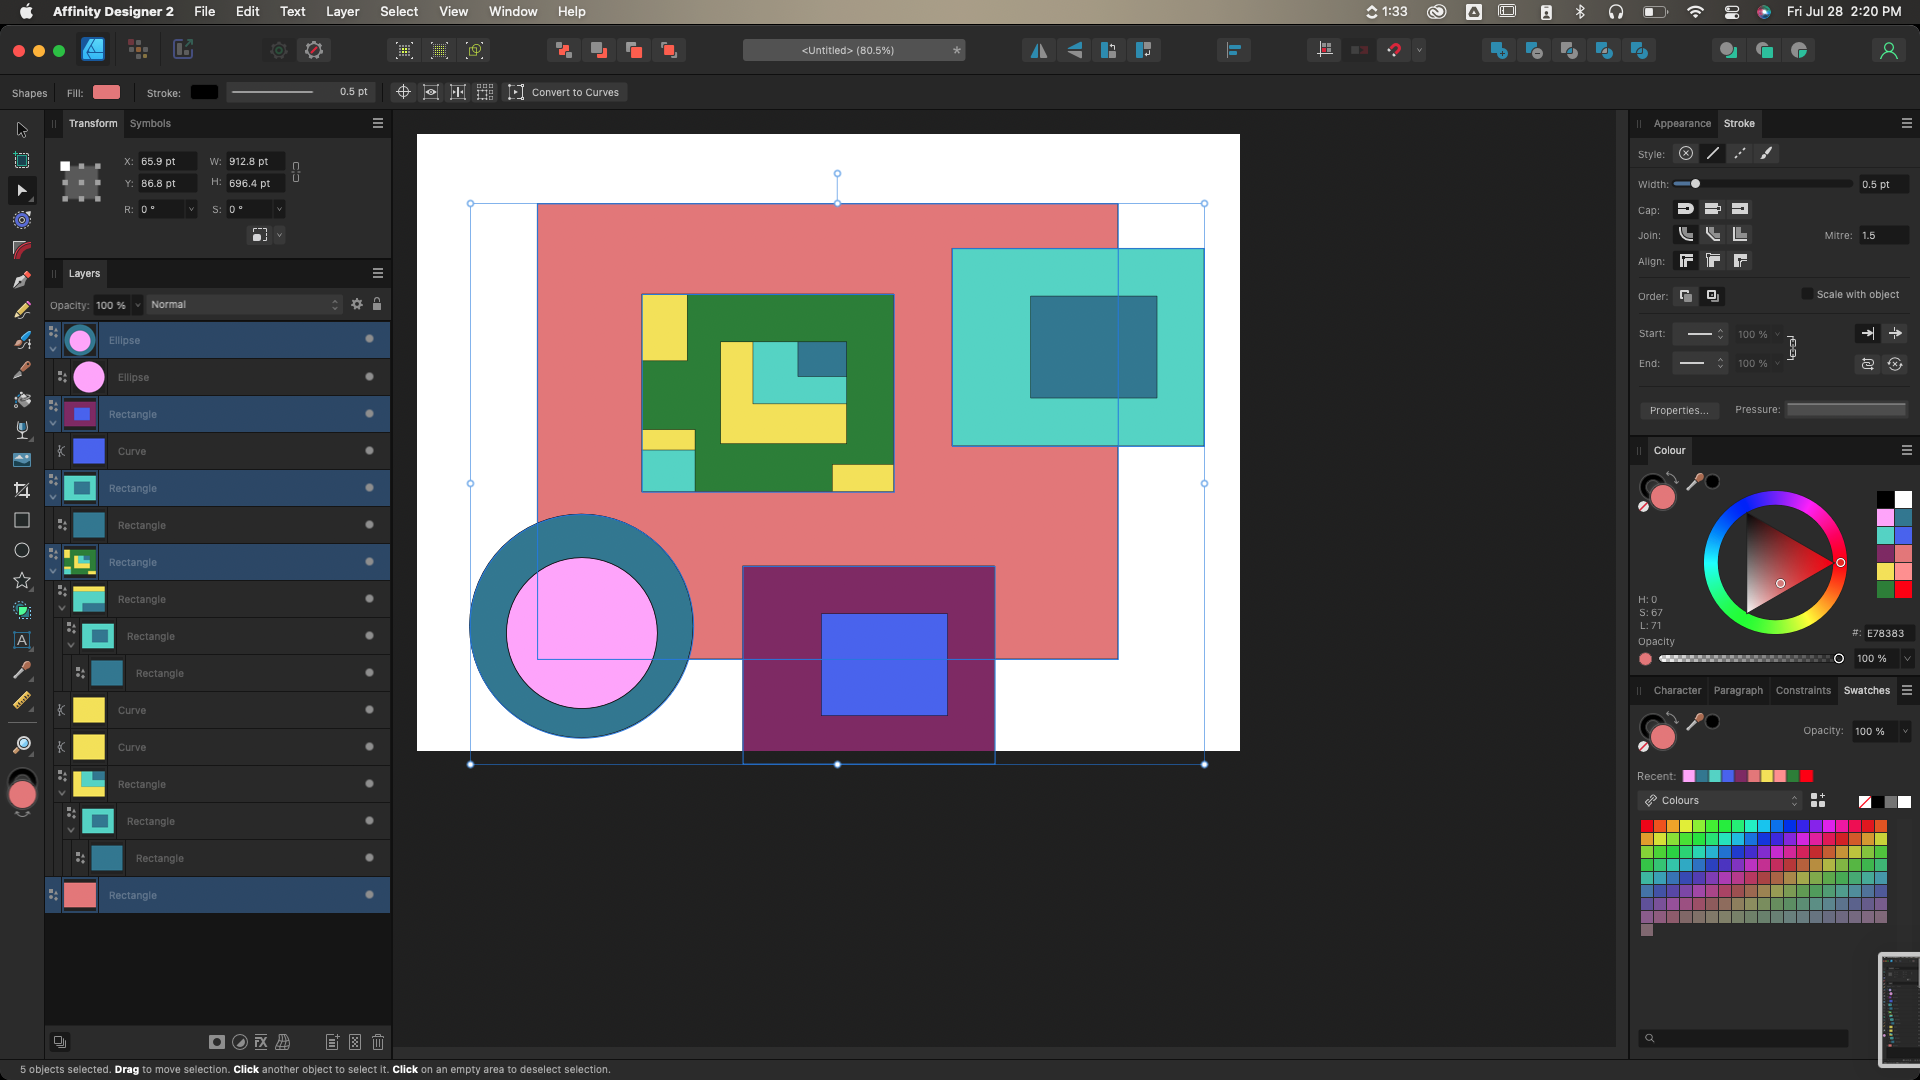
 Hello! The problem I'm encountering is that Affinity Designer V2's select object feature doesn't work like V1. For example, I want to select all the SHAPES in my document, I use the SELECT > SELECT OBJECT > SHAPES command and it only selects the shapes in the highest hierarchy. All the shapes that are masked inside or children of another shapes would not be selected. IMG 1: I created a dummy file consisted of multiple rectangles and curves IMG 2: SELECT > SELECT OBJECT > SHAPES IMG 3: All shapes (except the ones nested / children of the parent shapes) are selected. MY SYSTEM: - Macbook Pro M1 - MacOS Ventura 13.4.1 (c) - Affinity Designer V2.1.1 WHY FIX THIS: - The feature ain't working the expected way. V1 doesn't behave this way. - I use this feature because I work on complex vector art which require me to do multiple masking. If I need to make sure that all shapes with rounded corners are baked, selecting shapes this way would save a lot of time. - This behavior ain't isolated in SHAPES. Other categories are affected as well as long as they're nested. I hope this issue gets fixed ASAP. MORE POWER SERIF TEAM!
- 1 reply
-
- 1
-
-
- affinity designer
- selection
- (and 3 more)
-
Made this with Affinity Designer using paper textures.
-
The attached video shows how to make a jigsaw using the Vector Flood Fill Tool (only available in Designer). Note: You can create the shapes in a different way to get different jigsaw pieces, I just used the pencil for quickness. Note: I’ve used the “Max Fit” option to make the image fit to the edges of the puzzle. Note: Once I have selected the image I drag the mouse pointer over all of the shapes, rather than just clicking, which would work but it takes more time. 2023-07-29 09-59-36.mp4
-
 I cannot find the character panel on either Designer or Photo. Where is it? How do I make it visible? Everything I read says it should be here, but there is no sign - unless it's right in front of me and I'm not seeing it. The aim is to work with kerning.


.png.8f371ab51217292988cc4c1de71a1b2a.png)