h_d
-
Posts
1,629 -
Joined
-
Last visited
Everything posted by h_d
-

Bushes download
h_d replied to benrymnd's topic in Pre-V2 Archive of Desktop Questions (macOS and Windows)
It's worth it! -
Bushes download
h_d replied to benrymnd's topic in Pre-V2 Archive of Desktop Questions (macOS and Windows)
Worth remembering that pixel brushes are only available in Designer's Pixel Persona, while vector brushes only work in the main Designer Persona. Cheers, H -
Polish language pack
h_d replied to Bartek B's topic in Pre-V2 Archive of Desktop Questions (macOS and Windows)
I'm sure it varies from country to country - it's a matter of custom and practice, not of absolute right and wrong. And we do sometimes see hyphenated left-aligned text in the UK. But as an old-school print sub-editor it sets my teeth on edge. Except of course in special cases like 'antidisestablishmentarianism' and 'Llanfairpwllgwyngyllgogerychwyrndrobwllllantysiliogogogoch' Mind you, if you're being really strict, proper nouns shouldn't be hyphenated even in justified text. -
Polish language pack
h_d replied to Bartek B's topic in Pre-V2 Archive of Desktop Questions (macOS and Windows)
Ah sorry @Bartek B, I missed the context of your original request. As a picture-editing app, I suspect Photo doesn't have much in the way of hyphenation options. That said, in the 1.8 Beta versions (not sure about 1.7), a hyphenated text frame can be cut and pasted from Publisher into Photo and the resulting text will remain hyphenated and editable.
-
Polish language pack
h_d replied to Bartek B's topic in Pre-V2 Archive of Desktop Questions (macOS and Windows)
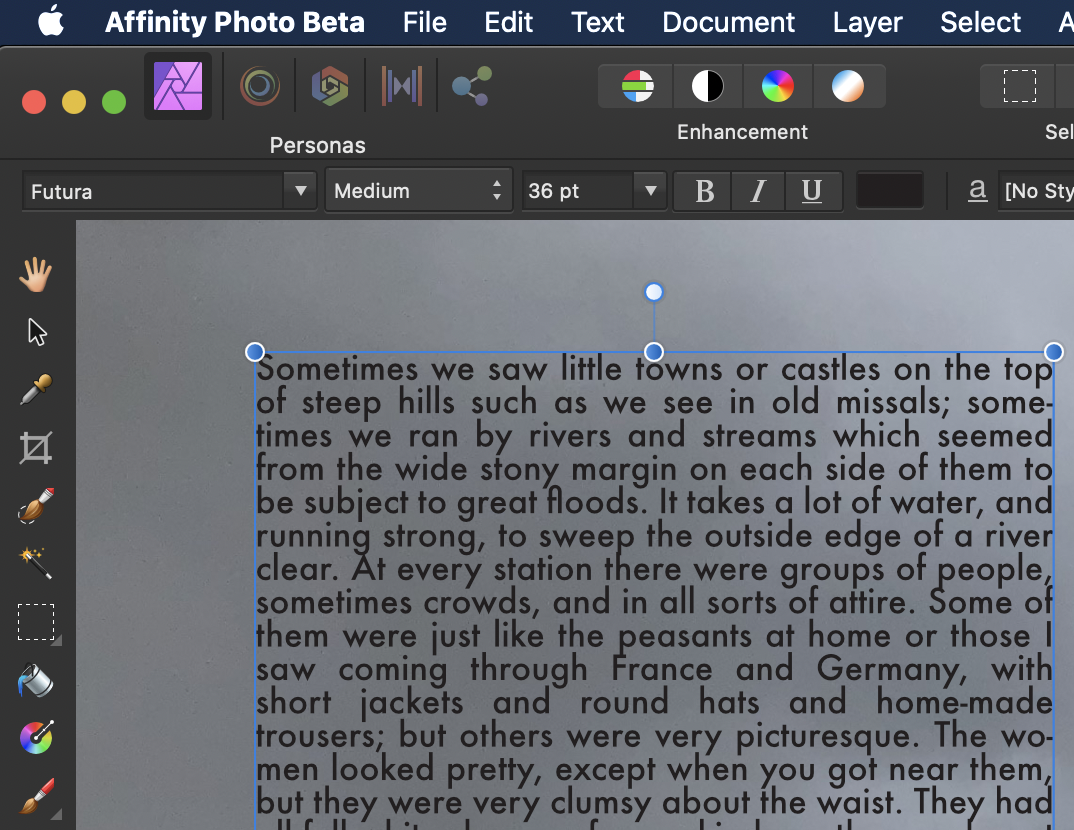
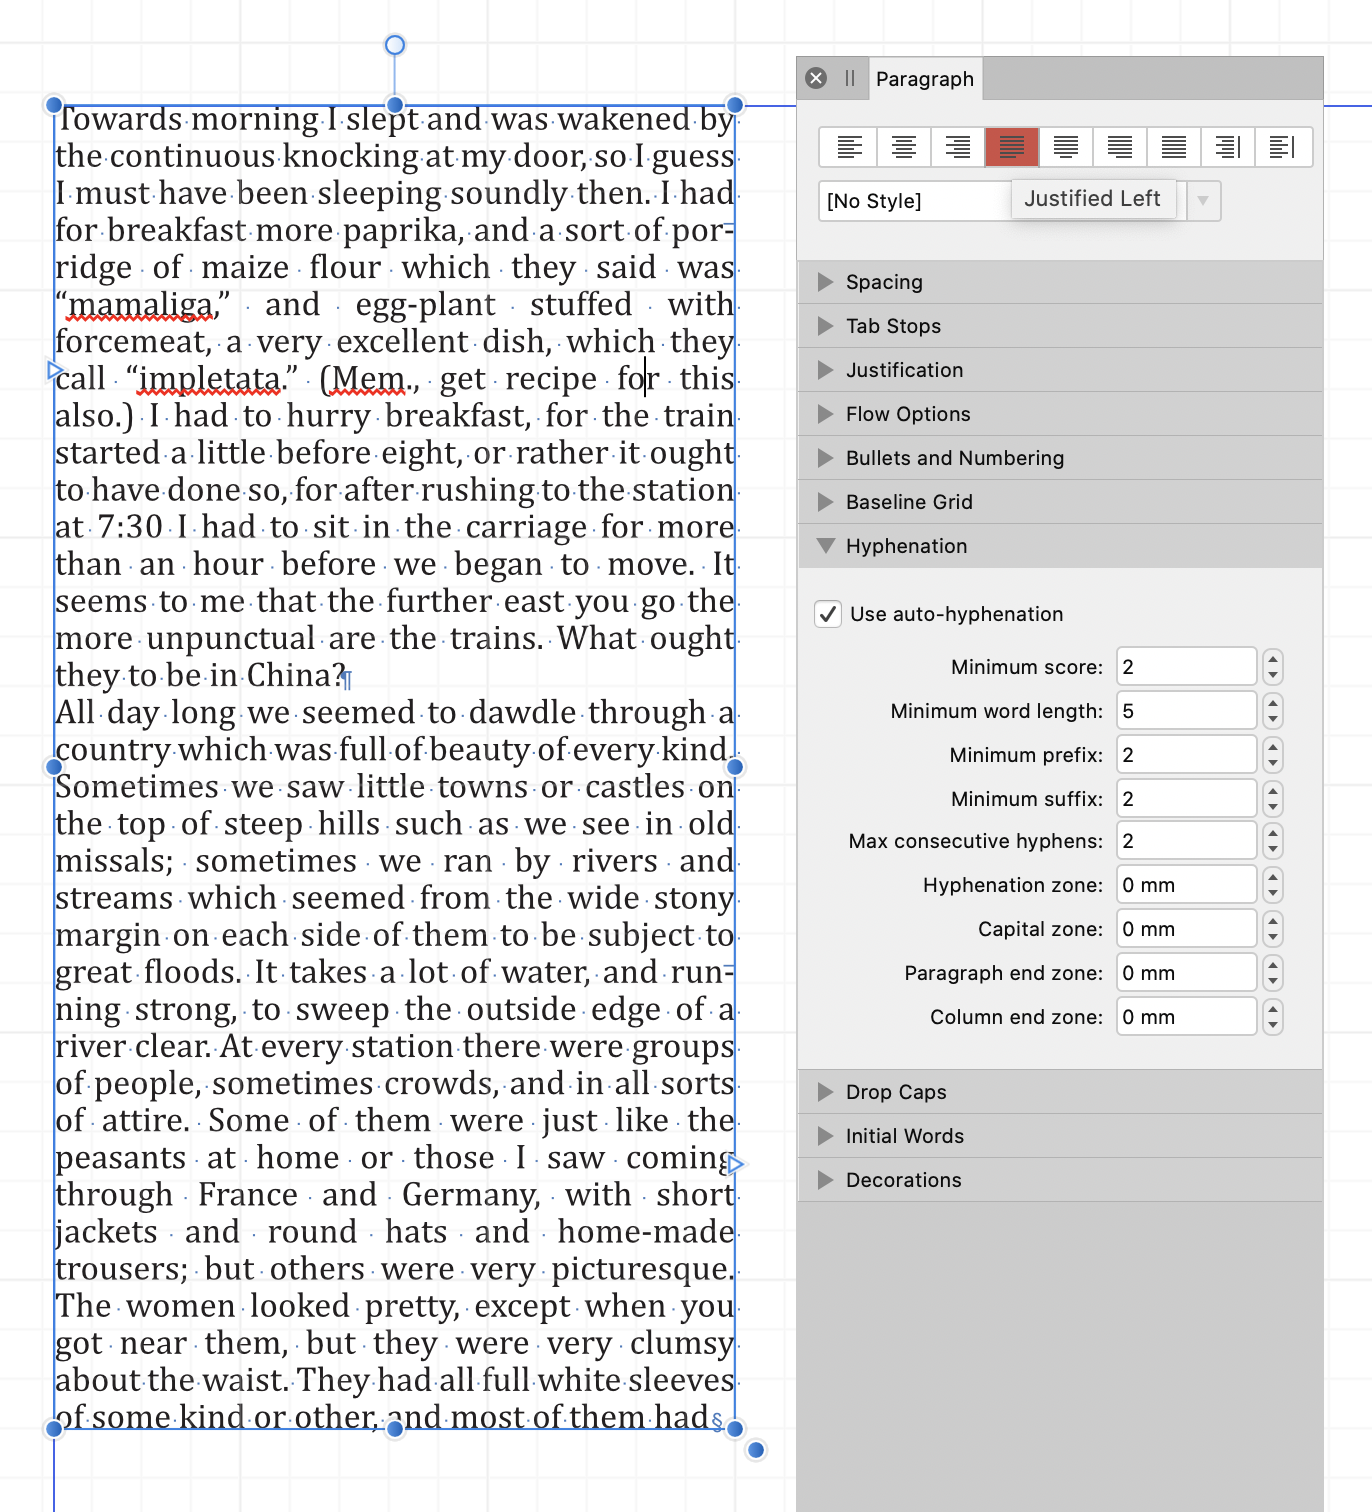
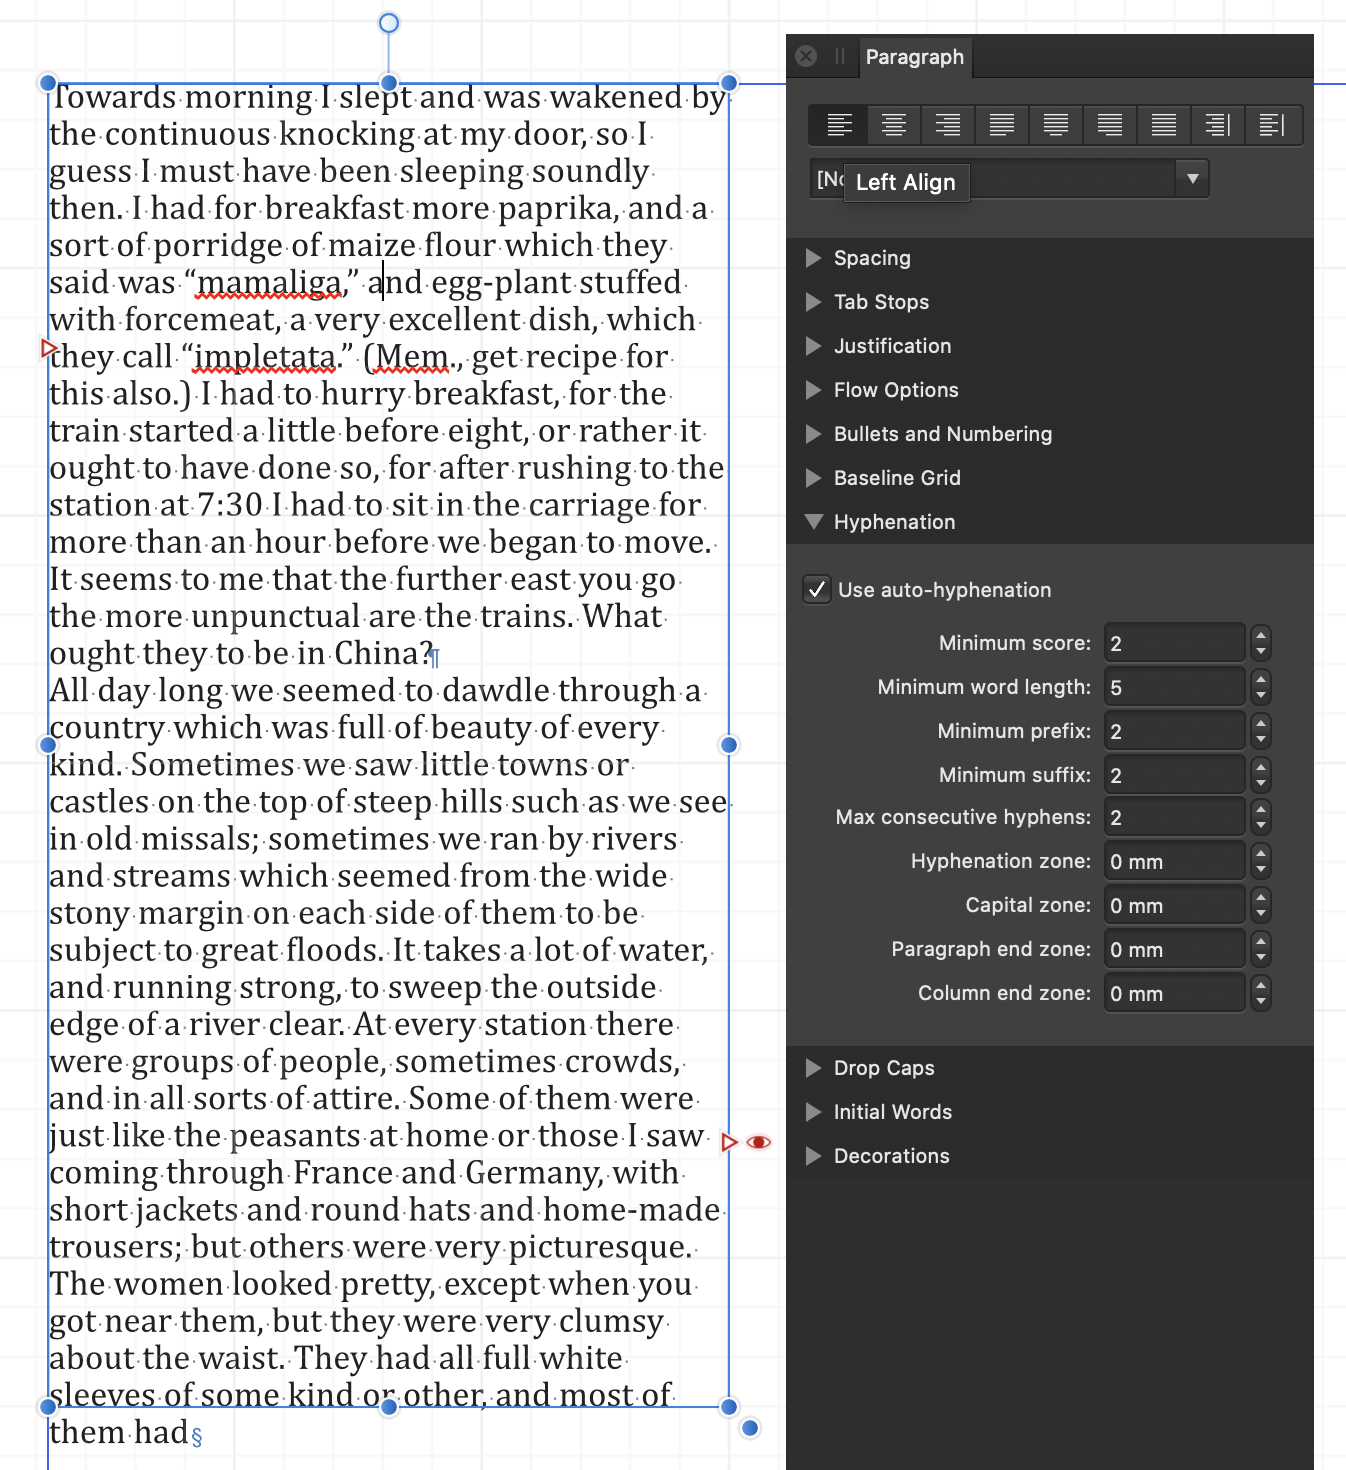
You'll need to ensure Auto-Hyphenation is turned on in the Paragraph panel: But it also appears that if the text is "left align" (as yours is) then hyphenation will not be applied. This is typographically correct in UK English practice - only justified text should also be hyphenated. Screenshots below. In the first paragraph of the second shot, "porridge" is hyphenated: Hope this helps!
-
Colorizing B&W photos
h_d replied to Emar's topic in Pre-V2 Archive of Desktop Questions (macOS and Windows)
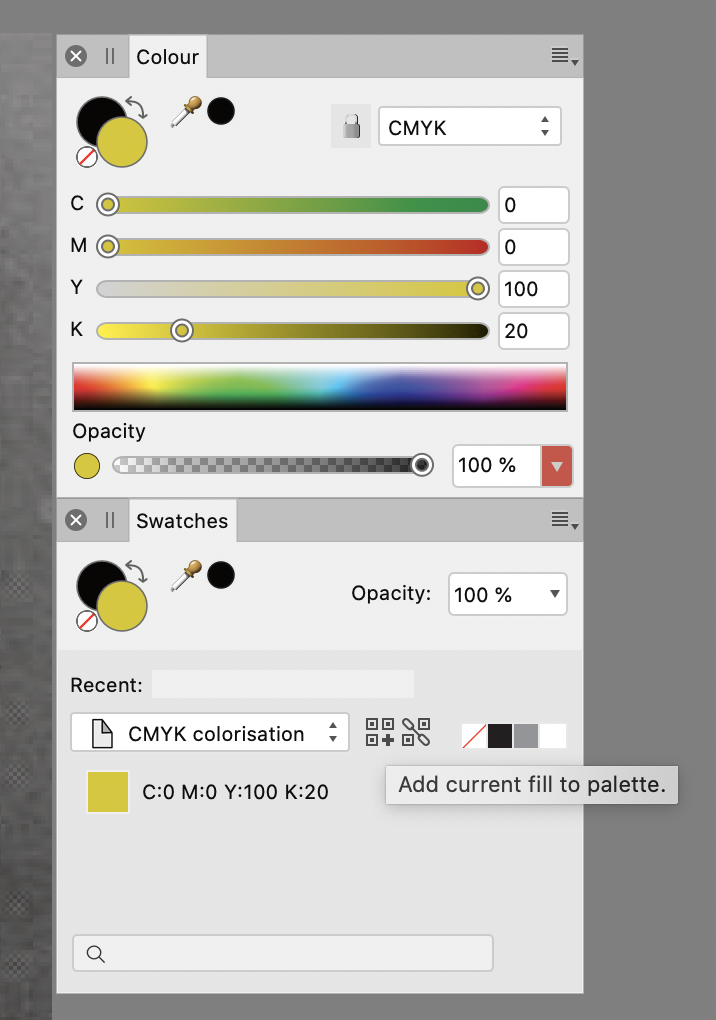
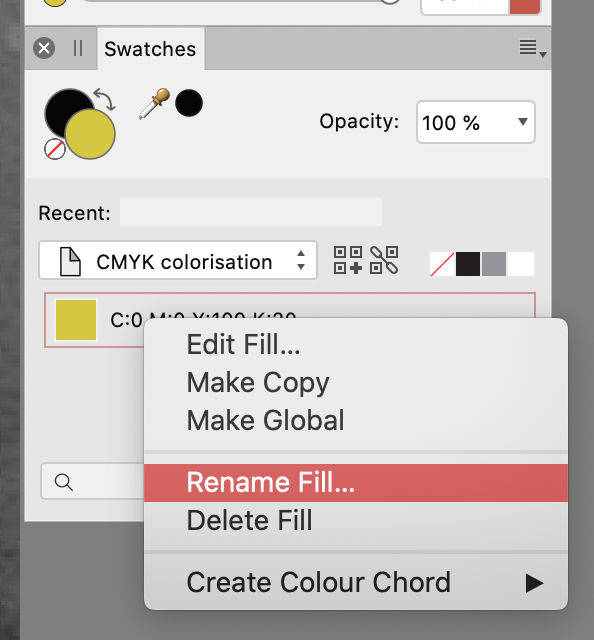
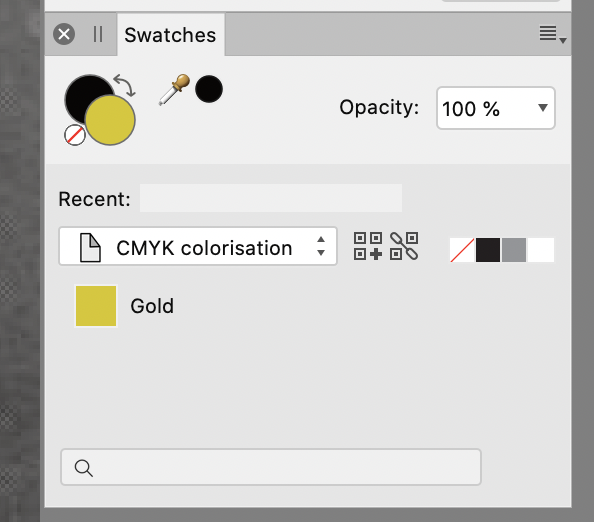
Yes absolutely. After setting the colour space of your original B&W image to CMYK, you can use the Swatches panel in the Studio to create a new Palette, and then use the Colour panel to create your mixes as fills and add them to your palette. You can then rename the swatches in your new Palette by right-clicking on them. Viewing the Palette as a list will help. Here my Colour palette has a fill of 100Y 20K. I have a palette in my Swatches which I've called CMYK colorisation. I'm hovering over the "Add Current Fill to Palette" button. By default my 'Gold' colour is initially named with the complete values for the CMYK mix. And here it is in the process of renaming: And here it is renamed: (There are various different types of palette including Document and Application - check the help files for more info on how to create them.) Cheers, H
-
Bug: New document window in full screen mode
h_d replied to postmadesign's topic in [ARCHIVE] Publisher beta on macOS threads
In Catalina, with Publisher in full screen mode, and with the New Document window also in full screen mode, creating a new document results in a completely black screen. I can then switch to the new document itself via the App Switcher (CMD-tab) or the Dock. But it's a bit disconcerting. -
Help with Focus Merging
h_d replied to Mring's topic in Pre-V2 Archive of Desktop Questions (macOS and Windows)
If you've already applied focus bracketing in camera, then I don't think the Affinity Focus Merge is going to help much. Changing the aperture is simply going to give you different depths of field across the images (which might explain the blurs). And to be honest I'm not sure that Focus Merge is the best tool for exploring lens characteristics. Affinity Focus Merge expects a group of images from the same viewpoint, with the same exposure and aperture settings, but with different focus. It's good for combining macro images which generally have a very shallow depth of field. It finds the sharpest areas of each individual image and combines them to give an image with the 'best of all worlds' in terms of overall sharpness, and from my limited testing of it works very well indeed. Try setting up your camera on a tripod, switch to manual focusing with a fairly shallow depth of field (ie quite a large aperture, but probably not fully open), then take a series of pictures gradually changing focus from the front to the back of the object. Then run these pictures through Focus Merge without changing them in camera or in any other software, and you'll get an idea of what Focus Merge can do. Hope this helps! -
That's a great article @R C-R - it's worth reading to the end and absorbing the section headed Don't Edit with "Edit With".
-
HOW TO ADD REFERENCE IMAGE
h_d replied to MissQ's topic in Pre-V2 Archive of Desktop Questions (macOS and Windows)
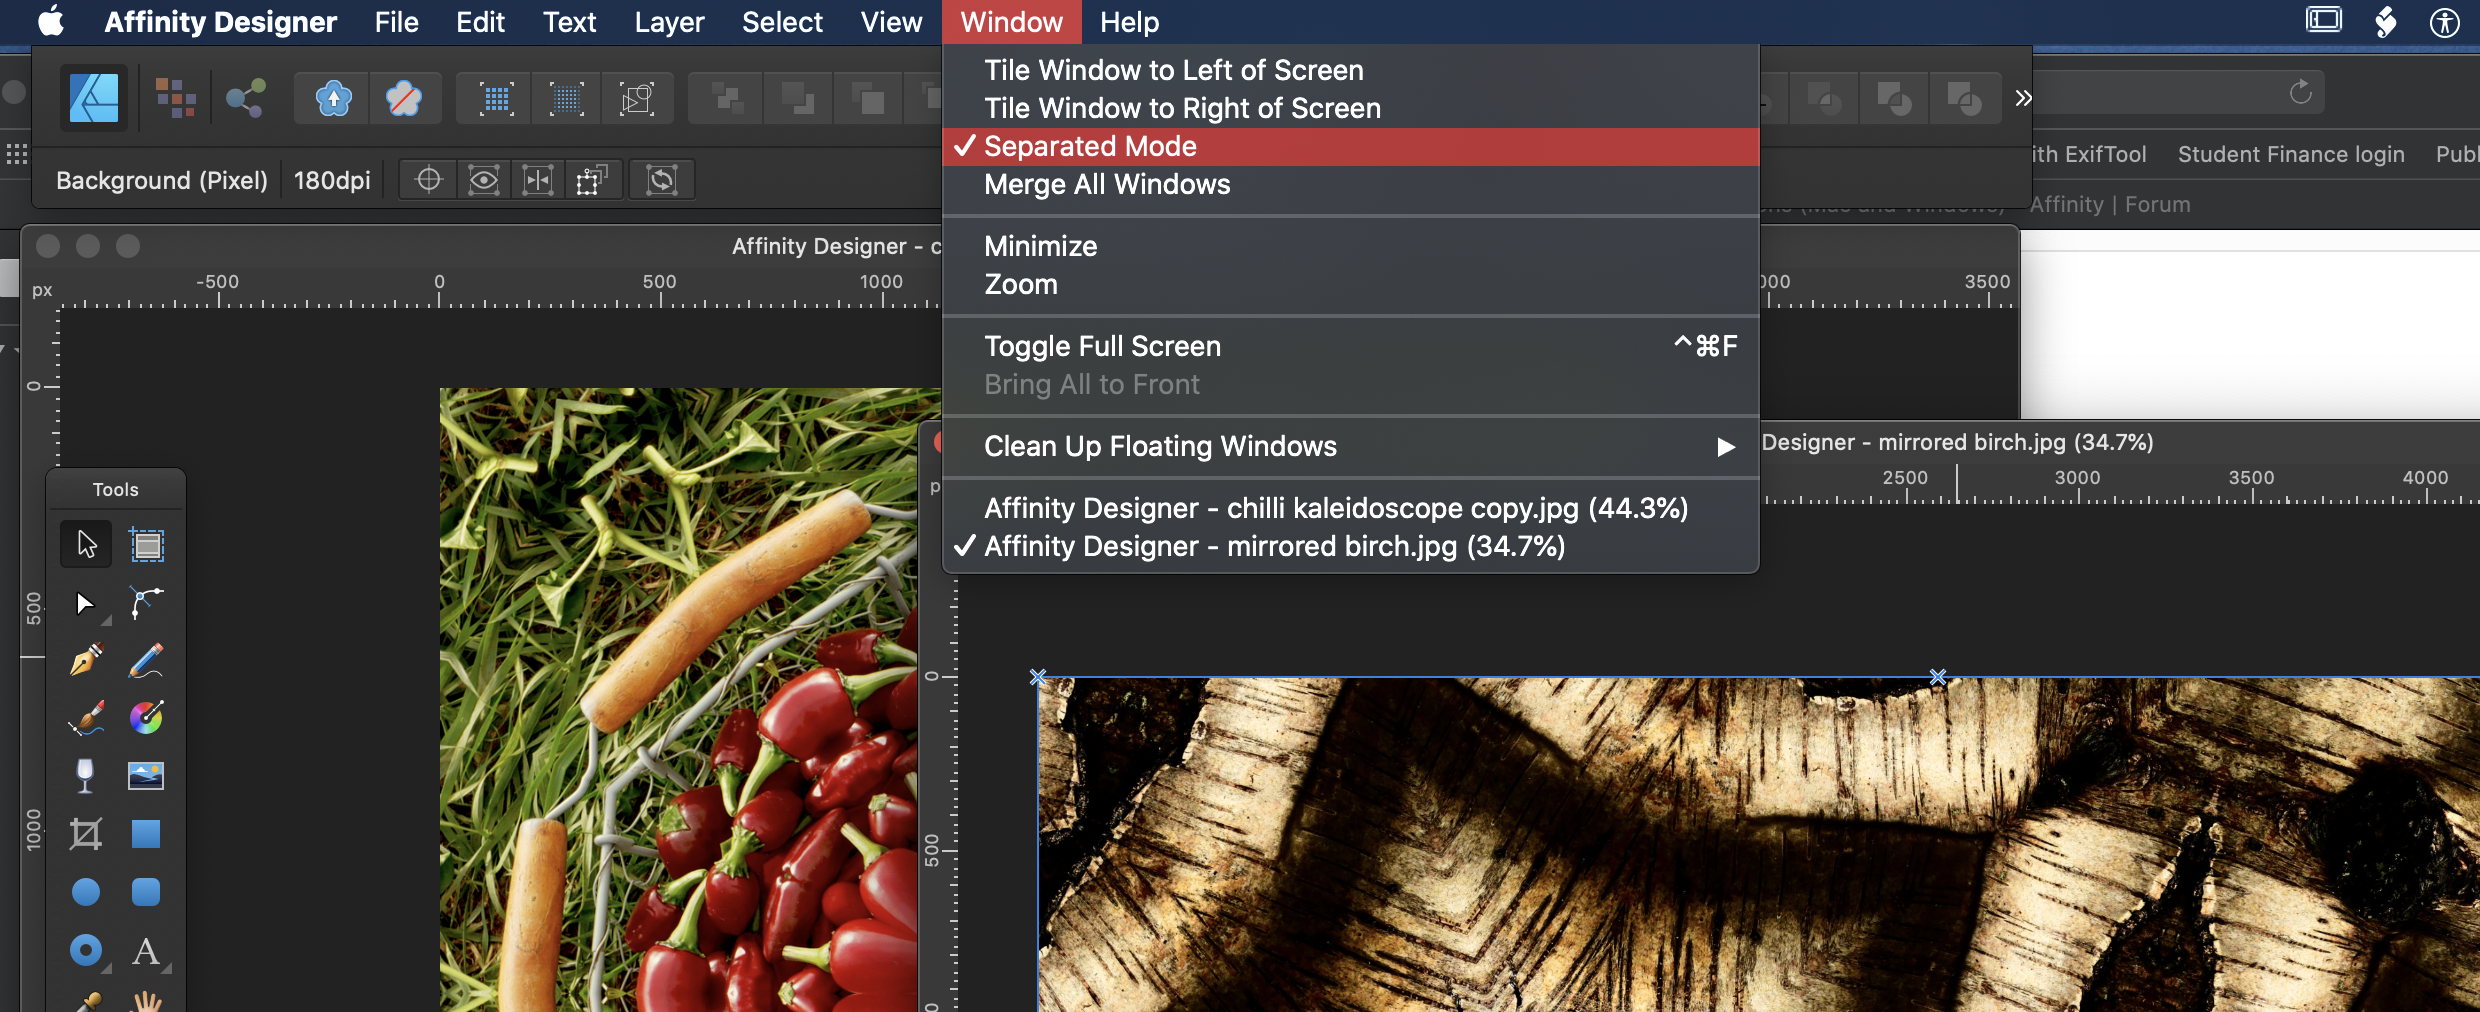
Window -> Separated Mode:
-
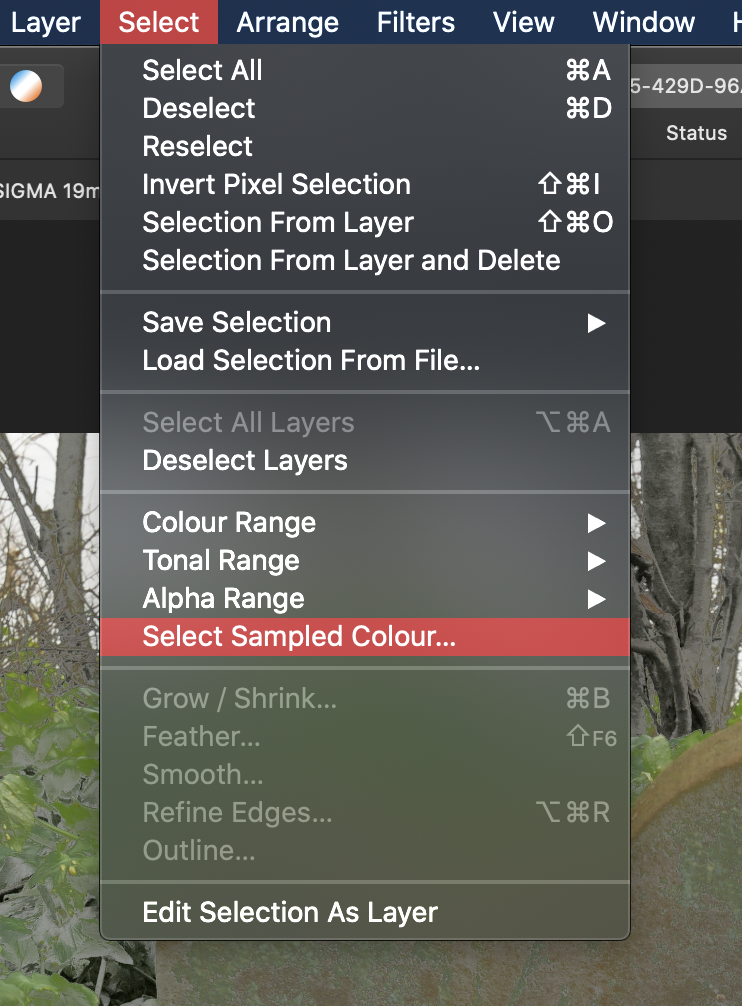
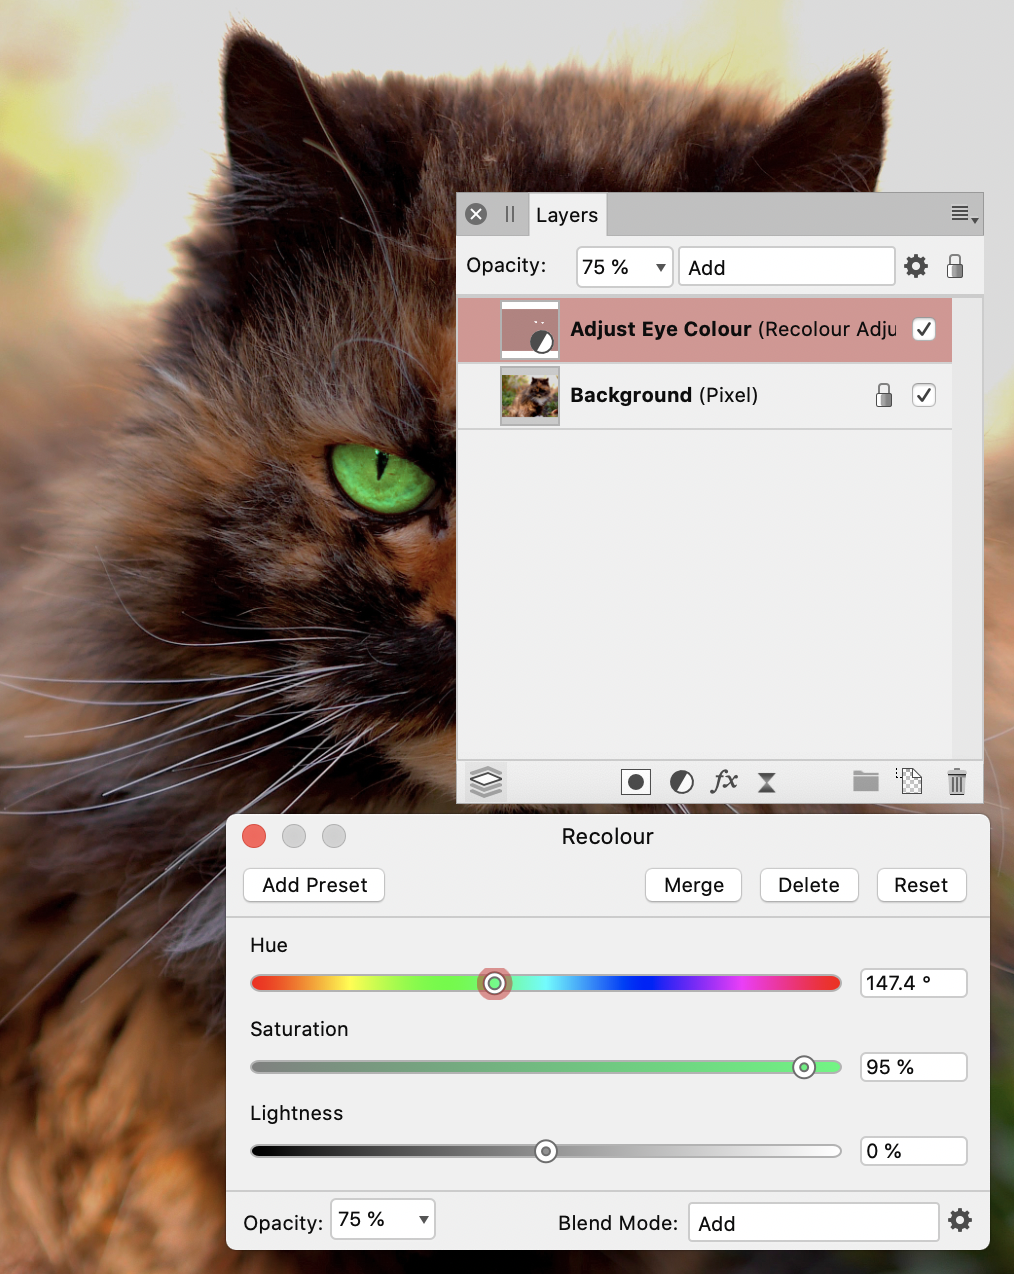
Don't know if this will help, but in the Select menu there's an option to Select Sampled Colour: Click the colour you want to select and then click Apply to confirm the selection. Rather than using the paintpot, you can then add a Recolour adjustment layer which will automatically create a mask of the selection. Deselect to remove the 'marching ants', and then adjust Hue/Saturation/Lightness. It's also worth experimenting with the Opacity and Blend Mode settings. Screen Recording 2020-02-06 at 19.07.05.mov But if you can post the original image, it'll be easier to understand the effect you want to achieve.
-
Free draw
h_d replied to Alan Pischner's topic in Pre-V2 Archive of Desktop Questions (macOS and Windows)
If you have an Apple Pencil, are you using the iPad version of Photo? If so, it might be worth posting in the Affinity for iPad forum. We're desktop wallahs here -
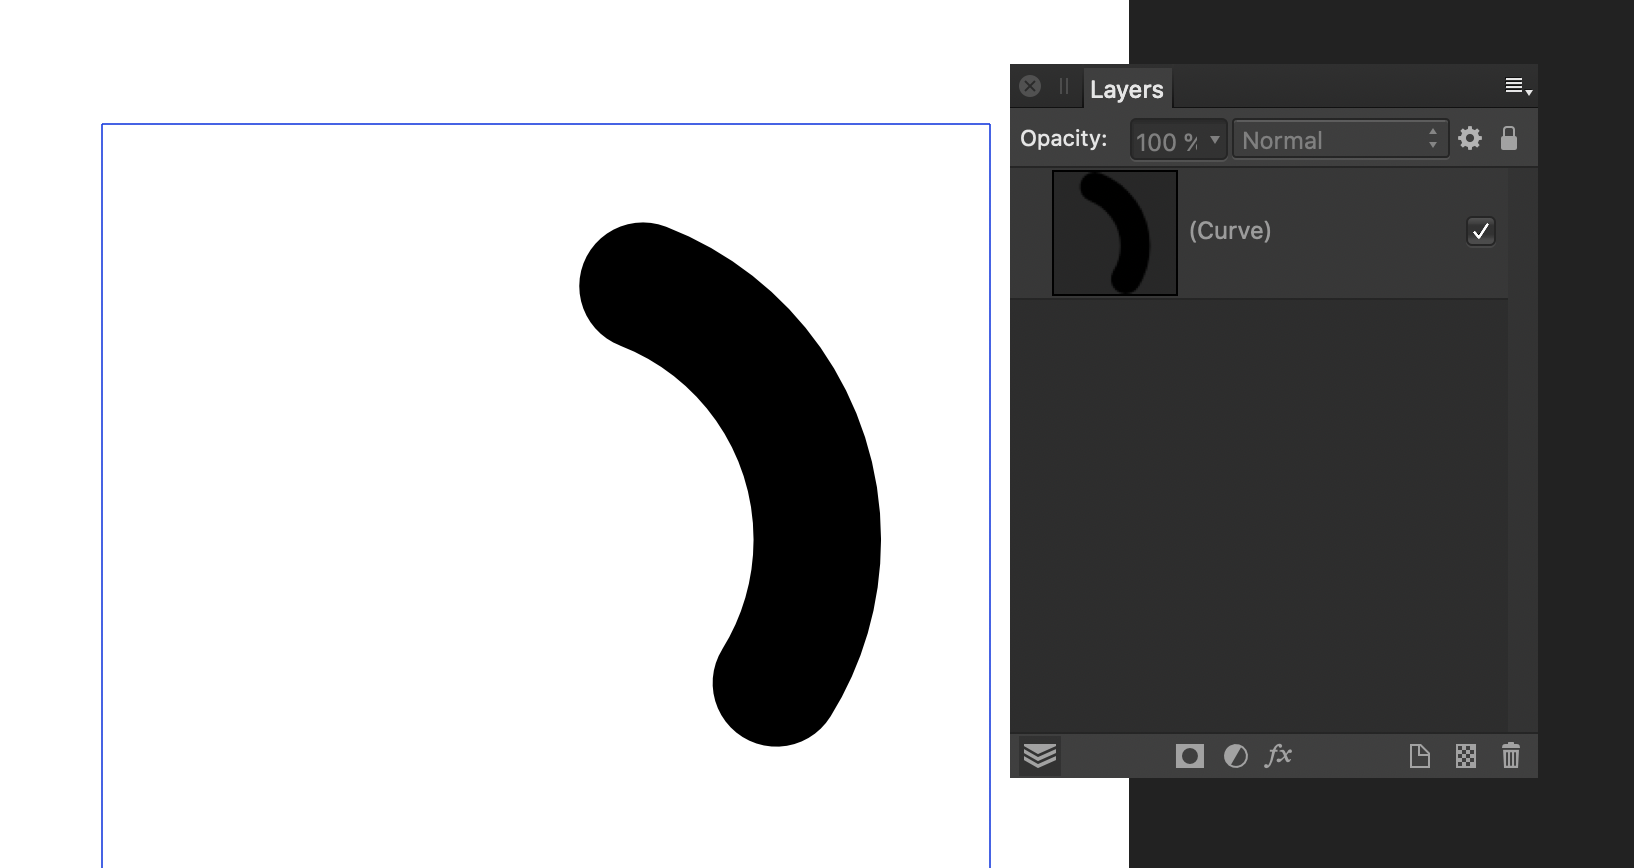
Another way... Draw a circle using the Ellipse Tool constrained with the shift key. Set fill to None. Set stroke to desired colour and thickness of banana. Set stroke end caps to rounded. Convert circle to curves. Select Node Tool. Click at one end of banana. Click Break Curve in Context Toolbar. Click at other end of banana, again click Break Curve. This will create two layers in the Layers panel. Delete the non-banana. End result: .afdesign file attached with history saved so you can scrub through it. Cheers, H bananaman.afdesign
-
Sorry, been putting up a new shed... You can also use the Selection Brush Tool to select areas of similar colours - may give you a more precise outline than an ellipse. Cheers, H
-
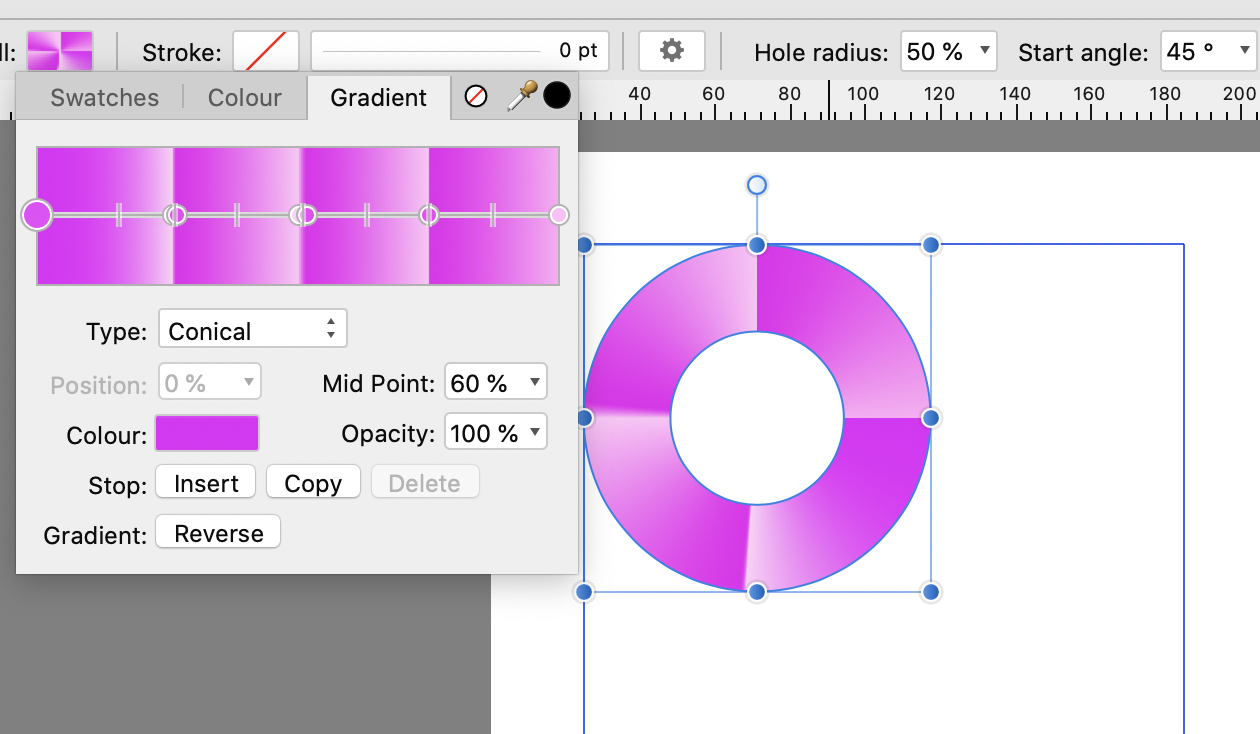
A donut with a quite complex Conical fill: spacetime donut.afdesign
-
Not really no - it was ghost cat trying to freak out the pooch. 🐈 (But to get vaguely back on topic, it was done using Affinity Photo and a Recolour adjustment. It's non-destructive so I can go back to original - though sadly deceased - cat if I need to. The colour change is a screen recording of me scrubbing the Hue slider up and down.)
-
Probably best to ask this in a separate thread on the main Questions forum. This board (and this thread) are Affinity Photo Beta 1.8 specific. Cheers, H
-
Screen Recording 2020-02-05 at 07.24.56.mov
-
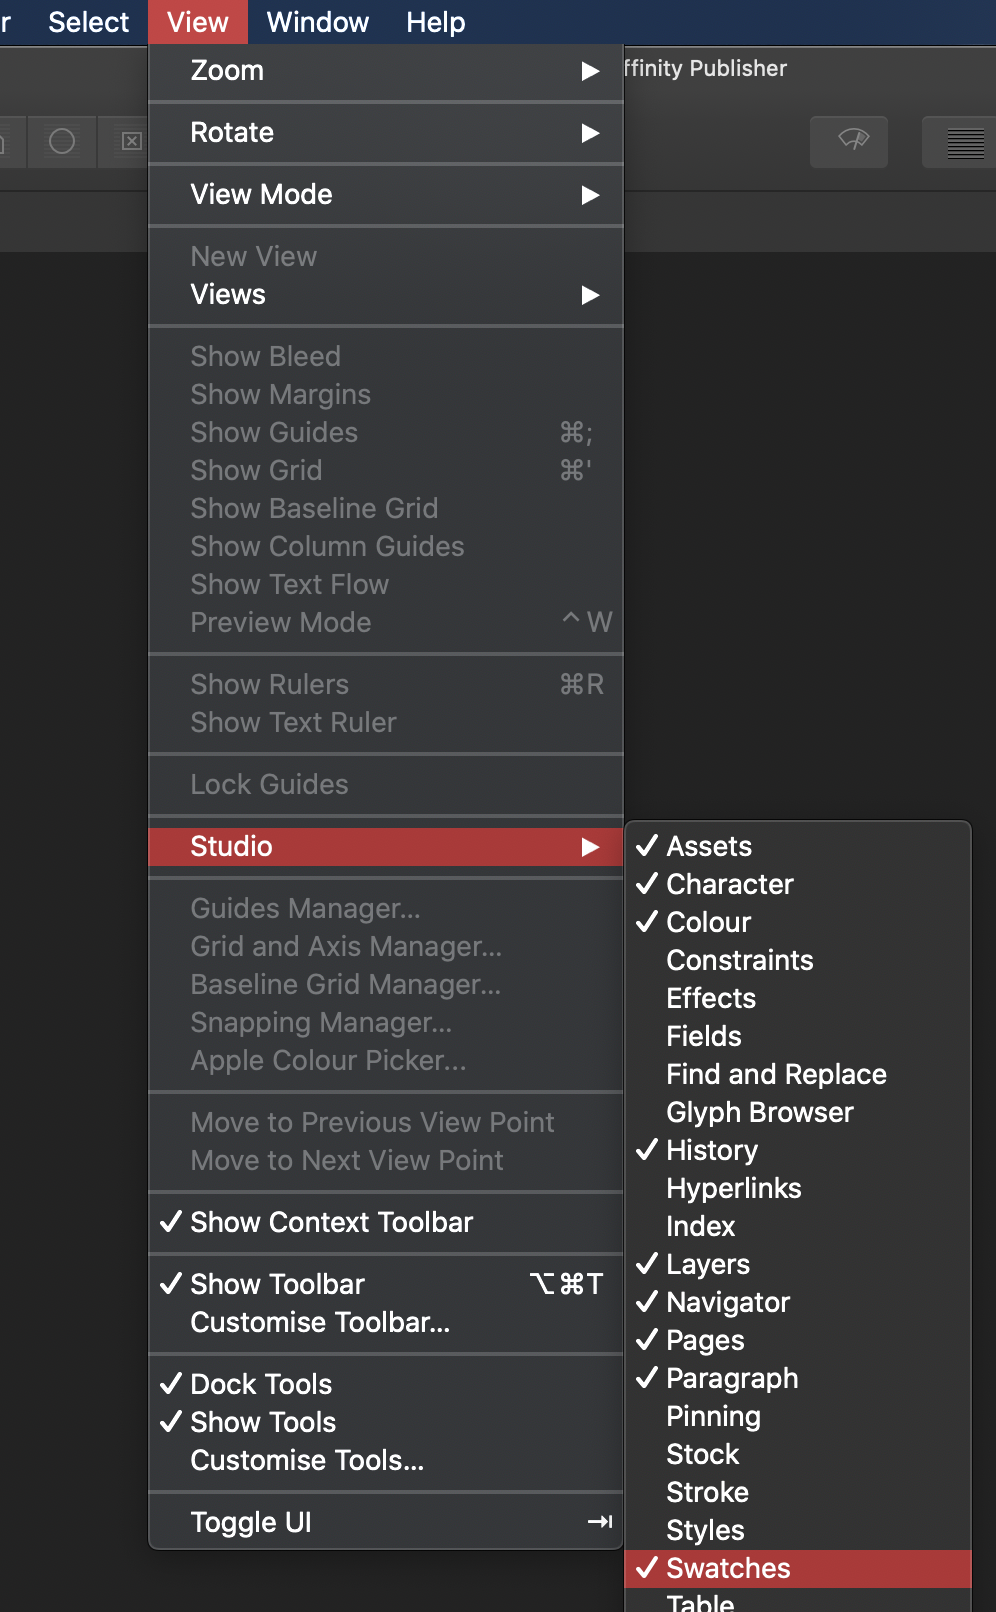
View menu - Studio - Swatches: Cheers, H
-
From PDF to JPEG
h_d replied to pierobortolot's topic in Pre-V2 Archive of Desktop Questions (macOS and Windows)
Ah @Callum that would do the trick! Raises the question which application the OP is using... -
From PDF to JPEG
h_d replied to pierobortolot's topic in Pre-V2 Archive of Desktop Questions (macOS and Windows)
I fear that @Callum 's solution may only produce a single .jpeg containing an image of all the pages, even if Affinity Photo were happy opening and exporting a 150-page pdf document. This happened when I tried it with a three-page pdf. (I also tried it with a 64-page pdf and my Mac crashed hard). If @pierobortolot is on a Mac, I can offer a non-Affinity solution using Automator and a third-party app, Graphic Converter. Post back if interested. -
Problem when replacing sky
h_d replied to daveb2's topic in Pre-V2 Archive of Desktop Questions (macOS and Windows)
Hi and welcome to the forums! It's hard to tell without seeing the original image and the steps you took to get your outcome. It looks to me as though the "white line" is a left-over from the sky in the original that hasn't been selected before masking/deletion. How did you select the original sky? Did you then use the Refine... button to improve the selection? If so, did you make any changes to the settings in the Refine panel? All the best, H -
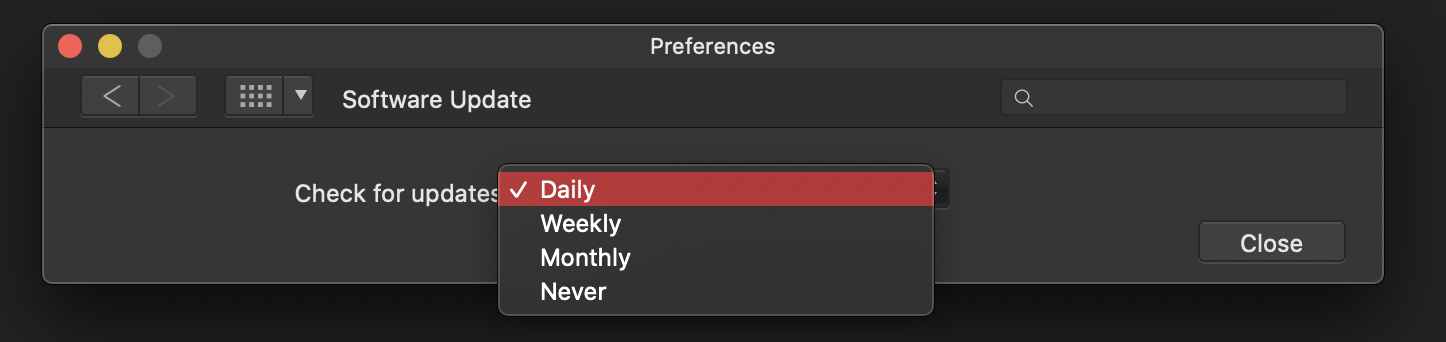
Try Preferences - Software Update (this is Publisher, which I bought direct from Serif): Cheers, H
-
vector brushes
h_d replied to benrymnd's topic in Pre-V2 Archive of Desktop Questions (macOS and Windows)
You may well find the custom brushes you're looking for in the Resources section of these forums. Cheers, H -
Info Panel dimensions blank
h_d replied to SP40's topic in Pre-V2 Archive of Desktop Questions (macOS and Windows)
The Info panel doesn't display image dimensions - they're in the Transform panel. The Help documentation gives a description of what the Info panel does - it's mainly to do with colour sampling. If you set and then move a target, you'll see the H, W, D and A values update in the Info panel: Cheers, H