

carl123
-
Posts
10,339 -
Joined
Posts posted by carl123
-
-
Lots of people have mentioned the Icons etc being too small for comfortable use, especially on larger screen sizes, so Serif are aware. You may want to check out Affinity Glass when it becomes available.

-
4 minutes ago, Renzatic said:
I don't like going down there. It smells musty, and though I have no idea how, sometimes possums manage to get in.
You should find out how they are getting in sooner rather than later and fix it.
Or one night you're going to wake up to a possum sized axe murderer at the end of your bed
-
I cant seem to reproduce that on any of the images I have tried
Are you able to upload the image you tried it on?
-
There are many ways to do this
One common way is to apply a Live Filter Layer to the image (e.g. Gaussian Blur)
Then use the Brush Tool (set to black) and paint directly on the Live Filter Layer to hide the blur on the parts of the image you don't want to be blurred.
If you accidentally unblur an area you did not mean to, just change the colour of the brush to white and repaint that area to add the blur again.
A selectively blurred image is attached.
-
14 hours ago, dutchshader said:
select the F and with the corner tool click "bake corners"
Selecting the F and then Layer > Convert to Curves also seems to work
Not sure if either method has any advantage(s) over the other (?)
-
4 minutes ago, Old Bruce said:
I just don't trust clouds, they tend to rain on parades.
and some basements have been known to flood. Water has a pesky way of settling in the lower levels first
But I guess those with 550lb safes in their basements also have 550psi pumps
Anyway, time for beers, let us all pray it does not rain this (UK) bank holiday
-
It may be the Command(?) key instead of CTRL
Not sure I dont have a Mac
-
Well I can only admire your diligence, taking your external backup drive down to the basement and locking it in your 550lb safe every time you go to bed or leave the house/office
With my luck the one time I forgot I would be burgled and the burglar would then set fire to my house!!!
Since I don't have a basement or room for a 550lb safe (seriously, who does?) I guess I will just have to stick to cloud backups
-
Who would think of taking a safe in a robbery?
a.) Nobody
b) A burglar
-
If you are on Windows you can hold down the CTRL key and start Designer as normal. You will then see a dialogue box appear with 3 items ticked already, leave these items ticked and click the Clear button.
See if that solves the problem.
-
8 minutes ago, Magi said:
I don't use any cloud service. Reason 1 is I don't trust anyone with my photos. I backup my photos on my own backup drive.
You need an off-site backup somewhere, one burglary or fire and your life/work/business gets reset to zero.
Don't be that idiot that did not backup his stuff properly.
-
Similar to the conspiracy theory I was thinking but I accept your answer, so thanks for the clarification.
It's good to share this sort of stuff
-
-
Which only leaves us with conspiracy theories.
-
It still makes no sense to me, if I copy from an Affinity app, leave the app open and try to paste into a non Affinity app that does not support your objects then nothing should happen so why wipe the clipboard when the contents are still viable for other Affinity apps.
-
9 minutes ago, Callum said:
I can see why we would clear clipboard contents with our own objects on the clipboard
I cant.
When pasting from one Affinity application to another, if short on resources, (low spec PC) you may want to close the copied from application before firing up the other one and doing the pasting
-
On a new document...
Add a red rectangle covering the page
(this is just so you can see the final white snowflake clearly)
File > Place the blue snowflake image on the page
Right click the layer and Rasterise the image
Click the Blend Ranges cog in the Layers panel and drag the right hand node in the left hand panel (Source) all the way to the bottom
Add a Threshold Adjustment layer to just the blue snowflake layer to turn it black
Add a white rectangle just slightly bigger than the snowflake so it covers all of it.
Move the snowflake layer above the white rectangle in the layers panel
Right-click the snowflake layer and select "Mask to Below"
Select the layer which now has the Mask applied and Right click and Rasterise it
You should now have a white snowflake on a transparent background which you can copy and paste into another document
I have attached an APub file with history saved just in case I missed something in the above instructions
If someone knows an easier way than the above, (just using APub) please share it
-
1 minute ago, johnleftwich said:
Yes, thanks for that Carl, while I'm here, how do I save a palette to import, say, into Designer?
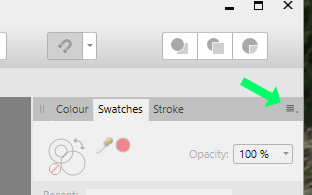
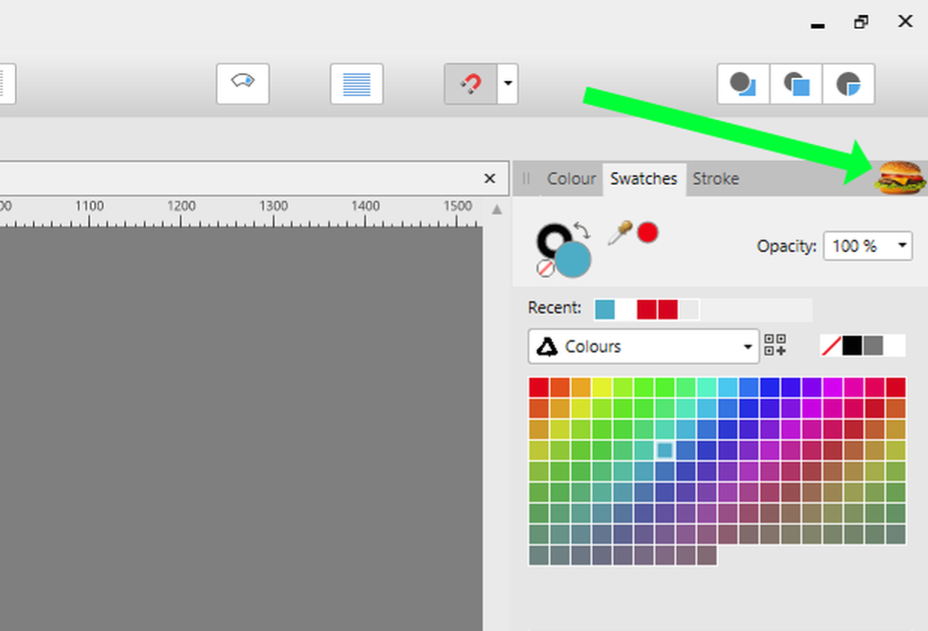
On that same hamburger menu that you clicked on you should see an option to Export Palette do that then on the same menu in Designer use the Import Palette option to import your custom palette into Designer
3 minutes ago, johnleftwich said:PS. why 'aven't I got the nice coloured 'amburger' icon, like what everybody else has??
I apologise, I have a 3rd party add-on pack which changes some of my icons into more colourful versions that I find more user friendly and memorable.
You have the official Publisher version so are restricted to the basic icons that come with Publisher.
As you are still learning the program I would stick with those icons etc as all training material and videos etc will be based on what you see on your screen not mine.
-
If you click on your hamburger menu can you now see the palette options you need?
-
Do you know what the file format is of the barcodes you are copying?
png, jpg, something else?
-
I can see it.
You just have the poor man's burger
-
-
Well, I can copy some images from websites and "paste content" them in a frame but it may depend on the image format etc
Can you name the website ?
If not try copying the barcode to your computer and copy and pasting it from there
-
28 minutes ago, Jenny said:
When I right-click the picture frame I have the option to "paste" and a greyed-out "paste content". How to I paste a new photo into a frame now? I can't figure it out ...
I get the opposite "paste" is greyed-out and "paste content" is active and works
How are you getting the image onto the clipboard?


For simple vector drawings, is there anything that Affinity Designer can do that Publisher can’t do? (Dekstop)
in Pre-V2 Archive of Desktop Questions (macOS and Windows)
Posted
@kdog3682
Go for it.
Publisher has some advanced features such as the Resources manager, File "linking", Tables and Pinning that has me wondering if it could replace Photo and Designer for me as my go to application for starting all my projects.
In situations where a particular feature is not present in Publisher I am hoping that easy switching to and from Photo and Designer to access those features will be smooth enough for me not to have to worry about this.
I am looking forward to the final release of Publisher to be able to test it out on a live project using Publisher as the key application for that project to see just how well it performs