Search the Community
Showing results for tags 'stroke'.
-
 When placing an image, the fill colour of my image frames disappears in Publisher when the file is linked. The first file is copied from the web and pasted into the image frame. The second image is saved to disk and then brought into the frame with the replace image button (I had to actually replace images earlier to retain scale and position). 2022-11-17 17-48-02.mp4 Notice that when the image is deleted, it leaves a white mark where the fill is supposed to be. Removing the stroke of the object gets rid of this, despite not having applied a stroke, nor a stroke colour. Steps to reproduce: 1. Create an image frame that spans the entire page 2. Select the image frame and apply a fill to it 3. Click the replace image button and place an image 4. Notice how the fill colour of the image frame disappears. Image placing policy is set to embedded. This is on Windows 10 19044.2251 (21H2).
-
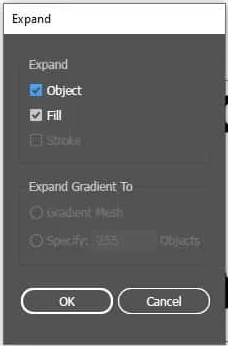
Would be nice if I cloud use the equivalent command to the Expand/Expand Appearance in Illustrator that will separate the stroke and the fill to individual objects. The Expand Stroke command leaves the "bleed" of the fill under the stroke. The Geometry or the Shape Builder needs many steps if it's a complicated object or a group of multiple objects.
-
In this demo you can see that I increase the stroke width, but that the object has no stroke colour assigned. Therefore, I don't see any effect of increasing the stroke width with the new keyboard shortcuts [ and ]. 2022-11-10 21-29-11.mp4 Worse, it can lead to extremely large and buggy strokes when I do apply a stroke colour. 2022-11-10 21-29-11.mp4 Therefore, I would like to see that a default stroke colour is applied when increasing the stroke width while there is no colour assigned. You generally tend to hold the key until you are really sure it is not working. By then, the stroke value is probably so large that you get what I showed in the second video.
-
 There is an aliasing issue that occurs with shapes created with the Star, Double Star, Square Star, Cog, or Cloud tool in Designer 1.10.5 for macOS. There are various ways to reproduce this bug, but here is a reliable method that makes it quite easy to see. Create a small document (~100x100px, 144dpi). Enable retina pixel view mode, and zoom to fit. Select the Star Tool. Create a 50x50px star. Give it a 10pt black stroke, aligned to the outside of the shape. Decrease “Inner radius” and “Outer circle” to 0%. From 50->1%, the outer edge changes slightly, but the moment you reach 0%, suddenly the border is much harsher and more jagged. This same bug occurs with the other radial shape tools: Star — inner radius and outer circle to 0% Double Star — inner radius to 0% Square Star — cutout to 100% Cog — tooth size to 0% and notch size to 100%, or vice versa Cloud — inner radius to 0% This is a literal edge case, but there are circumstances in which any of these settings would be useful. For example, I encountered this bug when attempting to make a five-pointed asterisk character, which has spokes with no width besides the stroke. Affinity Designer 1.10.5 macOS 12.4 2019 MacBook Pro occurs with or without hardware acceleration no external hardware Star with 0% internal radius (left) vs. 1% internal radius (right): (for better comparison, please download the images and toggle between them) bug.afdesign
-
I would like there to be an option in the colour picker to apply sampled colours of filled objects to the selected object's fill colours. Similarly, sampled strokes should be applied to the selected object's stroke colour. This is how it works in Illustrator and bypasses to have to check whether fill or stroke colours are active to determine to where your colour ends up going. For any non-vector objects that were sampled, the colour should still be applied to whether the stroke or fill is currently active. This saves quite a lot of time if you need to apply colours to newly created objects it helps if you can sample them from objects that were already created. This proposal does not cover stroke widths (or appearances in general, which the tool currently does not sample). For that, see:
-
 Picking a color for Gradient strokes and fills, only works from the gradient menu. In the gradient menu there is the option for color. However from this color panel I do not have access to my swatches. Further more, if I navigate to my swatches and select a color, that color overrides the gradient on the object as one solid color. Same goes for the color panel. Note -- For fills I can work around this by using the Fill tool to create the adjustable line for gradients, selecting the nodes on the adjustable gradient line and then selecting colors from my swatches or the color panel with out the swatches overriding the gradient to a solid fill. I should be able to select a color for gradients from swatches and the color panel while I have the gradient panel open with nodes selected. I should not be limited to the single "color selector" button that is within the gradient panel. I feel like it could almost be done away with, as I'm sure most people have their color panel or swatch panel located somewhere on their screen. Edit : I have found that within the gradient color selection there is a drop down which allows me to access my swatch colors. This provides me with a useable work around for coloring stroke gradients. However my point still remains that this color selection button could be done away with. I already have my color panel, and swatch panel, open in my work space, I use them very frequently and habitually. It is very frustrating to have these extra steps/clicks to navigate to and color gradients. When the color and swatch panel are used so frequently, it is very anti intuitive that they both do not work for gradients.
 -
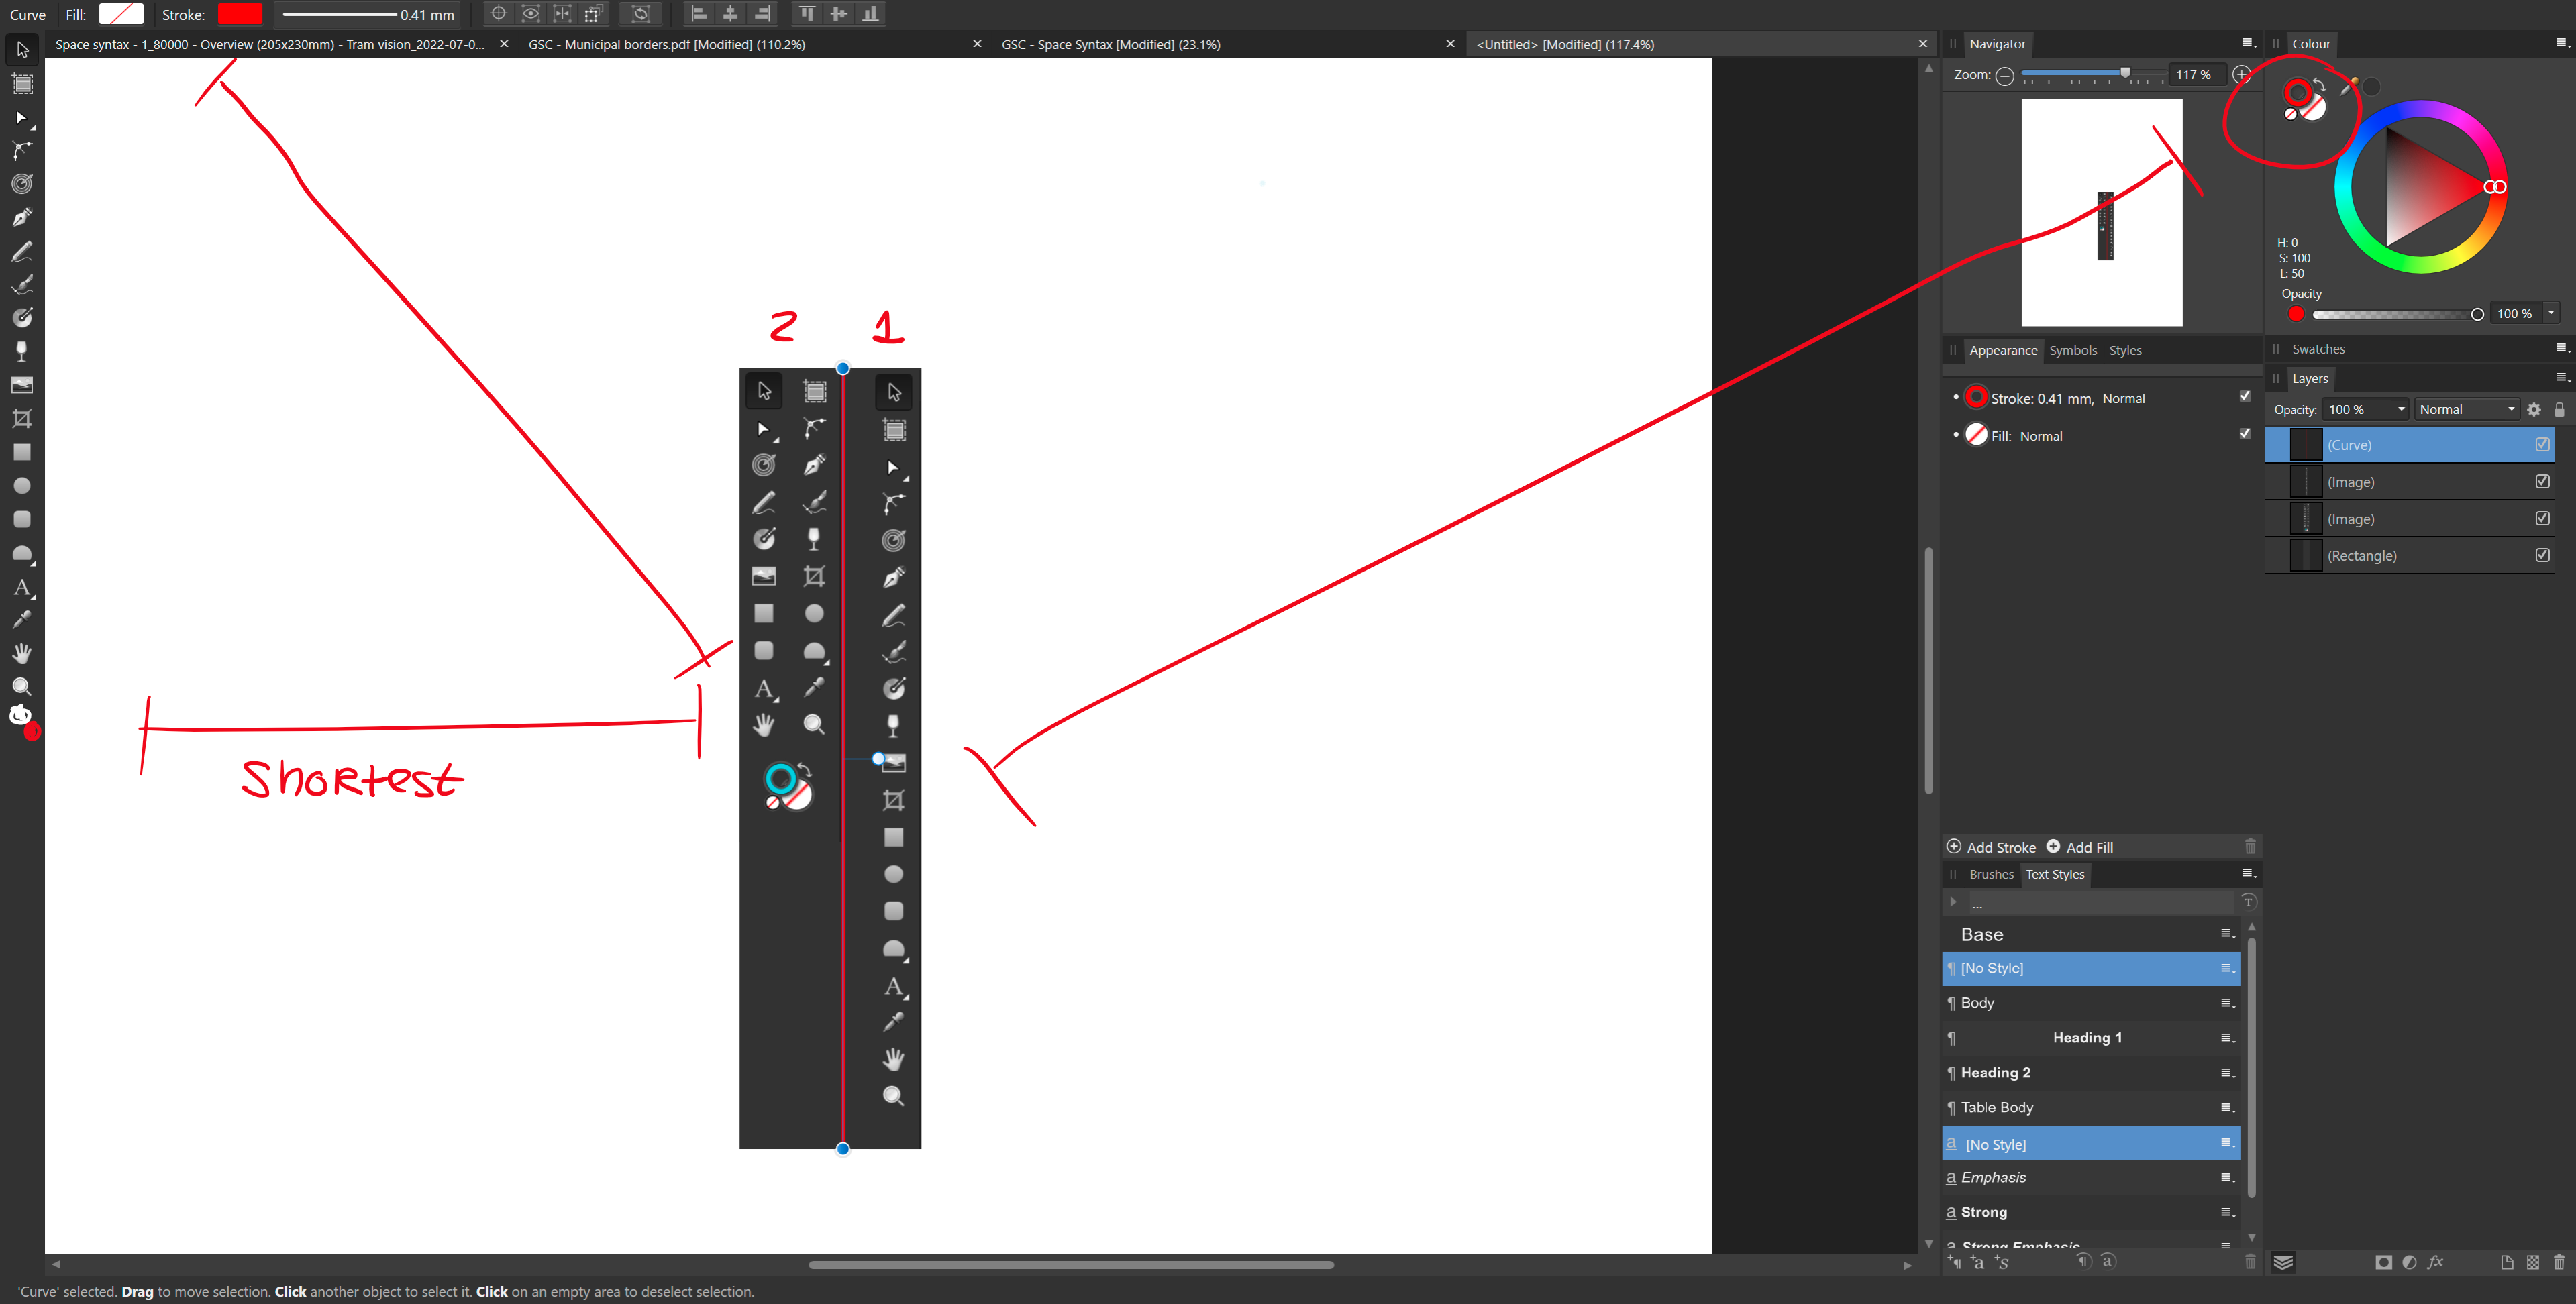
I prefer using the 1 column width toolbar, but it comes at the cost of not having a fill & stroke colour widget there. I prefer to have it there, because it gives me a clear indication on first glance. And it stays there regardless of the studios I have opened. It is also the closest to the canvas and since you already glance the tools to know the active tools, it would be the ideal place to add this. Hopefully this will be reconsidered! Also, see the discussion here:
-
I want to use Select > Select Same to filter my objects from a PDF. In Illustrator, I can use Select Same to get all the objects that have a particular stroke & fill colour without selecting objects. I can use this to sort items along a gradient/ palette. The workflow is as follows: create a document palette > select the first colour > Select Same > Group > Deselect, pick the second colour rinse and repeat. This is also helpful to retrieve objects that are nested deep within the PDF, as long as you know the colours of the object.
-
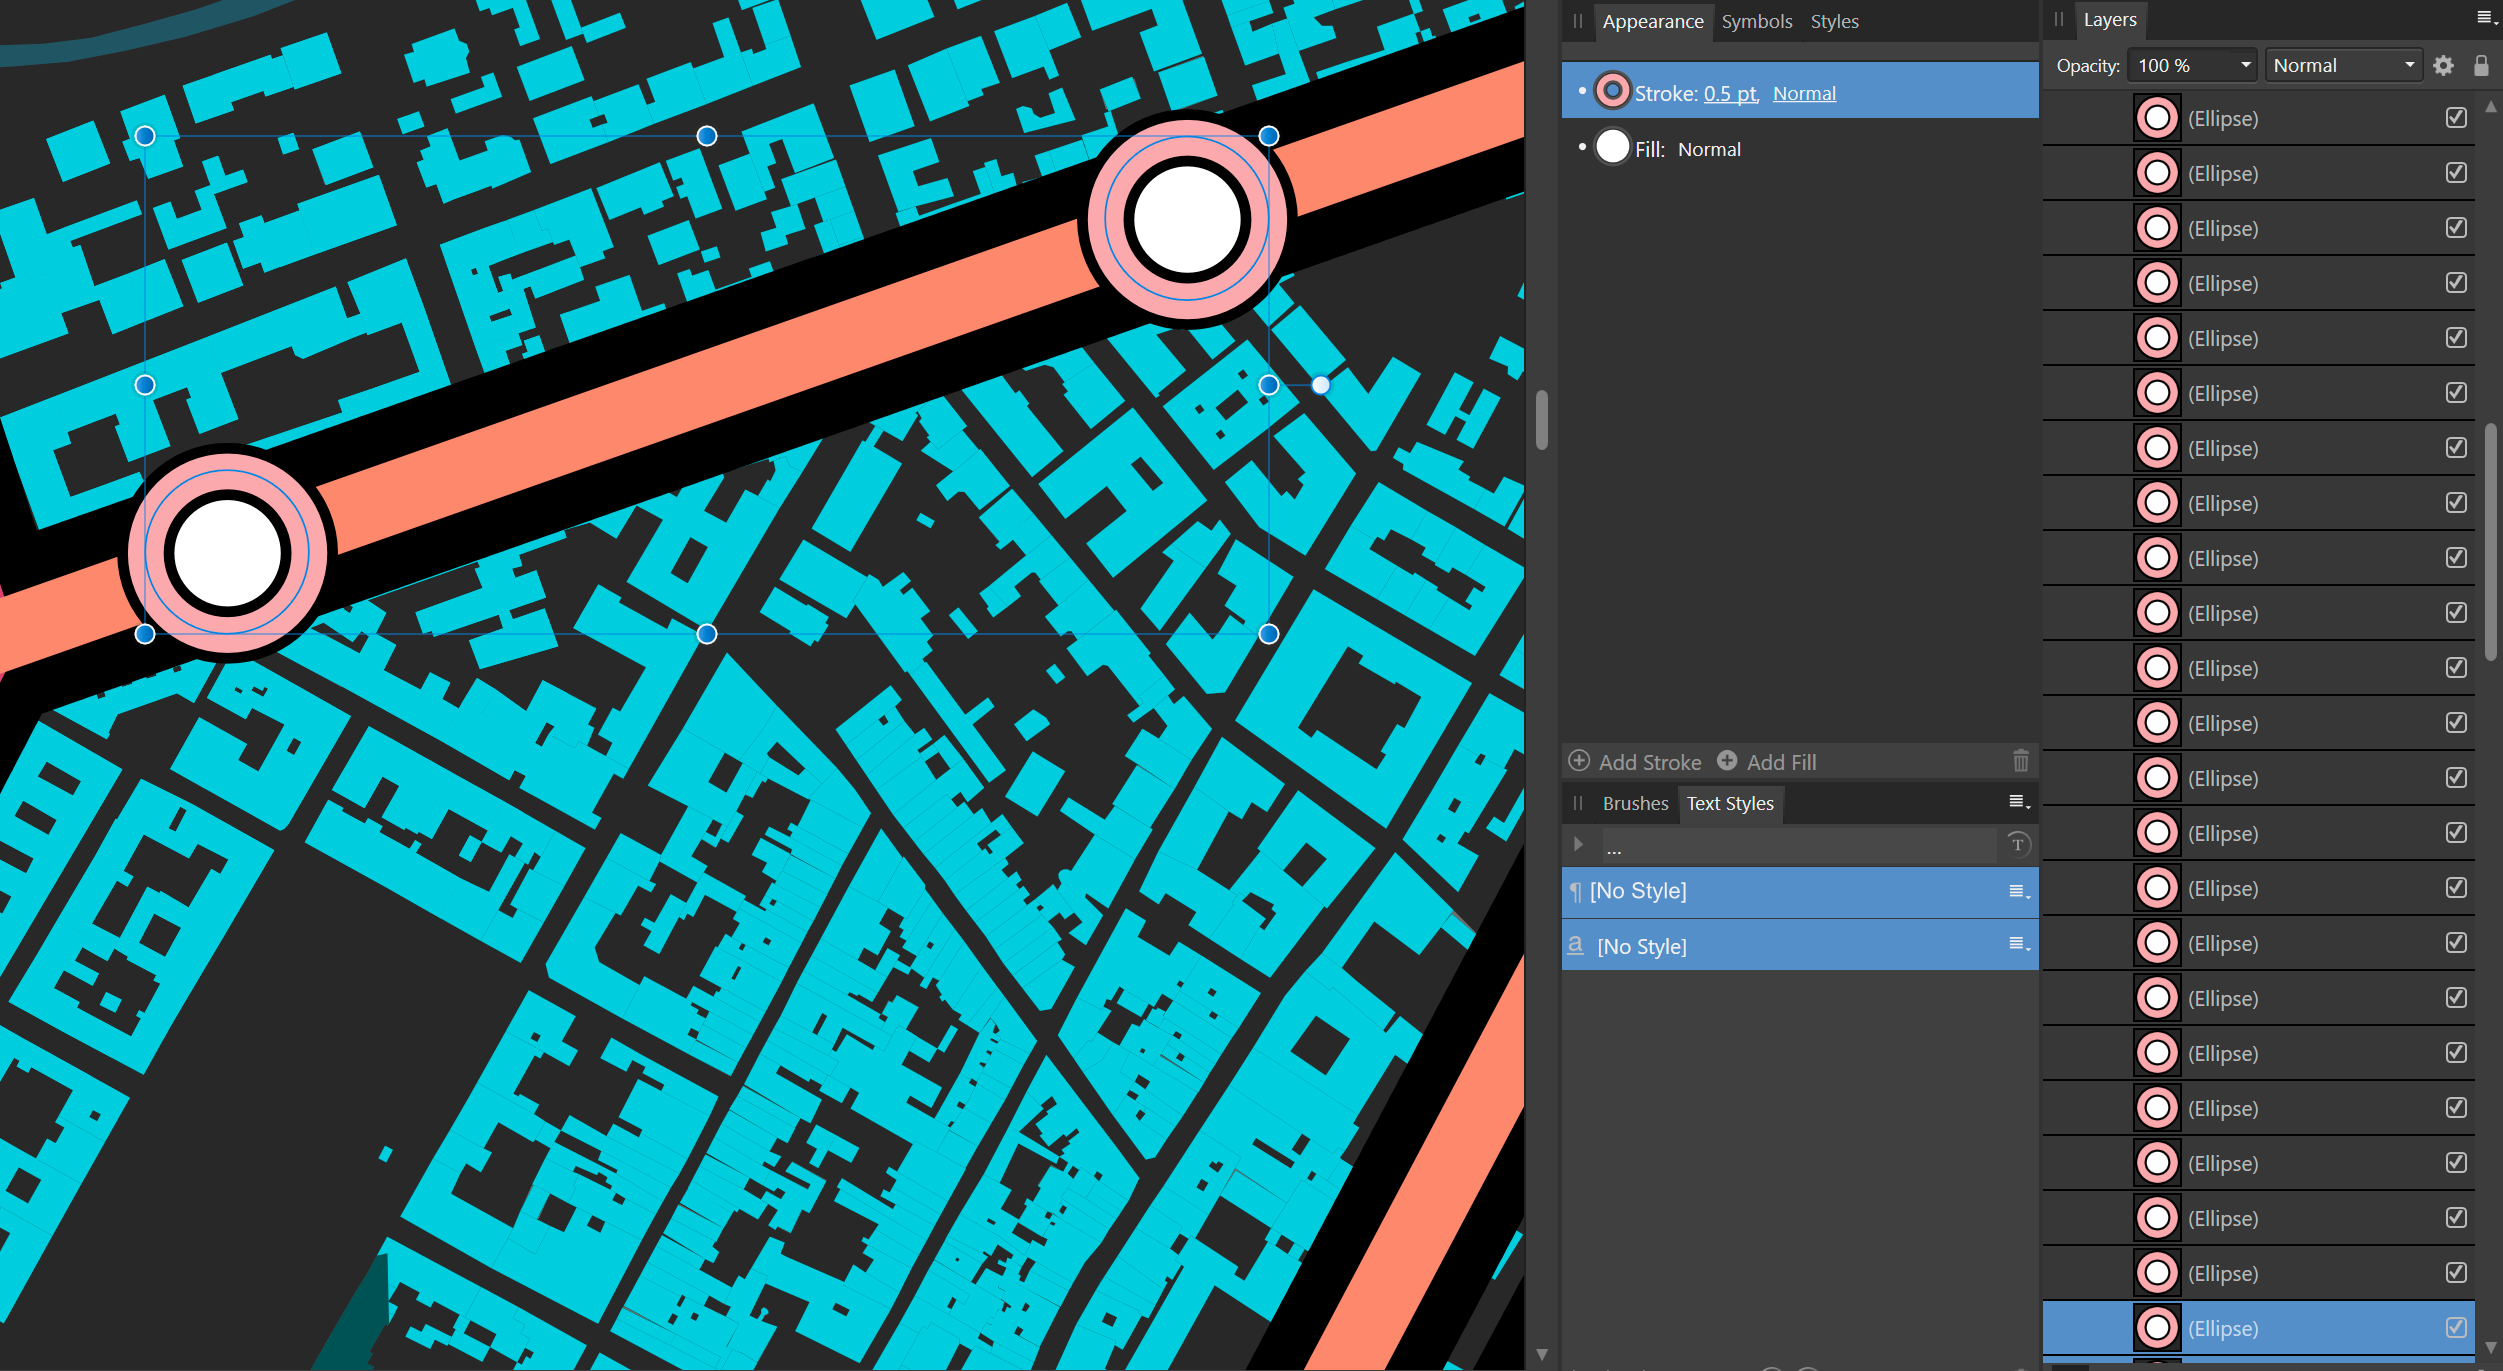
In the appearance panel, I only see a single stroke and fill property when I select multiple objects or layers: This is the case, despite both objects sharing the exact same appearance: This also means that if I go to the appearance panel and duplicate the stroke, the duplicated stroke is applied to all objects and I am not able to see this in the panel itself! That shouldn't be the case. Hopefully, this will be addressed together with a feature request of mine, which is to apply an appearance a layer:
-
I would like to use the colour picker to sample the appearance (style) from an object on the canvas, which it should apply to the objects I have selected. To me that's easier than copying objects and pasting styles. The reason for this is that I can change the selection and then switch to the eye dropper rather easily. It's a workflow many of us have been using in Illustrator and when I switched back to Illustrator after having used designer for a while, I feel like I am missing out on this in Designer.
-
 I've searched for other forum posts first but couldn't find anything so I've listed it here. I'd like to be able to split any stroke of any shape into a specified number of anchor points. In addition, some manipulation of this would be useful such as having different gaps between certain anchor points. Thank you!
 -
Hello there, I just can't figure out what I'm doing wrong. I'm doing exactly the same thing to the exact same type of stroke. On one I'm able to change the width and on the other I'm not. 2022-04-25 22-10-55.mp4 Also, I'm sorry to bring up stuff that's been posted already. But I've seen posts of people asking for a better "Stroke width tool" similar to AI's one since 2014. And there is still nothing added or changed. Anyways, am I doing something wrong? Do I missunderstand how pressure properties work? Or what exactly happens here? Best regards
-
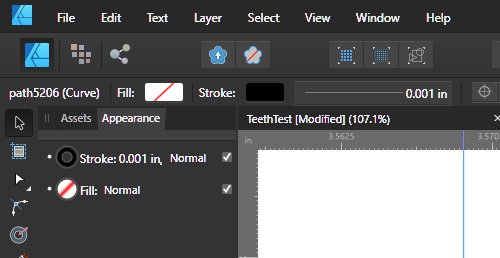
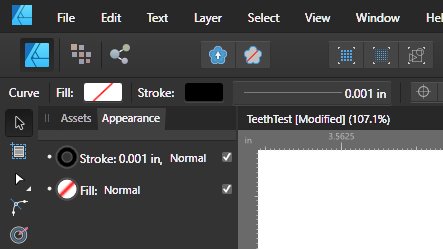
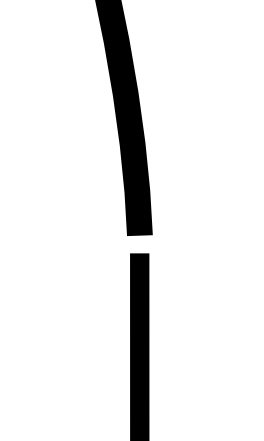
 I'm new to Designer having come from using Illustrator. I'm using Designer to produce drawings to be cut using a laser cutter. In order to cut the line width has to be .001 inches. I produced a drawing consisting of a number of curves and lines joined into one path. Then I drew another straight line and noticed that the path that says it has a stroke with of .001" is visibly wider than the straight line which also says it has a stroke width of .001". I had trouble during my last laser cutter session with some of my lines cutting and some not cutting even though they all claimed to be .001" thick. What am I doing wrong?
-
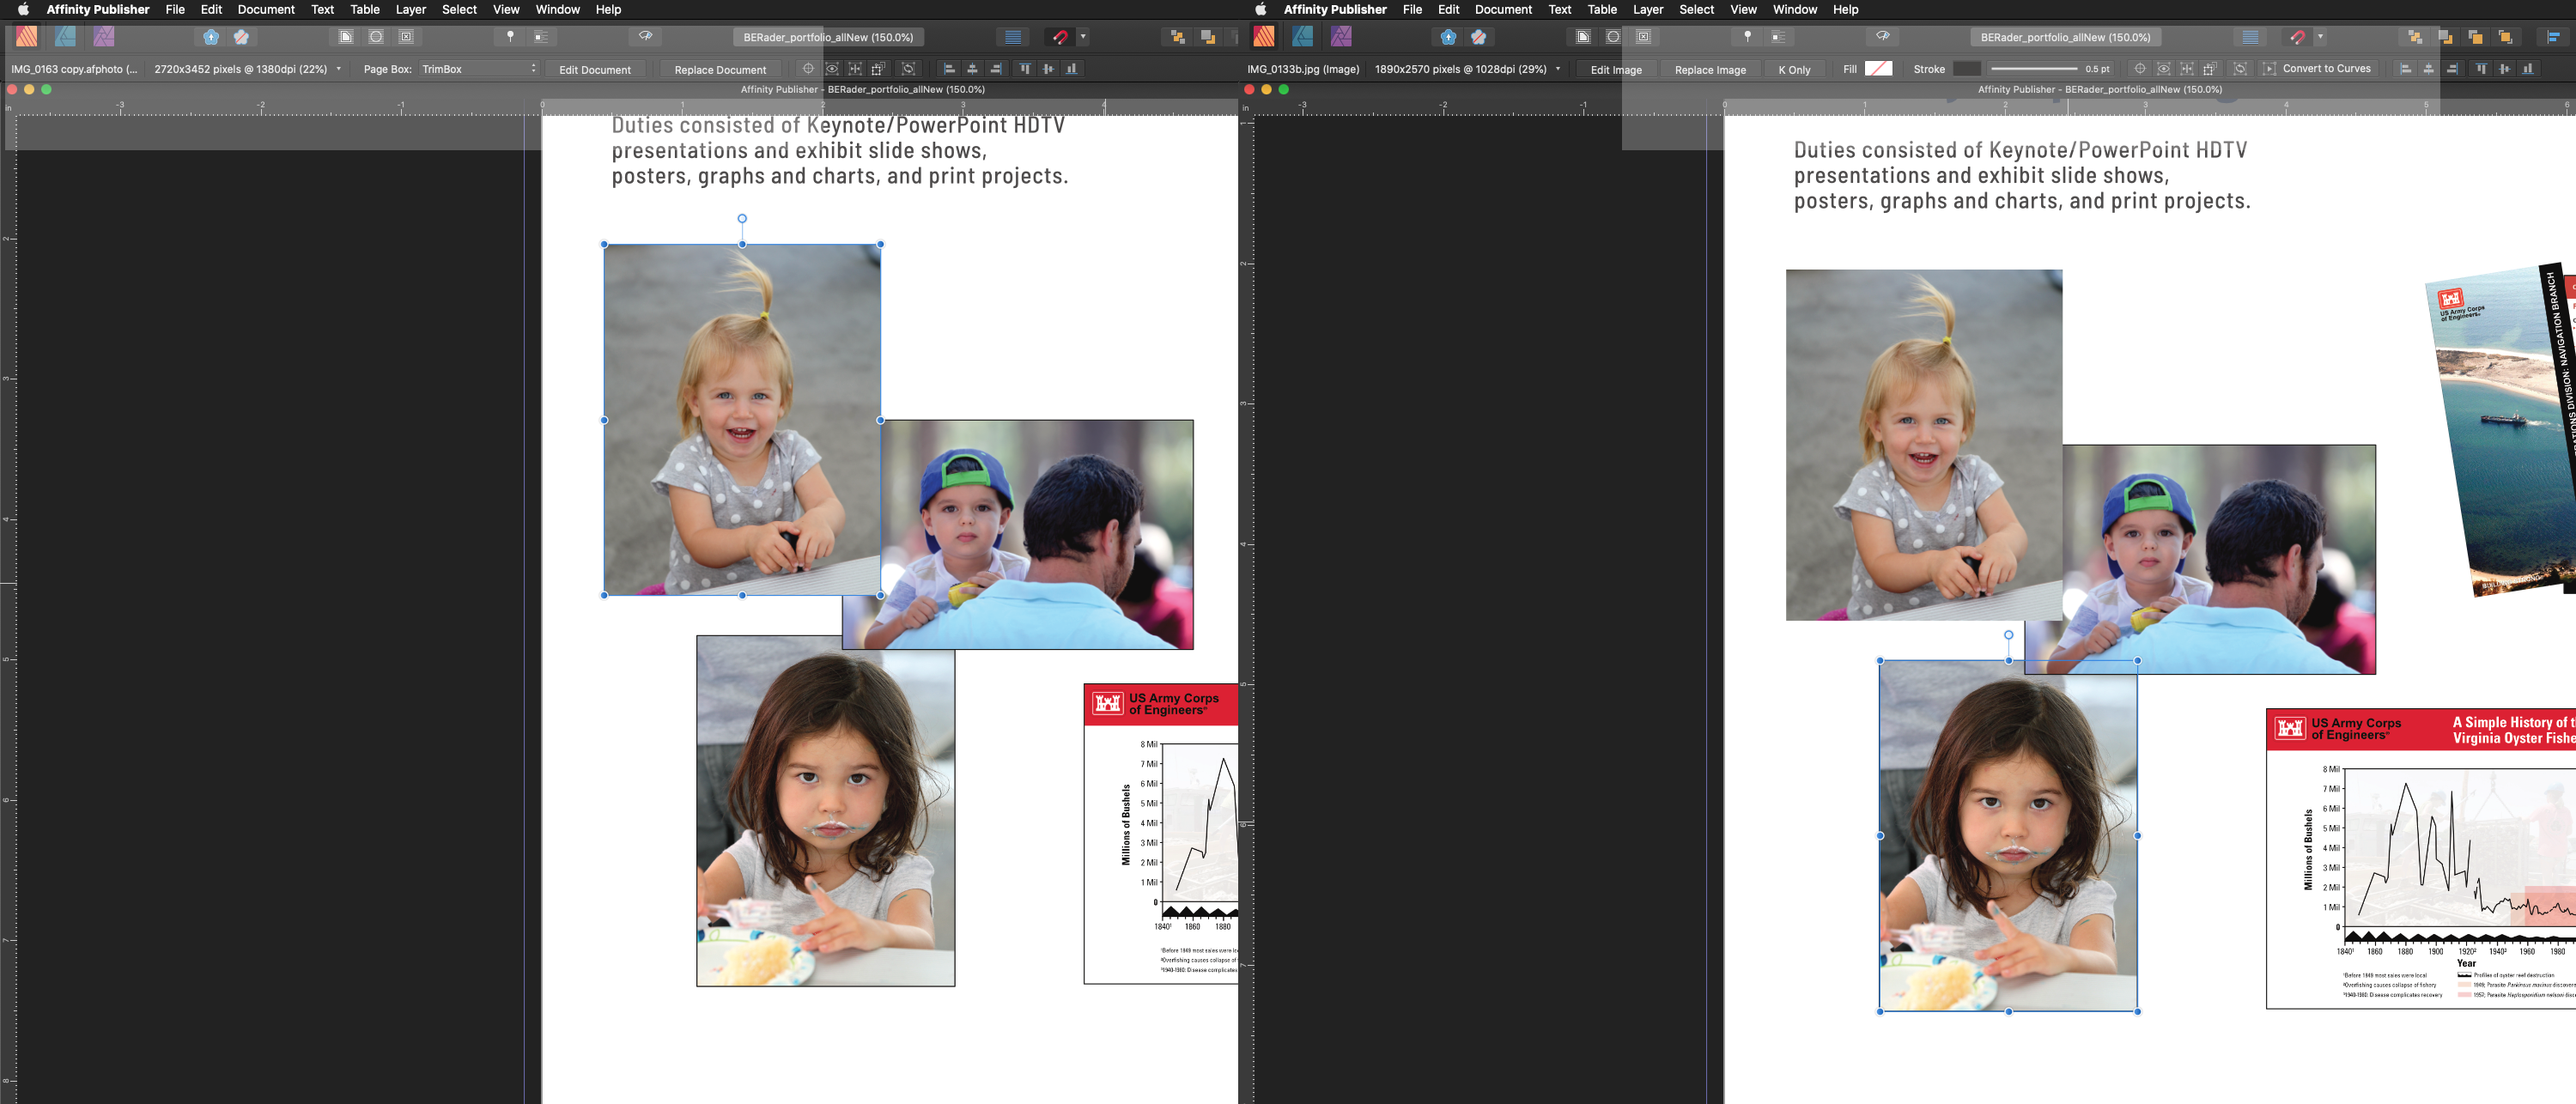
 When I place (link) photos into publisher, at times I cannot apply a stroke to the frame (not a picture frame). I just placed three photos, all jpgs, and I cannot apply a stroke to one of them. It does not show up in the submenu context bar . . .
-
 I have a large document with some 250 pictures inside Picture Frames. I have decided to change the look of all by adding a color Stroke, and a rounded corner set at 2%. Is there any way to make these hundreds of changes in "bulk" - with one command instead of doing each manually? That would save me many hours of work.
 -
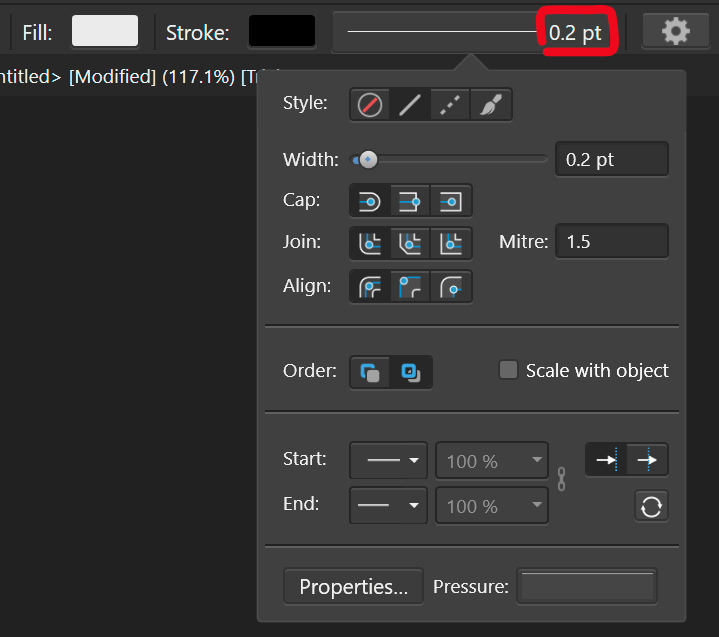
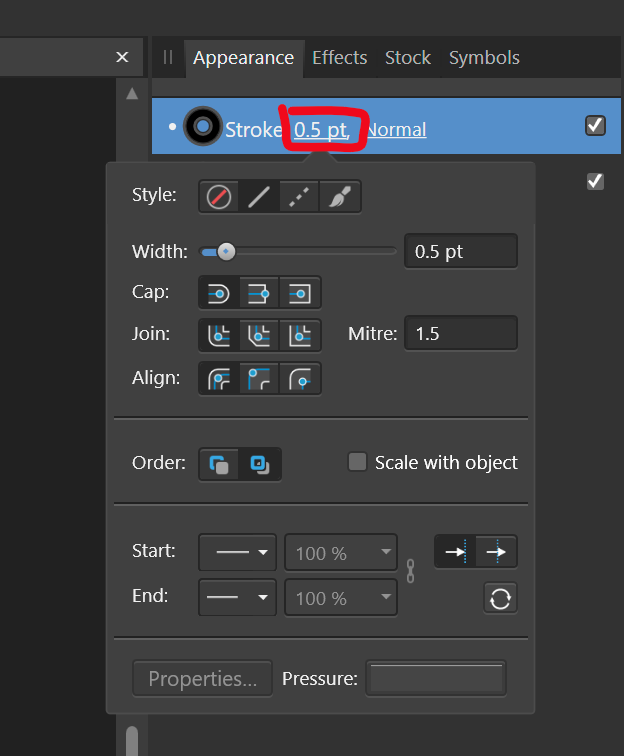
Problem Currently, changing the stroke weight is a two step process, where you first have to click to activate the dropdown to actually change the settings. There is plenty of space in the UI to access the stroke paramter directly, see below: Stroke settings.mp4 Proposal Therefore, I propose to make the parts of the UI that display the stroke size (highlighted in red) a value box. That way, it takes one click to change the settings. When doing so, the dropdown should still be displayed to get access to the additional settings. I could even see the stroke preview box becoming a slider (just like you can click drag on top of text boxes for feather and opacity in the pixel persona), because it wouldn't hamper its ability to serve as preview pane: Stroke settings slider.mp4 The stroke weight settings need to be accessed more than the other stroke settings and it is much quicker to input the size directly and avoids mousing over to the other input box. I also find it annoying to see the value that I want to change being displayed, with no immediate access to it.
-
 I have a text layer that is super-bold and setup with an 11pt black outline/stroke and white fill/swatch. I also have an SVG layer. When I drag the text layer onto the SVG layer, making the text layer a child to the parent SVG layer, I get the desired affect of the SVG filling the text. However, I loose the stroke that the text previously displayed. I'm brand new to Affinity and desktop publishing software. Could someone please tell me what I'm doing wrong, and point me in the direction of what I should do, to retain the text stroke, whilst also having the SVG fill the text? Many thanks!
 -
 It's mildly annoying to be unable to control the stroke pressure exactly in Affinity Designer; wanting to somewhat align how thick the stroke is on two objects along a certain point is pretty much impossible. However, I've realized that there's a preexisting design paradigm for controlling properties of objects that exist within shapes but which have their own node points: that of the controls used for gradients by the Fill tool. As such, I'd like to suggest that, either via the stroke options in the context toolbar or as a tool in the regular toolbar, there should be a way to control the stroke pressure of a shape with a node-based system, operating as follows: With this tool active, each selected curve or other shape has a line surrounding it, representing the stroke's path. This line has nodes along it, each setting what the stroke pressure should be at that point along the line; this is shown as the width of the node's square shape perpendicular to the line, and can be adjusted either by placing one's mouse just to the side of the node and "pulling" on the symbol that pops up or by clicking on the node and manually typing in a value for the stroke pressure. By default, curves have just a start and an end node, which for closed curves is represented as a "fused" node, where half the node is the start-size and half the node is the end size; an arrow symbol might also be useful for matching this to the existing stroke pressure control system. As for how this works with shapes that have an inner portion cut out or distinct shapes that have been combined via the add operation, I feel that if a shape contains multiple distinct stroke portions, those should be controllable separately (admittedly, this is functionality Affinity doesn't yet offer even via the already-extent stroke pressure control method), and thus should have their own line with nodes.
- 1 reply
-
- 1
-

-
- stroke
- stroke pressure
- (and 2 more)
-
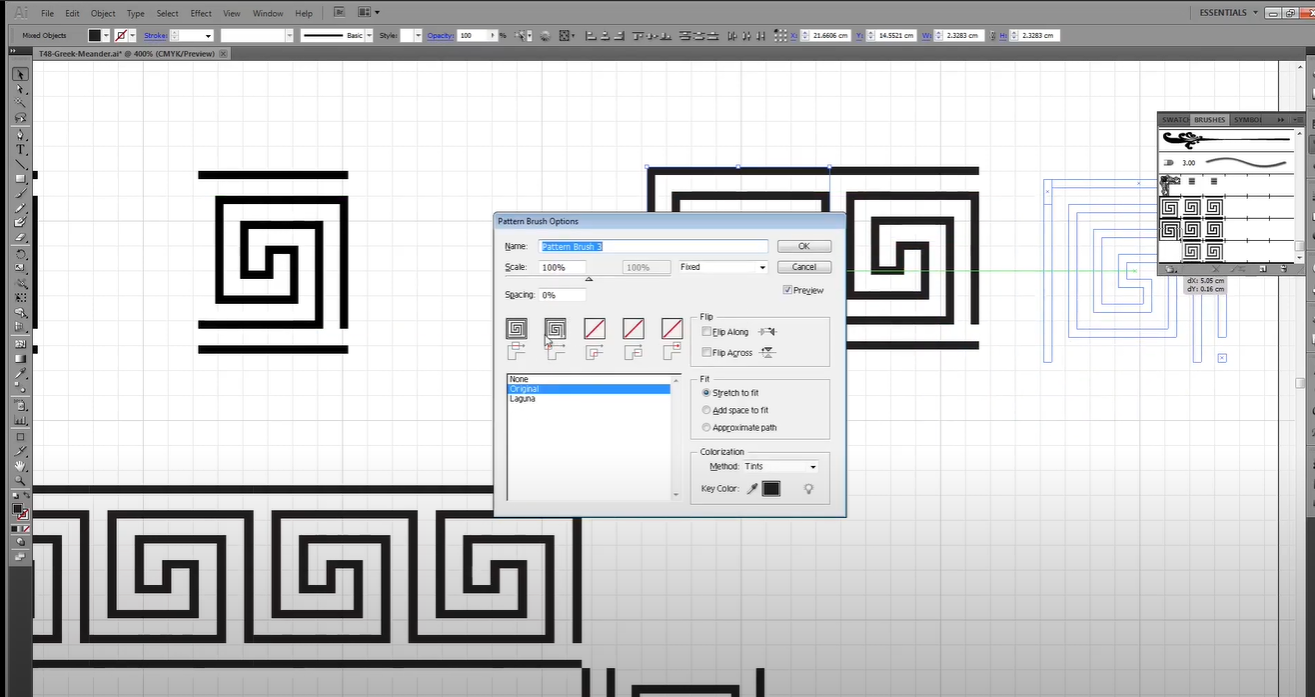
 Hello everybody, How you doing? Well, I guess that Affinity Designer has the same tool to create patterns from strokes as Illustrator has. (Image attached). I'm newbie in Affinity Suite, so I dind't find anything relate to that. Somebody could help me? Thanks. Have a nice day.
-
Don't know what else to add, pretty annoying straightforward issue, create a curved line, duplicate it with control J, expand stroke, boolean, no matter which operator, does not work on it. Duplicating the expanded stroke and use Add on them does not work either... Workaround: After spending too much time on it, if someone has the same issue, delete a few nodes and try it again. Desktop 2021.08.11 - 17.34.57.01.mp4 charaxcter.afdesign
-
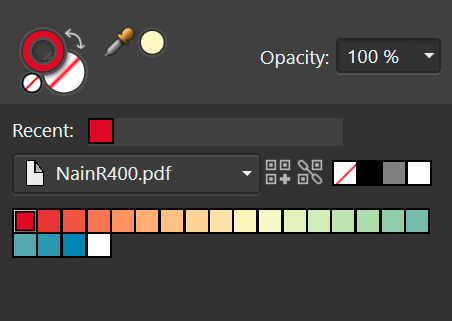
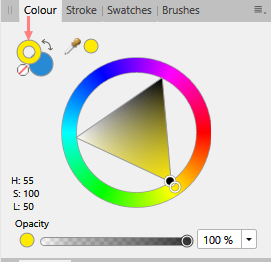
Why is the stroke color icon not a Donut like in Designer (Designer image below). I quite have to undo as I've picked the fill color by mistake.
-
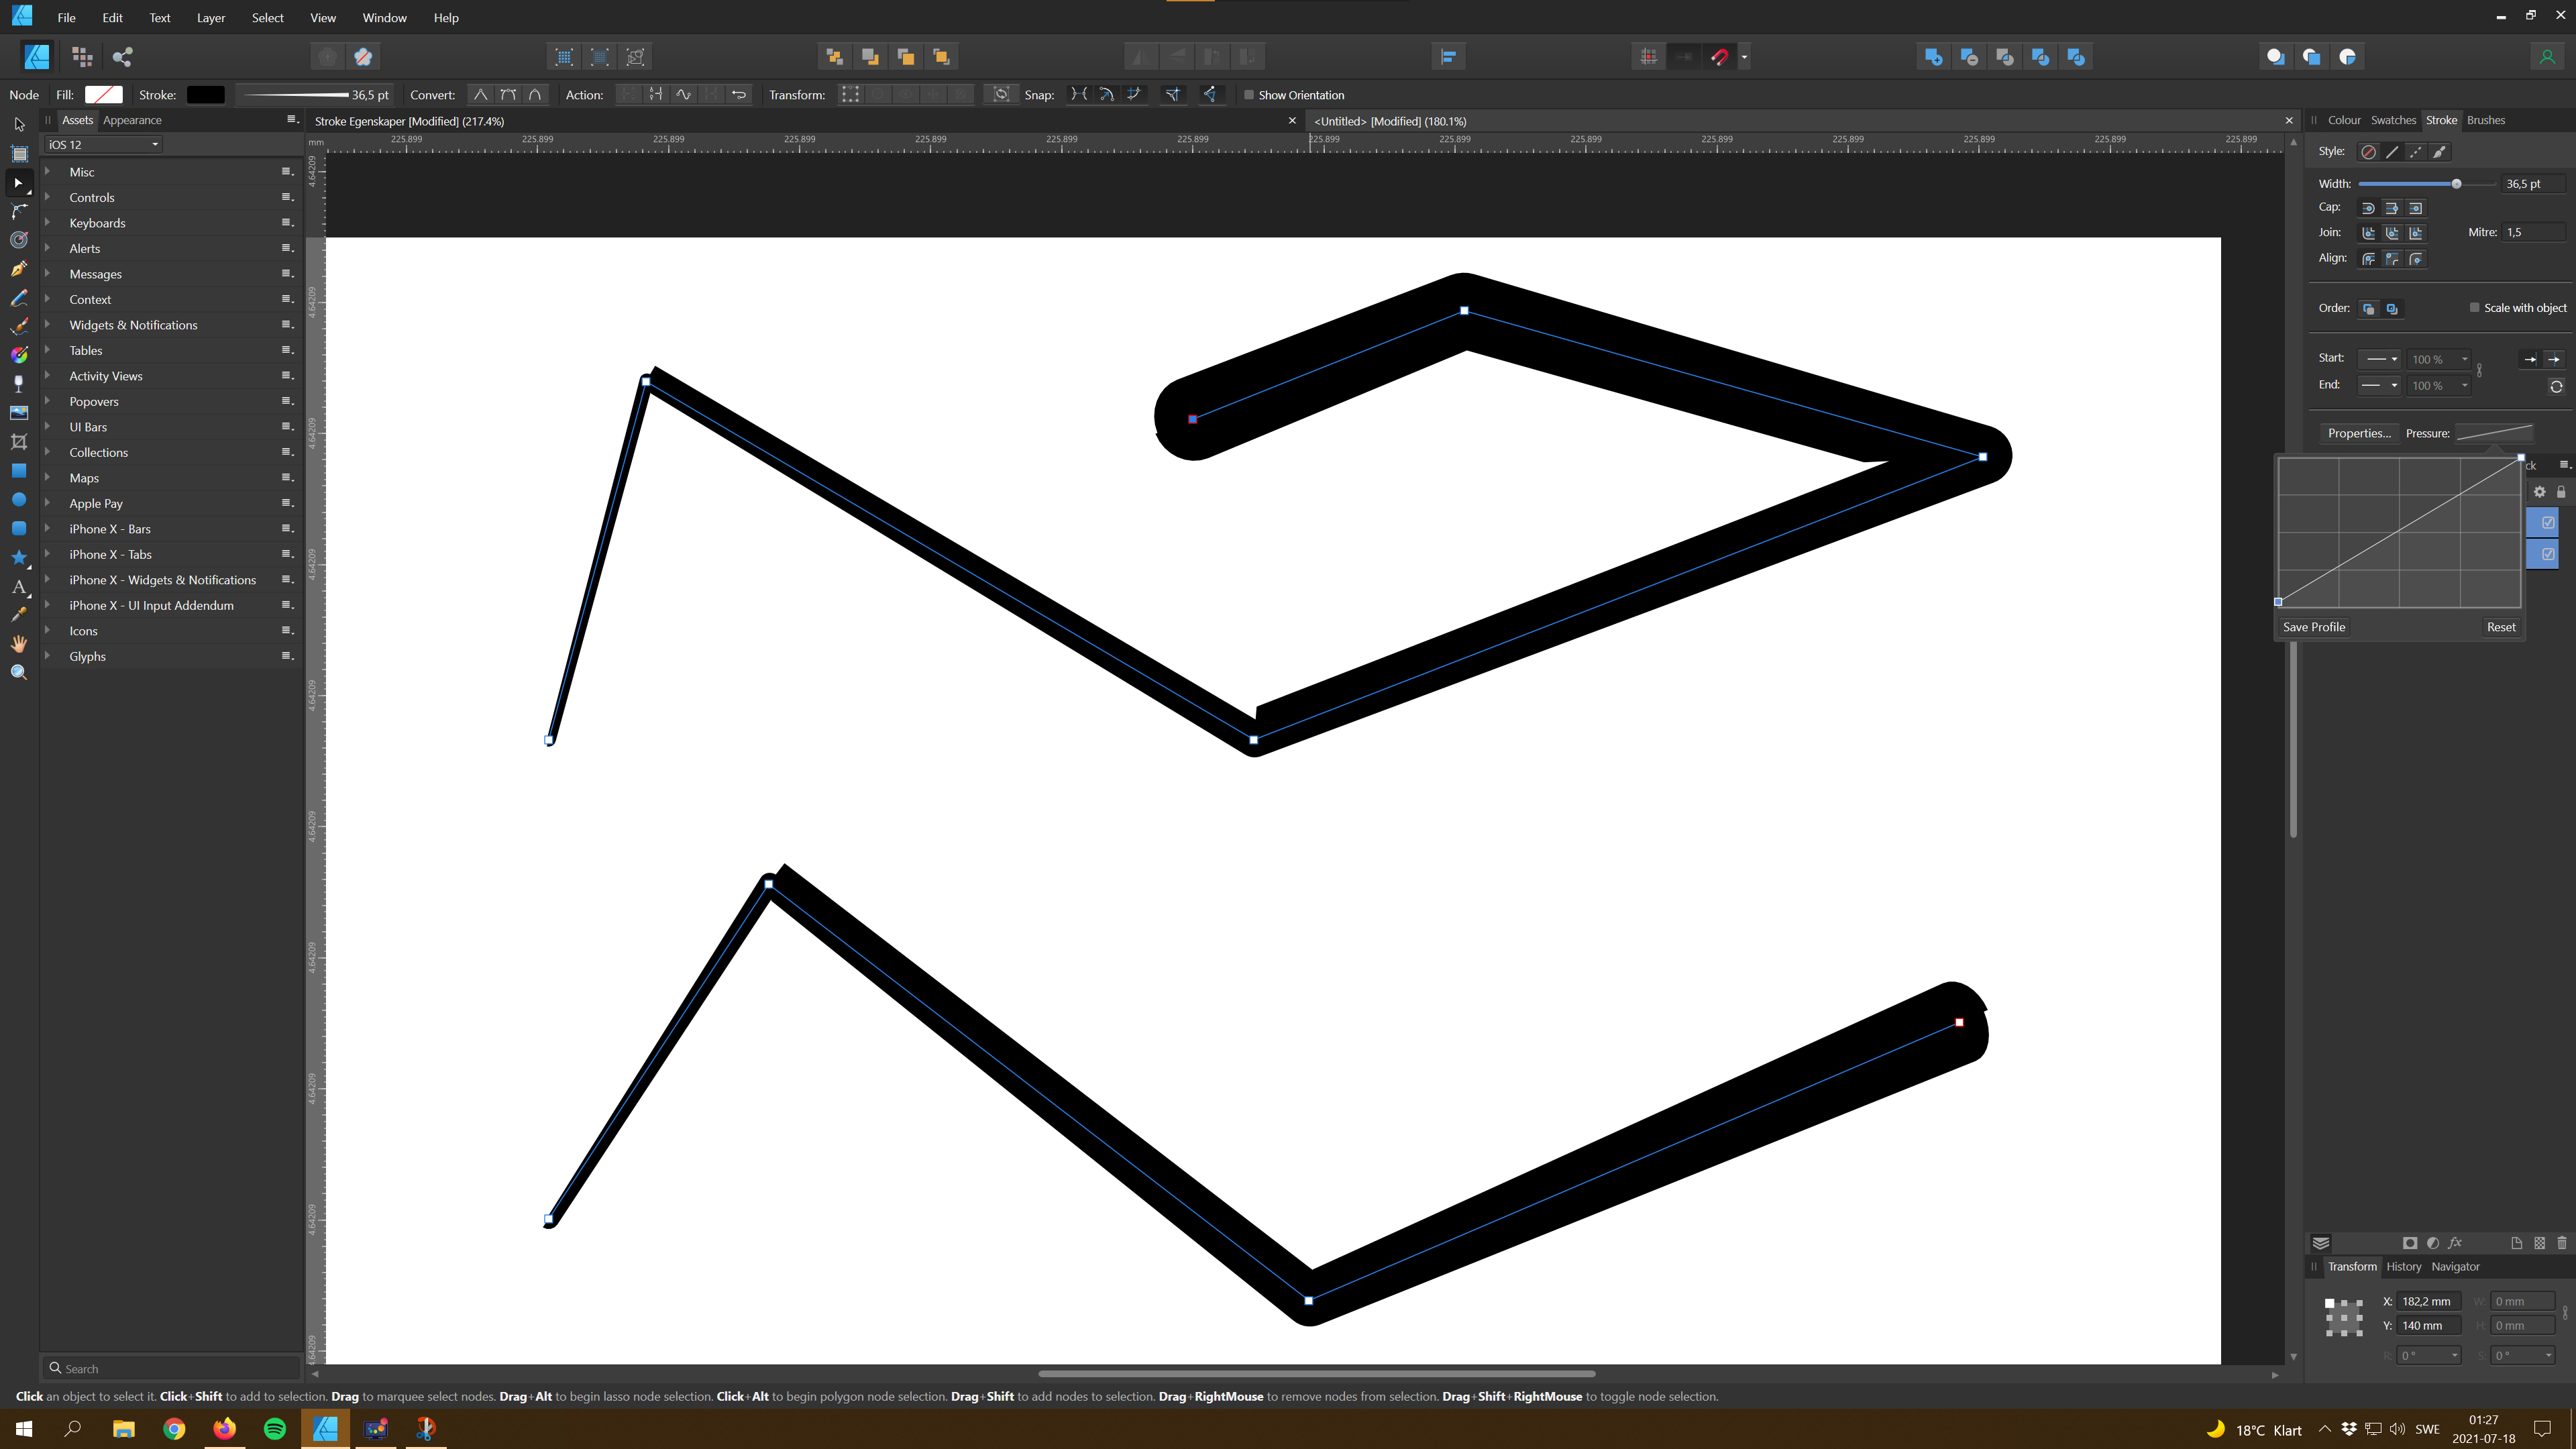
 I don't know if this has been reported already, but thought I'd report my first bug 🙂 I discovered that if you set any kind of pressure profile on a path that has rounded sharp corners; it breaks the stroke of that path. Both lines have round caps and joins. Interestingly enough you get a correct result when you expand the stroke. I'm currently using Windows version 1.9.2.1035 Thank you Serif for such an awesome program!
-
When changing the position of the stroke on an object using the stroke alignment panel (Inside, Middle, Outside) please provide the ability for the object to snap to either the Inside, Middle, or Outside of the object when snapping is activated. Currently the way the program works... when an object has the stroke aligned to the outside, then the object still snaps to the inside edge where the fill or image begins. If the stroke is aligned to the middle, then the object still snaps the the fill edge, so the stroke is on top of the snap line. And the same is true for the stroke when aligned to inside. So please allow for any one alignment option of the stroke to be combined with any one snap position. This would result in 9 possible alignment-snap combos. 1) Stroke Outside - Snap Outside 2) Stroke Outside - Snap Middle 3) Stroke Outside - Snap Inside 4) Stroke Middle - Snap Outside 5) Stroke Middle - Snap Middle 6) Stroke Middle - Snap Inside 7) Stroke Inside - Snap Outside 😎 Stroke Inside - Snap Middle 9) Stroke Inside- Snap Inside Thanks, David
- 5 replies
-
- 1
-
-
- stroke alignment
- stroke snapping
- (and 2 more)
-
The stroke on text with particular font will be shifted when printing. I can send the font(it's a paid font so I can not upload here directly) as sample.
-
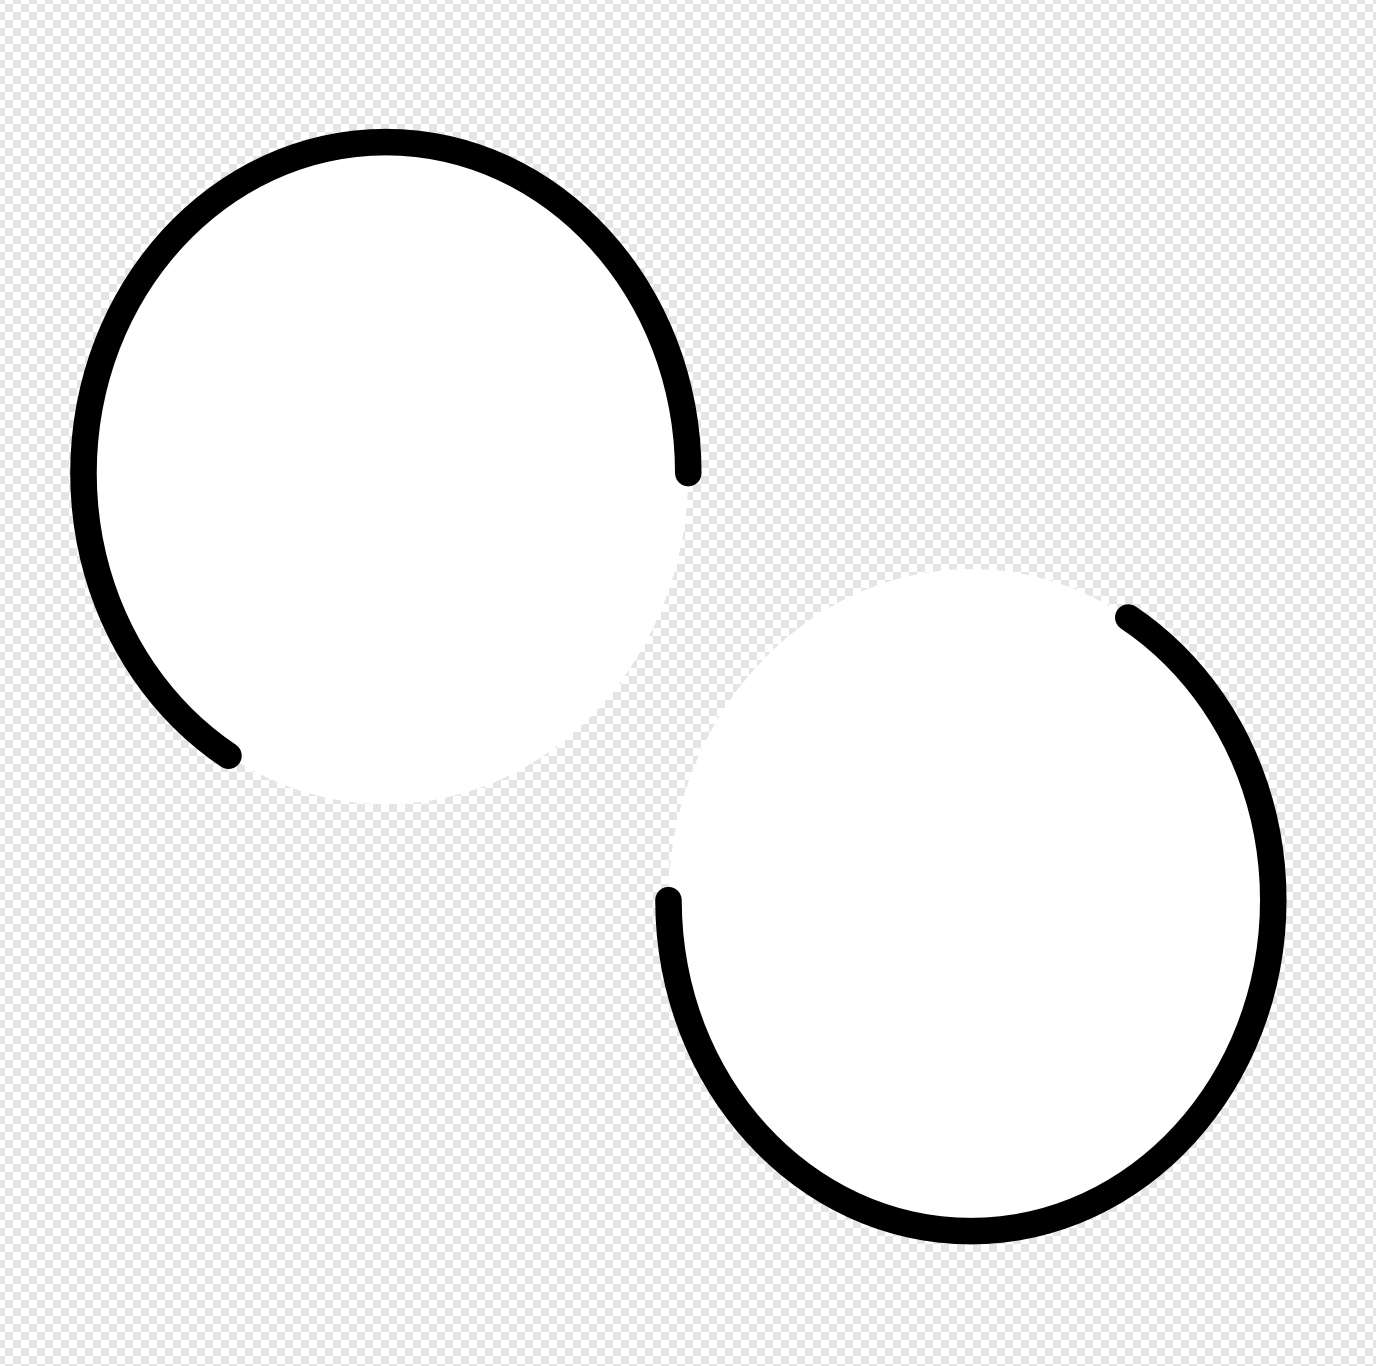
 Using version 1.9.2.1035 from the Microsoft Store on Windows. I used the stroke dashes on a circle in the designer and exported as an SVG. In the designer for the attached afdesign file and when loading the exported SVG I see this: However, if you load the SVG in any other tool (like Firefox, Edge, or a UWP app), the stroke-dasharray value is displayed like this: Since Affinity Designer round-trips properly, it seems like the write and read from stroke-dasharray is done incorrectly between whatever representation AF Designer uses compared to the SVG spec. This is making the design I created in AF Designer unusable as an SVG in my final product, as it's not represented the same. So to recap: 1. Create a new AF Design document in .afdesign format. 2. Modify the stroke dashes on an element like a Circle. 3. Export that to SVG (for export) 4. Load SVG outside of AF Designer (in a browser for instance) Note: exported SVG doesn't match the design created in the designer. stroke-dasharray value is incorrect in exported SVG style. I would expect from the designed afdesign file to see the same pattern when loaded in an external tool. After changes to AF Designer, I wouldn't expect the afdesign file/format to change (otherwise my existing design would be effected). I would expect when I re-export to SVG again that the resulting SVG would now have the proper stroke-dasharray to match my original design. Thanks! bad.afdesign bad.svg