gafvert
-
Posts
64 -
Joined
-
Last visited
Everything posted by gafvert
-
Perhaps. I wasn't able to reproduce it though using just simple shapes in a new document, so I'm not sure exactly under what circumstances it's triggered. I also found a way to get around the problems with stroke scaling for my situation: - First in Designer I group the graphics I want to copy into Publisher. - Then select the group and in the Stroke panel there's a check box "Scale with object" that I check for the group. - Then copy and paste it into Publisher and the stroke isn't scaled (and it also scales the stroke if I scale the group like I want to in Publisher).
-
Hello, yes, I know I could save the illustration as a separate file and then place it. But that's a lot of extra work compared to using just a single Designer file where I have all my illustrations for a document, and then being able to copy/paste them into Publisher. And rasterizing vector graphics seems like such a waste, and will either bring up the file size a lot or reduce the quality. Working further with this I've also run into some problems with stroke widths that are related to this. It seems like when pasting in vector graphics from Affinity Designer into Publisher the stroke width of objects are sometimes scaled when you paste them into Publisher (if you group the graphics in Designer before copying), and other times some strokes don't scale when you scale the group in Publisher. These are also problems I'd like to avoid by being able to paste the graphics in as a static image type layer, when stroke is always scaled with the image and it's just considered one object.
-
Hello, When you paste in vector graphics into Publisher (in my case storyboard UI layout illustrations) they end up as groups of graphic objects you can select and edit individually in publisher, with individual little text boxes for the text and snapping for each one. However, when you use Place instead and place the same graphics from file you get it as a static layer like an image, where you don't get all the individual little object until you double-click the object. I would like the option to paste in vector graphics and have them work/act like "placed" graphics, since I don't usually want to edit them any more in Publisher, and it more of an annoyance with all the cluttery objects they create. However, I haven't found any way to either paste the graphics as a static image/embedded layer or convert an existing group in Publisher to such an embedded image type layer. I've tried using the picture frame tool and then pasting vector graphics into the frame using "Paste as content", but that doesn't seem to work properly for pasted vector graphics and doesn't get rid of the individual object text frames etc. Perhaps I've missed something and this can already be done in some way? Otherwise it would really help make my workflow in Publisher smoother and my documents much cleaner and less cluttered.
-
Wow, was looking for this earlier but gave up as I didn't find the total number of pages in Insert->Fields I figured you couldn't add it (which was strange). That's so super well hidden, I didn't know about the Fields panel before this and when I saw it I figured it was just document info and had no idea you could click them to add placeholders into text. This really should be added in the regular Insert->Fields-> menu next to current page number where people will likely look though.
-
I'm used to working in illustrator where the direct selection tool makes it super easy to select for edges or parts of multiple objects (for example a number of graphical shapes and text boxes). I'm trying to switch over to Affinity Designer, but it's very time consuming and frustrating to me that the corresponding node select tool in Designer (1.7.3) works so differently. Here are a few improvements/changes that would really help me out working with Designer: - Allow node tool to draw up a selection box and select all nodes/control points in that box. Seems basic enough, and consistent with the regular selection tool, but currently you first have to select the objects you want to be able to select nodes of, adding multiple clicks for each selection operation. - Allow node tool to be select control points of simple shapes (like circles, rectangles etc). Currently you have to first convert them to curves, which adds additional steps and frustration (especially until you figure out why you can't select them at all before converting them) - Allow node tool to select edges/corners of text boxes, or baseline origin points of artistic text. Currently it doesn't seem like you can select the edges or control points of text boxes at all, which makes it very hard to work with layouts where you combine a lot of text fields with graphics and boxes.
-
I'd like to add to this as well. When pasting in pdf illustrations (in my case UI-mockups with lots of little text labels into storyboard documents) it's very annoying that each text element in the illustrations gets made into a text box with a visible blue box around it. It would be good if there was an option to import text in graphics as artistic text. Also, I can't find any way to convert text boxes back to artistic text (preferably for all selected objects)? Is there a way to do this? Maybe that's a way that we can get around this problem until a preference is added.
-
Thanks for the tip, I didn't know you could customize the tools, I've done that now to make it more consistent for me. It was also a little harder to find this as in the top toolbar you can right-click to get a context menu where you can pick "customize toolbar". But if you right click in the tools to the left you get nothing, so I figured they were fixed. But as others have pointed out, this customization doesn't seem to affect the fact that the view/hand tool is still the default tool when you open the application or new documents. It may be true as some others have stated that since Photos is mostly for working with pixel images Affinity figured the move tool wouldn't be so useful. I guess the same reasoning is behind the decision to have the Layers panel hidden in the default interface layout and instead show Adjustments first. In my workflow however, I mostly start with opening or creating a new document and pasting or dragging in some new artwork into it and usually have lots of different objects/layers. So for me I expect to have the move tool active by default so I can move the object I just added to the document, but instead I find myself panning around when I drag.
-
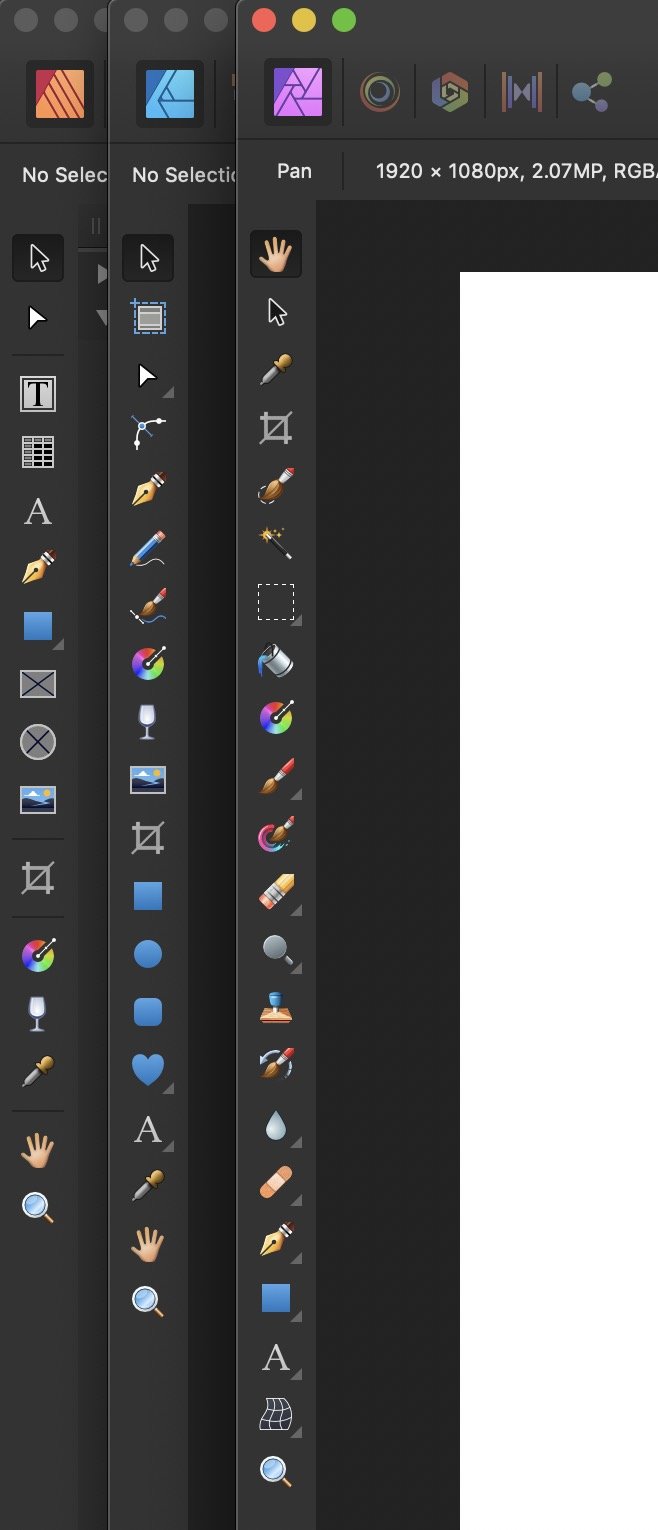
This may seem like a small detail, but it constantly trips me up when opening new documents that the top default tool in Affinity Photo is for some reason the View tool (Hand, for panning around) and not the arrow pointer Move tool. This is different for some reason in Photo, whilst both Affinity Designer and Publisher follow the convention of most other tool-based graphics software that have move/select tools as the first default tool and the view/pan tool placed by the zoom tool. Seems extra strange since the View tool is probably the one tool I never use as it's so easy to pan around with middle mouse button or space bar. So if you don't have any good reason for this, please change the default top tool to the Move tool and move the View tool down like in your other software.

-
I find this very confusing and I wish there was a setting to change this setup of modifier keys (I've looked but haven't found anything). In my experience using option-drag to duplicate is a convention used by many applications, so that's great the Affinity is adopting. However, them problem is that in Photoshop (and maybe others) command-dragging is for moving selected pixels when using the selection tool. With Command-option moving and copying the pixels. So I constantly end up making copies of objects unintentionally when I try to just move them, and sometimes I don't realize it's happening as the object I want to move (with command-drag) is moving and I don't notice that a copy is left behind. So please add an option to turn off copying objects on command drag.
-
Ran into the same problem, completely baffeled me as I tried to select a rectangular area and then delete it, which ended up deleting the entire layer. I tried this multiple times and eventually had to search online and find this to realize what was happening. After reading your explanations I understand why it's happening, but it's completely unexpected and very hard to understand for the user, especially when they're used to any other photo editor. Basically, I think the problem is that when you paste in or drag in pixel graphics they're made into image objects. This has some benefits, but the problem is that it's not clearly indicated to the user, so they don't understand this is happening or expect that they won't be able to edit them without rasterizing them. Next complication is that when you make a rectangular selection the interface clearly signals to the user that this area is selected, and not the entire image layer. This makes it again very unexpected that Affinity actually considers the whole layer object selected and not the selection area and deletes the entire layer when you press delete. So, a few ideas to make this easier to understand in future updates: - Communicate more clearly that something you paste in is not a rasterized layer that you can edit the content of. Or maybe offer a setting on how pasted in images are handled. - Communicate more clearly what is selected, or don't consider the entire layer selected when you make an area selection. - Offer the offer to rasterize the layer if they try to edit it (like removing a part), or even better, just let the user edit the corresponding part of the transformed bitmap and keep it an image object.
-
I just started using Affinity Photo and I noticed that it seems to be lacking document icons. Documents saved with Affinity photo (or file types associated to be opened with Affinity photo) seem to be getting the Affinity Photos application icon, and not a document icon? Looks very bad and confusing, if you ask me. But maybe it's by design as the same problem exists in Affinity Designer and Affinity Publisher. Why? Seems like such an easy and obvious thing to change?
-
Halftone Support?
gafvert replied to Paul Knight's topic in Feedback for Affinity Designer V1 on Desktop
Hi, I'm actually the developer of Vectoraster that you mentioned, and it sure does generate vector halftones and you can copy the results into designer (or illustrator or whatever) to continue working with them. It's macOS only though, but free to try out. You can check out a little bit of how it works here:- 7 replies
-
- 4
-

-
- halftone
- halftone effect
- (and 1 more)
-
If you want to do more advanced vector halftones or raster patterns, or if you just want better control and interface, you can try out our Vectoraster 7 ( Free to try at https://www.lostminds.com/vectoraster7 ) when you're happy with the result you can copy and paste it into Affinity. macOS only though
-
No PDF bookmarks
gafvert replied to NorbertWeiss_1's topic in Feedback for Affinity Publisher V1 on Desktop
I also agree that adding bookmarks in exported pdfs is a crucial feature, as they make navigating longer more technical documents so much easier. All my many years working in InDesign with design specs and storyboards I've used bookmarks in 80% or so of the documents I've produced. Preferably I'd like the bookmarks to be linked to styles, so they can be generated automatically based on for example section headers etc. But ideally there would also be a way to modify bookmarks (usually delete one or two) manually. Having to add all bookmarks manually would not be a great solution to me, but I guess still better than not having any bookmarks. -
Ah, thanks @haakoo, grouping seems to work as a work-around at the moment to avoid the bug, I'll try to remember that. But since you can't undo the consequences of other symbol instances being moved I'm now a little scared to use the arrange commands at all on symbol instances. And good to hear this is being worked on. Seems like a long time since 1.7.3 was released, so maybe we'll get an update soon? I'd personally appreciate more frequent smaller updates with fixes and improvements than having to wait for big feature updates.
-
I've run into some very strange behavior in Affinity Designer 1.7.3 on macOS that I finally figured out was caused by how symbol instances handle rearranging (moving back/forth), which might be by design I guess, but have such strange and unpredictable consequences I'm considering them a bug: It seems that when using symbols and selecting once instance of the symbol and pressing the "Move to front" or "Move to back" rearrange buttons this somehow applies to all instances of the same symbol. I'm guessing that this is more or less never what the user intends when trying to move a single selected object back/forward and it's very unexpected. This is further complicated by the fact that the canvas isn't redrawn properly for the other instances of the same symbol when this happens, so you only see that they've been moved back/forward if you scroll or otherwise cause them to be redrawn. And as the final problem, the arrange can't be undone. The problems seem to be especially bad when the other layers being rearranged are also symbol instances. So, together this more or less means you currently can't use the arrange feature on symbols and instead you have to manually drag the layers in the layers panel to re-arrange them if you want different instances of the same symbol on different levels. ArrangeSymbolsBug.mov
-
Thanks for this tip, I was really banging my head again the wall trying to figure out how to do this basic thing (using a gradient from one object on another) and couldn't for the life of me figure it out. It was only after searching for a while here on this forum I found this post and found this sort of unexpected solution. While lets me do this, it's hard to figure out, so here are some ideas you might consider, that would have helped me figure out how to do this on my own: - Supplement the copy/paste method you now have with an explicit "Copy style" item, that will let the user know copying and pasting styles between objects is a thing you can do. Since there's now only a single "Copy" and I didn't want to copy the object I never considered that this would be the way to use the style. - Add a "style" or "gradient" mode to the eye dropper tool (or perhaps a new "style picker" if you want to continue having the old one as a "color picker") that works like the eyedropper in Illustrator and what I expected, when you can select an object and then use the eyedropper to get the style of the object from another object. - In the gradient configuration panel/interface, add shortcuts to re-use recently selected/used other gradients or copy/paste the entire gradient to offer an alternative way to do this.
-
Smaller PDF Files, please!
gafvert replied to 000's topic in Feedback for Affinity Publisher V1 on Desktop
Hello, just to add to this discussion I've encountered another related oddity with pdf export file sizes: I noticed that simple pdf documents with just text and no images were consistently 400k+ while I'd expect them to be <32k. So I made a simple test starting with a blank new document and adding a single text box with a short text in in the middle and exported this with the "print" pdf preset. From Indesign this file ended up 9k and from Affinity Publisher (1.7.3) it's 424k as you can see. Trying the "web" pdf preset in Affinity Publisher gives me a 40k file. No images, and in both cases embedded subsets of fonts. Once thing I notices was that if I unchecked embed color profile in the export settings the file size goes down dramatically, down to more or less 12k. Is it reasonable to expect 400k+ color profile data in a pdf like this? And if that's ever useful it doesn't feel like this should be the default settings for exporting for print in a simple document like this.
-
Custom order of Text Styles
gafvert replied to SirPL's topic in Feedback for Affinity Publisher V1 on Desktop
I'd also like to request this. And while the hierarchical grouping would be nice, just the simple feature of letting the user (me) drag to re-order the styles in the list would go a long way. Now I can't seems to change the order of the styles in the list at all? -
Text Styles > Numbering: Reproducible Crash
gafvert replied to A_B_C's topic in V1 Bugs found on macOS
Perhaps related to this I've just experienced some very strange behavior when trying to edit the format of numbered list items on macOS in version 1.7.3. While I haven't seen a crash like the report above, it definitely seems like editing this often causes some sort of internal exception state, causing the Text style dialogue to go unresponsive, no letting you make any further changes, Save or Cancel the changes using the buttons in the dialogue. Weirdly, if you just click outside the style panel in the document background behind it closes the panel no problem and you can go on working, even opening up the style again and try to make the same changes to the numbering again. The field/input controls are also quite unusual with a drop down arrow at the start with a menu that isn't options but actually inserts custom symbols at the cursor location, and a mysterious "..." button that always seems to be disabled? This could probably be made easier to use and understand. I'm not sure if this is also a bug, or if it's also just hard to understand (for me at least). But if you're going to look at this area, you might also want to take a look at the Tabstop setting. In some cases changing this had no effect for me even though there was a tab in the format, and instead I had to change the tab position in the "Tab stops" panel. In other cases changing them in "Tab stops" did nothing and I had to change it here. Very confusing.
-
Yeah, I read about the plans regarding IDML. Having an IDML converter is great, but that relies on you having access to the original indesign file and InDesign to convert the file before importing into Publisher. It's also not mutually exclusive to getting a simple estimate of styles when importing a pdf document that may or may not be made from InDesign.
-
I'm transitioning from InDesign and trying to learn Publisher, like many of you I guess. While we can't import indesign files I've found that as a starting point importing pdfs actually works surprisingly well, so good job on that. One thing that for me would make importing pdfs even more useful is if Publisher would take the imported document and generate a set of text and paragraph styles based on the content of the imported document. It won't know what to call them, and won't always get it right, but based on amount of text, font size etc it should be doable to at least generate a guessed title, sub title and body text style for example. With those already set and assigned to the corresponding paragraphs in the document it would be a lot smoother to then start working with the document.
-
Dynamic graphic object styles
gafvert replied to gafvert's topic in Feedback for Affinity Designer V1 on Desktop
Ok, thanks for the reply. I'm sure they've got a lot of plans and other things to work on as well. But I hope they get to this bit sooner rather than later as it's preventing me to move over some of my projects from Illustrator into Affinity, especially for working with UI elements and style mockups. Having cascading styles similar to CSS like @Aammppaa suggested would be even more powerful of course, but just having single shared graphic styles you could modify would go a long way. Dynamic graphic styles is also something that could be applied both in Designer and Publisher, just like text styles, so maybe that will make it more worth the development time required now that Publisher is released. -
Dynamic graphic object styles
gafvert replied to gafvert's topic in Feedback for Affinity Designer V1 on Desktop
Hello again. I've noticed that in Designer 1.7.2 that I'm now using, graphic styles are still static as described above in the original post, greatly limiting their usefulness and confusing the user as they the graphic styles don't work at all like the text styles. Does anyone know if there are any plans on implementing dynamic graphic styles any time soon in Designer? -
As a long time Illustrator user I'm now making the transition to Affinity Designer, and I'm happy with most things. However, there is one fundamental tool that I used extensively in Illustrator that keeps bugging me that it's not working the way I'm used to and expect it to work more or less every time I use it, which is very often. As the title implies I'm talking about the node selection tool (the white arrow cursor that let's you select control points in curves). Here are a couple of the things that trip me up more or less every time I use Affinity designer, and a few suggestions on how you could change this tool to make it easier to use: 1. If you don't have anything selected, you can't select anything. When you're new to Affinity this is very unexpected, and it still gets me from time to time. You have to select one or more curves to be able to then select control points in these curves. This "always isolation mode" is convenient in some cases, but is very unexpected when you have nothing selected and try to select things with a selection tool. 2. Shape pseudo-nodes/handles can't be selected. I'm not sure what these are called (I would have guessed "nodes", but probably not), but what I mean are the control widgets for shapes that are not yet converted to curves. For example if you draw a simple box or circle. If you have them selected and try to for example select the right site of the box using the node selection tool, you can't. Nothing happens. You have to first convert the shape to curves, then you can select to control points of the side. This is very unexpected if you're used to all vector shapes being made up of control points you can select, and you're used to working that way. This is also frustrating if you have multiple shapes you're editing, and you've converted some, but not all to curves. Even if you've then selected all of them you can't use the node selection tool as it'll only work on the parts that are converted to curves. 3. A selected group is not treated having all shapes in the group selected. Once you've figured out you need to select shapes you want to access with the node tool you then realize that if you have shapes grouped, it's not enough to select the group to be able to edit the control points of the shapes in the group, you have to open the group and select the elements in the group. This is even more problematic if you have complex illustrations with multiple levels of groups, which might even makes some selections of control points in different group levels impossible. Perhaps I've missed something, or other people are using this tool in a completely different way, but I think it would be a great improvement if these issues could be resolved in some way. A few proposals that I think could alleviate these problems: 1. If you don't have anything selected, treat this as if everything was selected. In other words, only enter the "isolation mode" that limits the node tool selection if you actually have something selected, so you can have a way of selecting controls points from any shapes in the selection area. 2. Allow selection of the pseudo-nodes, handles or whatever you want to call the points controlling shapes that have not been "converted to curves". At least allowing simple things like selecting and moving these together with curve control points would be very helpful and cover most cases, even if they can't get new spline handles, rounded corners etc etc. 3. Treat having a group selected the same as having all elements selected in the group. This applies to several other tools as well, and the fact that selecting a group now isn't enough, and sometimes grouping makes it harder/impossible to edit with the node tool is pretty bad as it discourages grouping, which in turn makes a lot of other things much harder to work with in complex illustrations.