lgoodwin
-
Posts
64 -
Joined
-
Last visited


-
Great improvement. Thank you!
-
 walt.farrell reacted to a post in a topic:
Assets not visible in dark mode
walt.farrell reacted to a post in a topic:
Assets not visible in dark mode
-
Assets not visible in dark mode
lgoodwin replied to lgoodwin's topic in Desktop Questions (macOS and Windows)
Show as list seems to solve the problem. I can read the titles in both dark and light mode, making it possible to identify the asset I am looking for. Thanks. -
Assets not visible in dark mode
lgoodwin replied to lgoodwin's topic in Desktop Questions (macOS and Windows)
You've given me an idea. I created a dummy asset with text in Red. The asset is visible in both light and dark mode. I would have to change the color of the text when I deploy the asset, but that seems preferable to having to switch from one mode to another, possibly several times during preparation of a document. Now I just have to figure out how to edit my existing assets and change the color of the text, as well as trying to figure out which color is most visible in either dark or light mode. -
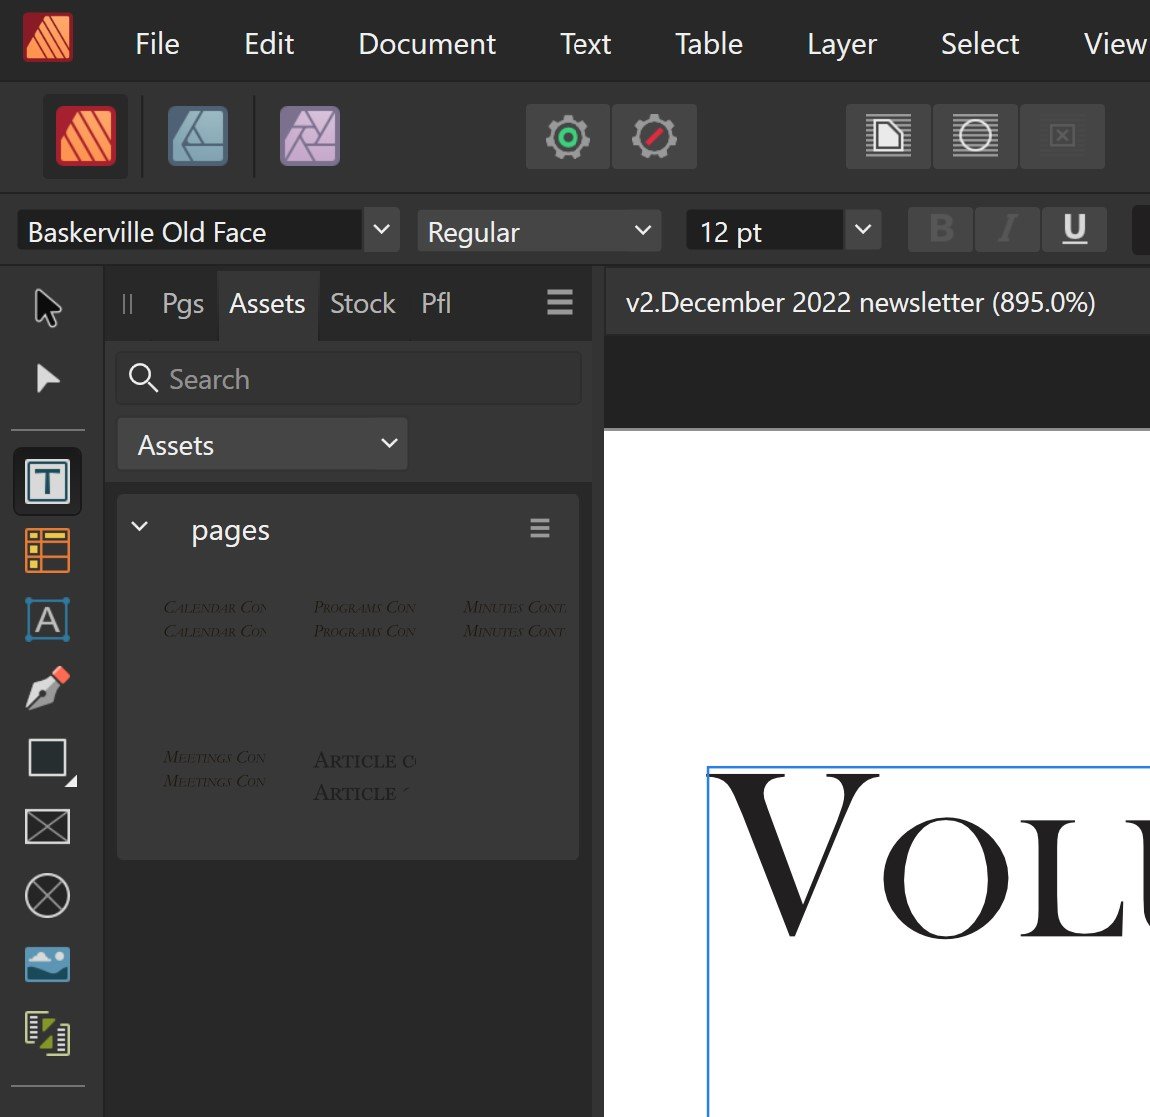
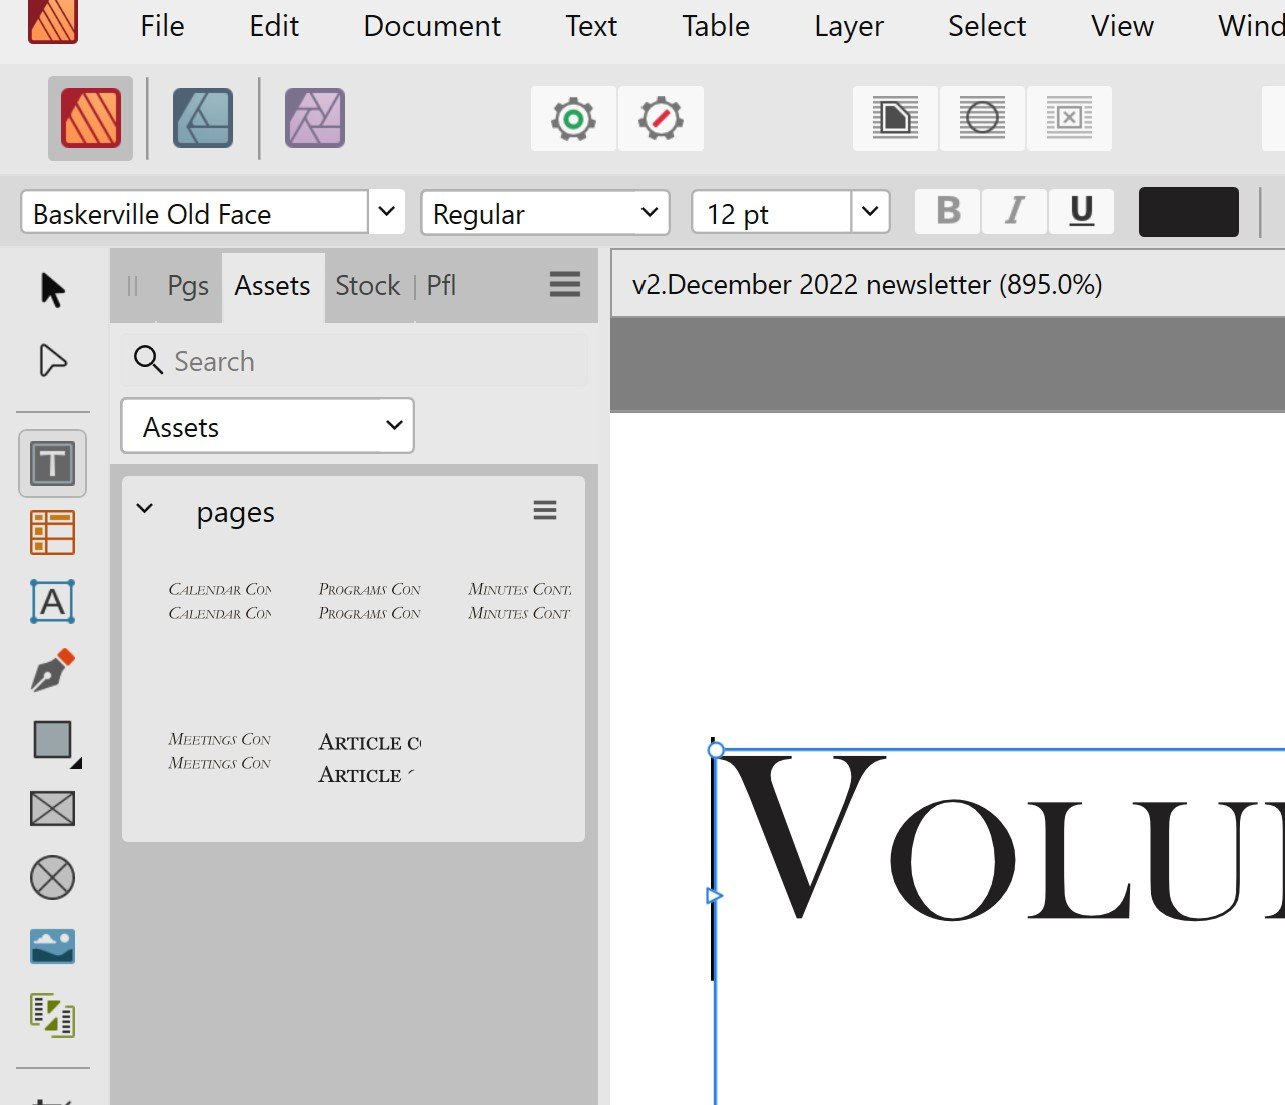
I prefer to work in dark mode. But when I do, my assets are not visible. They are established using a black font and, in dark mode, the assets are simply not visible because the asset panel itself is dark. When I switch to light mode, I can see the assets. The workaround so far is to switch top light mode when I need to add assets to a document but that seems like it should be an unnecessary step. Is there some way to set the color of the asset thumbnail so that it will be visible in dark mode? I've attached two screen shots of the same section of the screen, one in light mode and one in dark mode, to illustrate the problem.

-
markw reacted to a post in a topic:
Photo Captions
-
Photo Captions
lgoodwin replied to lgoodwin's topic in Pre-V2 Archive of Desktop Questions (macOS and Windows)
That seems to work. Thanks! -
Photo Captions
lgoodwin replied to lgoodwin's topic in Pre-V2 Archive of Desktop Questions (macOS and Windows)
Here is an example
-
Photo Captions
lgoodwin replied to lgoodwin's topic in Pre-V2 Archive of Desktop Questions (macOS and Windows)
Tried that, but the frame text can't extend below the frame of the picture, thus overwriting the lower part of the photo. That would be fine in some case, but not work in others. -
Is there a simple way to add captions to photos? The only solution I can find is to open the photo in Publisher, add a text frame below for the caption, group the frame and the photo and export the whole selection as a new photo. Seems like there ought to be a simpler way. Even in Microsoft Word I can easily add captions to photos, but I would prefer not to go that route.
-
Hard to do now, since I have responded to other suggestions. My suspicion is that there was something in the phone number data entry that was a problem. When I converted the column to text format and cleaned it up it imported fine. When I then deleted everything in the column and reentered the data specifying telephone number format it also imported fine. Problem solved, I guess.
-
Oh! I had formatted them with the Excel Phone number format.
-
This has been a persistent problem through several betas and the release version. I have attached a template I use for a monthly newsletter. On page 4, you will see a box which imports and excel spreadsheet with our board of directors information. The problem is that the phone number field imports inconsistently, with most of the entries being in error (I have replaced the actual numbers with "x" for security reasons). Any ideas on how I might correct this problem? Thanks, template-Beta-test.afpub
-
OK. here is an afpub. The problematic photo/caption is the lower left corner of page 3. June 2002test.afpub
-
I managed to replicate the issue with the attached. You will see two photos inserted with captions working fine. The third photo, bottom left, was done exactly the same way, except you can see the caption "test caption" remains below the bounding box of the longer text segment. If I move the bottom left picture, the caption adjusts but still remains outside the bounding box of the larger segment. test.afphoto
-
I am working with the newest beta 1.9.4.1076. When I follow these instructions, even after grouping the text frame and picture, when I drag the picture into the larger frame the text frame adjusts in size to keep the caption text BELOW the frame in which I am placing the picture. How do I control that?
-
1. First, review the help page on creating assets. It appears you must create an asset in a subcategory, which means you must first go to the asset panel and create the subcategory. (I think you might have to have a document open to do this, but I am not sure). I know you need to have a document open for the next steps. 2. In a document, create a text box. Set the frame, border, font, and other characteristics. Then insert in the text box "Continued on page " followed by at least one line of space and then "Continued from Page ". When the text box is satisfactory, drag it to the asset subcategory you created in step 1. On the assets panel click on panel preferences and select embed in current document to make sure the asset is available in future documents. 3. To use the asset, in a document, drag it from the asset panel to the bottom of the first text frame in a set of overflowing text frames. Then shrink the text box so that only the first line (continued on page) is visible. 4. Using the overflow triangle (you may have to select the box and select zoom to selection to see the overflow triangle), click on the triangle and drag it to the top of the next frame in the set of overflowing frames. At this point you may have to adjust the size of each of the two frames occupied by the asset to make sure that everything displays properly. Sometimes I have had the frames act strangely and even, on occasion, the fonts have gotten messed up. 5. Once the two frames are adjusted to your liking, go to the first frame of the asset and after "page" insert a space an then using the text tab, select insert, select fields and select next frame page number. Move to the next frame in the asset and after "page" insert a space, and, using the text menu, select insert, select fields, and select previous frame page number. Hope that helps.