MJSfoto1956
-
Posts
100 -
Joined
-
Last visited
Everything posted by MJSfoto1956
-
 FYI, I was sent a new link by support so all is well. m
 -
first thing I always check is my spam folder. Alas, nothing there. Further, it has now been more than 24hrs since I made the request for the Grade UI components so I'm sure at this point I'll likely need some help on Monday. Thanks! M
-
Just wondering what I have to do to get the "Grade UI kit" ? After upgrading from AD 1.4.3 to 1.5 I was presented with a form for requesting the free Grade UI kit (which I filled out and submitted) and a link would be sent to me. However, I have searched my entire email folders and no email was ever sent. What is your advise as to next steps to take? Thanks! Michael
-
so when you "burn" a 50% grey, you need to choose "shadows" otherwise you might very well get nada. Likewise when you dodge a 50% grey, you need to choose highlights. Try this: make a 50% grey overlay layer. Then use your paint brush to brush with black -- the original image should appear very dark where you painted. Likewise, use your paint brush to paint with white -- things should be much lighter. If not, then you are doing something very, very wrong. (p.s. this same technique works and is praised by many Photoshop users) M
-
What I DON'T want in APhoto
MJSfoto1956 replied to bizbeblu's topic in Older Feedback & Suggestion Posts
Well as a long time PS user (since before it was v1 !) I can say that AP is generally faster across the board compared to PS on my 15" Macbook Pro with 16gb RAM. I'm not sure it could be "faster" given that they appear to be using the native graphics routines built into the OS. Perhaps one day I will go back to a desktop, but for the foreseeable future, I see only laptops in my future... M -
if you want your dodge/burn to be non destructive, create a 50% grey pixel layer set to OVERLAY mode. Then burn and dodge that layer to your heart's content. If you don't like what you did you can refill it with 50% grey and start over. Further, you can have multiple such layers: one for reserved for burning (and you can precisely adjust the "Blend if" controls to restrict the burning to just midtones and highlights for example) and another just for dodging. Lots of flexibility here. Michael
-
Star stacking
MJSfoto1956 replied to EboO's topic in Pre-V2 Archive of Affinity on Desktop Questions (macOS and Windows)
best advice is to use a tool specifically designed for the use-case: http://www.markus-enzweiler.de/software/software.html Michael -
IMHO the best tool for aligning stars is StarStax. see http://www.markus-enzweiler.de/software/software.html Michael
-
sure you do. Since AP has advanced "blend if" features for any layer it is trivial to increase saturation in any specific region of luminosity with any amount of falloff. Frankly, I find this much more powerful than PS. Michael
-
Smarter save location?
MJSfoto1956 replied to fuusle's topic in Feedback for the V1 Affinity Suite of Products
+1 -
my requirements for batch operations
MJSfoto1956 posted a topic in Older Feedback & Suggestion Posts
for batch operations to be useful to me, they need to be able to do the following: macro must be able to open a <variable> folder for each *.afphoto file type in the folder: open the file if there is a layer that begins with "©" then turn that layer off choose export set output quality to JPEG high quality set the smallest dimension to 5400 pixels (no matter what whether it is horizontal or vertical orientation) export the file appending the string "18x" to the end of the filename close the window, choosing to ignore saving changes (if any) repeat until done I hope that your forthcoming macros feature covers all the above requirements (and more!) Cheers Michael -
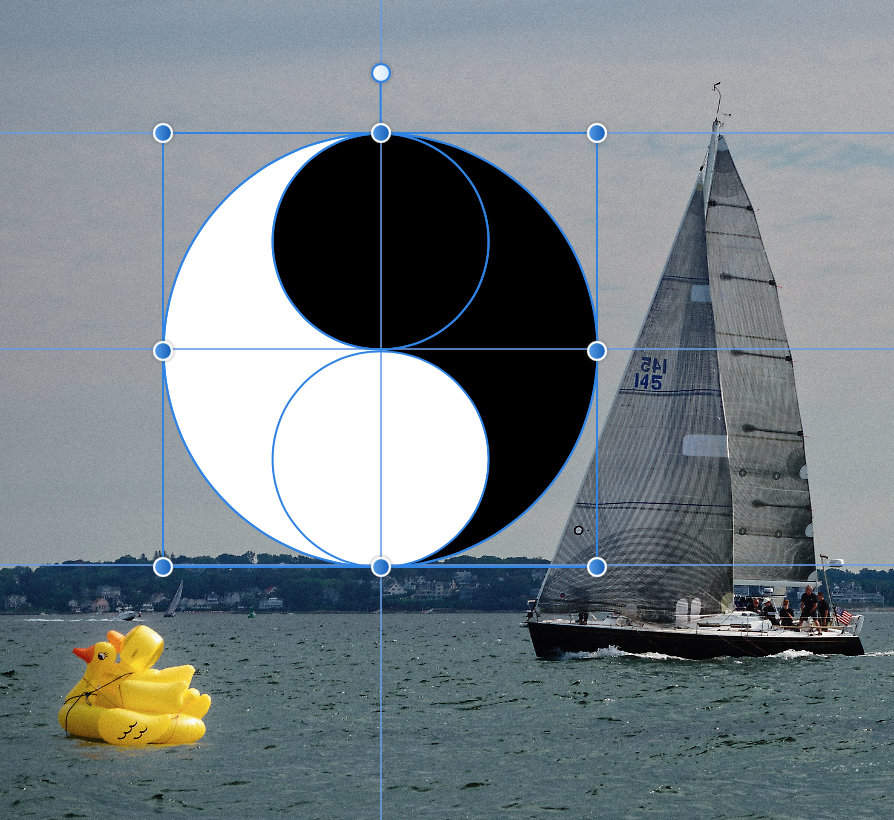
four circles made with the eclipse tool, one with a partial mask. The two smaller ones are on top. See attached photo. M

-
DPI = Dots Per Inch. Inkjet printers generally expect data at around 300dpi which is "dithered" and printed at the native resolution of the device. There is an exception: bitmap uses (i.e. pure black and white, no greys) often desire the image to be sized to match the exact resolution of the imaging device. But that is usually like 2400dpi or more. M
-
the Hue control is set to blue as per your attached thumbnail. If you were to slide it towards the red it should give you what you want. Michael
-
3rd Party Extensions Using API
MJSfoto1956 replied to WeiPhotoArts's topic in Older Feedback & Suggestion Posts
+1 -
Is that specific to the Hawaiian version? :P M
-
you'll almost certainly want to use a mask at some point, but one thing you can try is to adjust your blend options for the painting layer (assuming it is on top) to something like the following: on the righthand side of the Blend Options dialog (Underlying Composition Ranges), select the shadow end of the curve and drag it down. Then drag the highlight end of the curve to the left almost to 1/4 of the way to full shadow (note: it will be a very steep curve). Something like this: ______ / / / What you are telling Affinity is that you want the dark parts underneath to blend through your top image. Give it a try. Michael
-
With some back and forth I finally got my Nik filters working. Some of them don't work however. The list of three Nik filters that do work are: Analog Efex Pro 2 Color Efex Pro 4 Silver Efex Pro 2 For me the key thing was specifying "/" as the support folder. What issues are you having? M
-
seems it might be related to the export TIFF problem we have as per the following thread: Thread 6 Crashed:: Dispatch queue: com.apple.root.default-qos 0 liblibpersona.dylib 0x0000000116993aa4 void Raster::DynamicBase<Raster::DynamicTIFF>::ExecuteDestNotMask<Raster::DynamicsAreDifferentFormatsButNotMasksHint, Raster::DynamicTIFF, Raster::DynamicBitmap, Raster::Convert, Raster::IdentityMask, Raster::IdentitySampler, Raster::IdentityTransform, Raster::Safe, Raster::NormalBlend>(Raster::DynamicTIFF*, Raster::DynamicBitmap const*, Raster::Convert::Params*, Raster::IdentityMask::Params const*, Raster::IdentityTransform::Params const*, Raster::IdentitySampler::Params const*, Raster::Safe::Params const*, Raster::NormalBlend::Params const*) + 20 M
-
you can also launch the "Console" app, then do a search for Affinity. You should be able to retrieve any logs that mention it. Michael
-
go to View/Studio and select the items you want shown. M
-
and as a film person mentioned to me, if you wanted a "real" technicolor look, you'd want some minor misalignment, dust spots, and scratches! (the process was prone to all that) Michael
-
Um, GMP is quite wrong in saying I don't know how Pentax Pixelshift works. I'm a long-time Pentax shooter and I have even done the exact same kind of pixel shift + normal layering he is talking about (in fact doing long exposure night photography with astrotracer just like he has). And I've never experienced anything remotely like what he has encountered and am genuinely interested in getting to the bottom of it. I suspect user error, but perhaps there might be another answer. In spite of his thin skin I would in fact like to help. However, it is quite clear he has already decided that he is in the right and that I am in the wrong so there is nothing much else to say. I certainly have no interest in reporting him for his rude remarks back to me. Michael http://www.jmichaelsullivan.com
-
I started on the very first version of Illustrator, but quickly switched over a few years later to Freehand. Kept using Freehand until a few years ago when it no longer worked with my latest Macs. Happy to have Designer after all these years. +1 for following some of Freehand's methods rather than Adobe's. Michael
-
Perhaps you don't understand the quote: "most RAW converters have trouble with Pentax (and Olympus) pixel-shift RAW". Needless to say, Lightroom would be included here. Why is Lightroom's inability to produce a decent TIFF from a Pentax a problem for Affinity???? Michael