
Andi Saitenhieb
-
Posts
17 -
Joined
-
Last visited
Posts posted by Andi Saitenhieb
-
-
2 hours ago, carl123 said:
Go into shortcuts and remove the shortcut for Convert to Curves
Ctrl+Enter (Windows) or Cmd+Return (Mac)
Now that's a very good idea! I did that now.
Is there a quicker way to find a keyboard shortcut than scrolling through all of them or doing a google search?
In other software, there is a search for keystroke and search for command ... -
2 hours ago, GarryP said:
You're welcome.
There may be some tools out there on the web that can, up-to-a-point, convert curves back to text.
If you really need to convert the curves back to text, and finding out how to do so would take less time than typing the text back in yourself, then it might be worth looking for them.
Typing the text manually is much quicker. This convert-to-curve thing happened multiple times, so I thought I better understand it so I can prevent and undo it.
As carl123 suggested: I'll remove the keyboard shortcut for convert to curve now ... 🙃
Thank you so much for helping a newbie with this trivial stuff! -
28 minutes ago, GarryP said:
If using the Undo is no longer a possibility then there’s no way to turn the curves back into text because the software has no way of knowing which fonts (can be multiple fonts used in one frame) were used to create the text in the first place. A curve is just a curve.
Thank you, Garry, that makes sense!
The History Panel, as with most other panels, can be shown via the Window menu, e.g. menu “Window → History”.
Great, thank you!
-
1 hour ago, walt.farrell said:
Edit > Undo should fix it, or moving backward in the History panel.
As to how you did it, possibly you pressed Ctrl+Enter (Windows) or Cmd+Return (Mac) while the text (or frame, possibly) was selected.
Thank you for your reply, Walt!
I know about the undo command, but that's not available anymore once the program was closed and restarted.
My idea was that if it's possible to turn the Frame Text into curves, there must be a way to turn the curves back into a frame text ...Another question: Where can I find that history panel that you mentioned?
In my Affinity Photo 2.3.1 there is only undo and redo under the edit tab, but no history. -
1 hour ago, firstdefence said:
If you are using Artistic Text tool, just click on Artistic text box and type additional text, the box will expand to accommodate the additional text.
Using the Text Frame tool allows you to expand the frame without affecting the text.
I didn't know about these two different kinds of text, and I was using Artistic Text because it was chosen automatically.
I just needed to use Frame Text. 😊Thank you!
-
Accidentally I turned a text layer (Frame Text) into curves, that is each single letter is on it's own.
How can I undo this (turn the text into one single text layer again)?
Oh, and how did I actually do this (so I can prevent it from happening in the future ... 🙃)?
I just clicked or double-clicked somewhere in the layer to change the text ...Thank you!

-
23 minutes ago, GarryP said:
My first guess is that you could be using the wrong type of text layer for your needs.
Have you tried using a Frame Text layer instead of an Artistic Text layer?
Yes, that's the solution! Thank you!
-
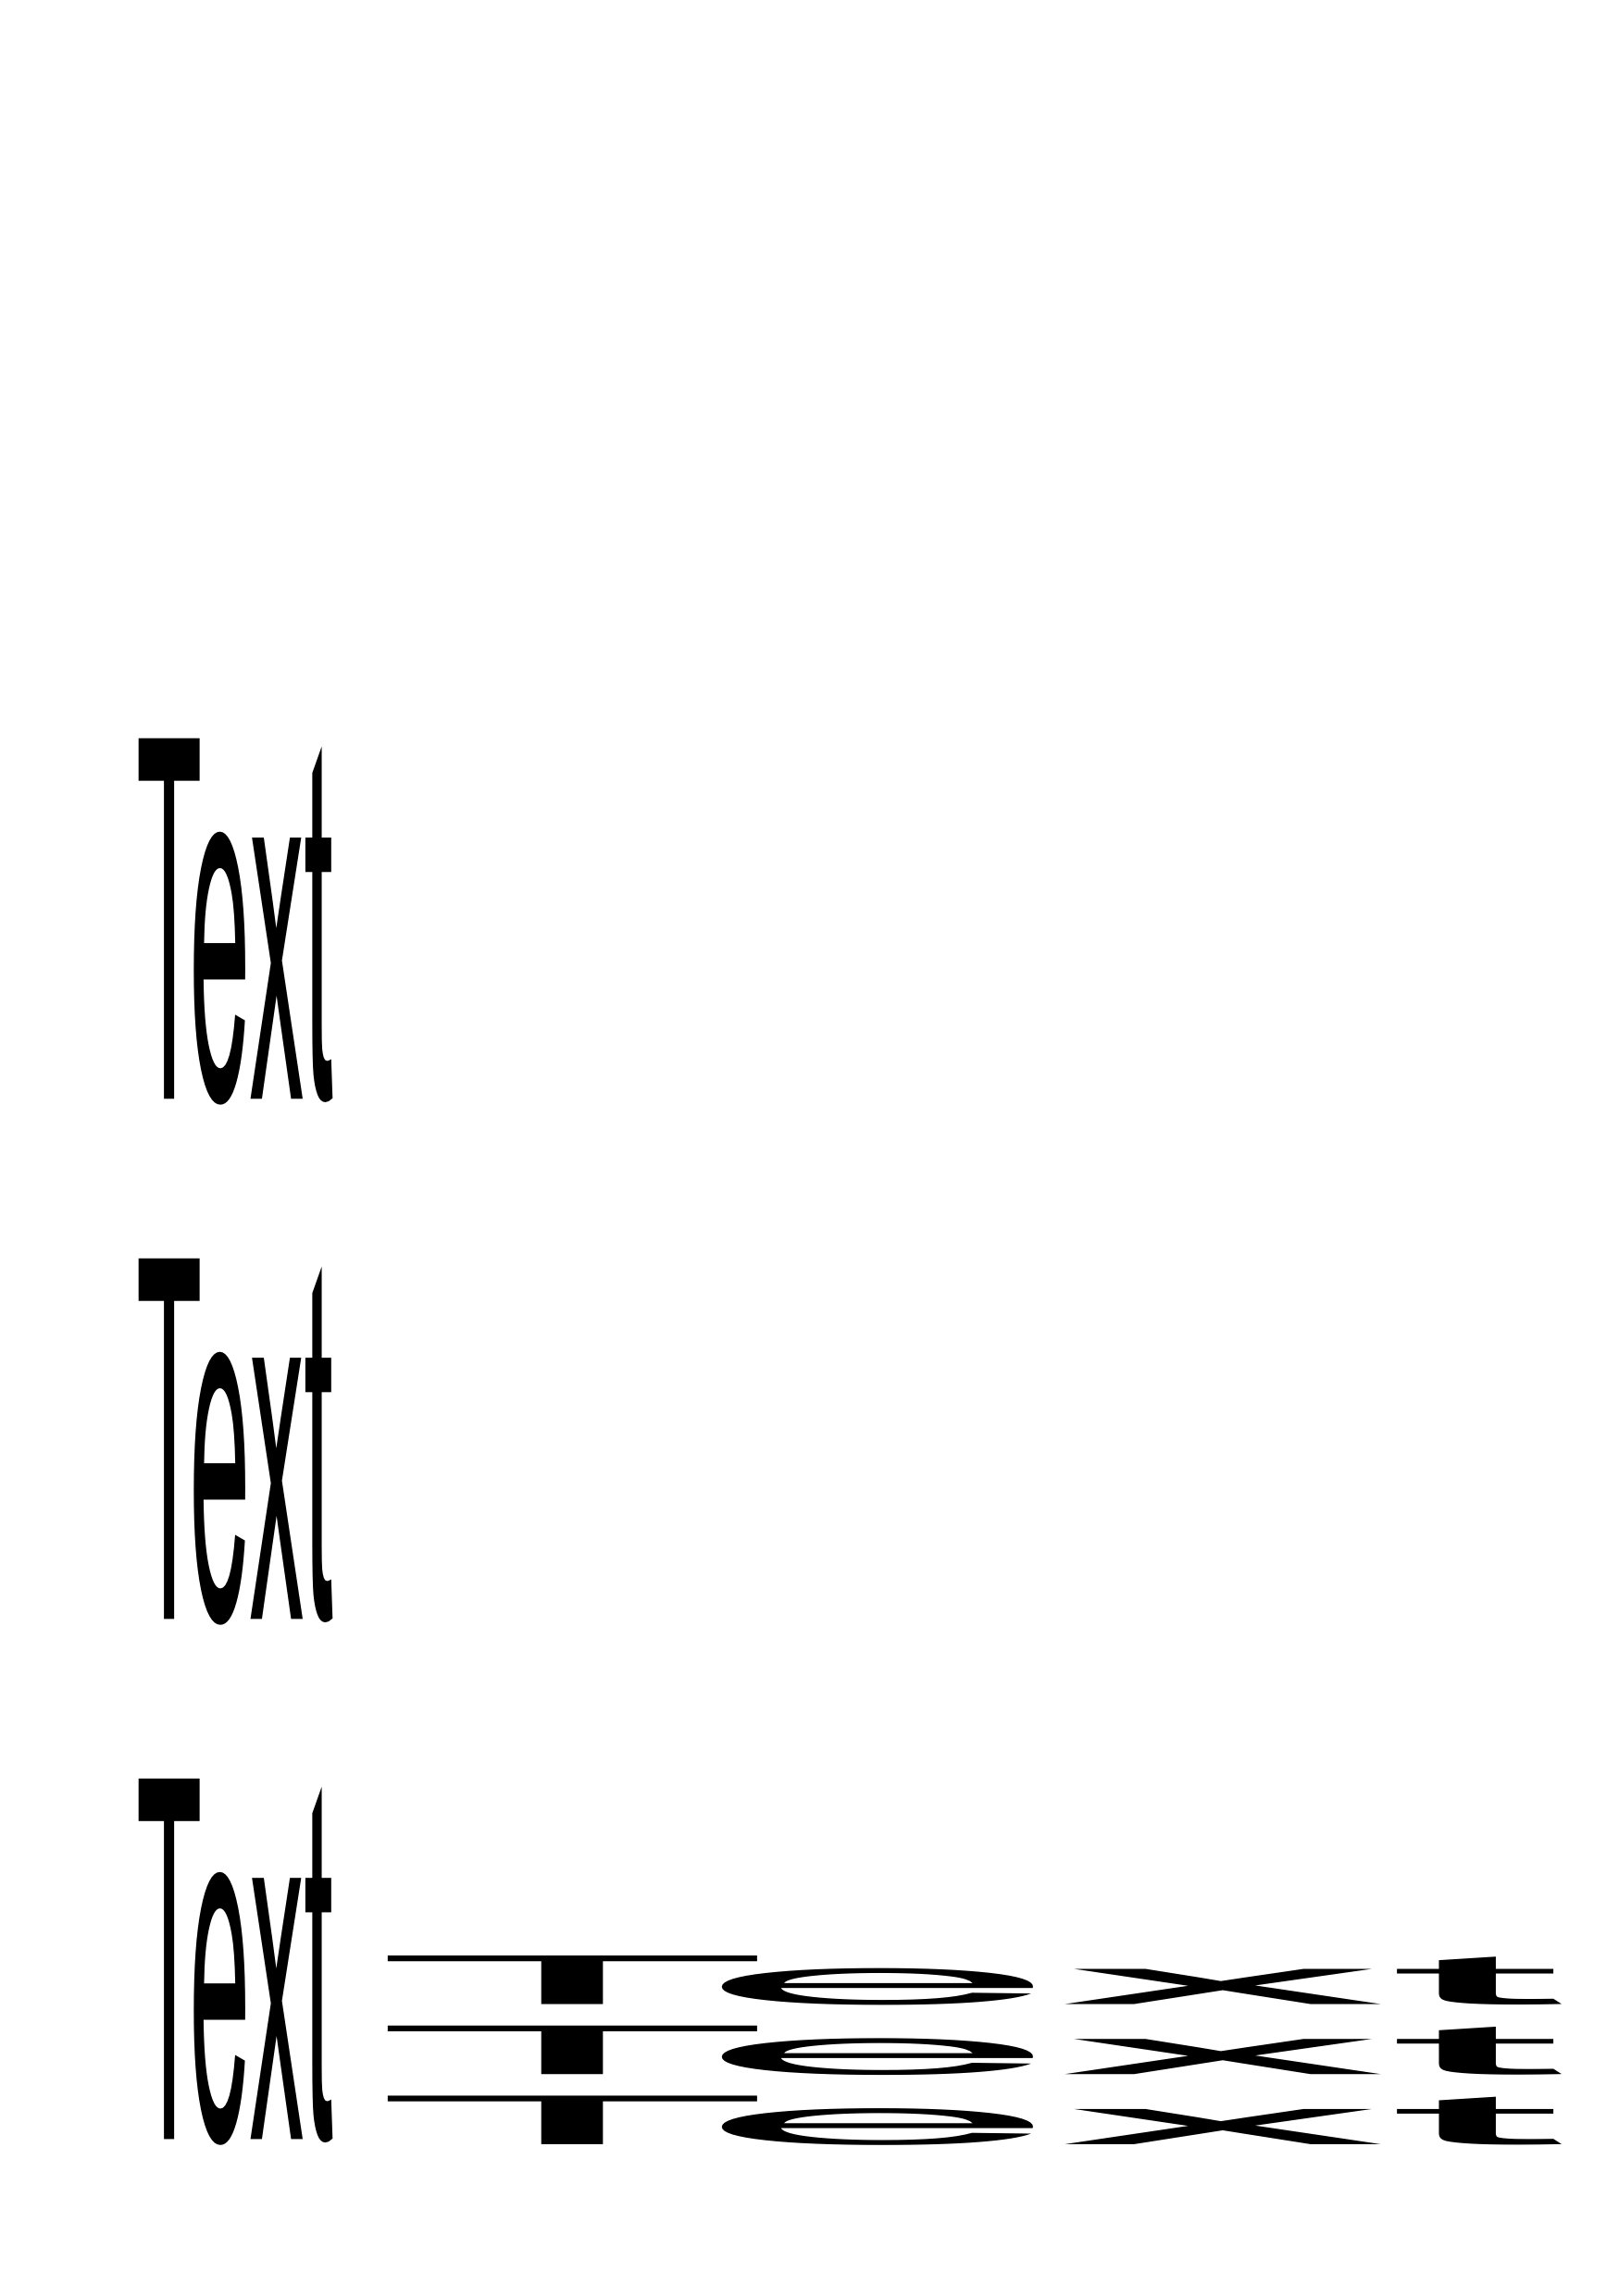
How can the auto warp text (is that the name of the function?) in Affinity Photo be turned off?
I only want to resize the layer size to fit in more text, not distort the text.
See image below.
Thank you! 🙂
-
@David in Яuislip @Dan C @h_d Thanks again to everybody! I had to fiddle with the opacity in the Gradient Map, now I am really satisfied with the result! 🙂
Final question: Where can I fine tune the saturation? I didn't find that knob / option.
Camtasia:

Affinity Gradient Map with 3 points, 50% Opacity
Original photo:
-
-
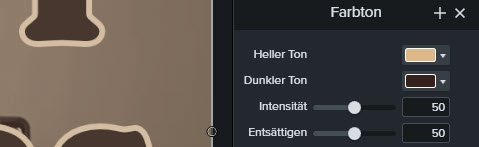
Hi there,
I have 3 branding colors (1 main accent, one near white and one near black).
In my video editor I found an option to set a different color for the light and the dark tone independently.
So I set 2 of my colors, set the saturation and the intensity each to 50% - voila, loved the result.Now I want to do the same to my photos for branding reasons.
So I tried all the options I could find (including the colorize function with the 2 sepia presets) but didn't get really close.
How can I do this in Affinity Photo?
Thanky ou for your help,
AndiPS: My exact colors are
- vintage white: #FCF9F2 / 252 249 242 (instead of plain white)
- beige: #DEB887 / 222 184 135
- dark brown (instead of plain black): #35211D / 53 33 29.
-
-
Hi Affinity fellows,
I found out how to create my own color palette and added my 5 most used colors to it.
How do I set this color palette as standard so that everytime I open or create a new document it is already selected?Thank you for your help,
Andi -
@Patrick Connor Thank you, Patrick. Now it's working!
-
I can't change my profile pics either.
Thank you for helping!
@Patrick Connor -
Hello Affinity community,
I am new to the Affinity suite (and mainly a musician designing my stuff as a sideline) so please forgive if I ask a simple or stupid question.
After researching many hours I found the perfect looking 2 fonts for my image / brand. Now I want to make the logos and pictures I create look old, vintage, scratchy.
After another long research I stumbled upon fontscafe.com and they have exactly what I need: Adjustable scratch patterns.
https://fontscafe.com/font/vintage-photoshop-action-10-different-patternsHere is the tutorial showing it's use:
https://fontscafe.com/cafearea/vintage-photoshop-action-create-vintage-look-one-click
including this short demonstration / explanation video:
Youtube TutorialWow, killer, just what I have been searching for a long time. Sadly this is originally for Photoshop.
My question(s):
Can I use this in Affinity Photo (or Designer or Publisher)?
Or can I somehow convert this?
Or is there a similar product / option / possibility within the Affinity suite?Thank you so much for your help,
Andi


Affinity Photo text resize - how to turn off auto warp?
in Affinity on Desktop Questions (macOS and Windows)
Posted
Great stuff, thank you R C-R!