Search the Community
Showing results for tags 'Tutorial'.
-
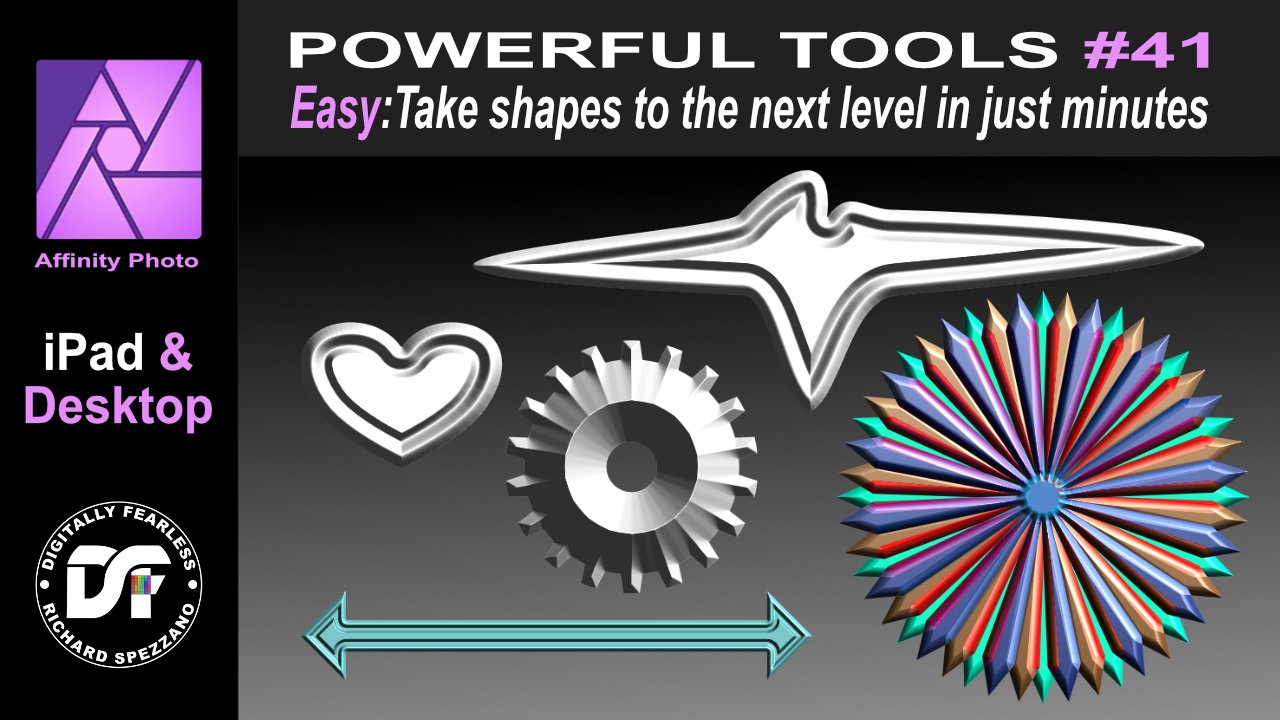
 Easily take Affinity Photo shapes to the next level. Don't settle for the default shapes this Affinity Photo beginner tutorial shows how to change the shapes and add effects (FX) and blend modes to create unique graphics. This is number 41 in my Affinity Photo Power Tools playlist. the link to this playlist is below. https://youtu.be/JZrGgtn3RAA #madeinaffinity #affinityphoto #affinityserif #tutorial #photomanipulation #graphicdesign #affinity #digitallyfearless #AffinityiPad #iPad #shapes #fx #3D #blendmodes
-
 Hi, I would like to ask when you will be producing non-subtitled multilingual tutotials. I ask because ersonally with regret I immediately decided to give up trying to understand how to use Affinity Photo and Desiner, so I abandoned these two licenses purchased in 2019. I made this choice because to be able to read the subtitles, but above all to reflect on the translations and at the same time also look at the pointer to understand what is taught in the tutorial, on average I should reduce the scrolling speed of the video to 0.50 or 0.25. This change would make them very long and stressful to consult.
 -
Easy chalkboard from a photo. Affinity Photo Tutorial In number 39 of my powerful tools of my Affinity playlist I turn a photo into chalk and place it on a blackboard, This Affinity Photo tutorial is shown in iPad and Desktop. https://youtu.be/IIqL44O9jbk
-
- 2
-

-
- photo manipulation
- diffuse
- (and 6 more)
-
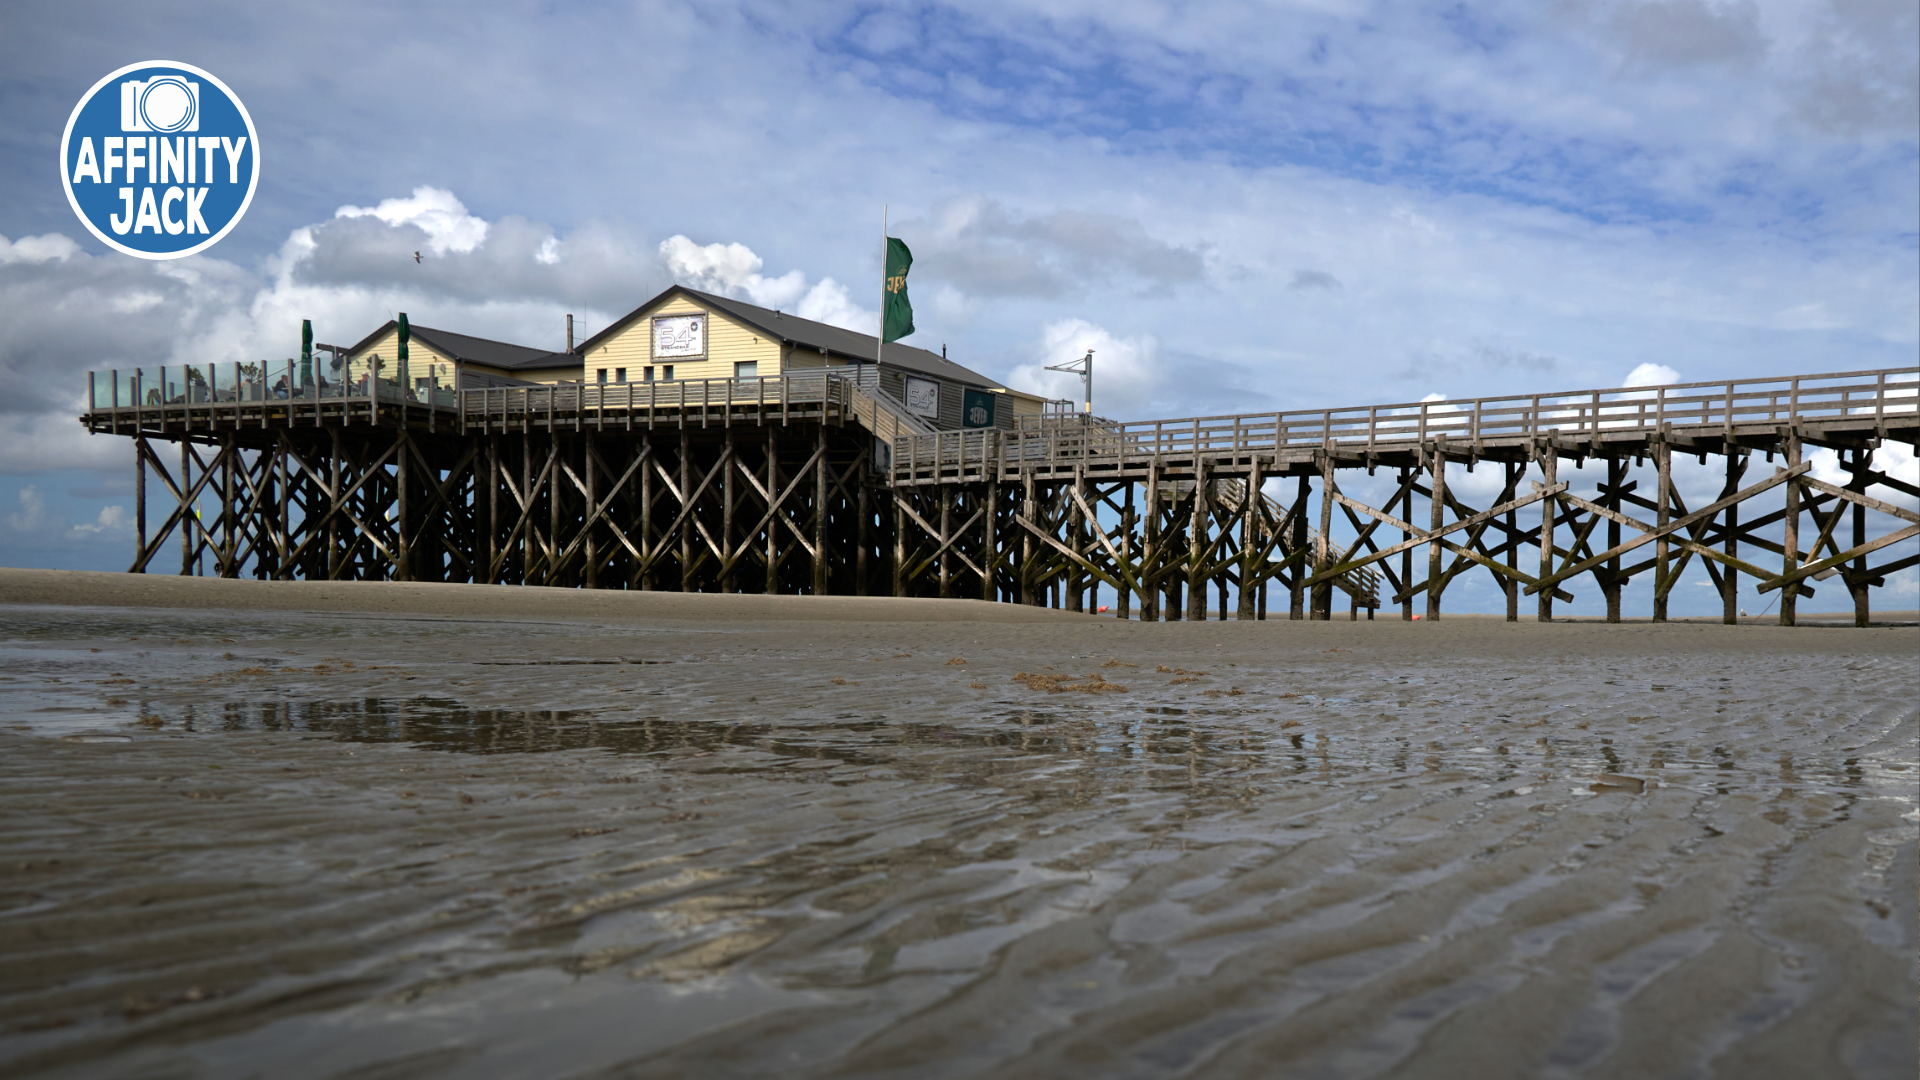
 Hi, I shot some photos and stacked them together to a manipulation. I used several methods like photo stacking, crop, perspective warp, color changing, create shadows, selective exposure and dodge & burn. I wish you fun with this video und feel free to show your results and ideas. Ciao Jack
 -
Hi, this is a Affinity Photo tutorial on YouTube. I took 5 photos to create a new one. Fantasy Island. This video is not in real time, but as a kind of speed art tutorial. There are a lot of steps and layers. Selections, transform, warp, color corrections, shadows, water splashes etc. ... I wish you fun with the video. Ciao Jack P.S.: You can activate english subtitles with the gear icon in the YouTube window.
-
- 1
-
-
- affinity photo
- tutorial
- (and 3 more)
-
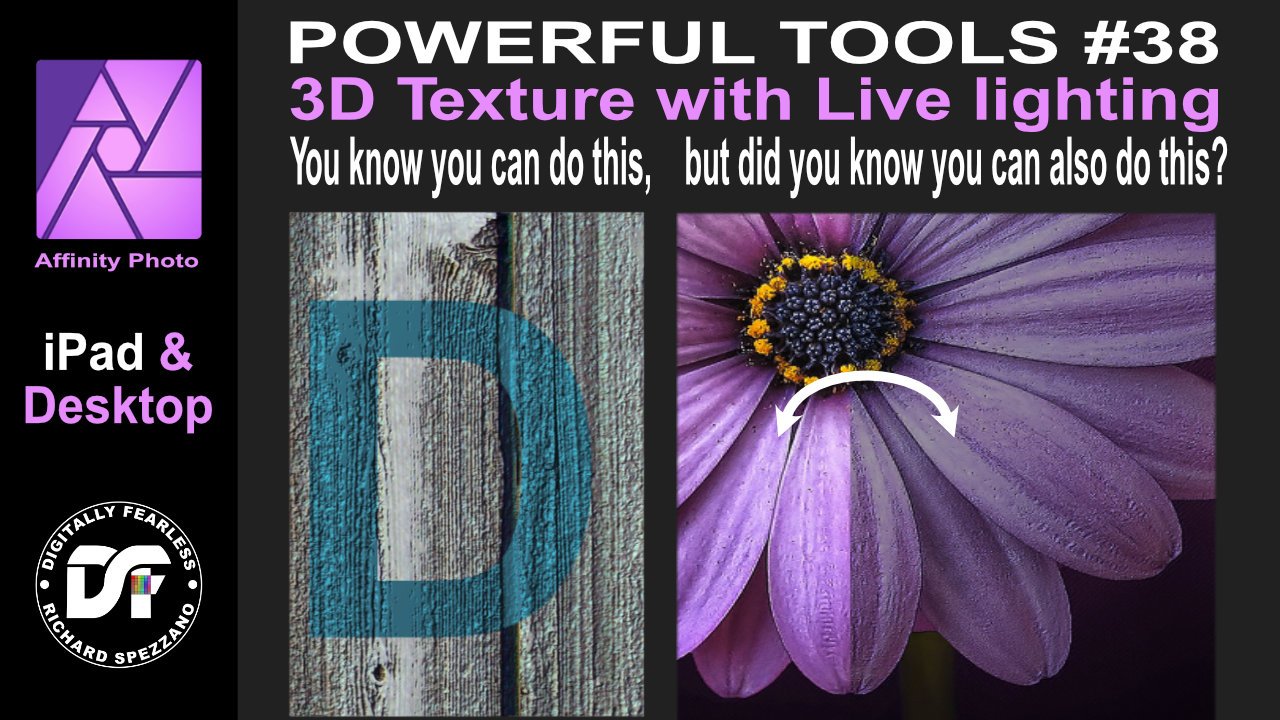
3D texture with live lighting Affinity Photo tutorial on iPad and desktop. First I show the way I believe it was meant to be used, but then I tried something different. I used a photo of a flower and gave it live lighting with 3d texture. https://youtu.be/lFK-Gqz1x2I
-
Hi, this is a Affinity Photo tutorial on YouTube. I shot this photo on a photo walk. It was already autumn, but I show how to create a very colorful changes. I show two methods. So you can choose your workflow. And because there are different layers, you can choose the the colors and the intensity. Have fun and feel free to show your results. Ciao Jack P.S.: You can activate english subtitles with the gear icon in the YouTube window.
-
- 2
-
-

-
- affinity photo
- tutorial
- (and 2 more)
-
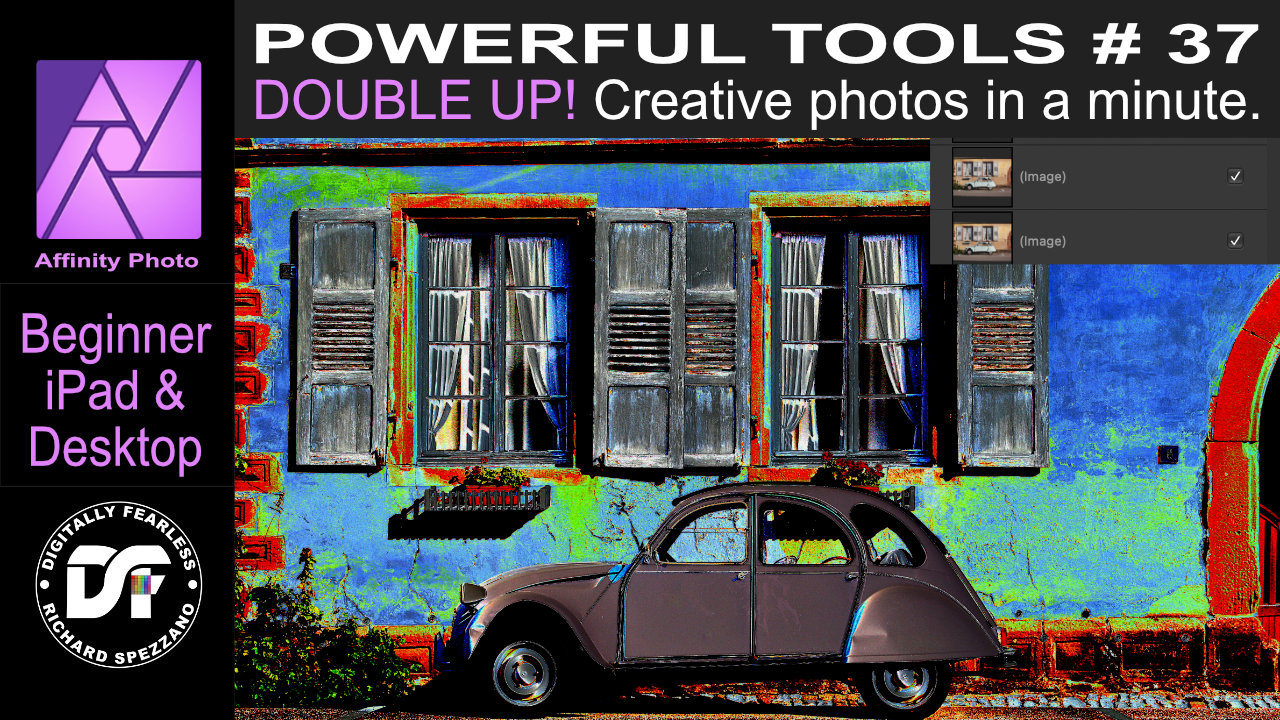
Double Up! In this beginner Affinity Photo tutorial I double the photo and double the blend mode to produce some interesting photo manipulations. This is number 37 of my Powerful tools of Affinity playlist.This tutorial is shown in iPad and Desktop. https://youtu.be/0fE7Du_-4-M
-
- 1
-
-
- affinityguides
- tutorial
- (and 4 more)
-
Hello, in this Affinity Photo tutorial, I show a problem of a shot at dusk after the sunset. There is a low light situation, you have to shot with a high ISO and so ... you will get noise! I show, how to denoise the photo and how to sharpen it. I wish you fun! Ciao Jack P.S.: You can activate english subtiles with the gear icon in the YouTube window
-
Hi, I made à tutorial, where I show, how to remove unwanted and complex objects, which sometimes ruin a photo. Have fun with this Video. Ciao Jack P.S.: You can activate english subtiles with the gear icon in the YouTube window YouTube Link
-
Retro TV Pop-up Affinity Photo tutorial photo manipulation. Desktop version. In this photo manipulation in Affinity Photo (desktop version), I create scanned lines and show a girl jumping out from a retro tv to real life. Halftones makes shapes and the pen tool are used. The link to the iPad version of this tutorial is in the description. https://youtu.be/EKR7IdFw6Os
-
Create comic or cartoon backgrounds with the help of Google Maps. A Digitally Fearless tutorial shown on iPad with explanation on how to do it on desktop. https://youtu.be/gn4-tGAC6SI
-
Change Affinity Photo brush colors on the fly. In this Affinity Photo tutorial I show in both iPad and desktop how to change your brush colors on the fly. It is number 33 of my Digitally Fearless Powerful Tools of Affinity. https://youtu.be/xh9oMoIxE_w
-
- 2
-
-
-
- ipad.
- desktop apps
- (and 5 more)
-
 Hello designers! I have a new Affinity Designer tutorial for you. This one is all about the pen tool & node tool. It's a long one and goes from beginner to advanced and I cover pretty much everything possible. I also go over the corner tool and there are a bunch of exercises. Enjoy! https://www.youtube.com/watch?v=3iowyjv8ezA
-
- 2
-
-
- affinity designer
- pen tool
- (and 5 more)
-
 I am a B&W photographer. My RAW files end up a bit too dark and, consequently, lose detail. I am trying to learn how to use the radial gradient tool to lighten up areas. I would appreciate being pointed to a few good tutorials for beginners on this topic. I am not talking about using the Gradient Map. Thanks,
 -
 A vector illustration of a beetle car with a cool vintage 60's look. The other vectorial elements and color gradients add to give this illustration a warm summer vibe . This flat design image was created by following a tutorial by visual artist Isabel Aracama (www.isabelaracama.com). If you wish to see more of my visual art designs: https://www.instagram.com/anacardoliva
- 4 replies
-
- 5
-
-
- flat design
- vectorial
- (and 7 more)
-
 Hi All, I'm trying to learn Affinity Publisher via video tutorials. The challenge is that all the tutorial videos I've viewed online on YouTube on my laptop the features (words) are too tiny to see. So, you can't see the features you're supposed to be clicking on or selecting. I can hold down the Ctrl key and enlarge the screen but it doesn't enlarge the words on screen in the tutorial. Has anyone watched a YT tutorial where the features are easily readable? I've uploaded a screenshot of what appears on screen. Thank you.
-
 I'm a beginner in astrophotography processing. I have watched the YouTube videos by James Ritson but I do not understand all the terminology or how to get all the files (Light frames, Dark frames, Bias frames, etc.) or even what they are. I really need an introduction to astrophotography processing in Affinity Photo. Thanks very mch.
 -
Better Threshold results. Powerful tools 20. Beginner Affinity Photo Tutorial. https://youtu.be/CWy6baTlQL0 If you have had trouble getting Affinity Photo’s threshold to look right, then this beginner Affinity Photo tutorial is for you. It shows how to combine dodge and burn with threshold. This is number 20 in my Digitally Fearless Powerful tools series.
-
- 1
-
-
- threshhold
- dodge
- (and 6 more)
-
 In this tutorial, we'll cover landscape drawing, composition notions, the focal point, how to lead the viewer's eye and how the HSL dialog (hue, saturation and luminance) allows for incredible versatility in colour choices. Check it out here: https://www.isabelaracama.com/post/design-a-landscape-illustration-affinity-designer-tutorial
- 11 replies
-
- 6
-
-
-
- beginners tutorial
- colorful
- (and 7 more)
-
Stop colors from bleeding on to your masked image. A better way to mask an Affinity Photo beginner tutorial.
- 2 replies
-
- 2
-
-
-
- tutorial
- beginner tutorial
- (and 2 more)
-
Create a vinyl record from scratch. Vinyl is back so I created an Affinity Photo tutorial on how to create a vinyl record from scratch. I hope you find it useful. https://youtu.be/XtPZruxQnaI
-
REMOVE RED EYE TOOL How to use the Remove Red Eye tool. Part 16 of my Digitally Fearless Powerful Tools of Affinity. I also give you an alternative tool because like in all graphic apps, the Remove Red Eye tool might not be the best choice in some cases. https://youtu.be/_FqDyGeQcWQ
-
- 1
-
-
- tutorial
- digitally fearless
- (and 3 more)
-
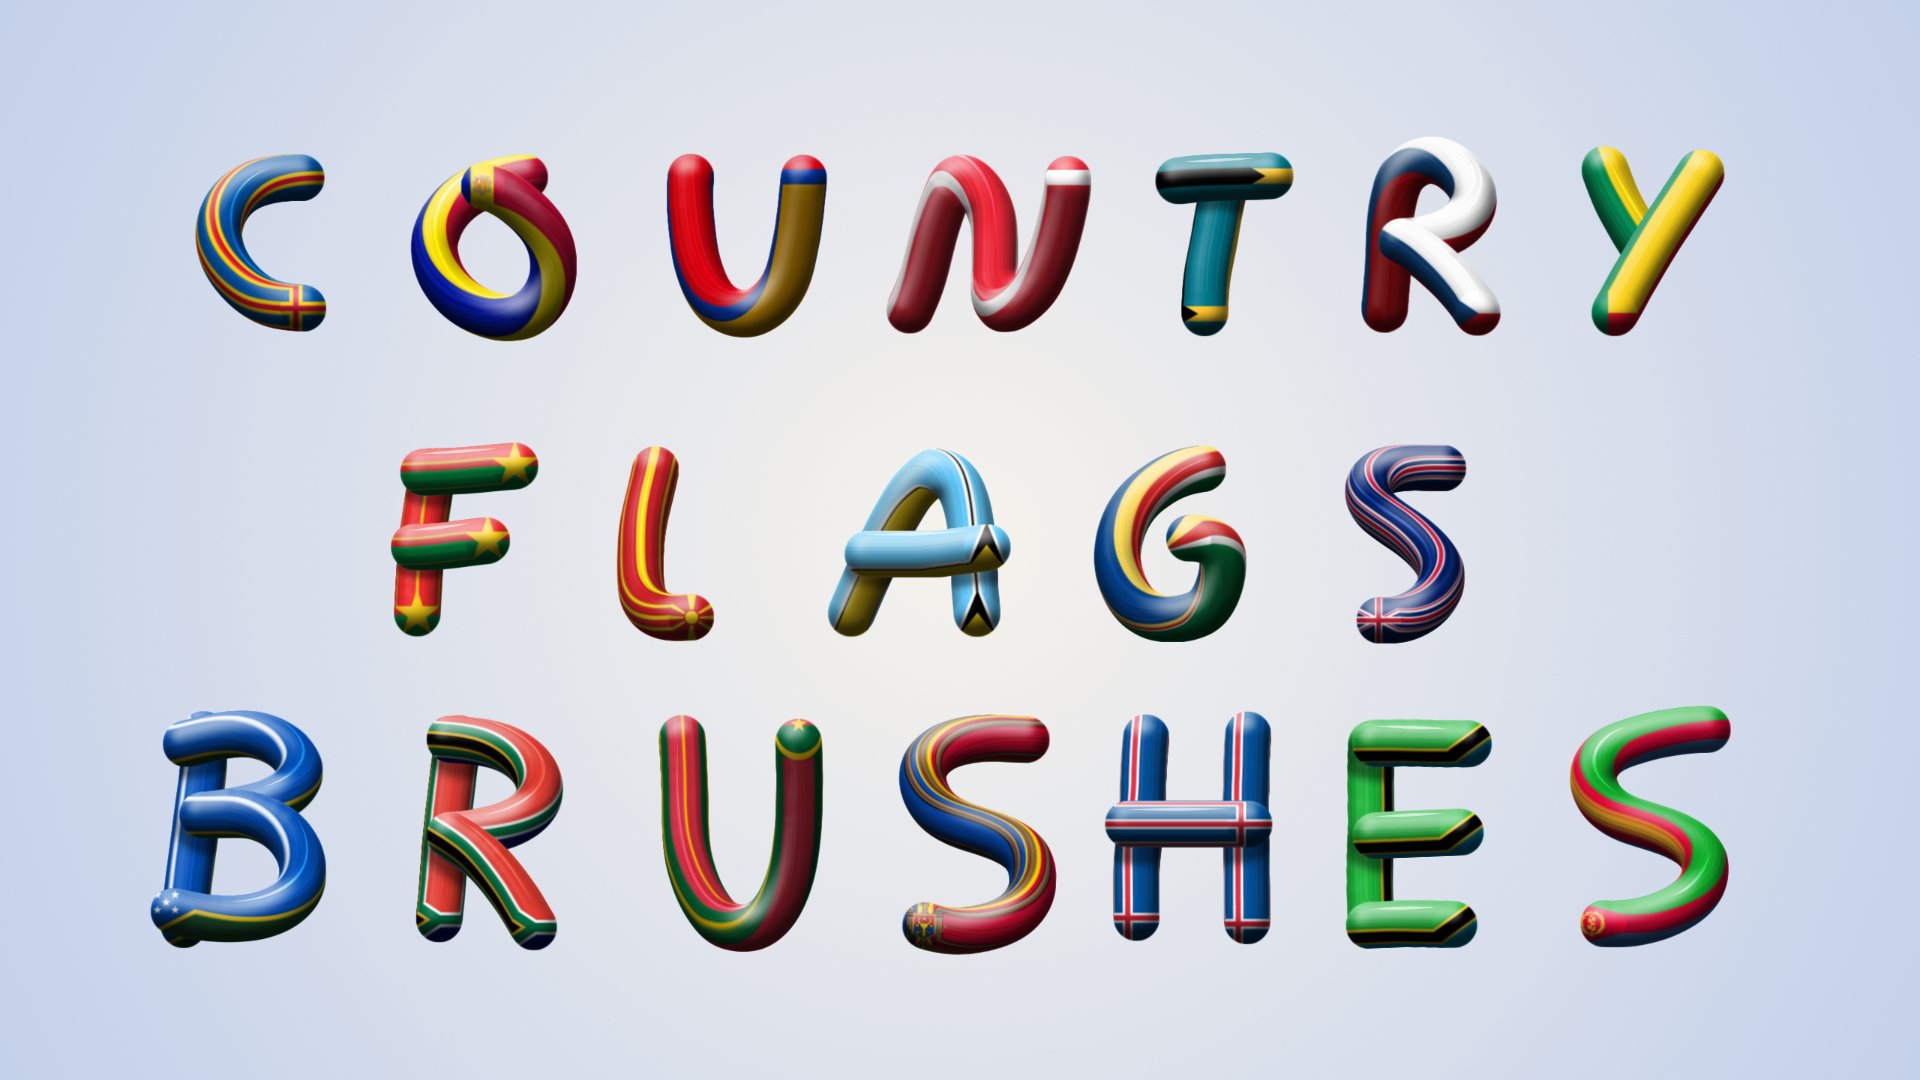
 Hallo Affinity Community, mit euch möchte ich meine Länderflaggen Pinsel teilen. Optimiert sind sie für's zeichnen bei 1% Abstand damit ein Streifeneffekt entsteht. Geeignet also für z.B. Texteffekte. Einige Flaggen waren durch ihr Design für runde Pinsel ungeeignet. Um sie dennoch hinzuzufügen habe ich sie umgestaltet, möglichst ohne ihren Wiedererkennungswert einzuschränken. War z.B. ein Emblem mittig und dadurch beim zeichnen schlicht unsichtbar, verschob ich es ein wenig über die Kante des Kreises/Pinsels. Manche Flaggen besitzen deshalb 2 Versionen. Die Pinsel sind in englisch übersetzt, auf 4 Kategorien verteilt und alphabetisch sortiert. Ohne englisch Kenntnisse wird man sich auch zurechtfinden da die Reihenfolge der deutschen sehr ähnlich ist. Enthalten sind 193 Stück + 59 Zweitversionen mit einer Größe von je 500 Pixel. Anleitung für 3D Effekt mit zusätzlichem feinen Linien wie auf dem Vorschaubild: 1. Beliebigen Flaggenpinsel wählen und auf die gewünschte Größe ändern, z.B. 60 Pixel bei 2K Auflösung. 2. Eine neue leere Ebene erstellen und 1x mit dem Pinsel darauf klicken/malen. 3. Live Filter "Rauschen hinzufügen" an die Ebene clippen und Wert auf ca. 25 erhöhen. 4. Belichtungsanpassung ebensfalls an die Ebene clippen und Wert auf ca. -2,5 stellen. An diese Anpassung (nicht Hauptebene) einen vertikalen bzw. je nach gewünschter Lichtrichtung schrägen schwarz/weiss Verlauf zeichnen, sodass der Pinselpunkt oben hell und unten dunkel wird. 5. Ebene duplizieren um die originale zu sichern und das Duplikat rastern. 6. Mit angeklickter Duplikatsebene über Pinselpanel "neuer Pinsel aus Auswahl" wählen. Den Pinsel bearbeiten und Abstand auf 1% reduzieren. Der Pinsel ist jetzt fertig vorbereitet. 7. Auf neuer oder zwei neuen Ebenen (z.B. bei übereinanderliegenden Strichen wie bei Buchstabe A oder H) zeichnen, z.B. einen Text. 8. Ebeneneffekte "3D" oder "Kanten schleifen-innen" mit einem runden Profil hinzufügen (bei zwei Ebenen auch jeweils einen Ebeneneffekt für sich (Effekt kann seit Affinity 1.9 verknüpft werden)). Bei einer gewählten Pinselgröße von 60 Pixel empfiehlt sich ein Wert von 25 - 30. Optional "weichzeichnen" hinzufügen. Nun nur noch das Licht an die bei Schritt 4 gewählte Richtung anpassen. 9. Falls zwei Ebenen verwendet wurden kann auf der unteren gegebenenfalls noch ein Schatten, der durch die obere entsteht, hinzugefügt werden. Das verstärkt den 3D Effekt noch mehr. Fertig Viel Spaß english Hello Affinity community, i want to share my country flags brushes with you. They are optimized for round brushes by painting with 1% space to create a streakeffect. Because of some flags are unsuitable i had to edit them. This packs contained 193 brushes + 59 with a second version, separated in 4 categories, translated into english and arranged in alphabetical order. All have a size of 500 pixel. Tutorial for a 3D effect with additional fine lines like on my wallpaper: 1. Choose a flag brush and set it to a size you like, for example 60 pixel on 2K resolution. 2. Create a new empty layer and paint 1x time on it. 3. Add "add noise" live filter and clip it on this layer. Set the value to around 25. 4. Add "exposure" adjustment and clip it also to this layer. Set the value to around -2,5 and add a vertical (or other light direction you like) black/white gradient on this adjustment layer. Your brush dot is now bright on top and below dark. 5. Duplicate the complete layer to save your original. Rasterize the duplicate. 6. With active duplicate go to brush panel and click on "create brush from selection". Edit this brush and set space to 1%. The brush is now ready to paint. 7. Paint on a new layer (or 2 if your lines cross each other like for letter A or H for a deeper 3D effect). 8. Add layer effect (If you have 2 layers use 2 layer effects. Since Affinity 1.9 it is possible to link them.) "3D" or "inner bevel". I recommend a value of 25 - 30 when you paint with 60 pixel. Optional smooth the effect a little. For a round 3D effect use a round profil. Now only adjust your light direction to a similar like on step 4. 9. If you use 2 layers you can add a shadow on the layer below to increase the 3D effect. Done Have fun Country_Flags_A_-_F.afbrushes Country_Flags_G_-_L.afbrushes Country_Flags_M_-_P.afbrushes Country_Flags_S_-_Z.afbrushes