

qendl
-
Posts
29 -
Joined
-
Last visited
Posts posted by qendl
-
-
Thanks for the replies. Surprised you can't do this.
-
Is there no way to use it as a stroke along a pen tool curve then?
-
I've been trying to achieve something that seems like it should be simple but I can't make it work. I want a brush that works like a calligraphy parallel pen - the brush tip is basically a 45 degree angled line that's always oriented the same direction regardless of which direction the path of the stroke goes. It would be even cooler if I could adjust the rotation of the brush as a dynamics-curve but I can't even get the basic idea to work so I haven't thought about that yet. I've been trying to get it to work in either Designer (preferably) or Photo but I can't get it in either. I can make something approximately right with a "square" brush in Photo but it can only be used as a raster brush and can't be applied as a stroke to a curve. I'm on pretty old versions of both programs so there may be new features I'm not aware of.
Here's an example of someone doing exactly what I want in Illustrator (starts drawing at 2:18). Notice that no matter which direction his stroke is in the brush stamps the shape in the same orientation so drawing straight down yields a thick line with a tilted end, while drawing SW to NE yields a narrow line:I've tried using a 45 degree tilted thin rectangle as a "textured image brush" and a "textured intensity brush" in Designer but both brushes stretch, distort, or rotate the image in weird ways. I just want a brush that stamps the same shape in the same rotation continuously to form a line regardless of stroke direction. Surely it must be possible. Thanks for your help everyone.
-
Hi Sean. Same behavior in 1.7.1 now too. I'm just holding shift while I click+drag.
-
I'm on mac so I had to get the apps on the app store. Might have a backup of the old version in my backup drive. The new version replaced the old version without alerting me when I installed it, so I don't know if it's possible for both apps to be on the same machine at once. I don't mind if any of my new documents aren't openable, I just want a version of the app that doesn't have the huge, app breaking bugs that 1.7 has.
-
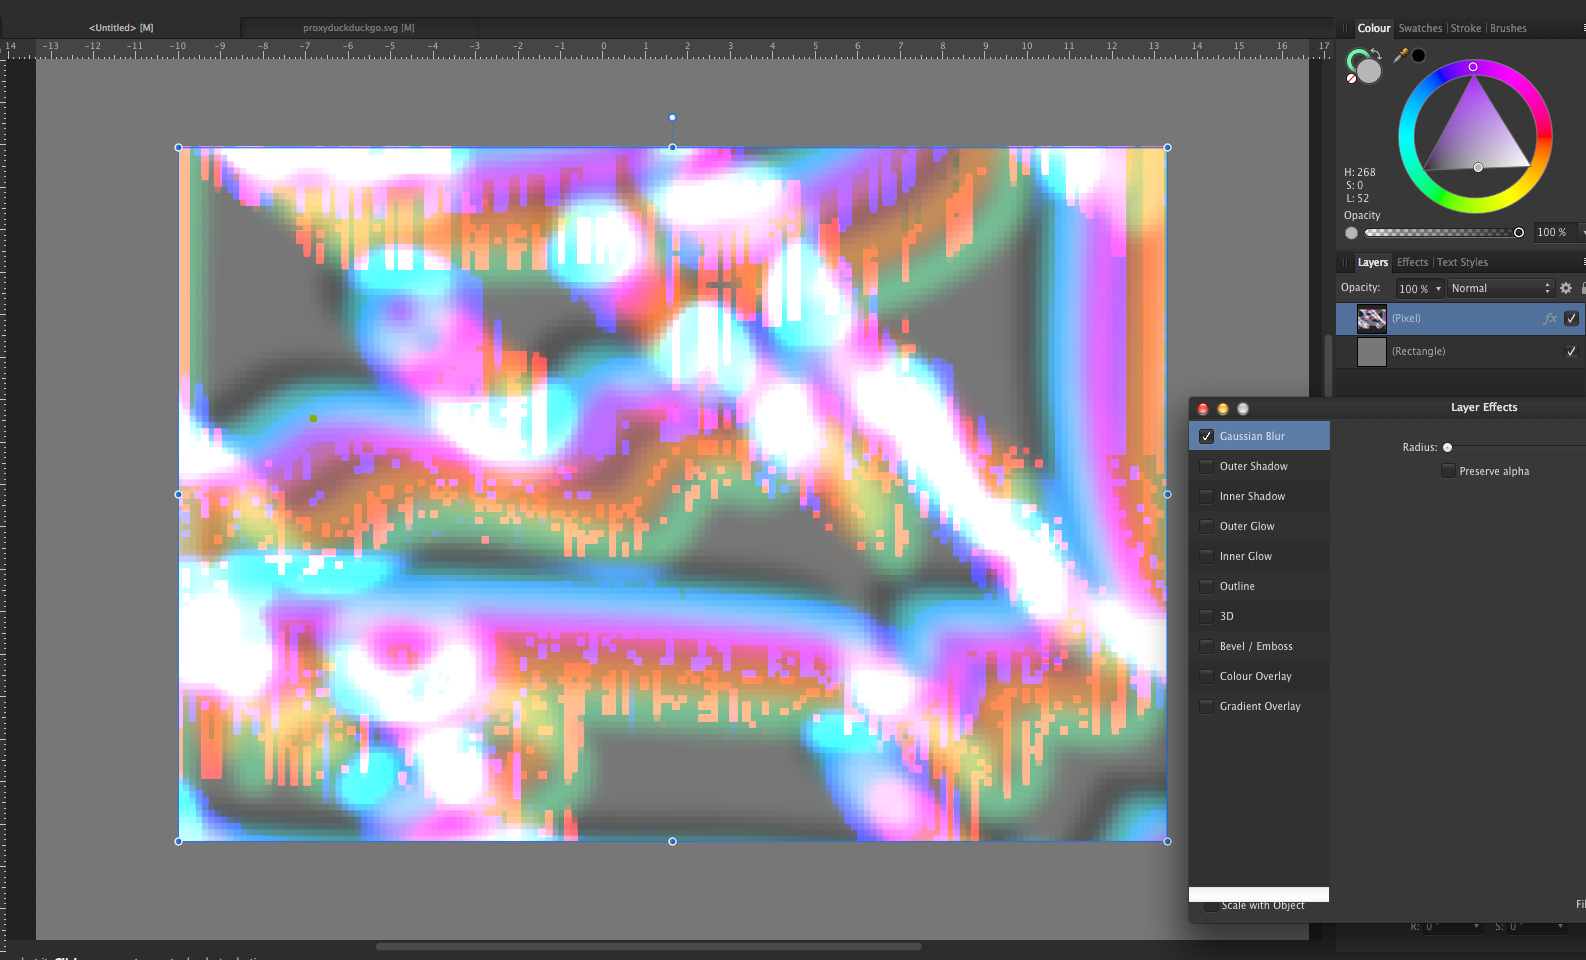
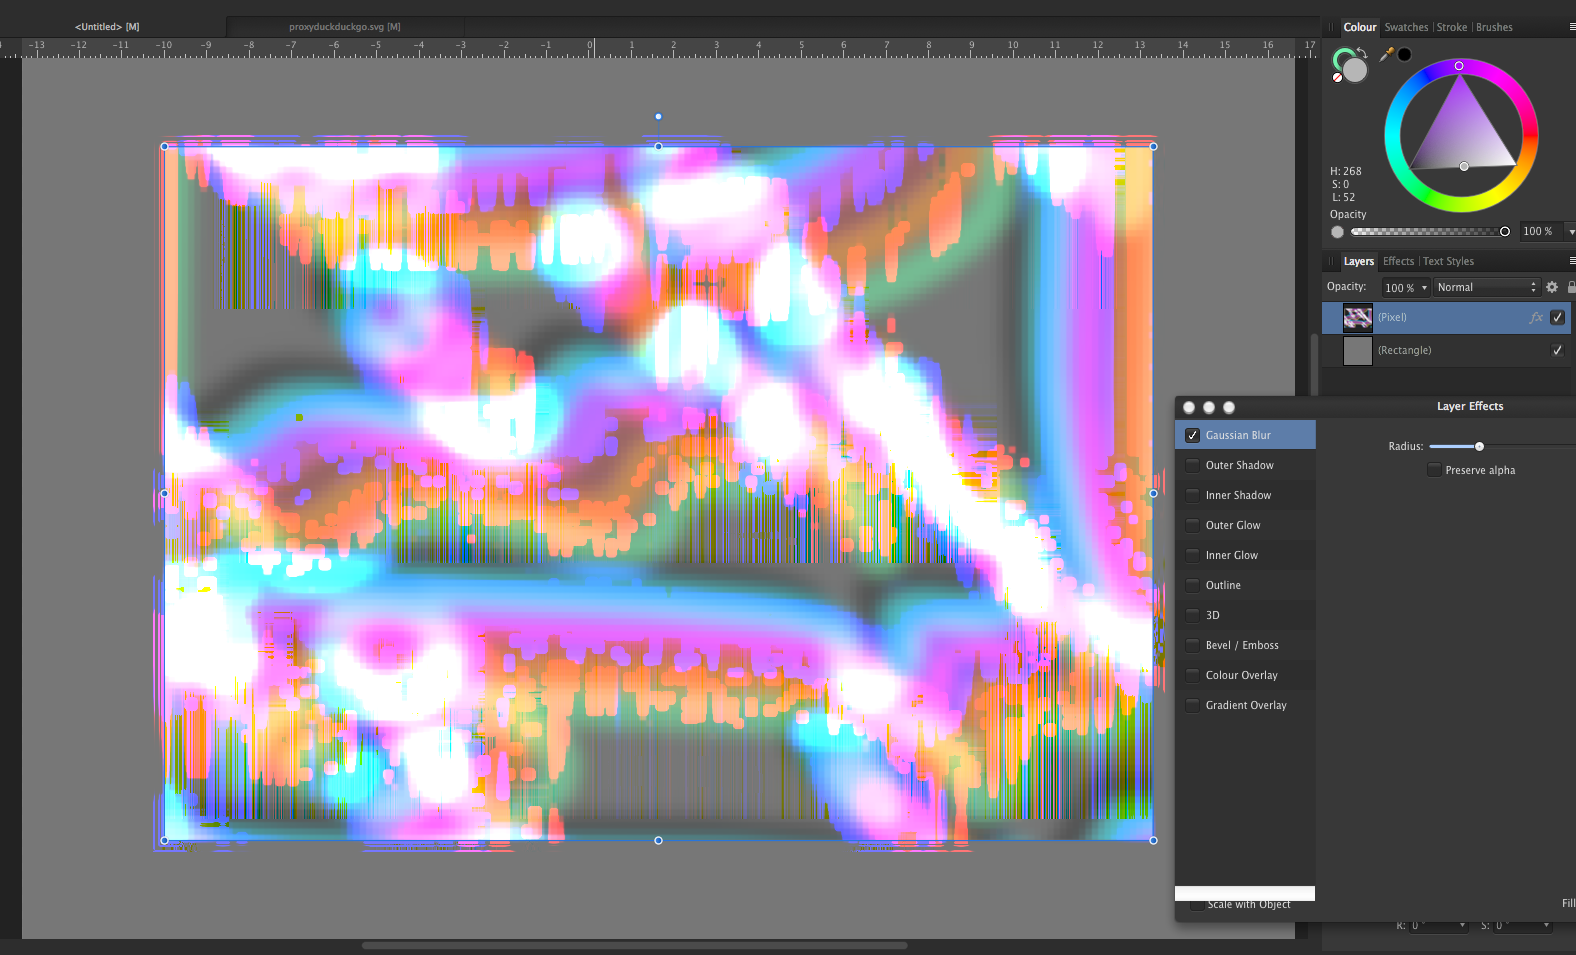
First image shows a single pixel layer on gray rectangle background with no blur. Second picture shows exact same project with Gaussian blur added via fx on the pixel layer. As you can see, glitchy vertical banding appears.

-
New version re-written blend modes produce glitchy results in a lot of situations for me. Didn't experience this in the previous version. The new version seems to have replaced the old version on my computer. Is there a way I can get the old version and is it possible to have both versions on the same machine simultaneously?
-
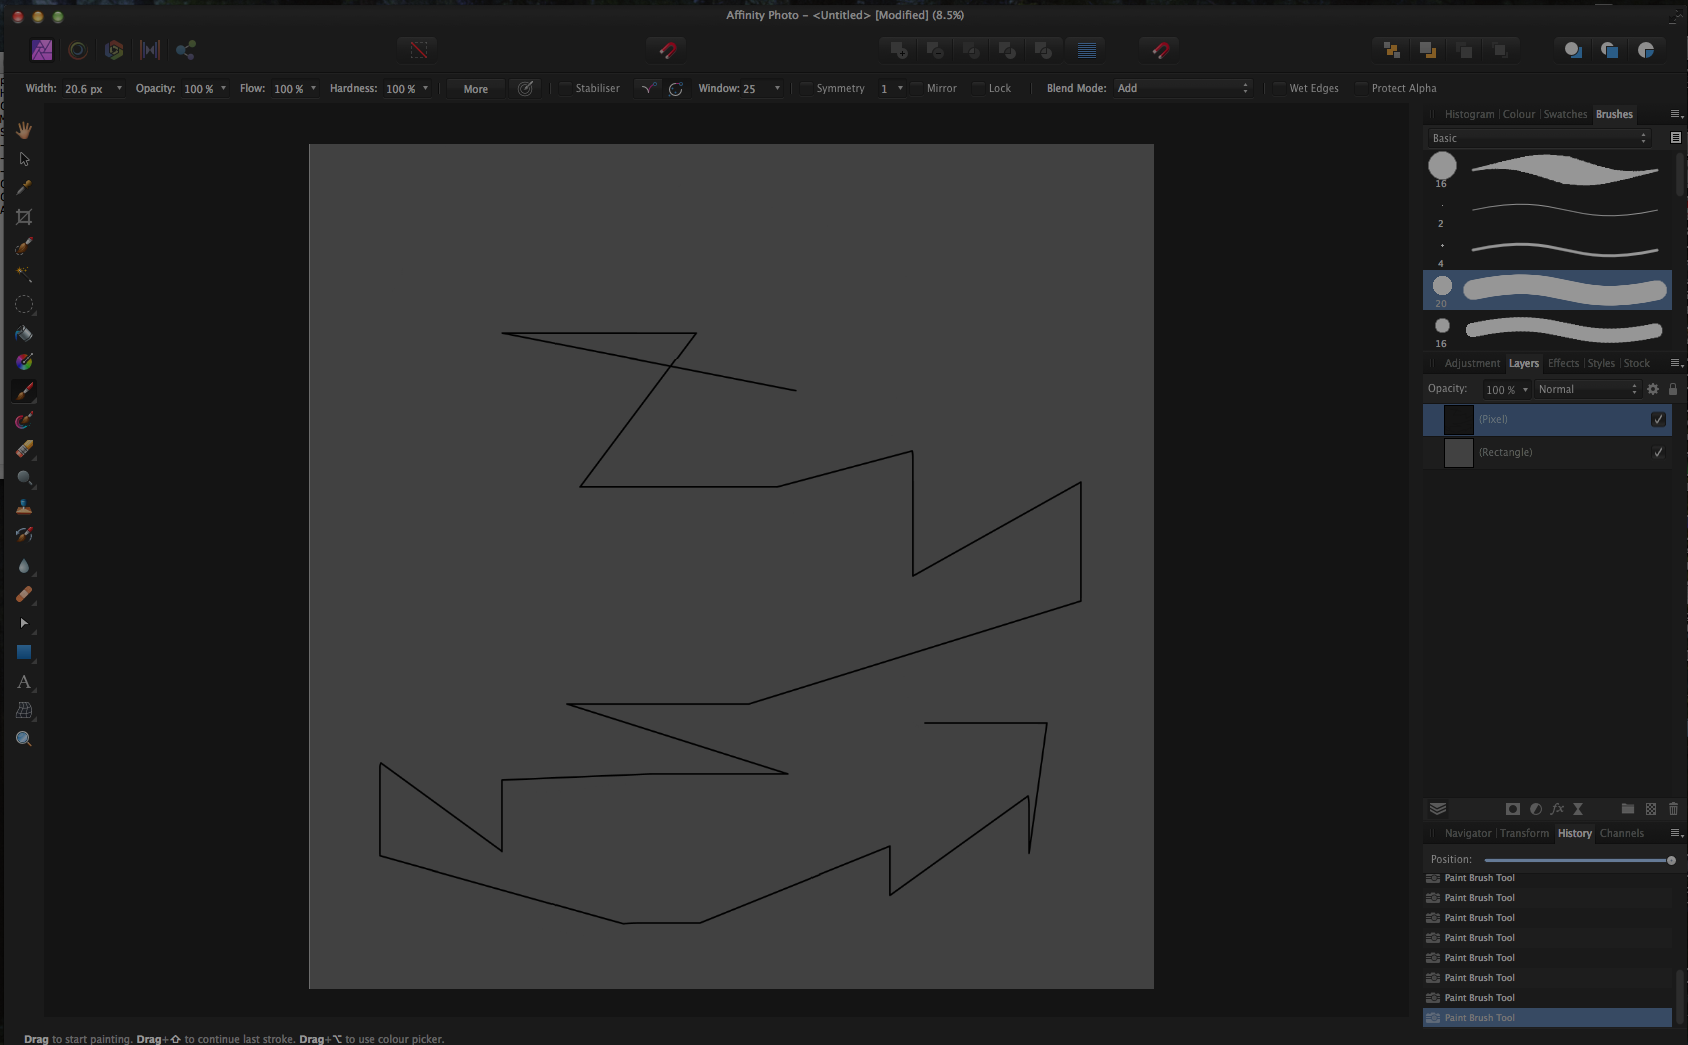
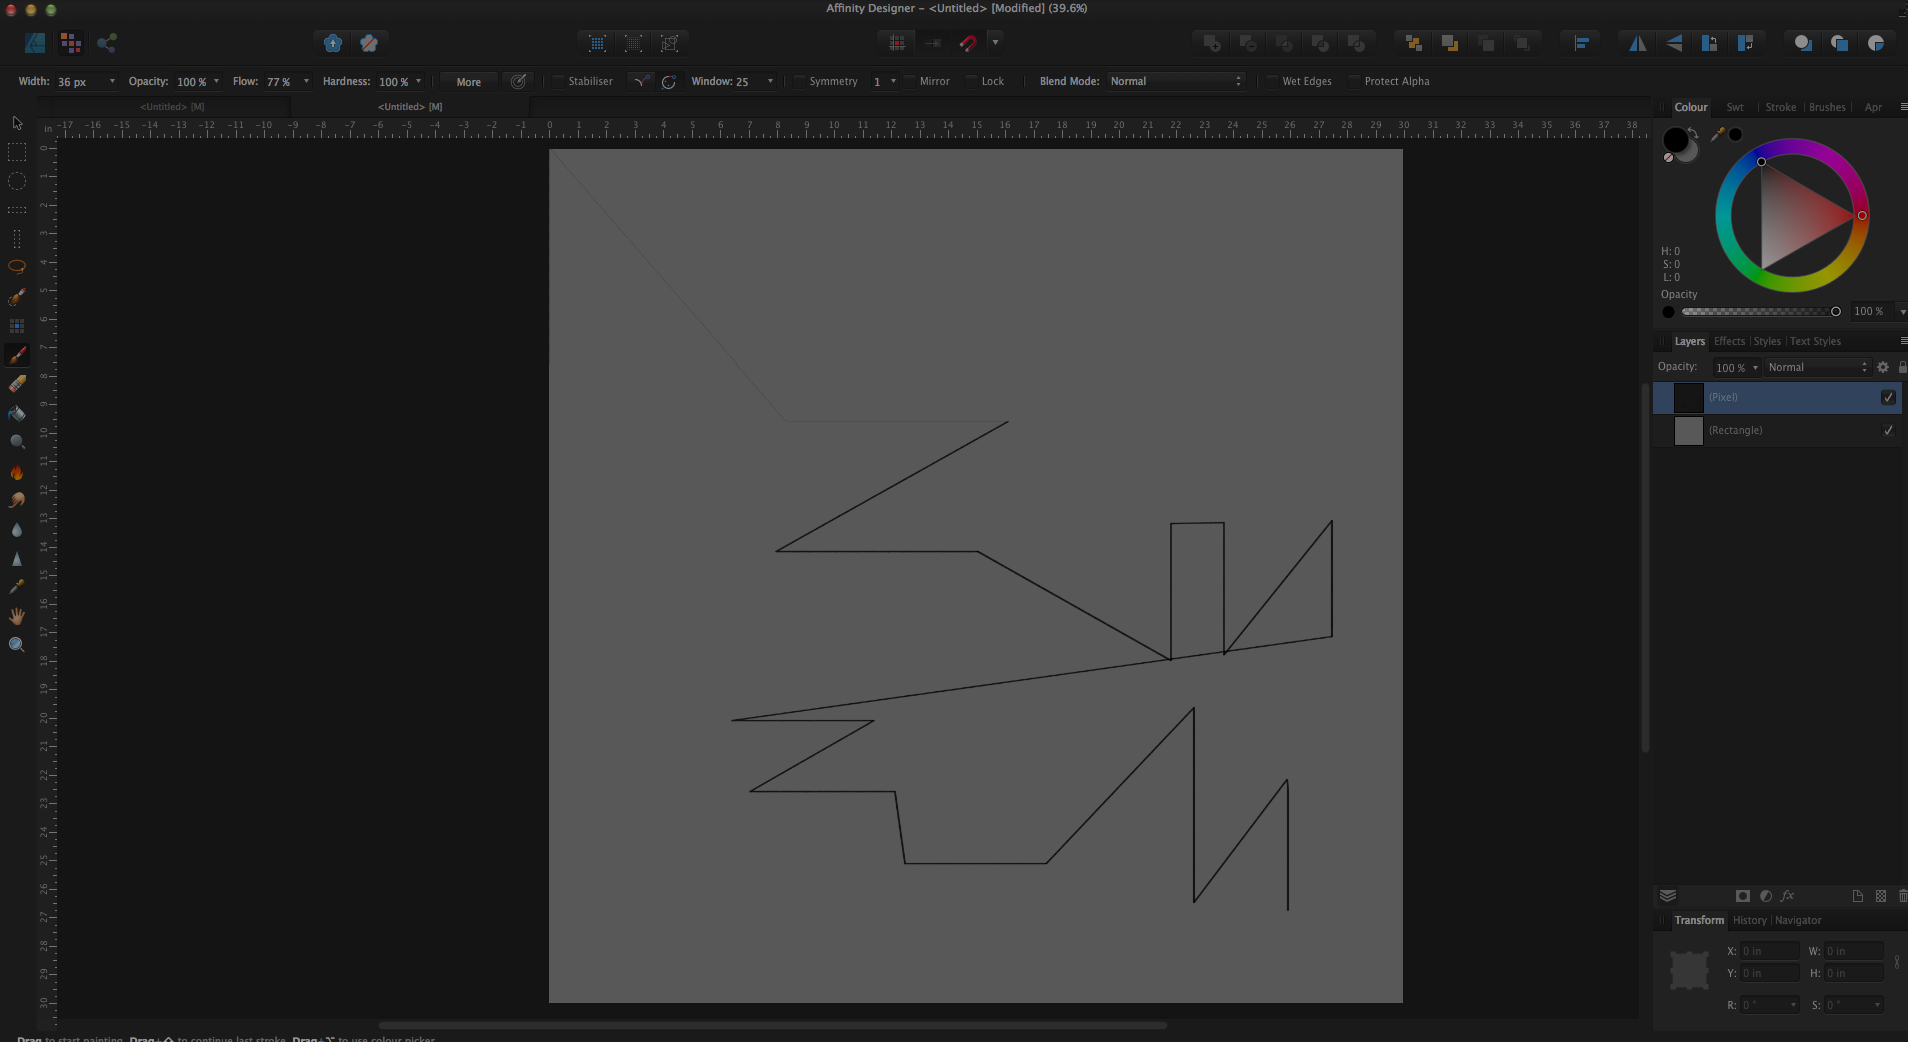
Same bug from previous version. When using shift+drag to draw straight lines with Pixel brushes, unwanted lines connecting from the end of the previous stroke are inserted. Designer and Photo.
-
Also experiencing this in 1.7 beta on mac
-
On 4/13/2019 at 11:22 AM, ShaneRobinson said:
This doesn't work as expected. In AD when you use the Move Tool on the Column/Row Marquee selection, the resulting "Pixel Stretch" is a transparent gradient of the selected Column/Row.
Why doesn't it just work as expected to produce a 100% opaque "Pixel Stretch" of the selected column/row?
Was wondering about the exact same issue. Why does it work like this?
-
57 minutes ago, >|< said:
On my Mac (UK setup), the following will create a duplicate and move it below the original:
cmd-j cmd-[
This works well enough. Thanks.
-
38 minutes ago, John Rostron said:
Since the the new, duplicated, layer will be identical to the original, why does it matter? If you want the original layer to be the one selected, then use @>|<'trick as above, or just use the mouse.
John
I do a lot of stuff using power duplicate on semi-transparent layers to make repeated outlines appearing to move back into or forward out of the image. Sometimes it would just be much easier if I could duplicate behind.
-
When I duplicate a layer, the new layer appears in front of the old one. Is there a way to set layers created through duplication to appear behind the original layer? I tried Layer>Insertion>Behind but it didn't change anything.
-
I figured out an easy way. You can merge visible, getting the shape with the right colors and the background as an image. Then you can take the original shape, use the "color overlay" effect to turn it solid black, rasterize that, and use that as a mask on the merge visible image. Thanks for the replies Bri-toon.
-
6 hours ago, Bri-Toon said:
So instead, group everything, including the background layer, and then rasterize.
Right you can do that but the point is to rasterize only the foreground shape so that you can impose it over other images without having to do a really really detailed mask.
-
Here's the project file. It's a big file because the main image of the texture is huge but you can replicate the problem easily.
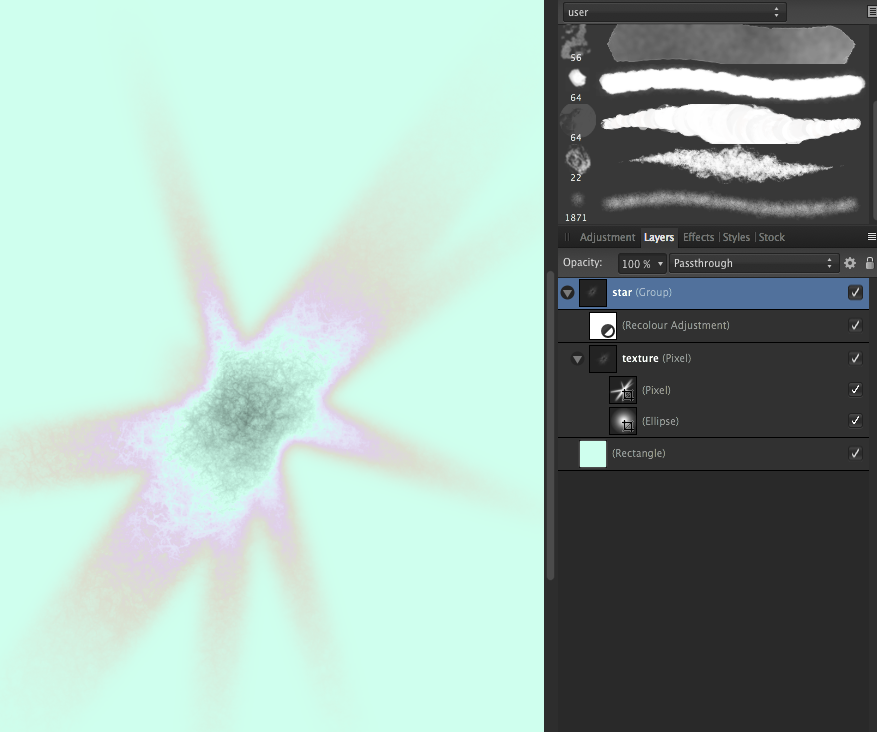
In the second project file I've replicated the issue just using simple shapes in the following way:Make a background layer with a color, make a square with a colored fill, change the blend mode of the square layer to any mode that substantially changes the color, then duplicate that square (so your two squares are overlapping, both with blend modes that are substantially modifying the color), then group the squares. Now select the group and choose rasterize. The rasterized image of the square will not retain the colors that resulted from the blend modes blending with the background. Changing the blend mode of the rasterized image to the same blend mode that was producing the colors before rasterization will also not replicate the same color, and even if it did, this wouldn't be possible for colors that were achieved by using multiple blend modes on different layers before rasterizing.
-
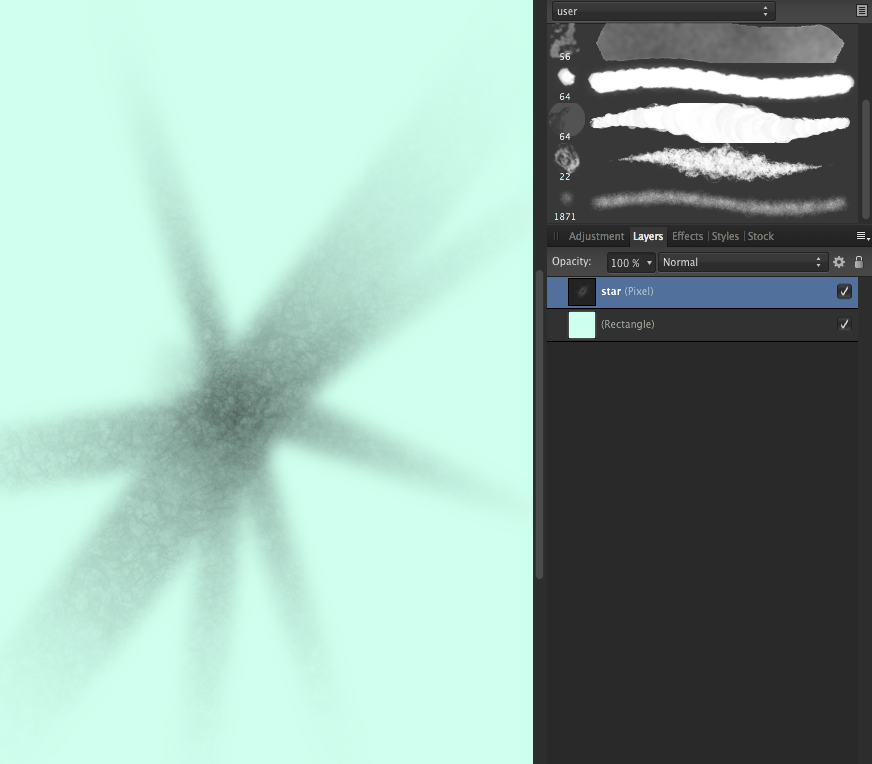
In pic 1 the "star" shape gets its rainbow colors from the interaction of the group's blend mode being set to passthrough and the embedded recolor adjustment layer's blend mode being set to negation. If I select the entire star group and choose rasterize the result is pic 2 - as you can see the colors created by the blending aren't preserved. I want to be able to take shapes with colors I create this way and rasterize them so I can place them on new backgrounds with the colors intact. Is there a way to do this? Thanks for any info, I run up against this a lot.
-
Oh, just realized you can enter larger values manually into the radius field. Still the fill problem remains. Thanks.
-
Blur is an ok workaround for some cases but the radius is limited and it blurs the entire object so if there's something on the fill that you don't want blurred you have to do all sorts of extra steps duplicating and carefully adjusting things and making a stroke object or something so you can just to get a seamless transition to a blurry outline that can only be 100 pixels at most.
-
Is there a way to feather the edges of an object or pixel layer in Designer or Photo yet? I just want to, for example. fade the edges of a triangle in a way that follows the shape of the traingle. The only option I'm currently aware of is the limited options using the gradient tool/masking in photo or the transparency tool in Designer, which both only let you do a straight, radial, or conical gradient rather than feathering according to the edges of your object. This seems like a really simple thing? Is it not in the program or am I just missing it?
-
I've been using Grease pencil in Blender 2.8 and the sculpting tools for the 2D lines/fills are just amazing. There are tools for thickening/thinning lines, smoothing/noise-ing lines, pinching, pushing and pulling in intuitive ways, etc., that can all be applied via a brush-like interface. If it was possible to implement something like that for the curves in Designer it would be fantastic.


Caligraphy Brush
in Feedback for Affinity Designer V1 on Desktop
Posted
Would love a vector brush that allows you to draw like a calligraphy parallel pen. Want be able to stroke a pen-tool curve with a static shape to create caligraphic lines. An editable dynamics curve for rotation would be an added bonus.
Discussed in more detail this thread:
This video shows what I'm talking about implemented in Illustrator (drawing starts at 2:18):