

gdenby
-
Posts
1,887 -
Joined
Posts posted by gdenby
-
-
Hi, SamOfAllThings,
Every curve object can have a stroke and a fill. If you select each curve w. the move tool, you will see 2 sections in the left of the context menu bar. Namely, Fill and Stroke. Opening their dialog boxes will let you set the attributes of each.
Depending on the order you made the various shapes, you may need to change the object(s) position in the layer panel hierarchy. For instance, the leftmost front tooth needs to be above the 1st left side tooth.
-
11 hours ago, R C-R said:
Are you sure about that? From the few quick (but far from comprehensive) tests I tried, as long as More > Matte is set to no color (the white box with the red slash through it) & the document includes some less than 100% opaque areas, in the exported gif those areas effectively are transparent. However, there is no partial transparency, so even an area that is 99% opaque is exported as 100% transparent, limiting the usefulness of the export.
I'm missing something somewhere. When I go to export, and look at the gif export options, I only get a color choice for matte. .png defaults to a box w. a red slash.
-
In Affinity, opacity is for vector brushes. Accumulation produces something similar for pixel brushes, but not the same. My recollection from various posts is that brushes made outside Affinity need to have the brush settings checked to make sure the pressure parameters are enabled.
-
Hi, Ave.,
Its been more than 3 years since I've used Elements, and I rarely used it then. I don't recall how I did similar things in it. But in A-Photo, I find it extremely easy to create a vector layer over any pixels layers, and apply the gradient to that, and set the blend mode to get what I want. The vector can then be rasterized, and the merged layers exported to a web graphic.
Note, at present, most if not all web browsers support .svg files. You might want to make your web graphics w. those. Those files scale really well, and for effects like gradients and transparencies, the operations are very simple. And the files are quite small, often about the same size as rather heavily compressed .jpg, and thus a much better look.
-
Which brush sets? I assume you have tried using the "pressure" controller tuned to on. Have you also looked at the brush dynamics to see if the size & opacity setting are above zero?
-
I couldn't find any docs on the "TrainController" image editing module. My guess is that it can deal w. transparent .gif files. Affinity will export .gif, but not w. transparency. Perhaps export as .png w. transparency from affinity, then open in GIMP, and export as .gif, and then copy into the "TrainController."
-
Its been some years since I used software that stroked a path. Designer allows bit map brushes to follow vectors. The brushes do need to be carefully made to get a good seamless line. Most available brushes are meant to mimic a gestural stroke, and so have ragged ends, like a paint brush might make.
-
Edward,
In the pen tool, one may draw in 4 different modes, and change the node type as they are placed. Are you calling "chamfered" what in Affinity is a "smart" node, a bezier best fit? While the vectors between smart nodes may form an angle less than 90, there is usually a small curve to the path.
I usually refer to the corner tool styles as "chamfers." when a node is selected w. the corner tool, the default is no chamfer, and one must then select the type of chamfer to apply the tool.
I'm supposing as so often happens that there is some problem w. terminology. It often helps to post a screen cap image along w. the text description.
-
13 minutes ago, Edward Goodwin said:
Hi Gdenby,
Interesting that you say that the Snap to Object Geometry should work - for me, it'll only snap to bounding box.
Perhaps I should be clearer though (sorry!) - when I say I want to snap to the points/nodes, I don't mean snap to the actual nodes, I mean snap to horizontal/vertical alignment of those nodes... Sorry for not having been clearer. In this instance, the vertical/horizontal alignment will only work for the object bounding box and not inner features...
Edward
Ah, that does clarify. There is a somewhat clumsy way to do that. If you have shapes that are curves, not the built in parametric objects, select one, change to node mode, and select all. Using one of the nodes, move the shape to a desired node on the other shape. A yellow high light color will appear when the two are at the same position. Then, holding shift, on can constrain the object being moved to the vertical or horizontal position of the just touched point.
If necessary, one can create guide sets that intersect the nodes of a particular object. Not "auto-magic" by any means, but will allow exact positioning.
-
Hi, Edward Goodwin,
"If I now draw another shape, I can snap to points which lie on the outer bounding box. However, Affinity Designer won't pick up the inner node as a snapping point. Am I doing something wrong?"
This snapping option should give you what you want.
Snap to object geometry—when checked, objects can be snapped to object vertices and not simply to the bounding box or key points. Vertices are object corners or intersections, such as the points of a star, within a shape's bounding box.
Also, when I use the pen, I will get red or green highlite lines whenever the the pen tip is in alignment w. other nodes within the object. Likewise when moving nodes w. the node tool. I'm perplexed if you are not seeing the same.
As Aammppaa mentions, the 1.7 beta has some significant improvements for snapping nodes. I haven't used the beta a lot, and am still working thru the enhancements, but so far, have been able to easily do shape transforms.
-
Doing it in vector is more complex. Erasing/deleting raster pixels is very different than working w. vector shapes.
Draw a donut.
Then type in the text w. the artistic text tool. Convert that to curves, ungroup the curves, and use the "add" command to make them 1 object. Duplicate that. Give the duplicate a thick-ish stroke. Use the "expand stroke" command. Subtract the expanded stroke object from the donut. Done
For something more complex like the example tute you linked to, the over lapping/ under lapping line effects become significantly more complex.
-
What app is generating the .svg? While I've found reference to "multi-layer" .svgs, they have all been seen as a single layer of either grouped or individual curve(s) in AD. Can you offer a screen cap of the AD layers panel w. the layers of the file opened?
-
2 minutes ago, Mark Oehlschlager said:
Just discovered answer to my question, and there is a difference between Designer 1.6 and Designer Beta 1.7.0.12.
In Designer 1.6, one clicks on the end node of an existing curve with the pen tool to extend the curve, and then clicks on the other end node to close the curve as a shape.
In Designer 1.7.0.12, one selects the pen tool and then must toggle on the "Add New Curve to Selected Curves Object" button before drawing to extend the existing curve, or closing it as a new shape.
Yes. Good work.
-
Fun image. liked looking at it.
Now, show us the rubber scooters of the future going over and old cobble stone street, preferably at an incline.

-
14 hours ago, rutroh said:
Hi gdenby, thanks.. Didn't even know that something like that was an option, to automatically update a linesheet from external data sources. What programs let you do something like that?
I haven't done anything like that for some years, about 10 years ago, and am unfamiliar w. what is currently available. Back then, I was using a database that stored data on art objects, and thumbnail images of them. I made the thumbs in Ps. It was not much different than a merge file in something like Microsoft Word, which, if I recall correctly, had within it some of the capabilities of Microsofts Access database.
On this forum, there have been a number of requests to allow Affinity files to be linked to data sources, such as spread sheets, and image cataloguing apps. I've seen a couple of posts about embedded files being used in the as yet unreleased Publisher.
-
Hi, rutroh,,
As above, Designer is probably better suited to creating logos. Photo has fine image manipulation tools for "lifestyle shots." For those tasks, they are very good tools.
But, to date neither serve as a front end for a database or spread sheet. No automatic updating from external data sources, such as a line sheet needs. At this point, updates of product specs and images of current offerings must be done manually.
-
33 minutes ago, R C-R said:
As I understand it, the "System Palette" option is only available in the Mac versions, but the "Application Palette" option should be available for both the Mac & Windows versions.
I haven't used any Windows machines for 6 -7 years, and at that time, not for any graphics. I was uncertain if the "system" palette was Mac only, but thought it worth mentioning.
-
-
Hi, JPSports,
Use the help file, and search on "swatch." It is not hard to make a collection of colors and save them as an application wide swatch set, or a system wide swatch set.
"Also - is there a way not to have variants of a color (40% blue) continue to show up on the publication swatch? In InDesign, it does NOT show the varient of the color on the swatch"
I'm assuming you have used a routine that gathers swatches from a current image. You can work thru the auto-created color samples, and delete them from the swatch set.
-
I found a pic of an old sign, and ran it thru a tracer. Ended up w. a file above 50K. Spent a good bit of time deleting nodes, and adjusting curves. Eventually managed to get an .svg that was 14.6 Kb. But it had almost none of the lumpy character that the trace had from the original image. To get the file down from 16 Kb to under 15 was a matter of deleting every excess node I could find. "Oh, look, there are 2 nodes almost on top of one another. And there's three. delete, delete."
And I noticed that the export for the .svg had to be for web use. Other types made bigger files.
My guess is that even a manual trace of an irregular form is going to make something too big. I've looked at various versions of what I worked on, and it really comes down to the number of nodes defined. Smooth curves don't need near as many points to record.
-
Hi, iamwoger,
Did you use an autotrace utility. The "Casterol" has a really irregular edge, which can happen w. tracers. They can make about a bazillion nodes. If the tracer doesn't have a node reduction or optimization routine, there may be hundreds of nodes that must be cleaned away manually.
Or, is it a bitmap image enclosed in a vector shape, w. the .svg format allows. If so, there may be data for every pixel, which would bulk the file up.
AD exports .svg 1.1
-
-
-
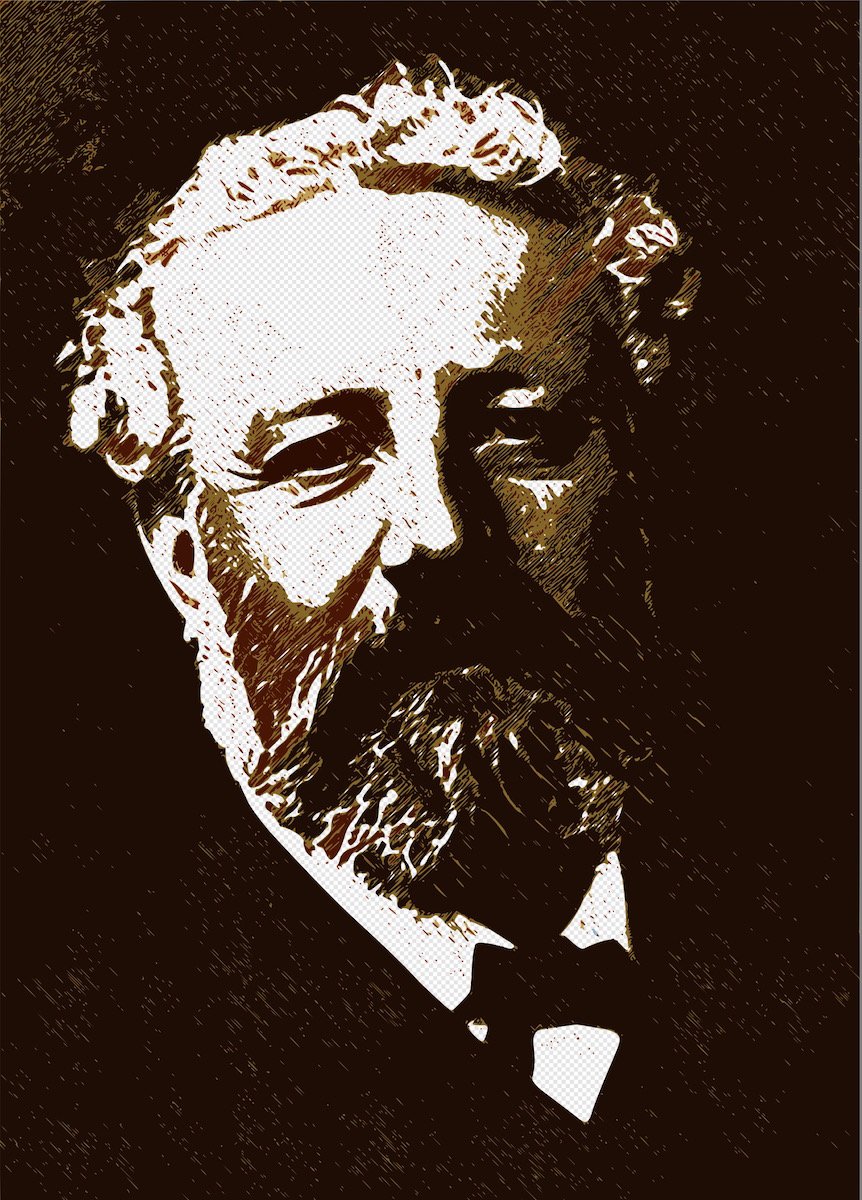
I've been fussing around in APhoto, working on emulating hatched drawing routines. I've had some luck getting a more hand made look for the bitmap. Here's a sample of a sort of wood cut look that is the results of 3 .svgs from Image Vectorizer, a product from the potrace creator's commercial venture. Put them together in AD. Still a little too busy, and I didn't bother filtering out enough of the noise. But I'm getting some decent results.


Text with transparent background
in Pre-V2 Archive of Affinity on Desktop Questions (macOS and Windows)
Posted
The problem was associated w. exporting in grey scale. If working in RGB, the matte no fill box is the default. Not available in greyscale.