World View
-
Posts
187 -
Joined
-
Last visited
Everything posted by World View
-
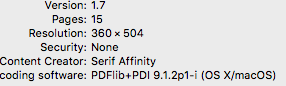
 When I click on the icon and do the keyboard combination COMMAND + I is shows as resolution 509 pixels of height - please see attached screenshot.
-
Feature Suggestion: Interactive PDFs
World View replied to krane's topic in Feedback for Affinity Publisher V1 on Desktop
I'd like to be able to embed: 1. A video 2. A podcast (we can embed active links now, can we?) -
The Magazine I created on Publisher for the Mac has page dimensions 2100 pixels high x 1500 pixels wide. But when I export it, it shrinks to tiny 500 pixels high. I tried several ways, but I can't get it out in the original size. Why does Publisher shrink my magazine to stamp dimensions?
-
The beta tester price is 35$. I guess the first published version will be 1.8 The 1.x versions were the beta, it would look nice to have the launch version start as 2.0
-
How Can I hide the Bleed Area?
World View replied to World View's topic in Feedback for Affinity Publisher V1 on Desktop
Thank you, Joachim and Old Bruce! -
Sad comment on level of discussion here
World View replied to Seadog's topic in Feedback for Affinity Publisher V1 on Desktop
There is one person who aggressively attacks when he feels like it. The block/ignore function is very helpful to phase out such negativity. I blocked one such person on my first day here, and didn't have to do it a second time luckily, and it is a blessed feature. What the forum could use is a discussion of future features or re-organization of current features. One example would be that you cannot embed video or sound like in Adobe In-Design. I think Publisher allows now for active links to be included. I still hope for a better manual, as the current one is only good if you precisely know what you are looking for. I would like a manual that is process oriented: I want to do this, and what tools would I have to my disposition. This would avoid a lot of basic questions that one has to ask in the forum without such an accessible, practically oriented source of information. This is particularly useful if you come from other software like Photoshop and are used doing things a certain way, and now this doesn't work, because this is a completely different kind of software. -
It regularly happens that an image is too large or needs stands too far into the bleed. It distorts the design as what's in the bleed is usually not part of the final design, but the emergency buffer. So I'd like to hide the bleed. How can I do that - so I can see the design as it's going to look printed?
-
coloured pages?
World View replied to larsh's topic in Feedback for Affinity Publisher V1 on Desktop
On the right side, in one of the tabs (it should be right on top) choose the "color" tab. The find the symbol of the rectangle tool among the tool symbols on the left. It is blue (don't use the picture frame rectangle too, which is gray and has a cross in it). You can also access it with the keyboard shortcut "M". Draw a rectangle over the whole page. It will show the color you selected. Change the color of the page by changing it in the color tab. -
Thank you, ivbera! I never had margins selected, and with my update it had done this without asking.
-
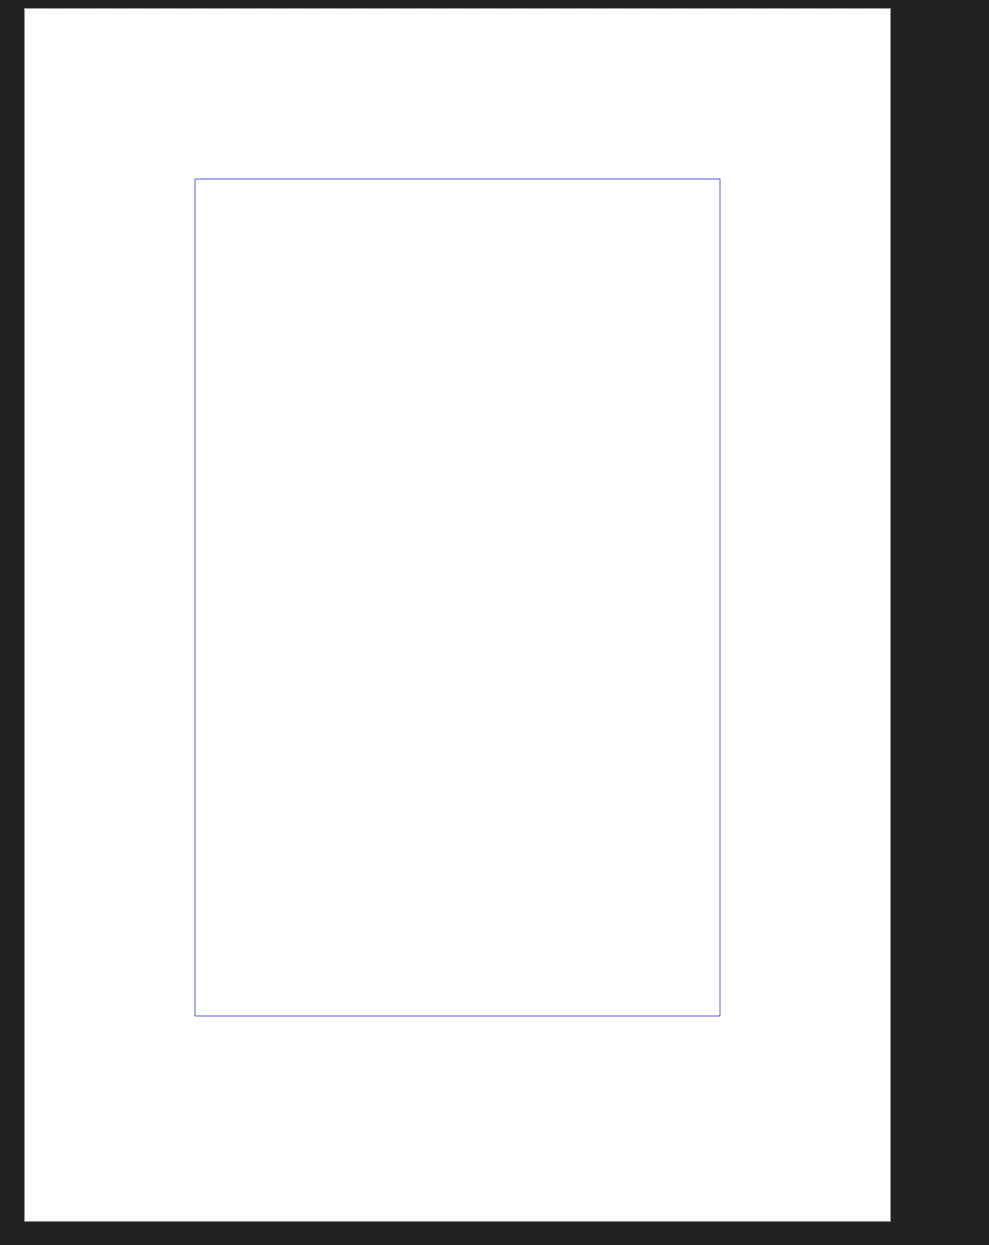
I passed on one update as I was finishing a project and the old version worked well for the magazine design. Now, after completion, I wanted to upgrade, and the beta was expired, so I downloaded it all again. With the new copy of the beta, when I create a new document, I get this purple frame that I never had before - what is this, and how can I get rid of it?
-
Change Title of PDF
World View replied to World View's topic in Feedback for Affinity Publisher V1 on Desktop
Thank you, Garrett. I found the fields panel by activating it in "Studio" -
A good article, Mike. We really expect the pdf to leave our documents as we created them - with all the bad pdf Readers out there... At this time, I keep it to text and images. Anything more is a risk. (I couldn't even change the title of the pdf, and my final draft reads "Attempt 7" on screen. Without Adobe Acrobat (I have the useless Pdf Expert) you can't do a thing about it)
-
When I export the document as a PDF there is no box where I can put in the title (NOT the file name) that appears in the browser window. But when I upload a document it has a title - not one that I chose. It is the first filename that I gave the document. How can I change the title upon export?
-
So this is something only Adobe InDesign can do...
-
I'm creating a magazine that will be either published as pdf or a flipbook vis Issuu. Can you actually embed video on a page, so when the reader opens the pdf he can stream the video onto the page? What about a podcast player? Thanks!
-
Favorite Fonts
World View replied to World View's topic in Feedback for Affinity Publisher V1 on Desktop
Thank you, Dominik! This way I can create my own font library with quick access. I'm going to work on the default settings of tools. That's my next task to learn with this software. -
Appreciation post for the Publisher team
World View replied to 000's topic in Feedback for Affinity Publisher V1 on Desktop
I think the software is very intuitive. Given that I just started with it about three weeks ago I could create a good demo document and several drafts of an eMagazine. And it's fun to work with. Thumbs up! -
I tried the picture frame tool and found it awkward. I couldn't remove images and I couldn't scale them (maybe this has been fixed now) The place image tool does everything you need: you can scale images, then move them around, and then change the size (you'll see in the resource manager how the dpi changes, if you make an image smaller, it doesn't get compressed, the dpi number rises, and if you decide you want it bigger, you can do this without a loss in quality) I did some rather complex arrangements of several images that needed to fill a page with just a thin line between them, and with the place image tool I had all the flexibility I needed.
-
If you choose "embed" at the document setup, your images will always be part of the document. No matter where you move your project, the images will always be there.
-
Is there a way to select certain fonts as favorites? At the moment, every time I select a font and write a word in it and change the tool afterwards, it snaps back to Arial, and I have to look for the font again I have just written in. How can I stop this behavior and have the artistic text tool remember the last used font - and how can I select favorite fonts where I have a shortlist of 4 - 6 fonts I regularly use, so I don't have to browse through all those comic sans funny symbols chalk scriptures and impact stuff to find the fonts I want to use. thanks!
-
When you output a document as a pdf for the web, its colors are destroyed. Particularly skin tones are wrecked to the extreme - people get scarlet fever - red is exaggerated and shifted. There currently is a bug in Adobe Bridge that does the same thing - maybe a similar code snippet is used in the output module and thus the bug imported from Adobe into Publisher? Way around it: If you export for print, the colors are good. So I simply created a 300dpi document which still isn't crazy large.
-
Problem creating shapes on masks
World View replied to World View's topic in Feedback for Affinity Publisher V1 on Desktop
Thanks, Michail - but I couldn't create a mask - something is still missing the way I try to do it. If I drag the layer with a photo on it to the right, it disappears. If I draw a rectangle afterwards, it is on its own layer. And I don't see the button "insert into selection" in the toolbar. If I try the same thing as I do in photoshop and click the mask button, the image gets a mask beneath, but I cannot work on the mask. I click on it, draw a rectangle, but the rectangle is not on the mask. I'm used to Photoshop, where you can mask in five seconds 1. click mask button 2. draw rectangle on the mask that shows as black, and you are done. That's where I am coming from, and Publisher seems to be working in a totally different way. -
I'd like to mask off certain parts of an image. So I select the rectangle tool to create a shape that would do that. The mask is selected, I draw with the rectangle tool - but the rectangle doesn't appear on the mask. It gets its own layer, masking off EVERYTHING, not just the layer on the mask. Why doesn't the rectangle tool create a shape on the mask?
-
Thank you for introducing the Resource Manager to me. I could switch all the images in the document to embedded in a minute!
-
Tthhaannkn yyoouu, Aammppaa! Keeping it to the left made this work! CTRL + SHIFT + down arrow move the rectangle on the page for me, not moved it down the layer stack. Could this be a keyboard shortcut for windows? The "arrange menu" - where is that?