Search the Community
Showing results for tags 'tutorial'.
-
Hi, In this Affinity Photo Tutorial I'll show you how you can achieve the fairytale Orton effect in different ways. The photographer Michael Orton invented the effect in the era of analogue photography. I show both its classic variant and variable methods. I wish you fun! Your Affinity Jack
-
- affinity photo
- tutorial
-
(and 5 more)
Tagged with:
-
Covering many tools in this tutorial, and all broken down into easy manageable chapters. https://youtu.be/IKSNeoU_iAI
-
- affinity designer
- tutorial
-
(and 2 more)
Tagged with:
-
In this Affinity Photo Tutorial I show how to use abstract motion blur artistically. Technically, this is not motion blur, but rather zoom blur, because a vanishing point must be observed. I'll first show how to apply the zoom blur to just the train. Then I'll show how you can do it exactly the other way around. This requires some preparation, such as determining the vanishing point, creating a selection, and of course, understanding the difference between motion blur and zoom blur. Of course, you can apply the effect to anything that moves: a car, a dog, a projectile. I wish you much fun. Ciao Jack
-
- affinity photo
- tutorial
- (and 6 more)
-
Hi, In this Affinity Photo Tutorial I show a typical situation: The photo of the sunrise or sunset has become disappointing compared to reality. Simple techniques are shown here on how to bring back colors and dynamics. The Video-Tutorial has english subtitles. (You can activate english subtitles with the gear icon in the YouTube window.) I wish you fun. Your Affinity Jack
-
- affinity photo
- tutorial
- (and 8 more)
-
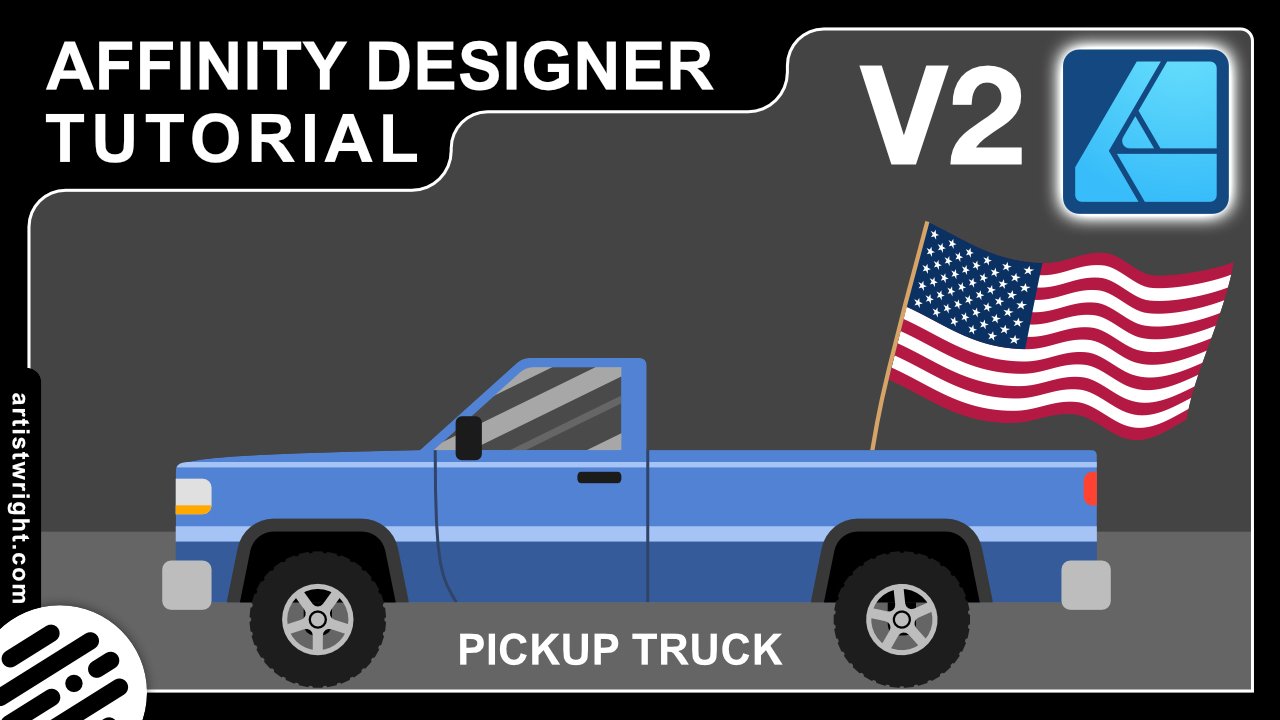
In this video we are going to create a pickup truck. It’s beginner friendly and we will cover many many tools https://youtu.be/aReIBk3VXjo
-
- affinity designer
- tutorial
-
(and 2 more)
Tagged with:
-
Hi, in this Affinity Photo Tutorial I show how to capture this hotspot with a beautiful mood. The Charles Bridge in Prague is beautiful, but also very crowded. If you're unlucky with the weather, your short vacation seems to end without a nice photo. Here I show important steps from taking photos to editing. I wish you fun & inspiration (perhaps for getting out early in your city). Ciao Jack
-
- affinity photo
- tutorial
-
(and 6 more)
Tagged with:
-
If your design has hundreds of objects, select similar objects can be very difficult…but it's easy with the Select Same feature. In this video we’ll look at how to select objects with the same fill, stroke, shape, and more.
-
- affinity designer
- trentl
-
(and 1 more)
Tagged with:
-
Hi in this affinity photo tutorial I show how to photograph St. Peter's Basilica at night and then edit it. The challenge is the big difference between light and shadow. The colors are adjusted slightly and people are removed. I wish you inspiration and a merry christmas. Ciao Jack
-
- affinity photo
- tutorial
-
(and 7 more)
Tagged with:
-
Hi, in this Affinity Photo Tutorial I show how to photograph and edit a small waterfall. The waterfall is small and romantic, but at the same time mystically located in the Lost Place. Since it is only a small waterfall, it obviously has to be processed differently than a large one (there will also be a tutorial on this). I wish you fun and inspiration with this video. Ciao Jack
-
- affinity photo
- tutorial
-
(and 4 more)
Tagged with:
-
Hi, in this Affinity Photo V2 tutorial, I show how you can correct a failed white balance with correspondingly incorrect colors. Another main content is the brightening of shadows with two different methods. Other processing techniques are also shown. I wish you fun and inspiration. Ciao Jack
-
- affinity photo
- white balance
- (and 7 more)
-
Hi, in this Affinity Photo Tutorial I show a typical situation. When you go on vacation, you want to have nice photos of it. You will often be disappointed with the result if the midday sun makes the whole photo look hazy and bland. In this tutorial I'll show some steps on how to improve these photos mit Affinity Photo V2. I wish you fun Ciao Jack
-
- affinity photo
- tutorial
-
(and 4 more)
Tagged with:
-
Quick Tips: for finding Affinity content with Google Search Search engines: It’s easy to underestimate the power of a simple Google search (and it’s apparent many people on online forums who don’t know how to make use of it). It can save you a lot of time, because someone, somewhere, at some point has undoubtedly had the same question you have—all you need to do is find out where they asked it and what answers and problem solutions they got in response! With a few helpful Google search engine tricks, searching the Affinity Forum via Google can be made much more effective. The Common Search In general, you should string search terms with a space together to start the context search. Thus, the input "Affinity forum gradient" or "Affinity forum macro" in the search window shows all found link entries on the screen which contain those terms. Quoting ("...") helps to search after more closely related search text here. Extended or Exclusive Search To make Google search more effective, you should use so-called operators. Here are some of them. A tilde (~) before a search term makes the term synonymous. So "Affinity ~forum" brings both the Affinity forum as well as hints for possible other related forums. With a minus sign (-) you can specifically exclude terms from the search. For example, the minus designer in "Affinity layer masks -designer" calls up a list of Affinity layer masks related entries without designer in the context. With a plus sign (+) you can instead specifically include terms to the search criterias. Search in and for Websites To specifically search a particular website/page, prefix your search term with a "site:URL" - where the URL is the web address of the site/page on which you read the info recently. For example, "site:affinity.forum.com macro recording" searches and calls for a list of threads which deal with macro recording on the Affinity forum. A minus sign in the "-site:URL" input behind the actual search terms excludes results from the named URL. So "Affinity video -site:youtube.com" will exclude all Youtube videos from the search. With "site:de" it will only search German websites with the extension .de; Of course, other endings like .org or .com etc. can also be used here. With "related:URL" you can find out if other websites have similar content. In order to browse only publications from a specific period, you must connect the adjacent years with three points: here "2014...2018" only lists publications between 2014 and 2018 in the results list. For example in order to find at affinity.forum.com current practical contributions to macro recording you would use "site:affinity.forum.com macro recording 2016...2018". Some helpful browser shortcuts To speed up the search in general, there are a few shortcuts available. For example, "Ctrl + F" will bring up a small search window at the bottom of the page that will help you to search the current page for terms. Ctrl + or - enlarges the view, zooms in or out. Ctrl + L moves the cursor back to the address bar so you can enter a new website or search term. Calculations, units of measurement and currencies The Google search engine can also calculate and convert. For those of you who struggle with mental arithmetic, just type the math questions directly into the Google search window using the +, -, * / symbols. This calls at the same time the calculator for further input of even more complicated tasks. If you want to convert units of measure or currencies, you can also type these directly into the search window. Thus, the input "inches in millimeters" picks up a unit calculator, with "pounds in euros" you get the current price displayed as well as references to various currency converters.
-
Welcome to our channel! In this tutorial, we'll show you how to effortlessly achieve a mesmerizing glossy text effect in just a matter of seconds using the powerful 'Macro' feature in Affinity Photo. Whether you're a beginner or an experienced user, this step-by-step guide will take you through the process of creating a professional-looking glossy text effect that will add a touch of elegance to your designs. No need for complex editing - let the 'Macro' feature do the work for you! Join us as we explore the wonders of Affinity Photo and unlock the potential of this time-saving tool. Watch now and take your text designs to a whole new level! Don't forget to like, subscribe, and hit the bell icon to never miss an update. Let's get creative together!
- 4 replies
-
- affinity photo
- text effect
-
(and 6 more)
Tagged with:
-
FREE Exceptional Amazing Fundamental or Basic of Logo Designing Tutorial Guide or Technique ebook PDF for beginners, university graphic course students or new designers, download it here: English Version: https://drive.google.com/file/d/13jBHhjkDK4Wr4fzCACb-YzdIutIrOZOX/view?usp=sharing Malay Version: https://drive.google.com/file/d/17NFjfaiP87VTww9KZqZKNbOHyWl_ajCS/view?usp=sharing And here is my Affynity Designer V1 Basic Tutorial Playlist in Malay language. Some simple technique including this video which uses a series of circles and pen tool to create a bird logo in Affinity Designer, quite similar as Virtual Segment Delete in Coreldraw. This video is in Malay Language. Note: If your shape contains a straight line, make it an L shape.
-
Hi, this Affinity Photo tutorial is all about enhancing the sky. The subject is complex because there are different types of sky. Pale blue, completely overcast or bulky clouds. So I show 8 ways to improve skies using 3 different photos. I wish you fun and inspiration. Ciao Jack
-
- affinity photo
- tutorial
-
(and 6 more)
Tagged with:
-
Hi, in this Affinity Photo tutorial I show many small steps how to enhance each color individually. Ciao Jack
-
- affinity photo
- tutorial
-
(and 3 more)
Tagged with:
-
Hi guys! Learn how to create impressive symmetrical designs with the Symbol Tool in Affinity Designer by following our tutorial in the link, which teaches you how to use it in just a few simple steps.😆 See you there, enjoy!
-
- affinity designer
- symbol
-
(and 3 more)
Tagged with:
-
Hi, In this Affinity Photo tutorial, I show how to photograph high-rise buildings at night that you can't otherwise capture. They are put together with panorama stitching and then the photo edit will follow. Ciao Jack
-
- affinity photo
- tutorial
-
(and 3 more)
Tagged with:
-
Hey guys! I've just released a new video tutorial for Affinity Designer! You will learn how to vectorize a cartoon hand FROM scratch! Yes! a video for beginners 😁 Check this video below: See you there, enjoy!
-
- tutorial
- begginer tutorial
-
(and 3 more)
Tagged with:
-
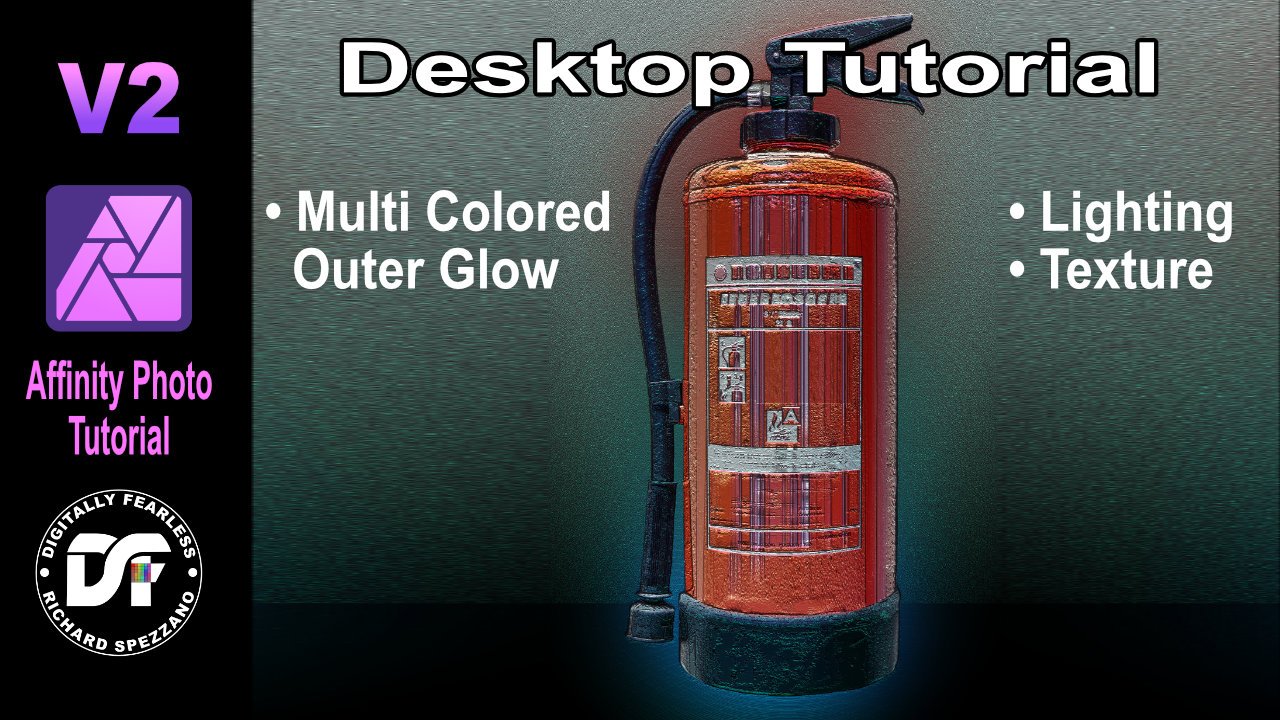
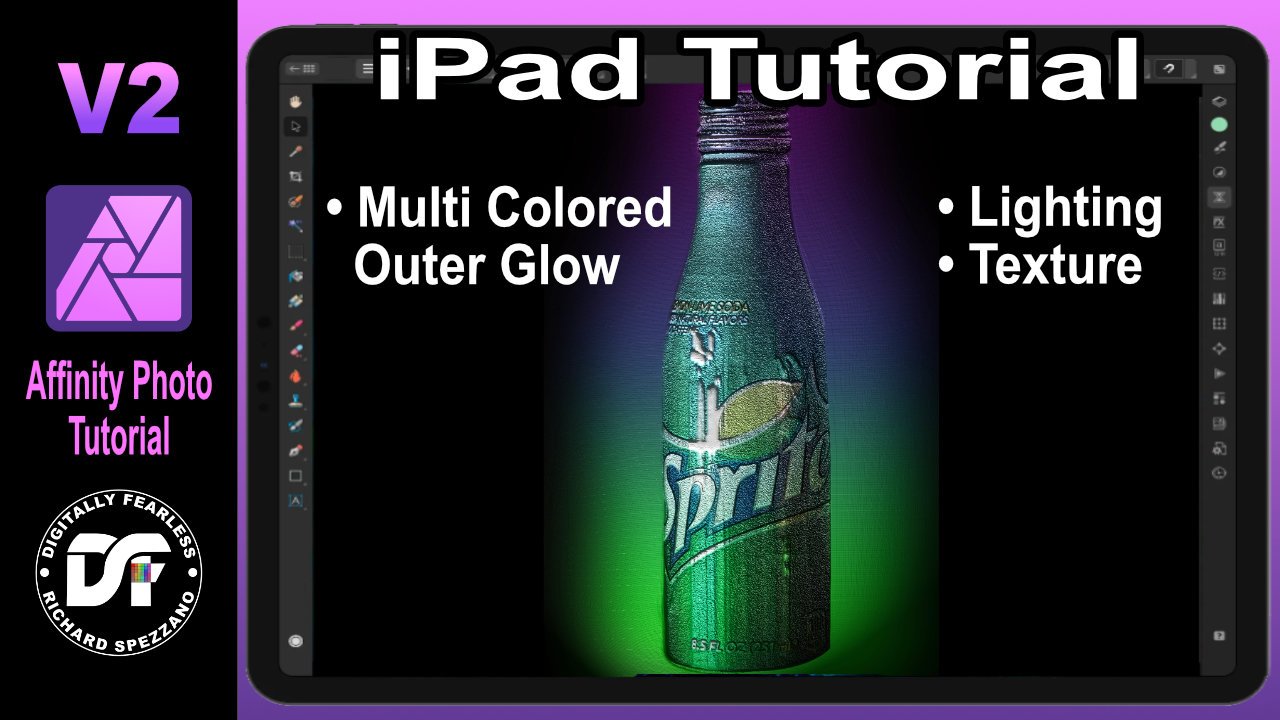
In this Affinity Photo V2 tutorial Desktop version, I use show how to create multi colored outer glows plus add texture and lighting https://youtu.be/sTxKHA7Grpo Note that I also have an iPad version of this tutorial
-
- multi colored outer glow
- texture
- (and 6 more)
-
Hey guys! I made a video to teach you about how to make Real shadows in Affinity Designer ✅ Creating the Silhouette - Duplicate the Object ✅ Transform the Layer - To Distort ✅ Color Overlay - FX - Make the silhouette in Black ✅ Gaussian Blur - to dissolve the Light ✅ Transparency Tool - for opacity and blending I hope you will enjoy and learn a lot with these tips To watch just click the button below Regards Jhon Silva - Vectorize
-
- affinity designer
- shadow
-
(and 2 more)
Tagged with:
-
Hi, In this Affinity Photo tutorial I show how to create a manipulation of a noble monkey. This effect also works with your own photos, maybe pets or people. For a kind of art or for funny effects or for a gift ... I wish you fun with the video. Ciao Jack
-
- affinity photo
- tutorial
-
(and 8 more)
Tagged with:


