Aaron Martin
-
Posts
256 -
Joined
-
Last visited
Everything posted by Aaron Martin
-
HELP!!! Recovery File Won’t Open
Aaron Martin replied to Aaron Martin's topic in V2 Bugs found on macOS
it will remove my recovery cache file and opens the original unedited ai file which make me lose my recovery file permanently -
HELP!!! Recovery File Won’t Open
Aaron Martin replied to Aaron Martin's topic in V2 Bugs found on macOS
the file is an ai file. i opened it in affinity and worked on it without saving or closing the app. than app crashed and when i opened the file, it asked me if i want to open recovery file. but when i click to open recovery file, it opens the file format preview which opens when a file with other format thana ffinity opens -
Hi, Affinity suddenly crashed after hours of work, than when opening again, the recovery file won’t open. PLEASE HELP Screen Recording 2025-06-25 at 14.34.39.mov
-
i wonder if this effect can be done in affinity https://www.pinterest.com/pin/563018698261703/
-
Why not more *AI* technology?
Aaron Martin replied to a topic in Feedback for Affinity Photo V1 on Desktop
Resizing, removing, generating (vector,pixel or text) would be helpful. Im imagining like if the assistant from current version could have chatting and editing capabilities. I could ask him to generate a vector bird or remove everything green -
🫡
-
For some speed works, id like to have an export option for the selected shape or photo when i right click on the item. what i do is create an art board place shape in art board Resize art board Rename art board Press export shortcut key start my exporting workflow It would be much easier if i could just right click on shape click on export selection start my exporting workflow Just a suggestion Thanks
-
Copy paste vector to Figma
Aaron Martin replied to Franz666's topic in Feedback for Affinity Designer V1 on Desktop
There is, its not 1x1 anymore. Its 100x100 -
Why not more *AI* technology?
Aaron Martin replied to a topic in Feedback for Affinity Photo V1 on Desktop
Does serif has any ai implementation plans? -
sure Test.afdesign
-
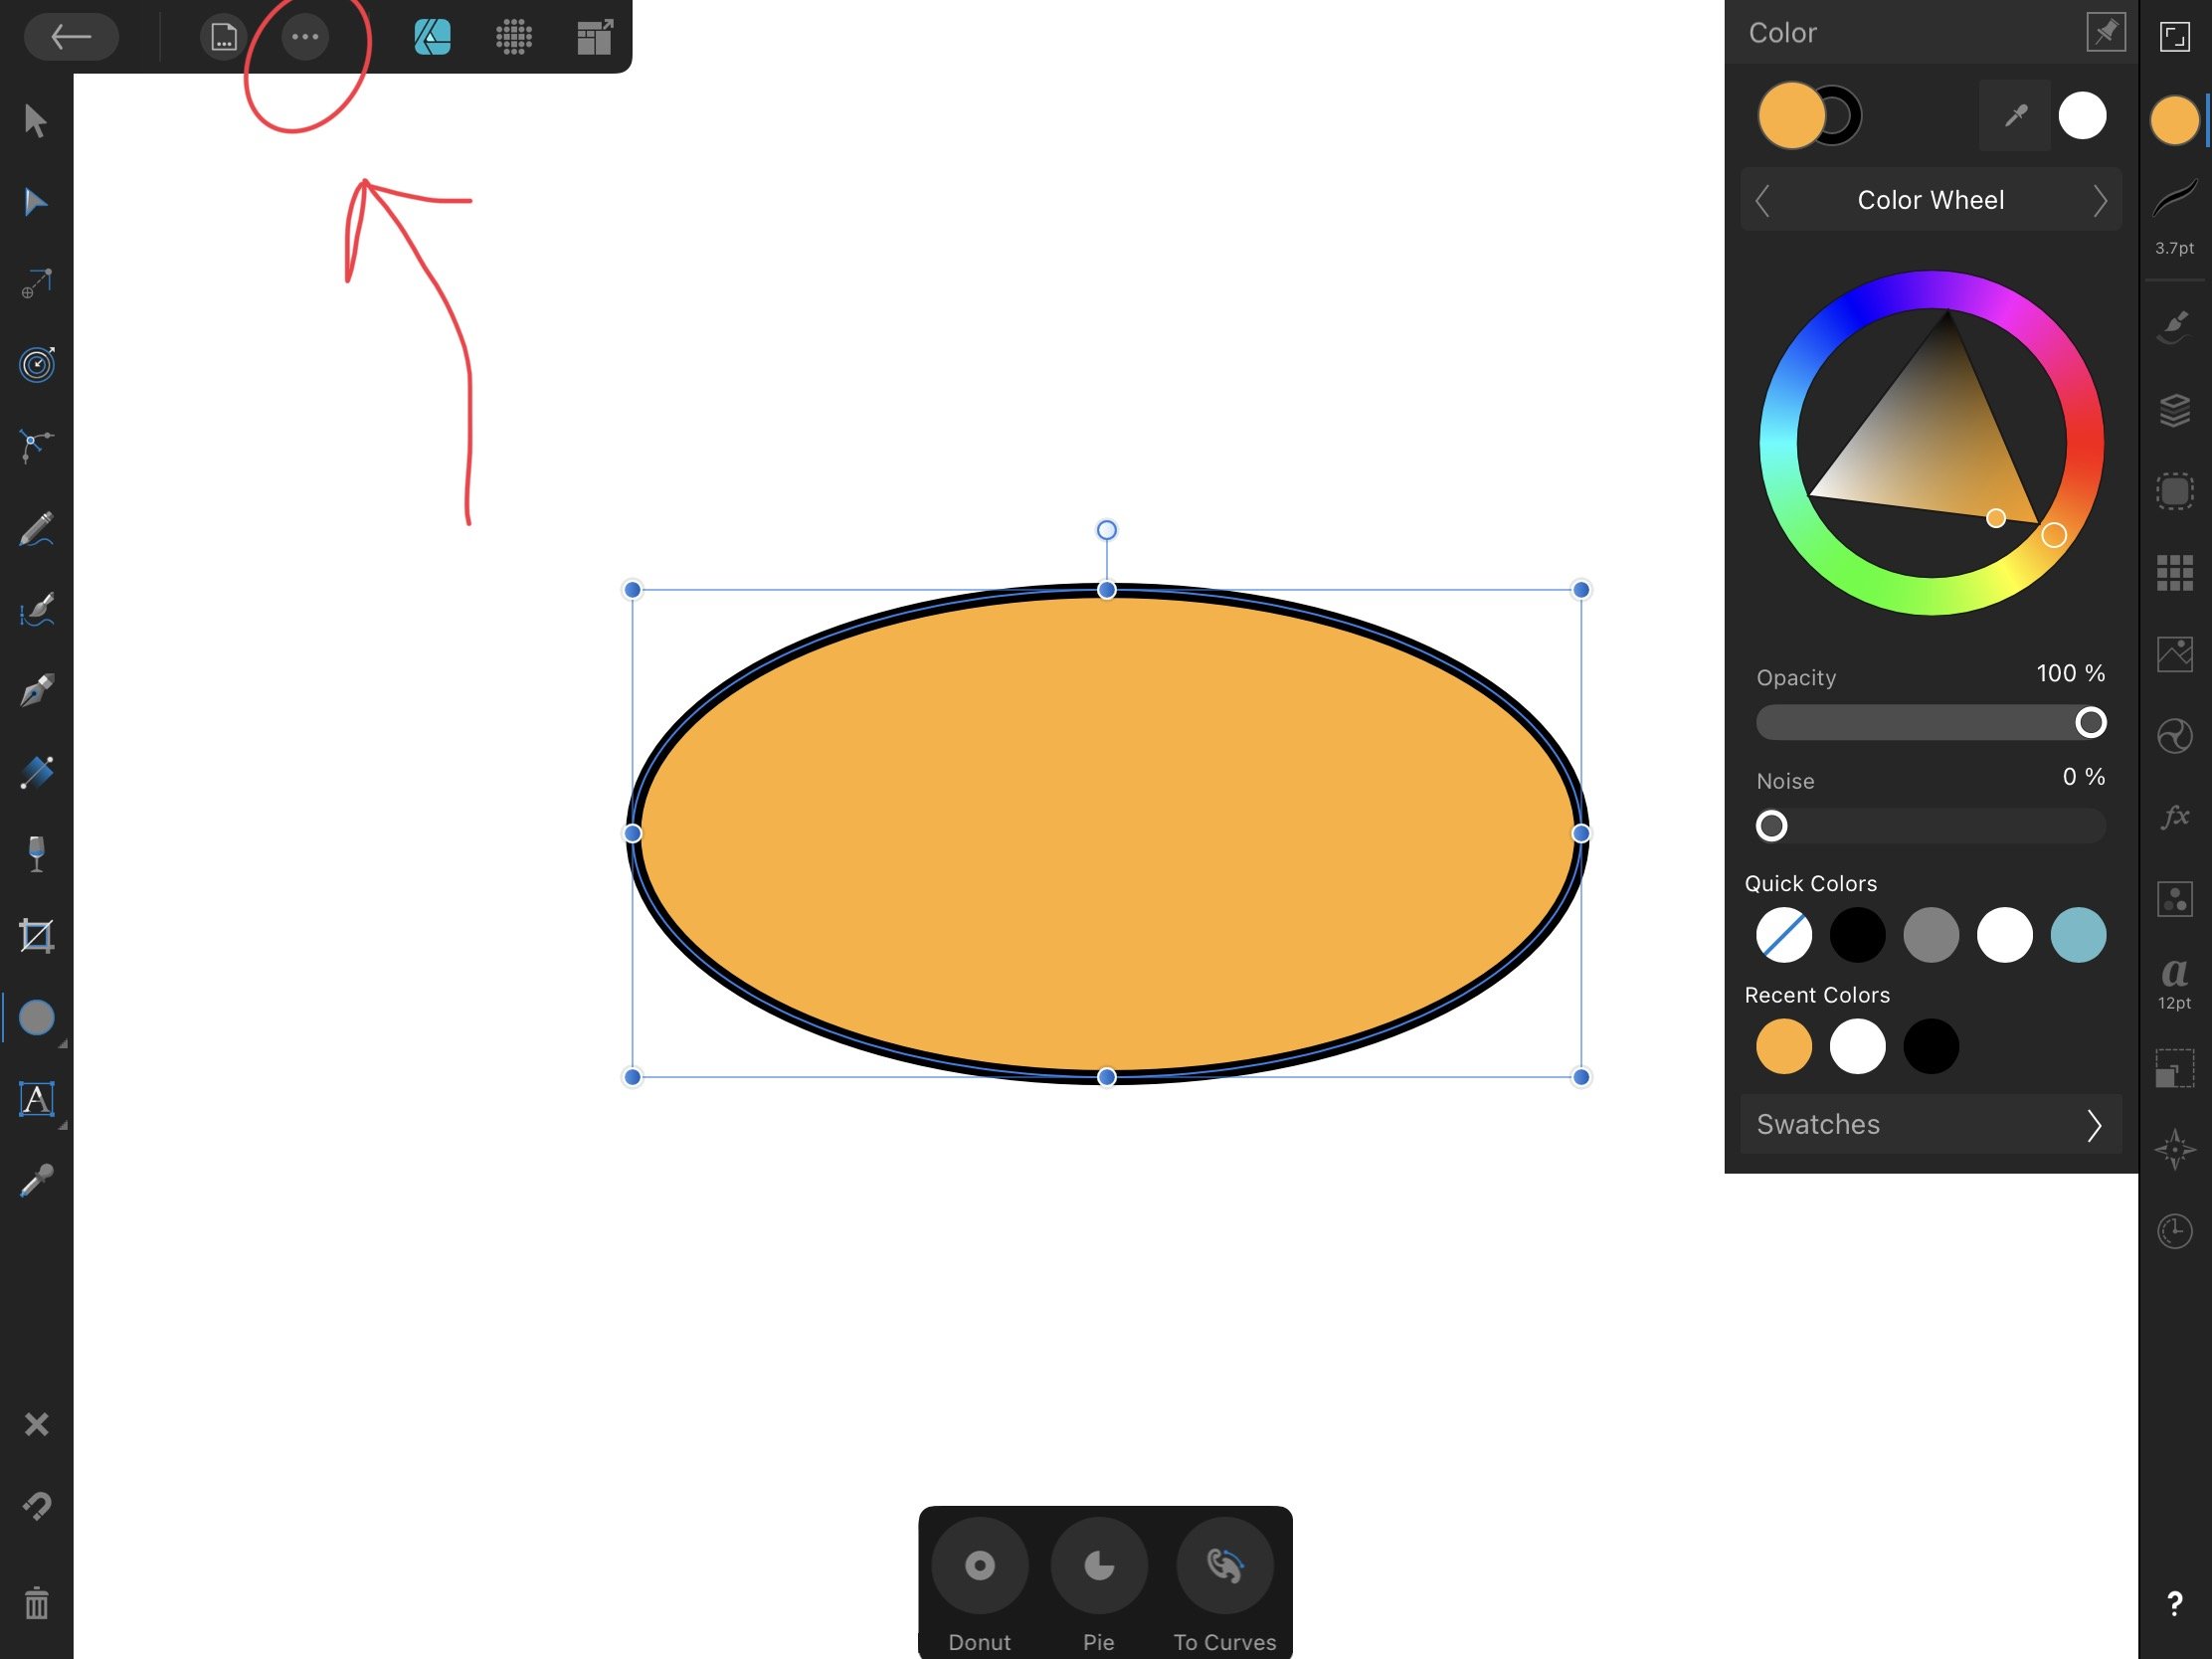
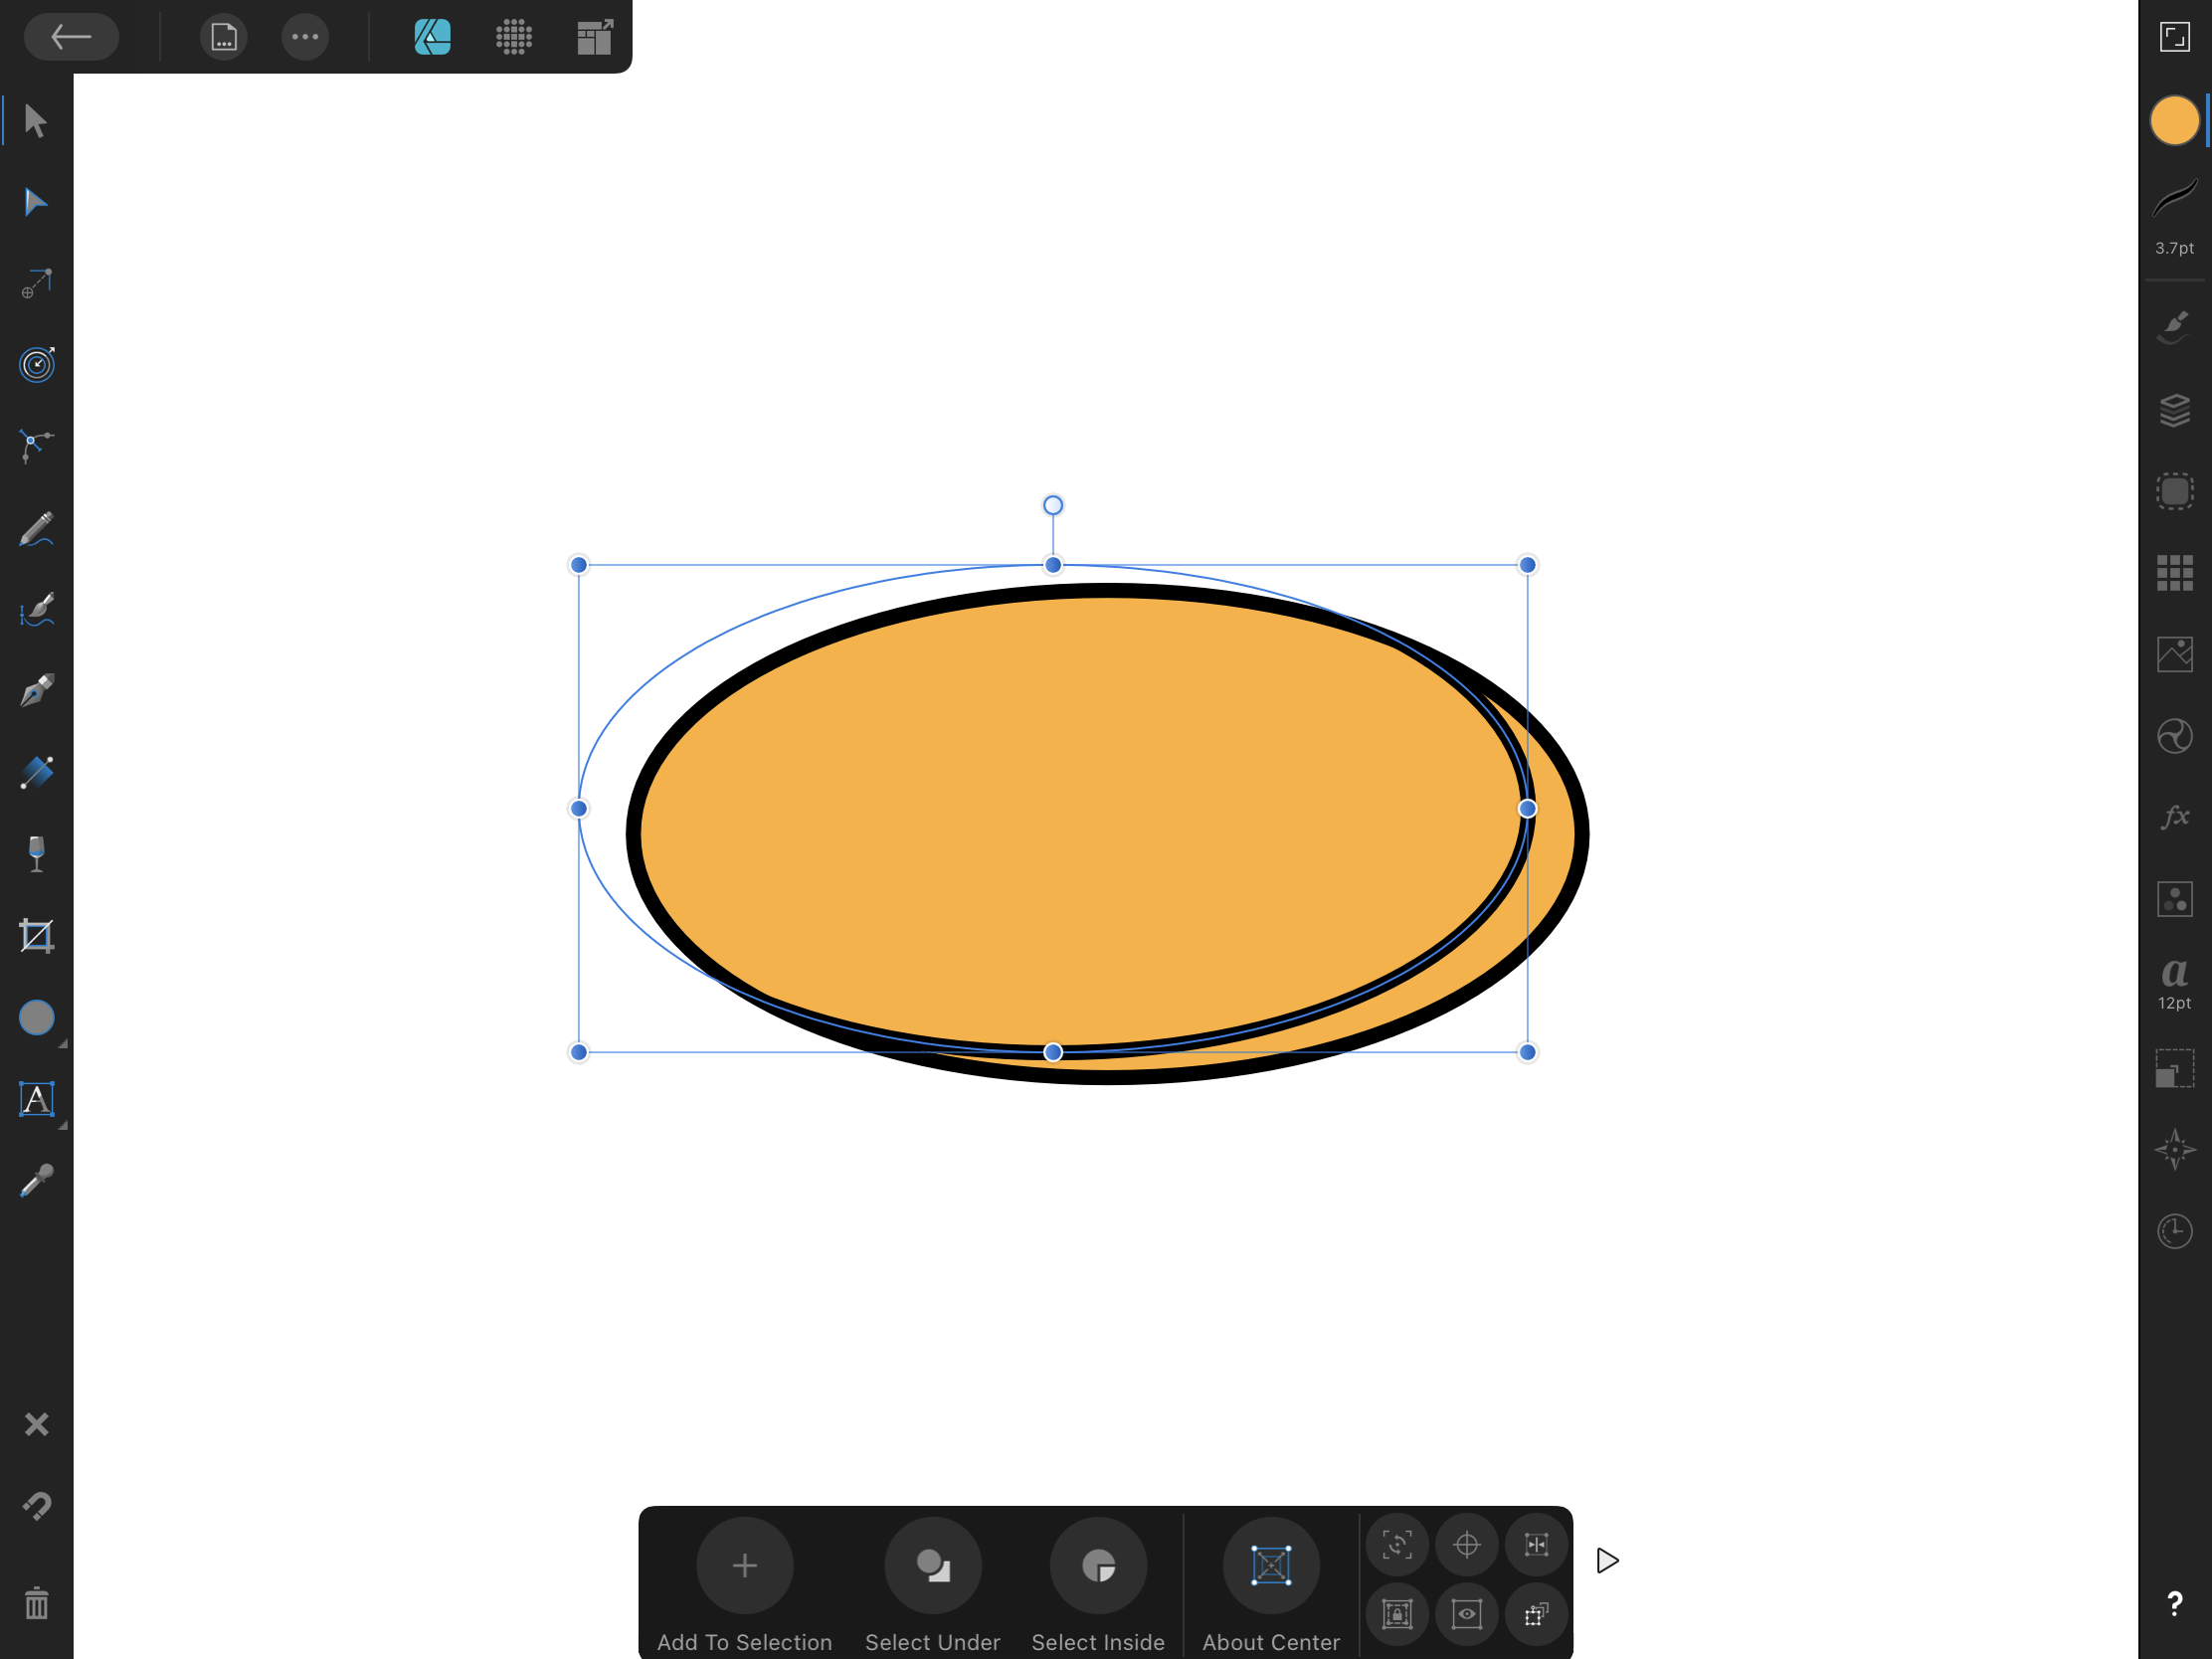
when adding contour on complex vectors, the result will delete some of the selected layers (Video for reference) For other people with the same issue, my work around is to select all the layers that you want to add contour and click on Divide function before adding contour (Workaround also showcased in the reference video) Screen Recording 2023-03-17 at 7.00.01 PM.mov downside is you may end up with more than necessary layers.
-
+1 i usually disable rotation on preference, but i'd like to use command for zoom instead of alt because im constantly switching between figma, afdesigner, afpublisher, afphoto and shapr3d and for the other apps command + mouse wheel is zoom
-
Please put Copy as SVG in right click menu Thank you
-
- 1
-

-
iPad file management experience
Aaron Martin replied to Aaron Martin's topic in Feedback for Affinity Designer V1 on iPad
Thank you V.2 -
UI/UX Design and Prototyping Features
Aaron Martin replied to Zaxx81's topic in Feedback for Affinity Designer V1 on Desktop
i have to disagree, i'd think they could not only catch up, but be ahead if they have some sort of true live collaboration functionalities. prototyping functions could be added overtime. although im not sure if current state of serif is suitable for creating a collaborative workflow. Figma done it exceptionally well. (pretty worried if adobe gonna ruin it though) -
Copy paste vector to Figma
Aaron Martin replied to Franz666's topic in Feedback for Affinity Designer V1 on Desktop
+1 -
https://youtube.com/shorts/rqUW6rE-vwg?feature=share
-
This solution works in some cases (like this), the cases it doesn't work is: if the strokes aren't closed, causing unfilled gaps in the shape which depending on the complexity of the design, it can take lots of work to fix. if the design are a mixture of strokes and fills, which in that case, when you add all the shapes together, you will have artifacts at the edge of the shape due to some shapes having transparent strokes, which, depending on your detail quality requirement, it may not be so clean. second issue with this solution is the erase blend mode, the problem with that is, as long as your not exporting it to other file formats, it works. But in cases where you need an SVG or PDF export (or any other file format with vector requirement for that matter), you will have pixelated effect and that could be, not ideal. i think affinity should up their game in vector editing functionalities and add functions like: vector Knife tool vector stretch and mesh tool vector perspective tool vector fill shape maker pixel to vector convertor than we won’t have any issues for fixing these and we won’t need to create complex workarounds (although the possibility of having so many ways to do one thing is a feat of its own, done by affinity amazingly flexible software) As for this issue, id also recommend anto’s solution except at the end, instead of creating an erase blend mode, i suggest to simply subtract that area from the filled backgroudn vector.
-
Hi. The more i think about it, the more i see prototyping should be implemented as a persona in designer app (not an individual app). apps like invision studio have a great ux approach to animate design elements with easy to use and functional flexibility for files out of sketch. I think that kind of approach for designer would be ideal.
-
Thats because in affinity, corners rounded with corner tool, won’t scale with objects (its annoying. I know) and u have to convert the shape to curves first. Select the shapes that utilized corner tool, convert them to curves via tye function menu (the 3 dost on top left) than ull be good to go
-
strange glitch on imported assets
Aaron Martin replied to Aaron Martin's topic in V1 Bugs found on macOS
Screen Recording 2022-04-21 at 10.52.14.mov Nope -
please view this video. Screen Recording 2022-04-18 at 16.23.01.mov
-
1. Select it 2. Copy it 3. Paste it inside 4. Move and edit the inner shape theres few other ways to do this as well, this one is quite simple.

-
New Line indicator
Aaron Martin replied to Aaron Martin's topic in Feedback for Affinity Publisher V1 on Desktop
Thank you all Pšenda i misunderstood your first comment. That was my bad. Thank you so much for your help.