

AffinityJules
-
Posts
672 -
Joined
-
Last visited
Posts posted by AffinityJules
-
-
11 hours ago, SolidSnake2003 said:
Is it possible to recreate what was created in this tutorial using Affinity Photo?
https://www.youtube.com/watch?v=pMg0BnscrJA
That is difficult to answer with any certainty.
Adobe Photoshop has been around for decades and has always been a global leader in photo editing software. There are functions in photoshop that are not in Affinity Photo at the moment, but as with all software it is constantly under review and development. Some of the tools used in the video are foreign to me in the sense that I do not recognise them for what they are, or what they do?
You can create custom brushes from water samples using Affinity Photo, but the danger therein is you are likely to create repeating patterns when you use it. Nature never repeats itself. So to use custom brushes effectively you will need to create lots of them from different samples to increase your options, and to decrease the risk of pattern creating. Brush creating in Affinity has a lot of options in the editing screen to change a behaviour of a brush when in use, but it will need some practice, trial and error, to produce exactly what you need.
So. Is it possible to recreate what was created in the linked tutorial?
The answer to that is limited by my own knowledge when using Affinity - I tend to stick with what I know and disregard the rest - especially the higher functions.
Yes, it would be possible to recreate some elements in the tutorial, but not all of them simply because Affinity doesn't have the same tools/functions.
In truth it will need someone far more advanced than myself to answer this question in its entirety.
-
Water splashes have been selected from a photograph using the 'load to pixel selection' in the channels option.
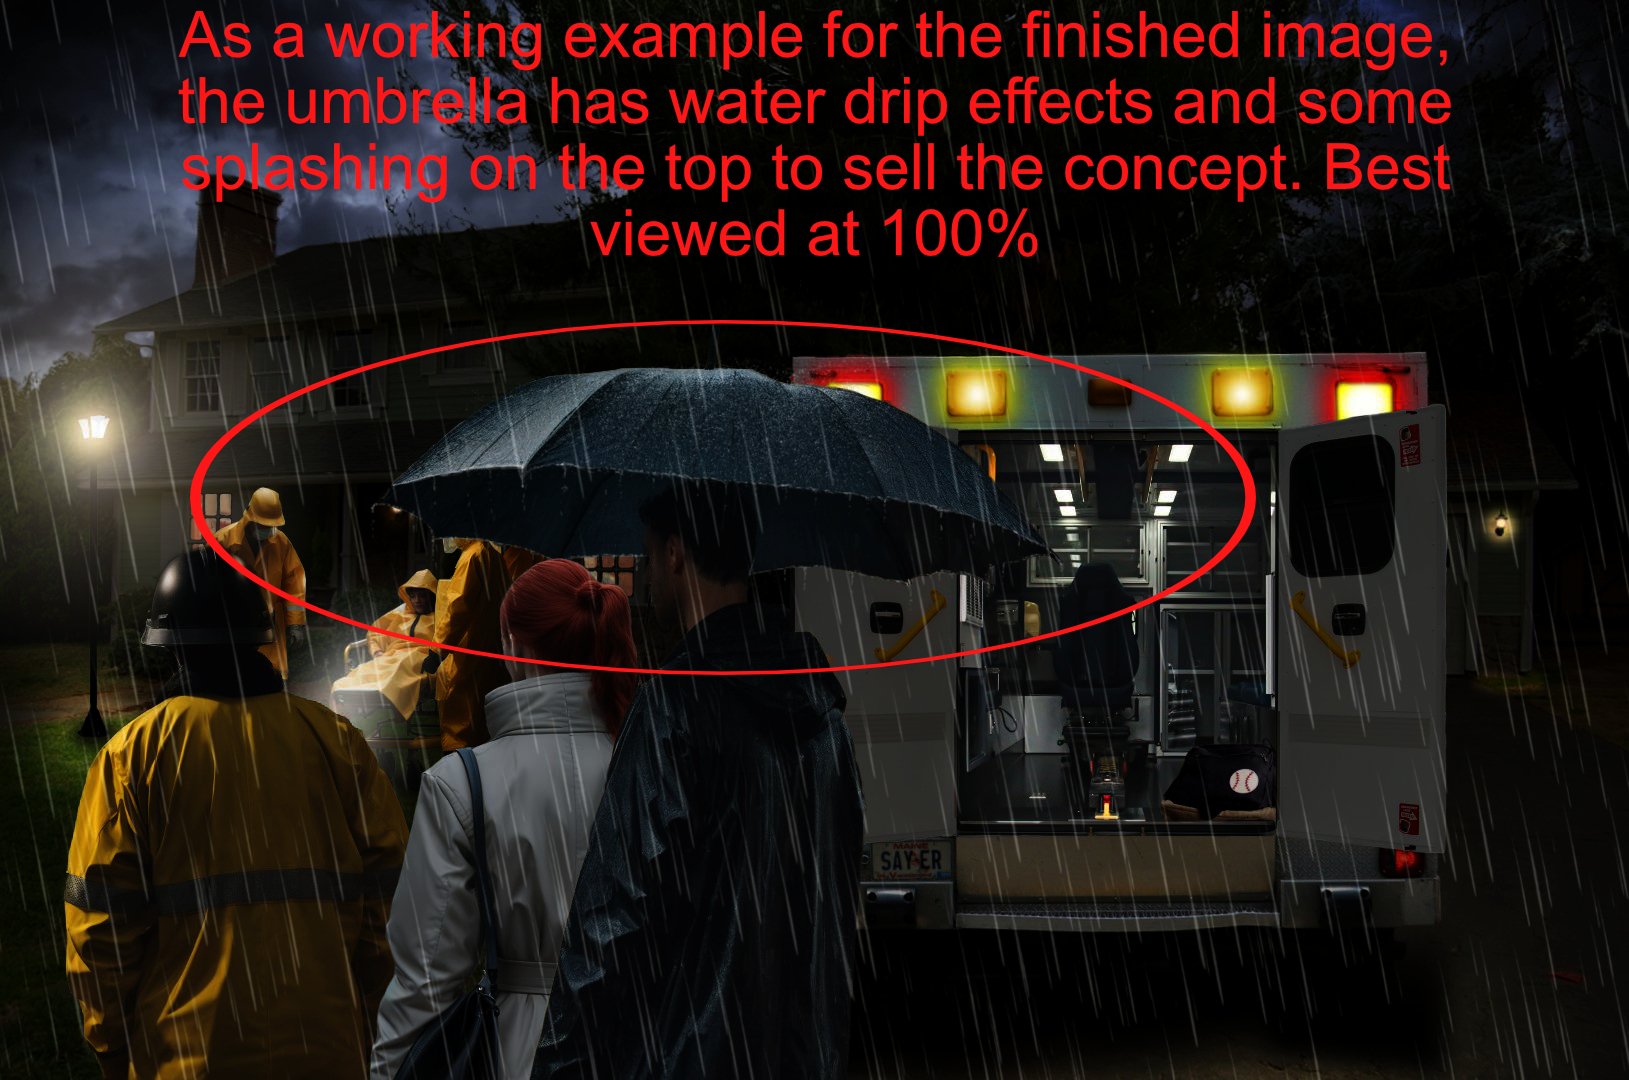
The water splashing on the ambulance roof is exaggerated and too big - to show the effect, but in actuality it will need to be smaller.
Using real water samples generally give good results when sized and treated properly.

- firstdefence and SolidSnake2003
-
 1
1
-
 1
1
-
22 minutes ago, SolidSnake2003 said:
How does the splashing look on the ambulance? I'm not sure whats wrong with it.
It's just a repeated pattern...ergo, not natural.
We both know that water splashes never repeat - each maybe similar in looks, but they are never exactly the same.
-
Now that looks more natural.
-
There is a shadow that really doesn't belong in the picture to the left of the street lamp.
The lamp would cast light in all directions, not just one.
The grass area in question should be lit equally as the right side.

-
Ok. The new position of the parents is virtually spot on - the line of sight of the mother is now focused on Georgie.
If you had a mind to, you could move them even more to the right.
-
You can recreate anything by example. I do not/can not claim ownership over anything when using tools in Affinity Photo.
All I used was an oil brush and some effects - just like anyone can using the product.
I would be bold and move the parents even further to the right...and lose the dog! Does nothing for the picture.
-
Here's a practical example for a suggested finished image (local layer adjustments pending).
Apart from the rain effects (for example only) I had added 2 gradients.
-
Same image as above but with added water along the base of the umbrella hood.
This is done using a layer with 'Bevel and Emboss' adjusted to create the desired affect. Adjust the opacity to blend. My example here is amplified in order to show it.
Try it and experiment.
-
Any light source - if strong enough, will cast a reflection on a wet surface.
Any light source - if strong enough, will cast a shadow.
The strength of the light source is an important consideration for length and depth, etc. A flash of lightning is exactly that - a momentary flash of bright light from high above. Yes, it would light everything below it, but it all comes down to how much (real) detail you want to include in your composite?
You know how the real world works when it comes to the elements, use that knowledge to decide if it's really worth fretting over it. If you really want to include the flash from a lightning strike in your picture, you will need to light each and every element in your picture from the top down. Now that's a lot of work to take on.
Another aspect is: is the night sky cloudy or clear - lightning will look different in each case. And, is the lightning directly above, or some miles away? That would affect the picture as a whole.
I could go on forever, but as I said. . .you know how nature looks and works.
-
No offence taken at all.
-
I just used my laptop and mouse to do that.
-
You can experiment with rain drops and such to get a dripping effect. A quick example I have set here, and although a rough example, it demonstrates the principle.
There may be rain drops available as brush sets but I don't know of any apart from rain brushes.
Splash brushes are definitely available and they can be useful, too.
Reflections on the driveway will only work if it's lit enough to see a reflection in the first place. Right now I don't see any driveway at all.
-
That works.
You could move them even further to the right if you wanted to, there's plenty of room there.
If you imagine their line of sight, they appear to be looking slightly to the left of Georgie, so moving them right a bit wouldn't hurt at all and would probably line up better.
-
The new images appear fine, but the man is wearing a highly reflective rain coat, and light will bounce off that in all directions. His left shoulder is blown out with light - exactly the wrong position for it to be and would be difficult to correct. Better to look for a similar image that has is evenly lit, by doing that you can add light to the subject yourself using child layers. Right now he looks like he doesn't belong in the scene.
-
Yes, you can use it. It came from some obscure image on Unsplash.
-
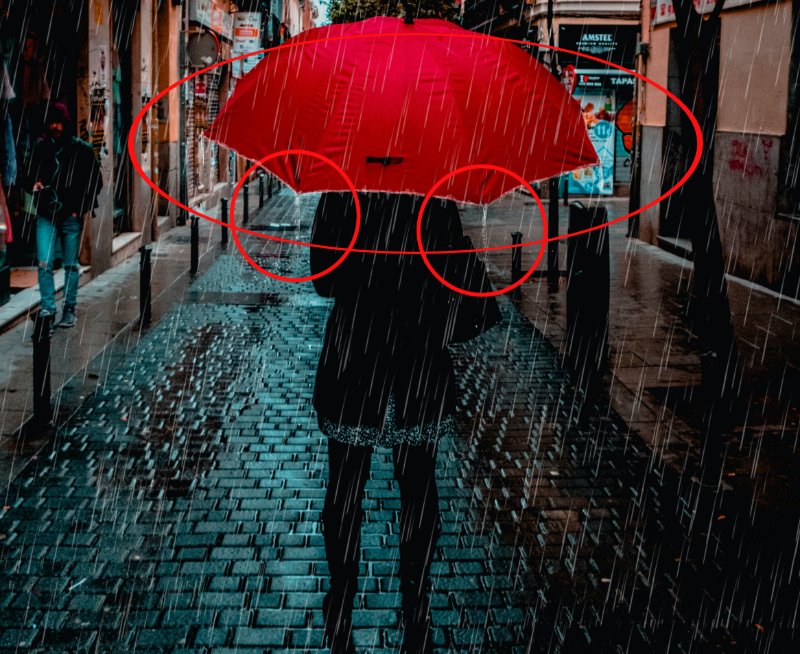
If it were me, and I wanted to insert an observer under an umbrella, I would choose the angle of the attached image.
Unfortunately, this would obscure the head and upper back of the observer and then it would it come down to an artistic choice that can only be decided by you, the compositor. Do you want to see the face of the mother, or is that something you can discard as a preference?
Positioning is also a consideration when you introduce another element/image. The umbrella pic attached would need the holder to be moved more to the right so that the top of the umbrella doesn't clash with the main picture elements. But again, that's for you to decide.
And, as always, the more elements you introduce, the more complex and problematic the composite becomes.
-
-
-
Just now, duke22 said:
Yea tried that but it did not seem to work in Designer 2 had to blur each image individually, how do you create the layer creating a blank new layer and applying blurr FX does nothing
Ah! I thought you were using Photo and not Designer.
As I am not a Designer user, I can't help you with that. Someone who actually uses the program will be more useful than me.
-
2 minutes ago, duke22 said:
yea no issue doing it for individual image but I have 8 images in there and was wondering if I could not just put one layer over all images
Yes. Place a live blur layer on top of the layer stack.
-
You can use a live gaussian blur filter if that's what you mean?
Or go to the 'filter' menu and select gaussian blur - both methods will blur out the entire image.
-
6 hours ago, Ldina said:
Very dynamic...love it!
Thanks.
This was one of those pictures I couldn't decide on when it was finished. Then I thought, to hell with it, it's done!
-
Nice.
Would they be the new free download "Dreamphography" brush pack?


.png.4e7fdea88e98935ba7e846894b079acf.png)
Completing my fanfiction composite - Creating a rain/storm Effect, adding a vehicle
in Share your work
Posted
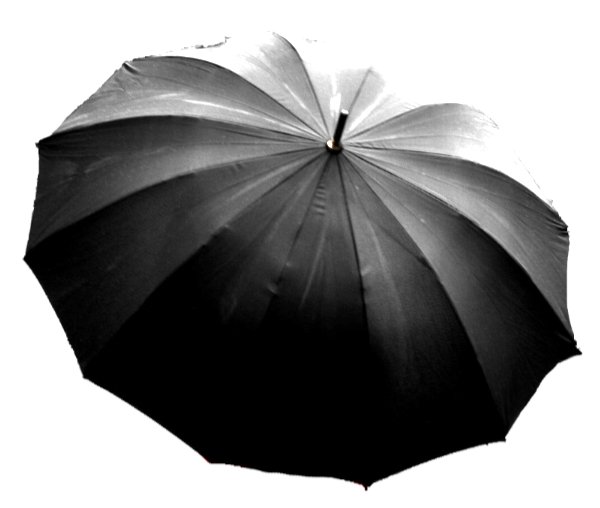
Just take a look around sites that have free pictures, or search google for images of splashing rain.
I used the attached picture to extract the splashes.