AffinityJules
-
Posts
795 -
Joined
Everything posted by AffinityJules
-
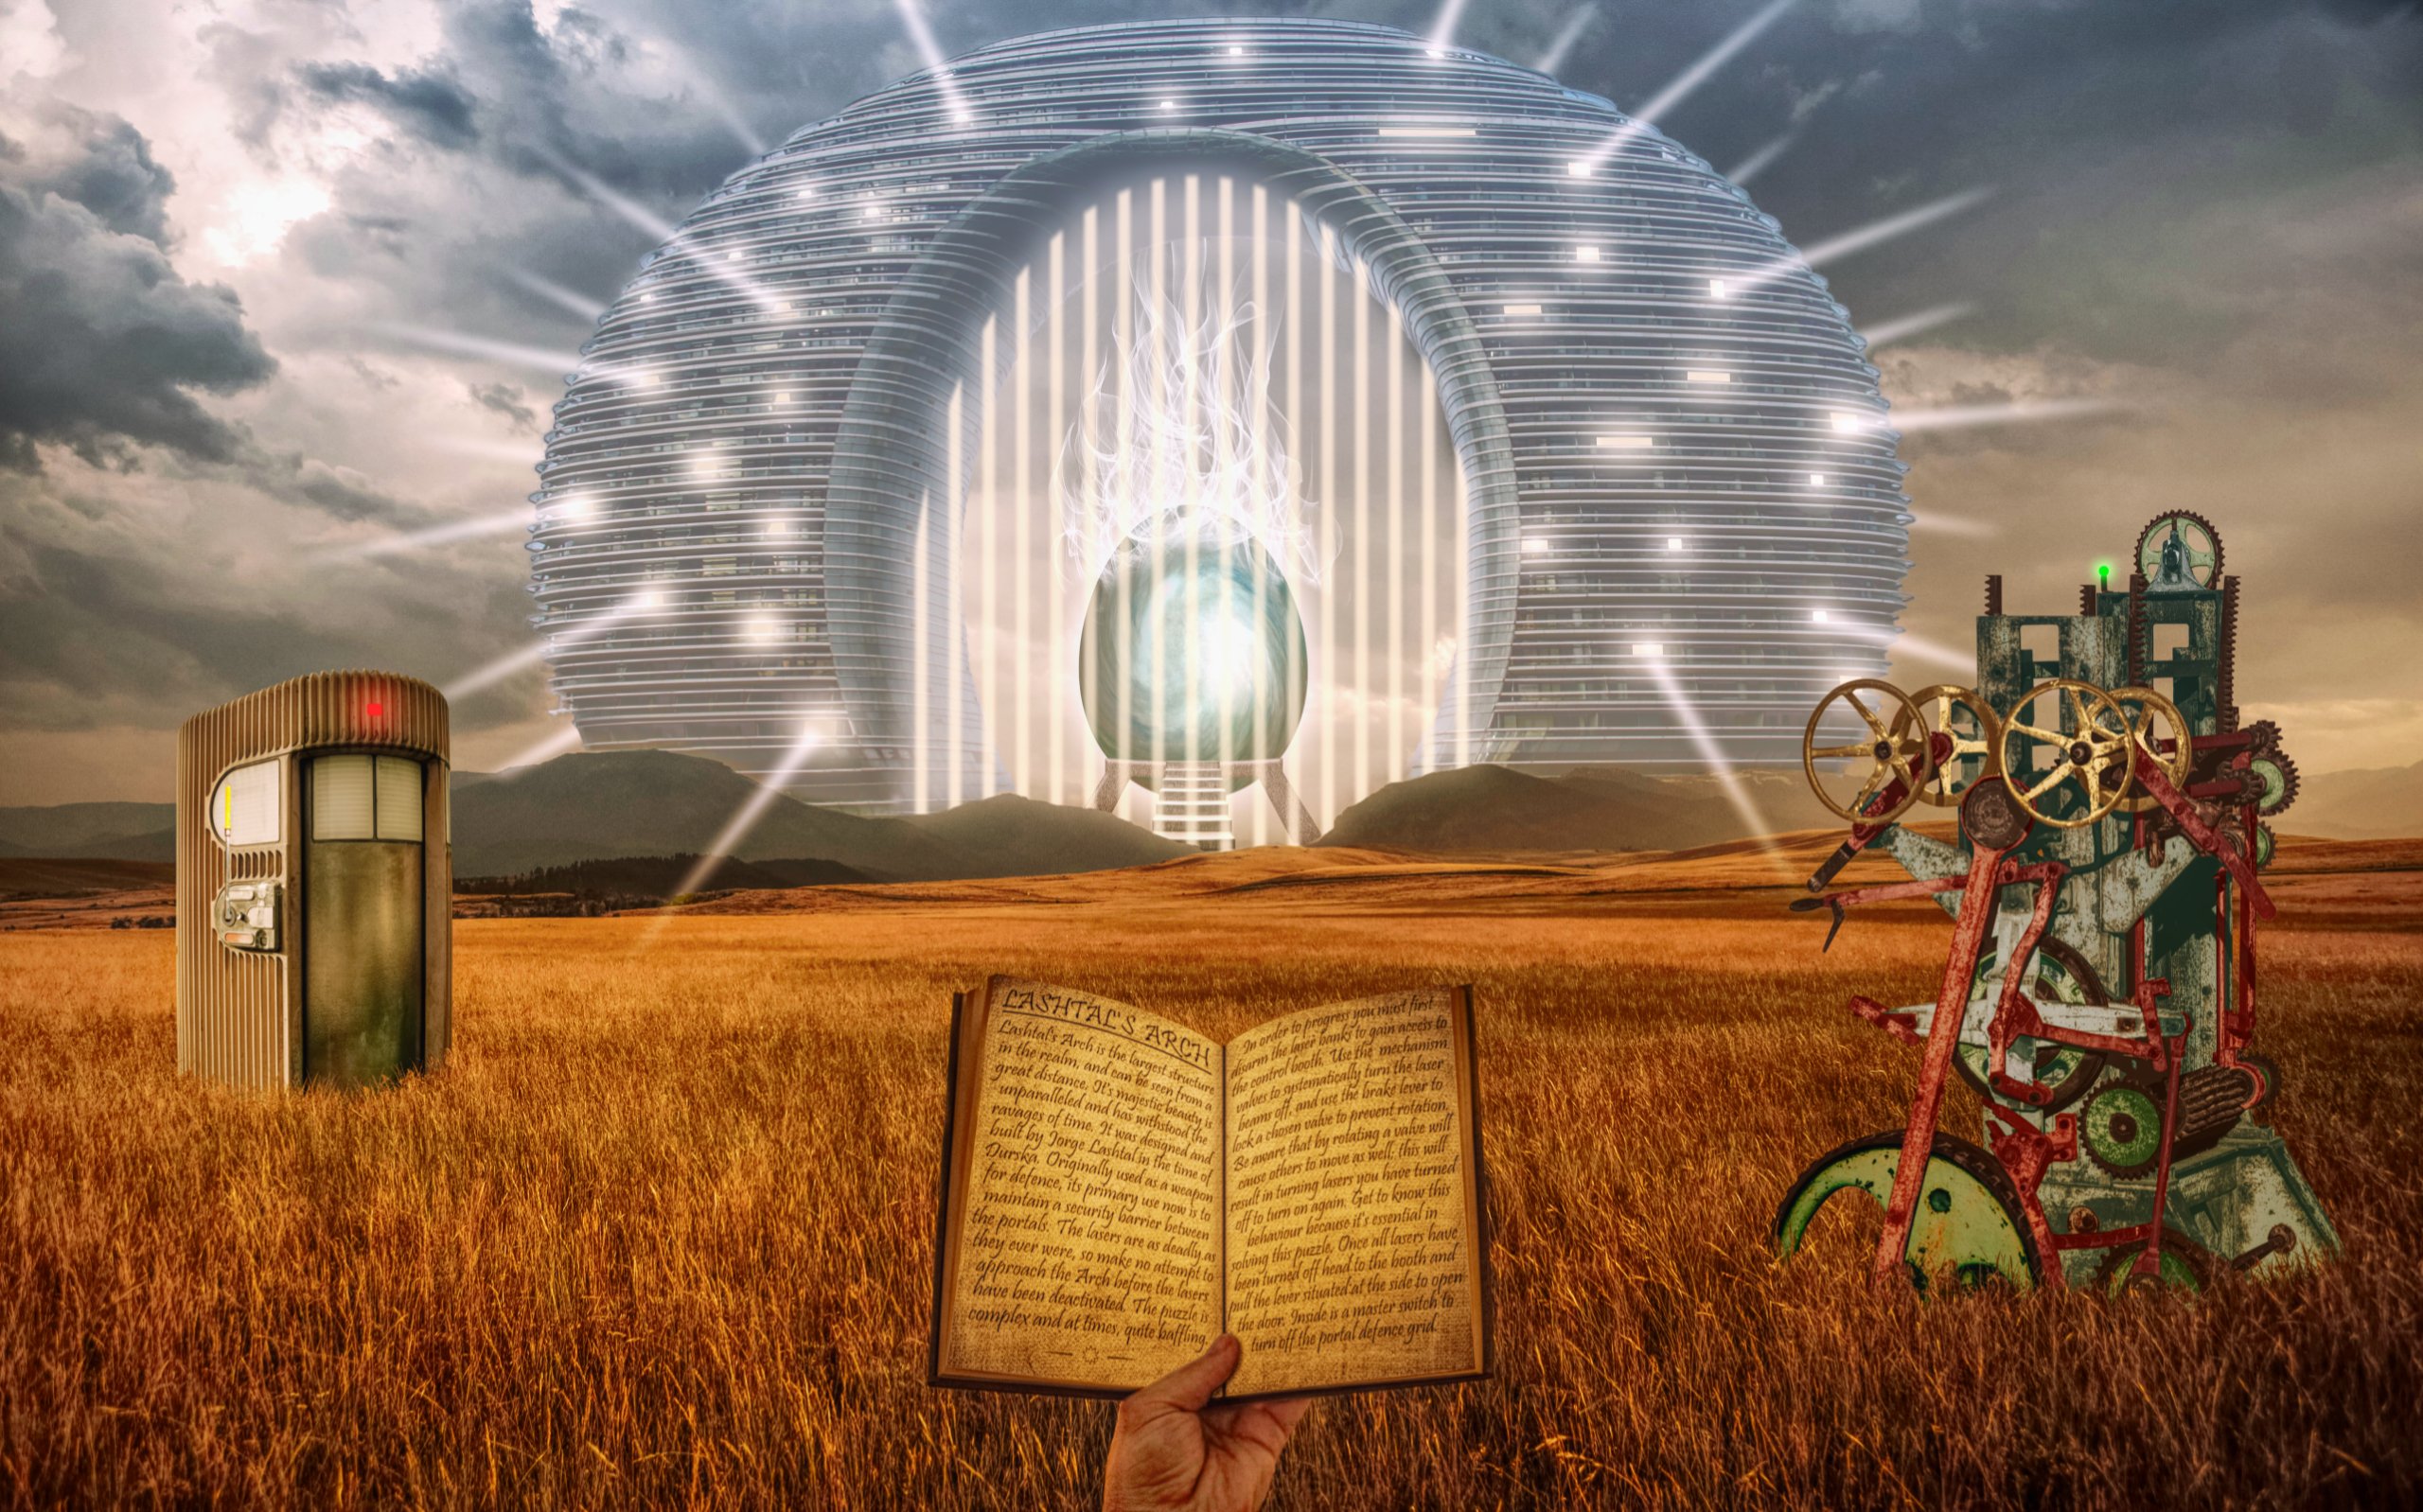
Our intrepid explorer, armed with the guide book, has now reached Lashtal's Arch. Ooooch! Mind those lasers, they bite.

-

affinity designer March of the Robots and Comic Book Template
AffinityJules replied to StuartRc's topic in Share your work
Those black & white skulls (top row) look really well detailed. -
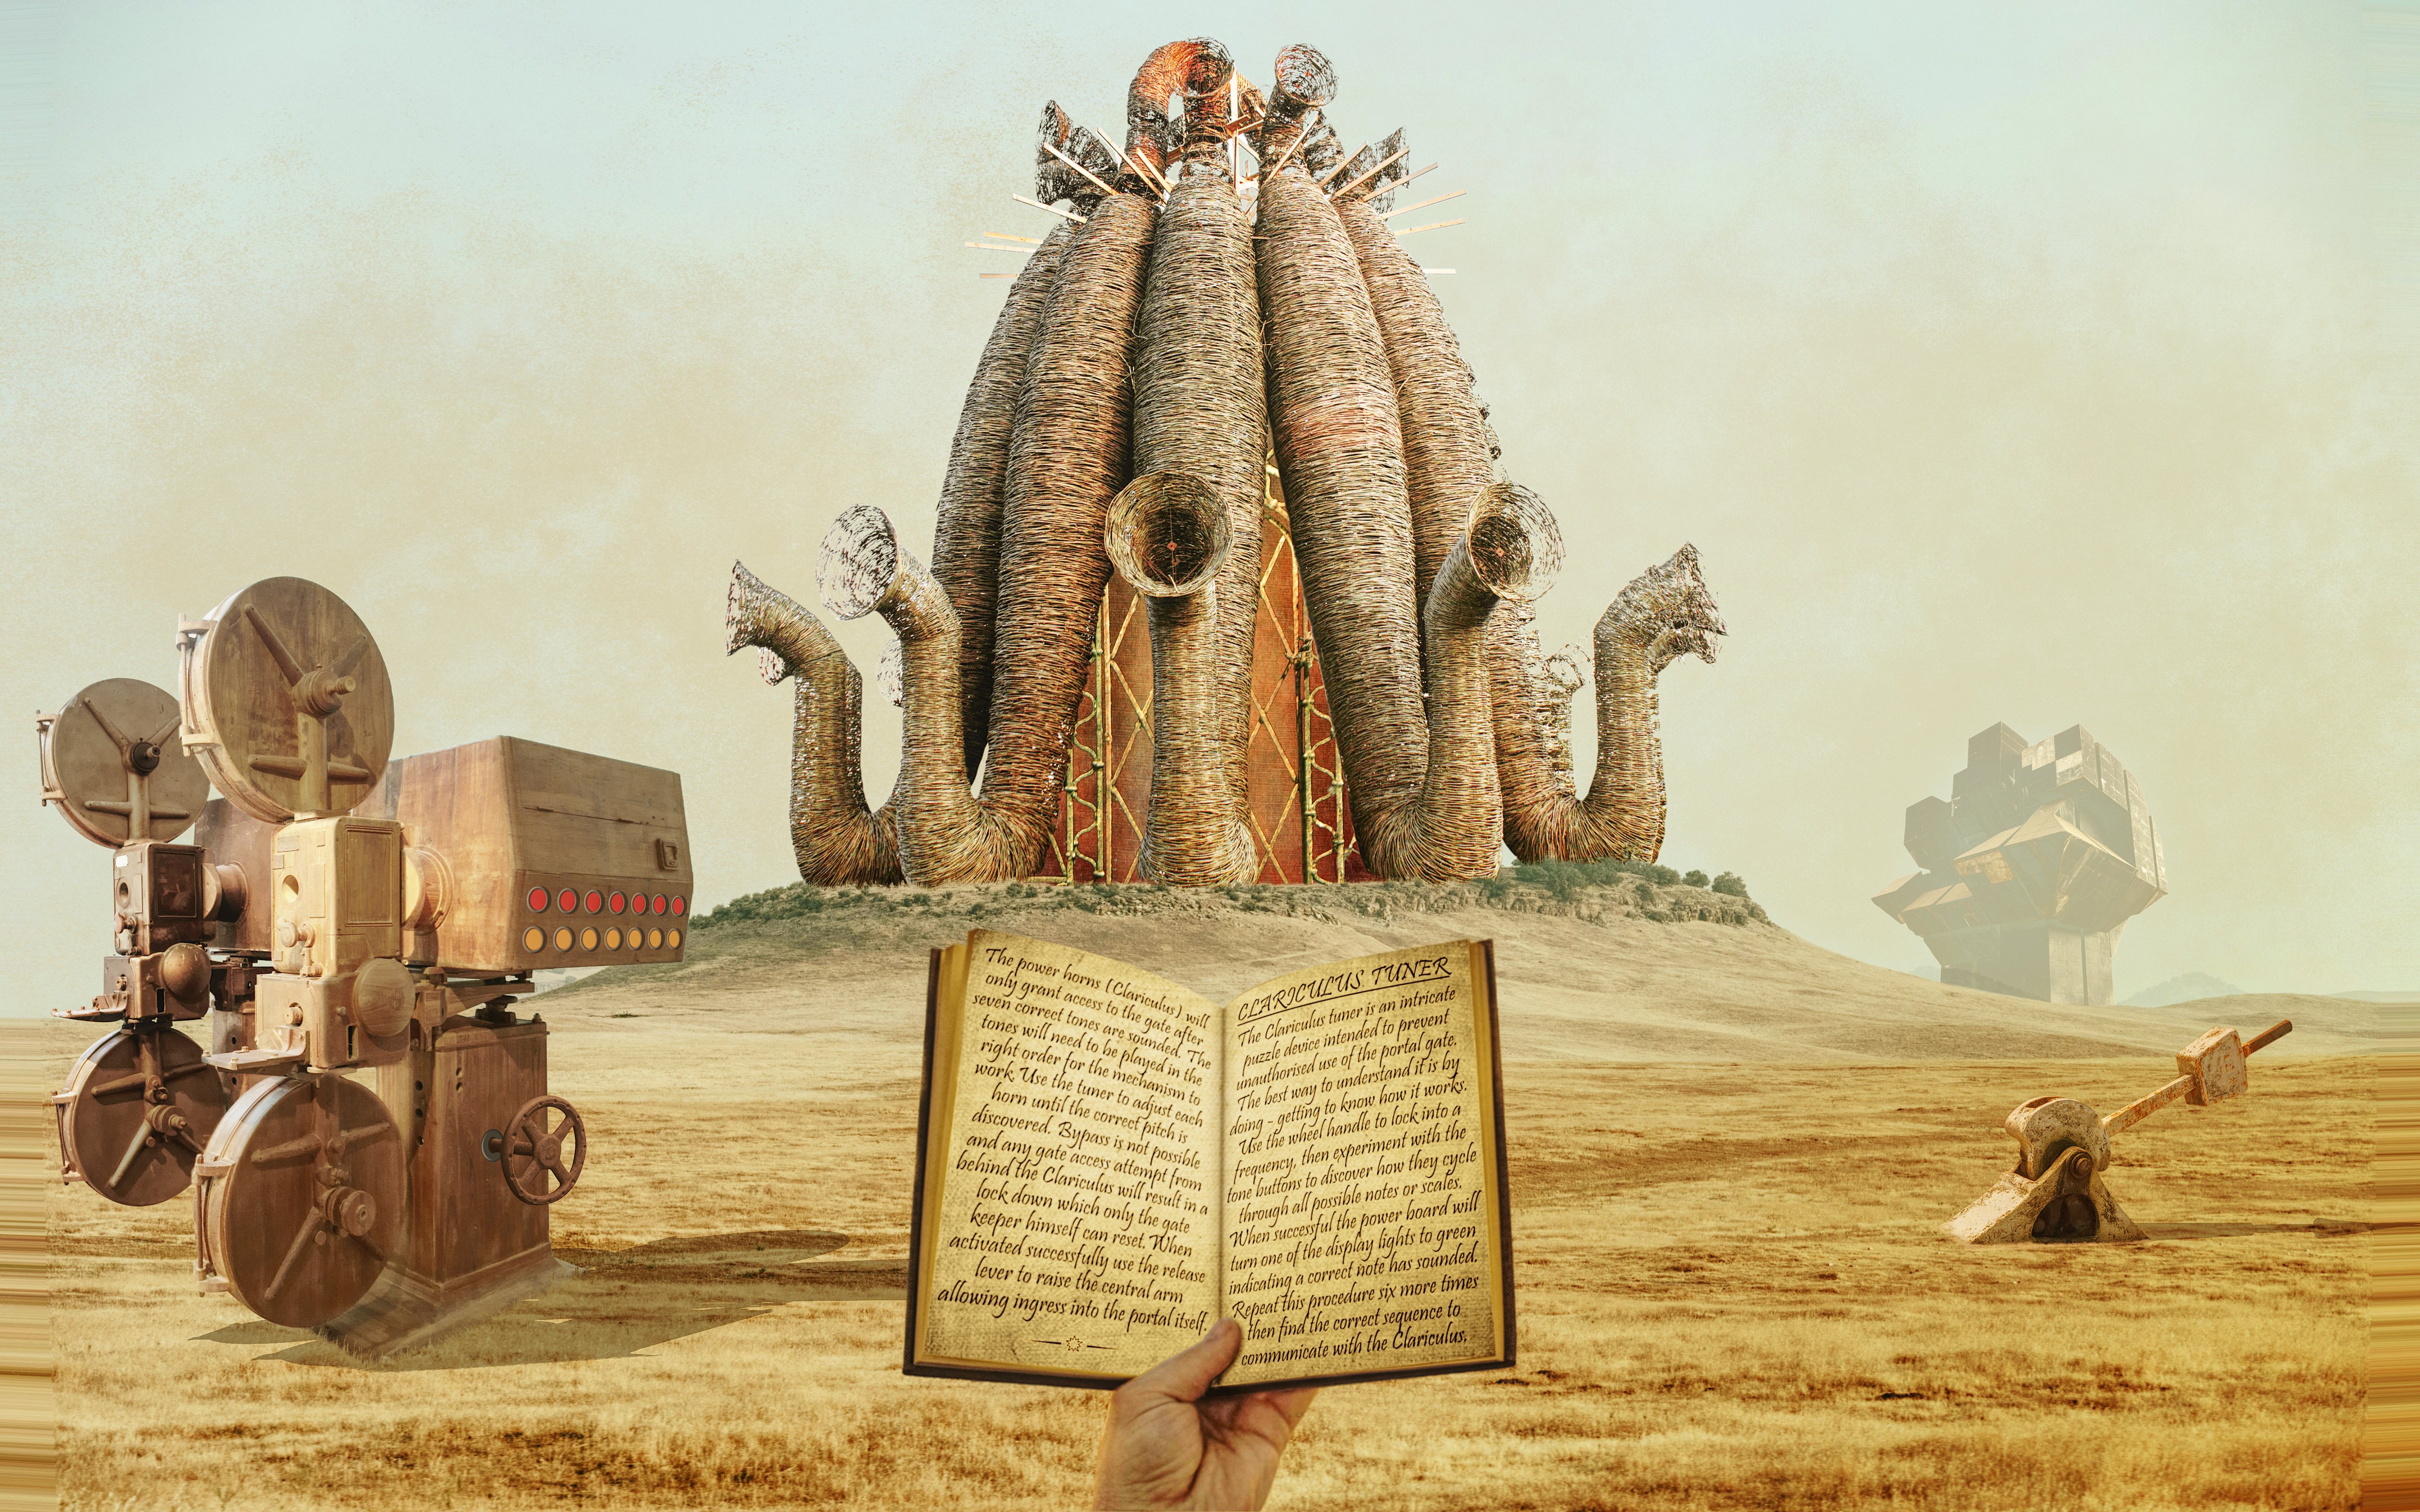
affinity photo Level 2: The Clariculus
AffinityJules replied to AffinityJules's topic in Share your work
A few years back I bought the entire series from Steam (they weren't all available on PlayStation). And yes, my OS was/is Windows 11. I had played a few titles before the Steam purchase. . . Myst PS1. Riven PS1. Myst Exile PS2. All the others were either for Windows or Mac. -
affinity photo Level 2: The Clariculus
AffinityJules replied to AffinityJules's topic in Share your work
My inspiration came from the Myst series by Cyan. -
affinity photo Level 2: The Clariculus
AffinityJules replied to AffinityJules's topic in Share your work
Thanks Stuart. . .I do too! 😃 -
And now to delve a bit deeper into the mythology.
-
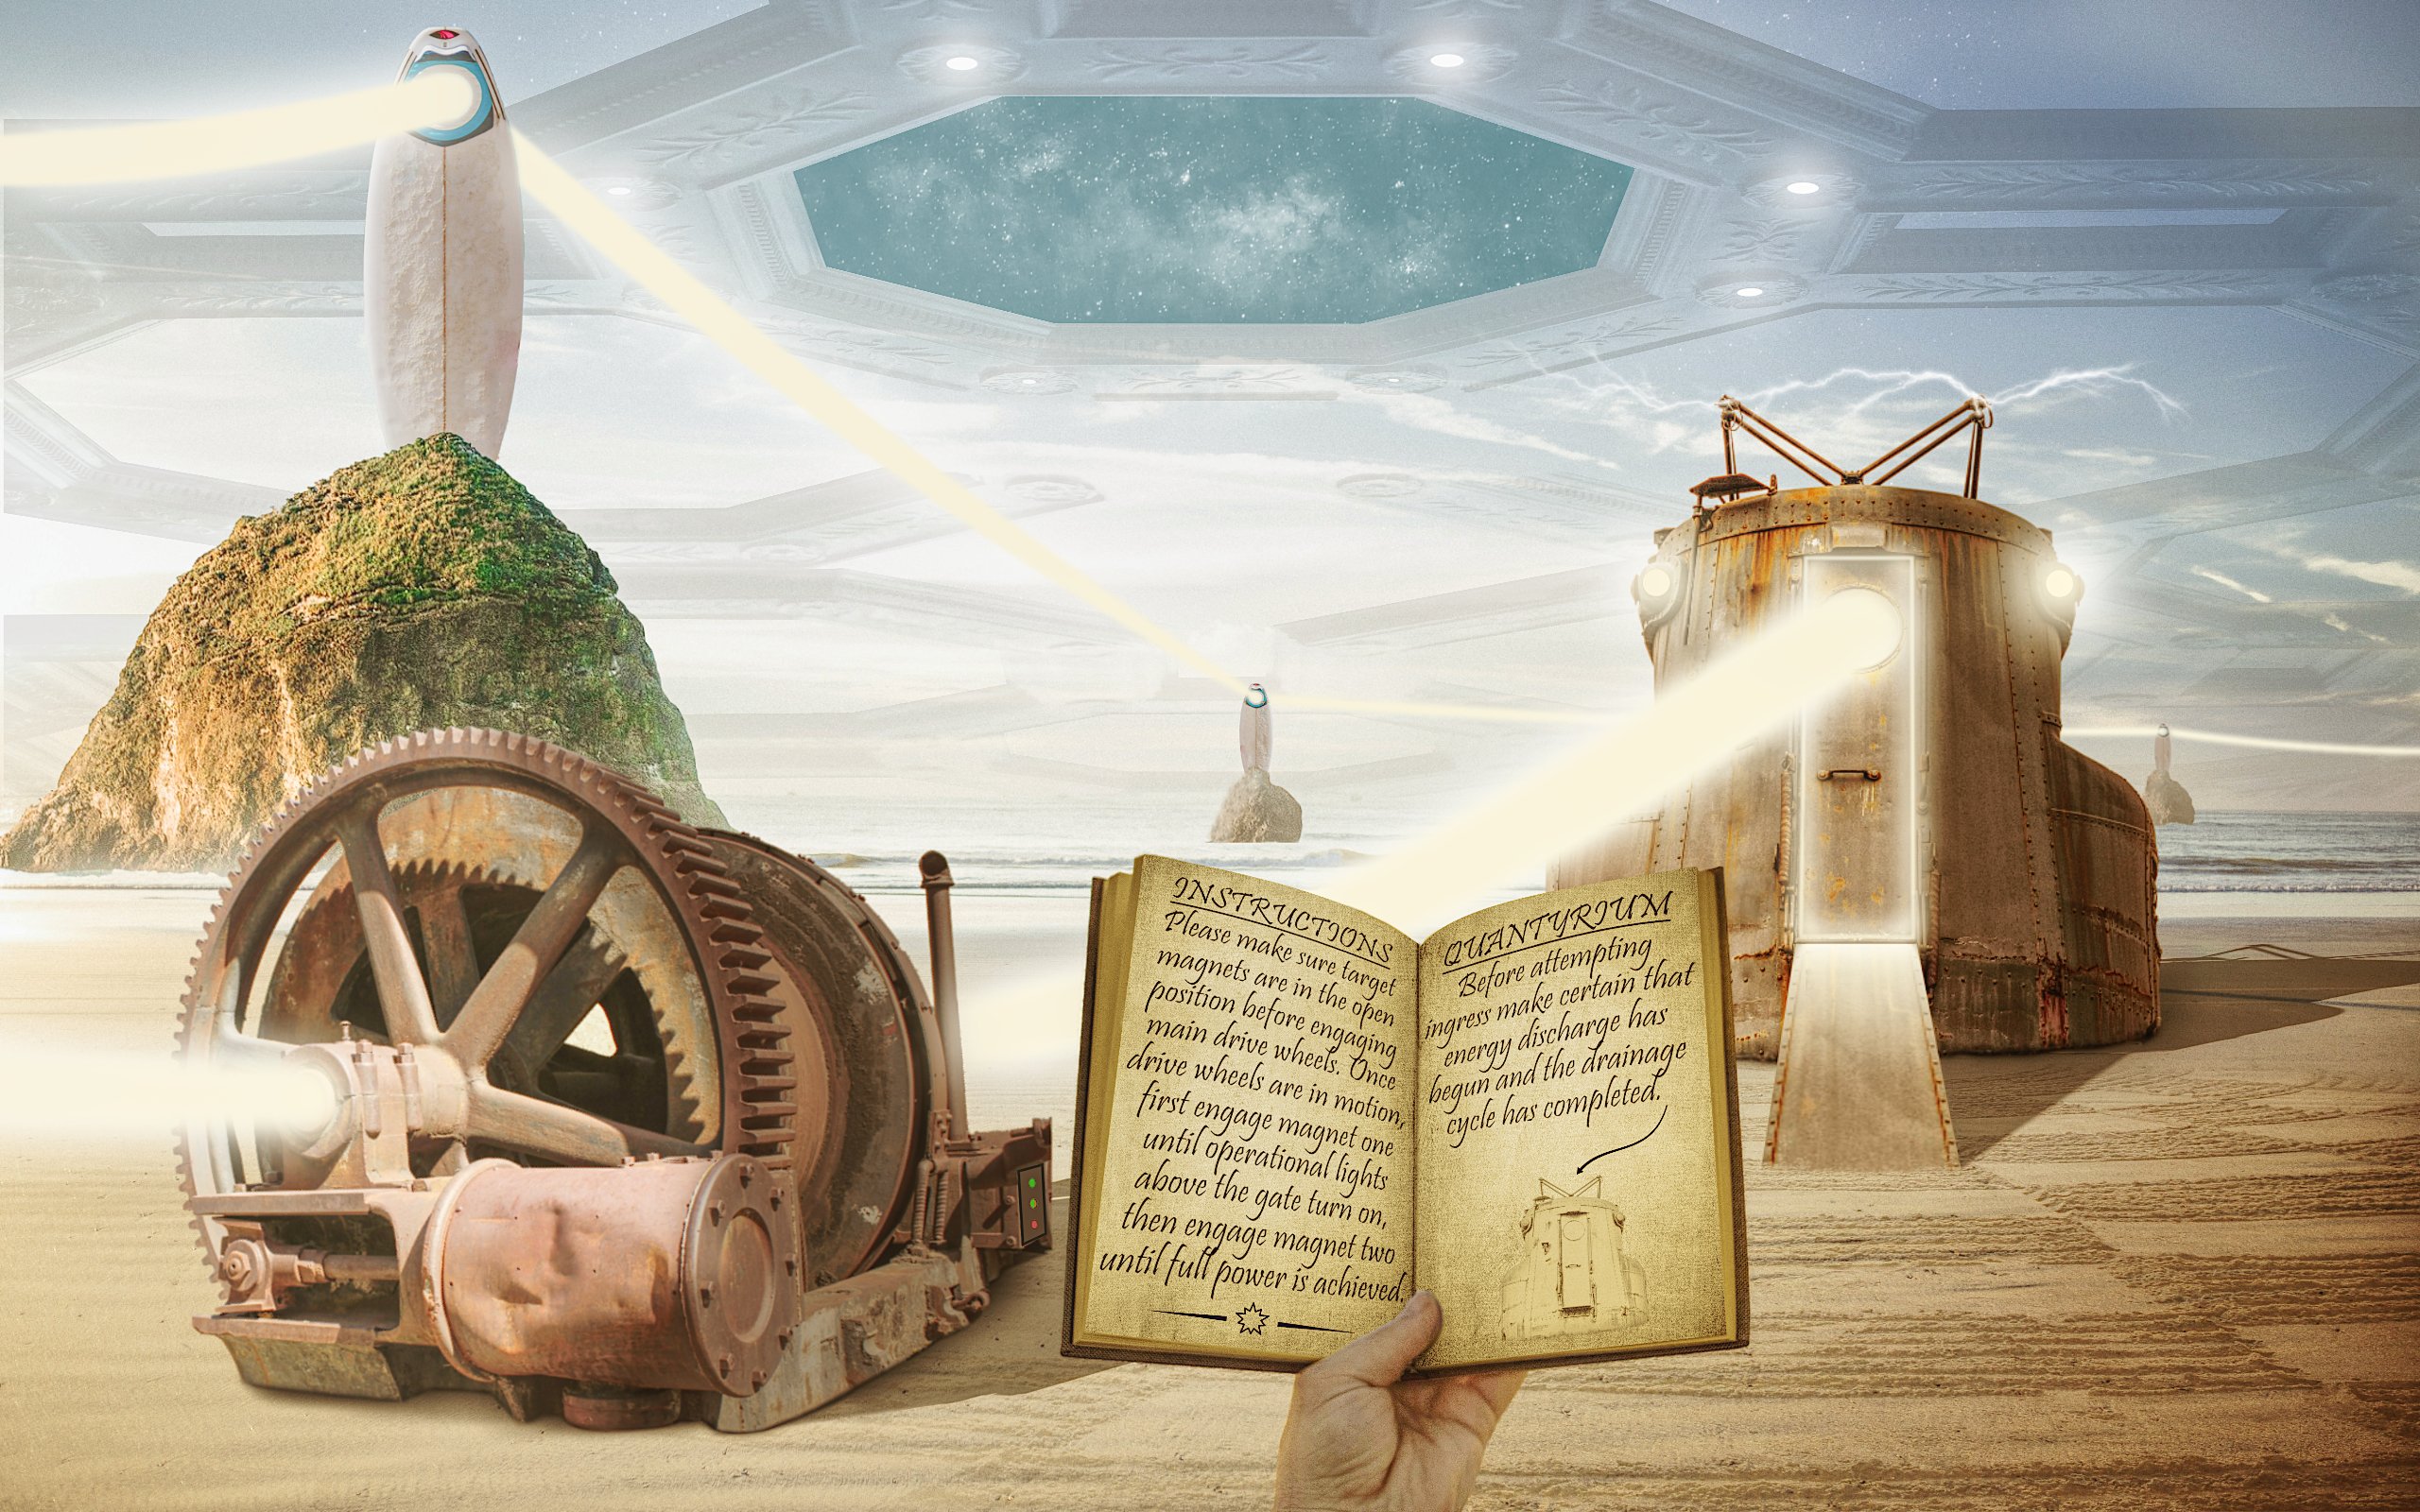
affinity photo Erm. . .Just Follow the Instructions
AffinityJules replied to AffinityJules's topic in Share your work
Hi KarinC. That's the best compliment ever. . .my work is done. Glad to know my homage to the realms of Myst was recognised and perhaps, brought back some fond memories of playing those old games. -
affinity photo Erm. . .Just Follow the Instructions
AffinityJules replied to AffinityJules's topic in Share your work
Oh, just my usual brand! I wanted to get all whacko with this one, something Rivenesque = Riven. To you and I, that's an old game by Cyan. -
Another fanciful idea.
-
affinity designer March of the Robots and Comic Book Template
AffinityJules replied to StuartRc's topic in Share your work
Love the detail in this one. . .very busy with lots of perceived depth. 😉 Brilliant! -
affinity designer March of the Robots and Comic Book Template
AffinityJules replied to StuartRc's topic in Share your work
Yup. In robot land she's considered a beauty beyond compare. -
affinity designer March of the Robots and Comic Book Template
AffinityJules replied to StuartRc's topic in Share your work
LOL! Work in Progress. . .I should have got that one, but I thought it was some abbreviated artistic shoptalk. I'd love to see a cat perform an ink sketch, that vision in itself is hilarious. -
affinity designer March of the Robots and Comic Book Template
AffinityJules replied to StuartRc's topic in Share your work
Looks a busy picture. I suppose they all start out like this? And. . .what is WIP? More jargon I don't yet understand. -
affinity designer March of the Robots and Comic Book Template
AffinityJules replied to StuartRc's topic in Share your work
Ha! zine, zone, zune, zane zene, just words beginning with Z too me! 😄 But seriously, I get the layout thingy along with the width restrictions that come with it, but as you mentioned about doing different versions, the widescreen format will obviously be included. -
affinity designer March of the Robots and Comic Book Template
AffinityJules replied to StuartRc's topic in Share your work
It's great to see a wider aspect ratio of your artistry rather than the close up versions you usually post - not that there's anything wrong with those, but when the camera pans out there's so much more to see and enjoy. Talk about seeing "the bigger picture" we certainly got that here. I'd like to see more of these wide-shot pictures, the stories they tell in the mind are boundless and make them even more fascinating to behold. Once again, excellent work. -
affinity designer March of the Robots and Comic Book Template
AffinityJules replied to StuartRc's topic in Share your work
That is freaking excellent! 😃 -
Yes, and no. My picture represents a painting of a painter restoring a painting. We are not looking at an artist doing his/her thing by externally applying paint to the canvas. We are looking at the moment when an artist was captured in paint while doing their restoration work. It's all make believe and fantasy but the idea struck me as a good one. Windows in windows. . .
-
Mmm. . .I can almost smell the garlic aroma wafting through the vent holes.
- 4 replies
-
- 1
-

-
- affinity designer
- pottery
- (and 2 more)
-
affinity designer March of the Robots and Comic Book Template
AffinityJules replied to StuartRc's topic in Share your work
I like their stupid looking faces. Up to no good I'll wager. -
Definitely a possibility. . . but my aim was to have the artist's arm integral to the picture rather than an external influence acting on the canvas.
-
Thought I would try something a little different this time.
-
In a snuff box?
-
I had a few giggles doing it too. 😁
-
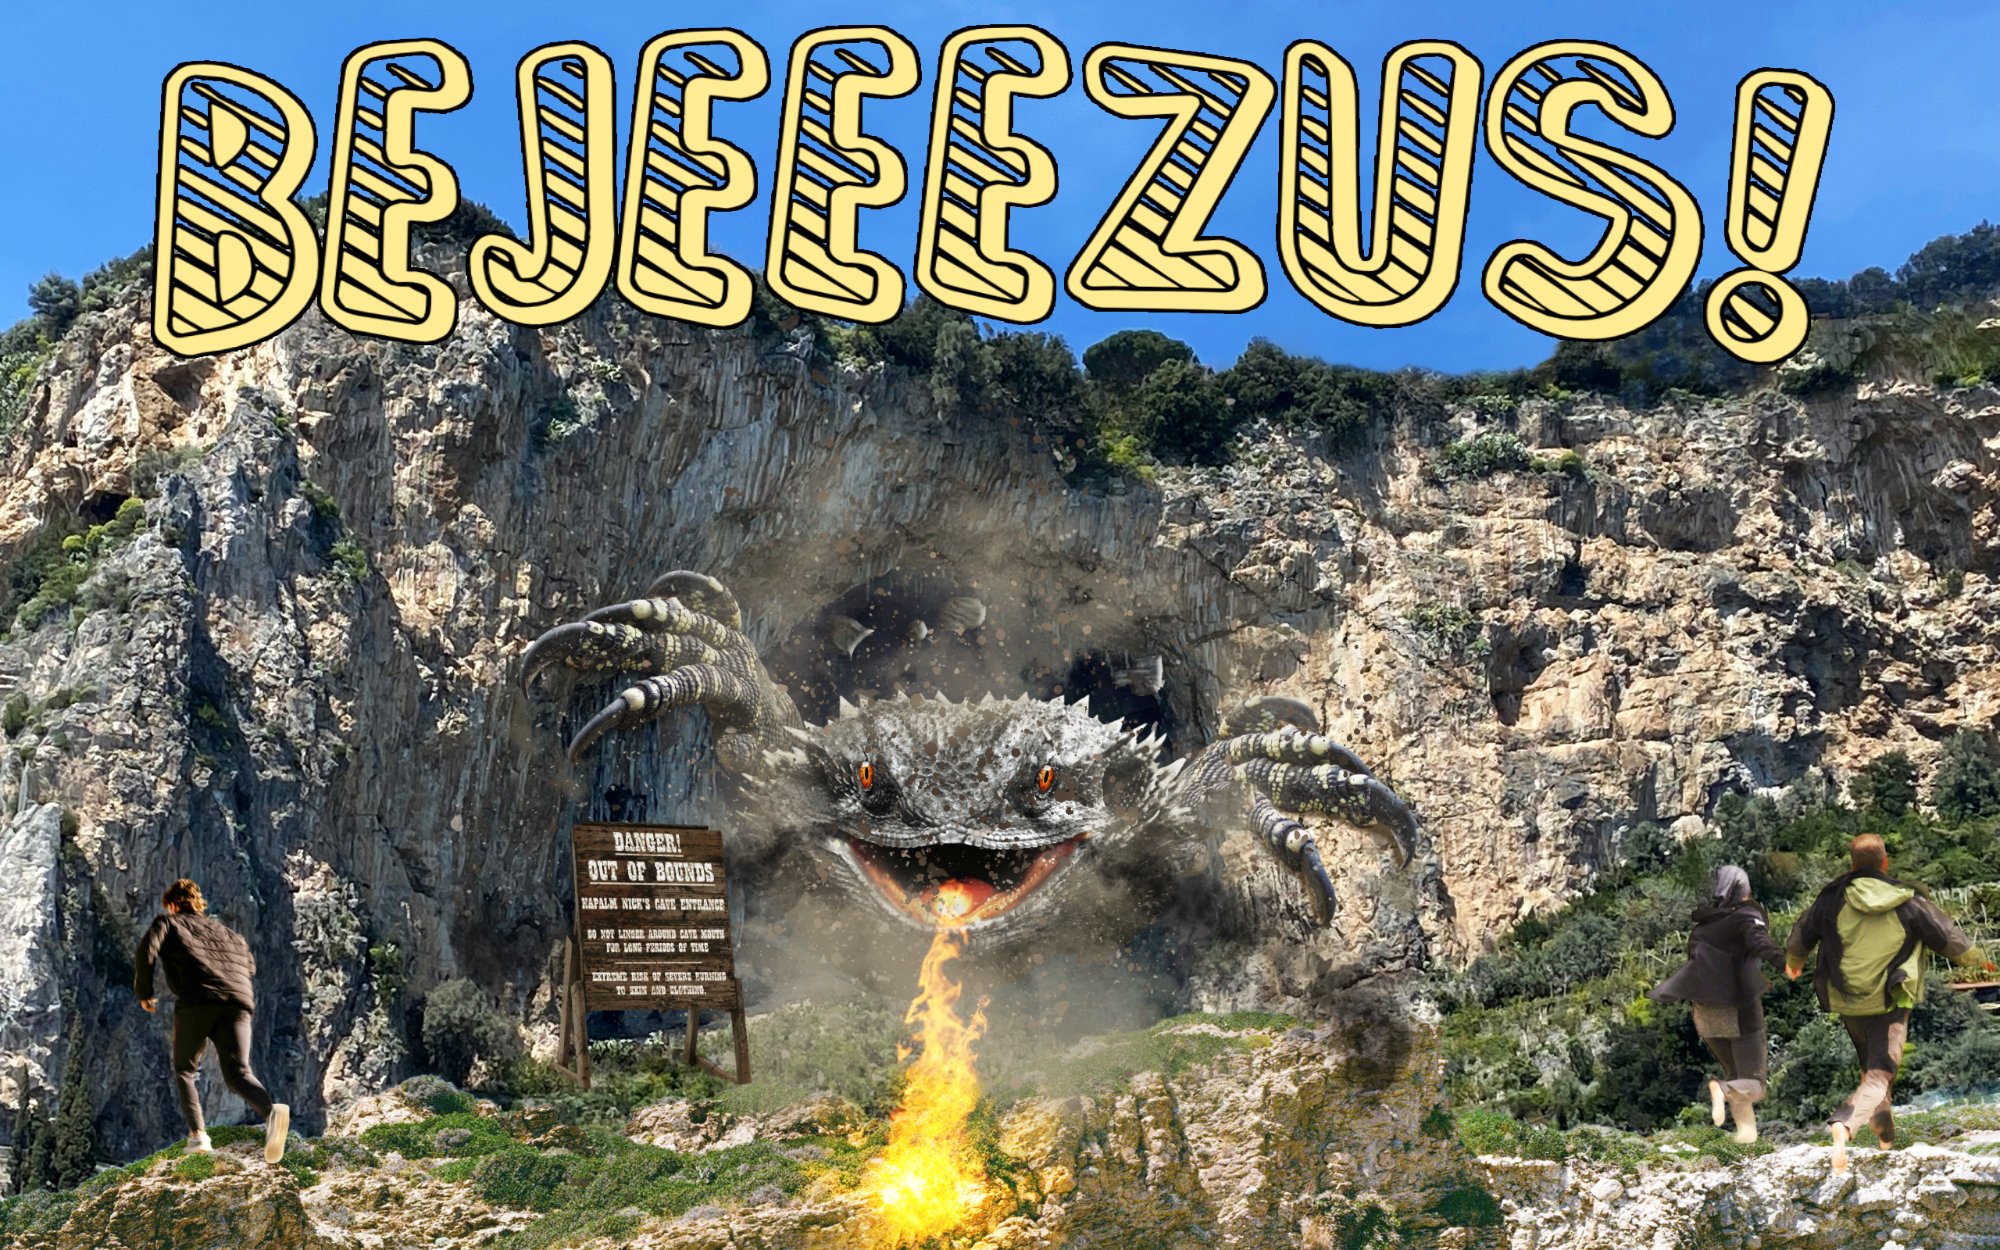
Purely for our amusement. I should have uploaded the higher resolution image because in this instance the font on the sign post is a little hard to read. It's all right for me, I wrote it, but even with glasses on I have trouble. So here's what it says on it. Danger! Out Of Bounds. Napalm Nick's Cave Entrance. Do Not Linger Around Cave Mouth For Long Periods Of Time. Extreme Risk Of Severe Burning To Skin And Clothing.
-
I made a typo on one of Ldina's posts but could not correct my error. And I have been a member since 2017