toltec
-
Posts
3,560 -
Joined
-
Last visited
Everything posted by toltec
-
 No. It's approximately 11 years, 6 months and 26 days 'less' than 18 years. Relatively speaking.
 -
Sorry, but I find your way of thinking on this really strange. Guides are set from and applicable to page rulers. These are set relative to the top left of the page. Remember that they a based on rulers. If you think about how you use an old fashioned ruler, (if you remember them) you line it up with the edge of the page and take a measurement. If you trim the left edge of the page by 3mm you still take a measurement by lining up from the edge of the page, even although it has now 'moved' by 3mm. If we followed your approach and with a sheet of paper, trimmed 3.5 mm from the left, 5.7mm from the top and 16.5 from the right, how would you use the ruler? You, or (anybody you sent the document to) would need to know that the new edge of the paper was in fact 3.5mm outside the new paper edge and that the ruler needed to be 20mm shorter than standard. All guides are page guides set relative to the top left of the page. You can't just move guides, anymore that you can change the size of a ruler just because you alter the right or bottom edges. If you set a guide to be 200mm from the left and cropped 16 mm off the page, rather than be 200mm (which is what you set it to) it would now be at 184mm. And what if you set guides at 50mm gaps. 50mm, 100mm, 150mm and 184mm ;(oops!). Should the software shift all the guides 4mm to the left? 46mm, 92mm 138mm and 184mm, or just the last two and have a very narrow gap in the middle? Good lord, what a mess that would make of page layout. Total chaos! If you planned to build a house 5 metres wide but the council said "Sorry, the border of your land is 1metre less than originally surveyed". According to your guides (which move to the land edges) you end up with house 4 metres wide.
-
iPad as well?
toltec replied to alan goodacre's topic in Pre-V2 Archive of Affinity on iPad Questions
No problem. It arrived a couple of days ago and I have just finished setting it up, loading MS Office and the two Affinity apps. Initial impressions are very good but I will have a chance to evaluate it over the next few days and will post accordingly. The first things I noticed was having a proper mouse and keyboard, the light interface and fully featured Affinity apps. I'm afraid that after using a mouse for thirty odd years, I find having to tap three or four times for a simple operation was so restricting. Old fashioned I guess , or maybe just old ? This is the model and the UK supplier. They do supply internationally, if that helps. https://www.box.co.uk/NX.GR7EK.005-Acer-Spin-5-SP513-52N-53HQ_2321763.html -
Panoramams
toltec replied to debbru's topic in Pre-V2 Archive of Affinity on Desktop Questions (macOS and Windows)
The problem seems to be that the exposure of each photo is different. Presumably because the auto exposure setting on the camera changed as you moved it from side to side. The easiest option would be load each image into Photo and make sure the exposure of each image matches, before creating the panorama. -
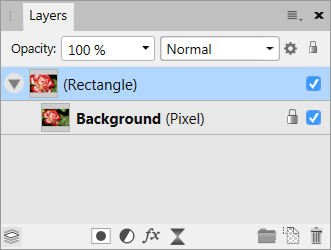
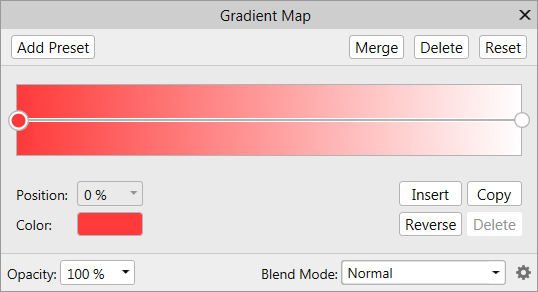
There are lots of ways to do that. Here is my favourite. Make a Pixel selection of the umbrella. Apply a Gradient Map Adjustment. Go Layer > New Adjustment Layer > Gradient Map and the adjustment will be confined to the selection area. Set the colours by clicking on each of the handles and then the 'Color' swatch. See the colours I used (above). Tweak the slider and the colours to get the effect you want. You can make more selections and add new adjustment layers to colour different part of the image. Note: The image must be RGB format, you can't colour a black and white format image (greyscale). Go Document > Colour Format to change if necessary.

-
File Information
toltec replied to Ed K's topic in Pre-V2 Archive of Affinity on Desktop Questions (macOS and Windows)
View > Studio > Exif gives lots of info or you get some info on the Context Toolbar if you select the Hand Tool -
It may or not work perfectly but something should happen. If you post an example, someone can probably help. If the image is private, black out the in focus people.
-
It works fine on two of my PCs here, so It's not a bug. Something has gone wrong on your PC. Try resetting Designer. Press and hold down the Control key whilst you launch the program. When the 'Clear User Data'' window appears, press Clear. You should only need the first three options ticked, so try that first.
-
The selection box (or bounding box) fits exactly around the shape. It also controls things like rotation and shear when you drag the handles. If it no longer fits the shape (i.e. set to the page boundaries by resetting) things like shear would no longer work correctly.
-
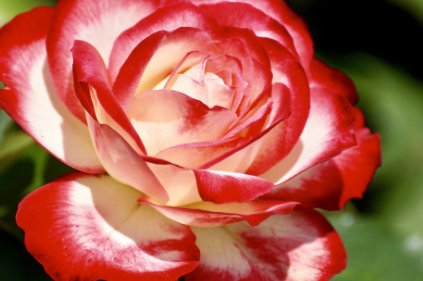
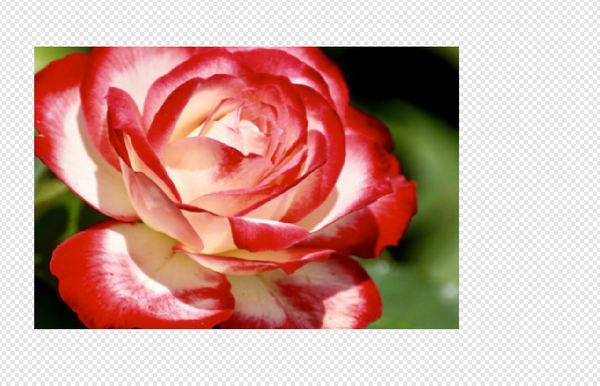
@TomHu Clip to canvas wont work with a marquee box. It only works if you clip the objects inside a rectangle (or shape). Well, as far as this sort of thing goes. Original image Rectangle on top Image nested inside the rectangle, so the rectangle clips the image. then Clip Canvas pressed
-
Indeed, both methods work well but the OP said he sometimes has to recolour several images and it's hard to beat a Preset for that
-
@Dan C I'll raise you Place a rectangle above the barcode and set the Layer Blend Mode to Screen. P.S. Great piece of software. My compliments to the team.
-
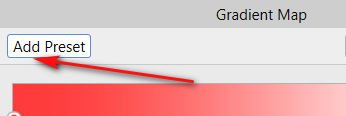
Hello @josemaurinho Dan C may have a better option, but I like to use a Gradient Map Adjustment Layer. Delete the middle handle (as shown) set the right-hand handle to white and set the left-hand handle to any colour you want. You can Add that as a Preset The Preset (I called it 'red') will then appear in the Adjustment section of the Studio so you can easily apply it to change several barcodes. Note: You can still click on 'red' and just change the barcode colour to something else by clicking on the Colour swatch in the Gradient Adjustment panel.
-
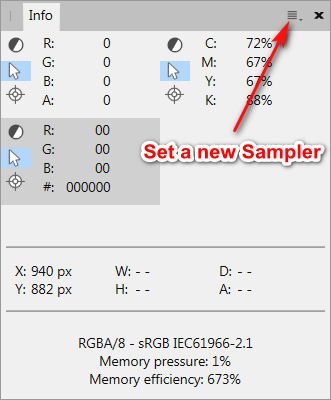
The Info panel can show CMYK, RGB and HEX values at the same time, under the mouse pointer. If that helps ?
-
You didn't say what is wrong? 1/ You do have to apply the matte after resizing. 2/ If you have cropped the image, remember that Photo keeps the cropped part outside the visible canvas, so that will reappear when you resize the canvas. Right click on the layer and choose Rasterize to get rid of it. Right, start with 200 x 200 pixel image Go Document > Resize Canvas (note the position of the blue anchor point square) and set the Size to 250 x 250 pixels clicking Resize equals a file 250 x 250 pixels with a 25 pixel white border on all four edges Go Edit > Matte and click the Custom Colour swatch to choose pink, (as shown). one 200 x 200 image with a 25 pixel border all around = 250 pixels x 250 pixels.
-
It on the Tools Panel on the left. Called the Gradient Tool in Photo or the Fill Tool in Designer. Look it up in the Help if you can't find it. I'm away from my computer now so can't do a screen grab as Android won't run Affinity
-
Why not just drag everything inside the rectangle and then go Document > Clip Canvas ?
-
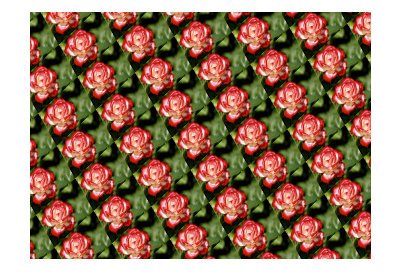
@TomHu You can use the Gradient tool (set Type to bitmap) and tile any image as a Fill' When you select 'Bitmap' it opens the Filer.
-
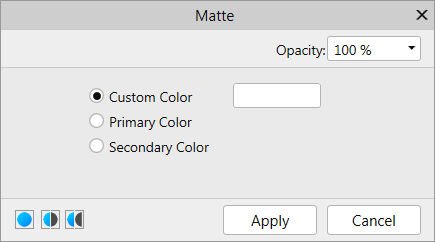
Hi @johanna You can go Edit > Matte With Custom Colour selected (default) click the swatch and choose any colour you like, or Primary is the bottom right 'colour well' colour. Secondary is the top left 'colour well' colour.
-
I honestly don't think it would matter that much to the OP or Hoo
-
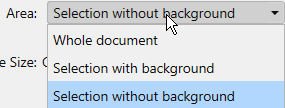
If you have a layer selected, you can export just the Layer. With or without background affects non rectangular layers. Without background exports just the shape, leaving a transparent background. If the file supports it, like PNG files. With background includes the bit of background behind the shape (rectangular canvas).
-
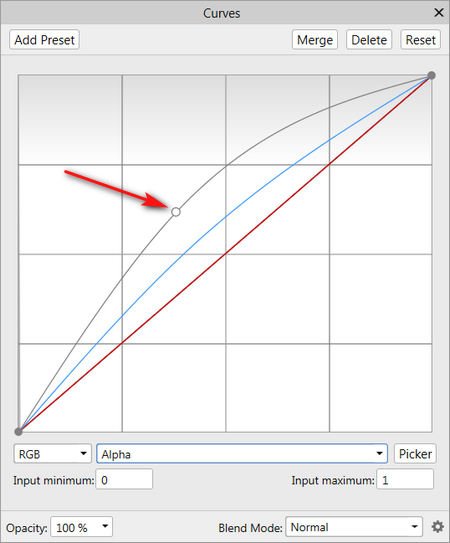
You can repair that by using a Curves Adjustment and changing the Alpha. See post above. p.s. Will need a slight tweak of the master range for the colour.
-
It's very easy to fix that. I was more concerned with the nasty white bits around the edges. Use a Curves adjustment and adjust the Alpha range to repair the transparency issue, then adjust the Master range to bring the colour back. hoocurve.afphoto It might not even be necessary to adjust the blend ranges first. But I was quite interested in playing with them. Edit. In fact it is not. Just use Erase White Paper then use Alpha (curves adjustment) to repair the opacity and adjust the Master range to tweak the colour.
-
If you do what Miguel says, then run Erase White Paper on the layer, it makes quite an improvement and gets rid of any lingering white bits (see below). I set the Blend Ranges back to normal afterwards. But it would be better with a higher resolution image. hoofile.afphoto
-
Drag it to the screen to set a constant readout. You can drag the target to different places on the screen with the move tool