
Max N
-
Posts
522 -
Joined
-
Last visited
Posts posted by Max N
-
-
1. I move all objects with the mouse to the first work area. All photos are on the first working area.
2. I move a lot of objects with the mouse from the conductor to the second work area. Part of the photographs is not in the second area, but beyond.
3. I scale the screen, and repeat the second step. More objects are outside the work area.And I'll remind you of another problem, apparently with the same tool.
-
-
-
Described this problem but again I will repeat.
If you insert images through the File-Place menu, then the images are placed not in the active Artboard but in Artboard1.And one more problem, maybe I just do not know how to do it. Place Image Tool allows you to add an image in the specified size, but not more than 1 piece. If you need to add a lot of images, they are added to an arbitrary size. Yesterday, I checked out a book of 500 photos, each photo had to be reduced first to at least the size of the working area. How to make sure that images are added in the specified size (groups) or at least not in real size (coming from DPI) but in the mode of fit-in or storing.
-
34 minutes ago, Sean P said:
That's not a problem! Would you be able to upload it to our internal Dropbox account please using the link below!
Already sent.
-
-
3 minutes ago, Sean P said:
Would you be able to attach your file please?
And you can mail, that would not spread in public access.
My fotomaximn@ya.ru -
2 hours ago, MEB said:
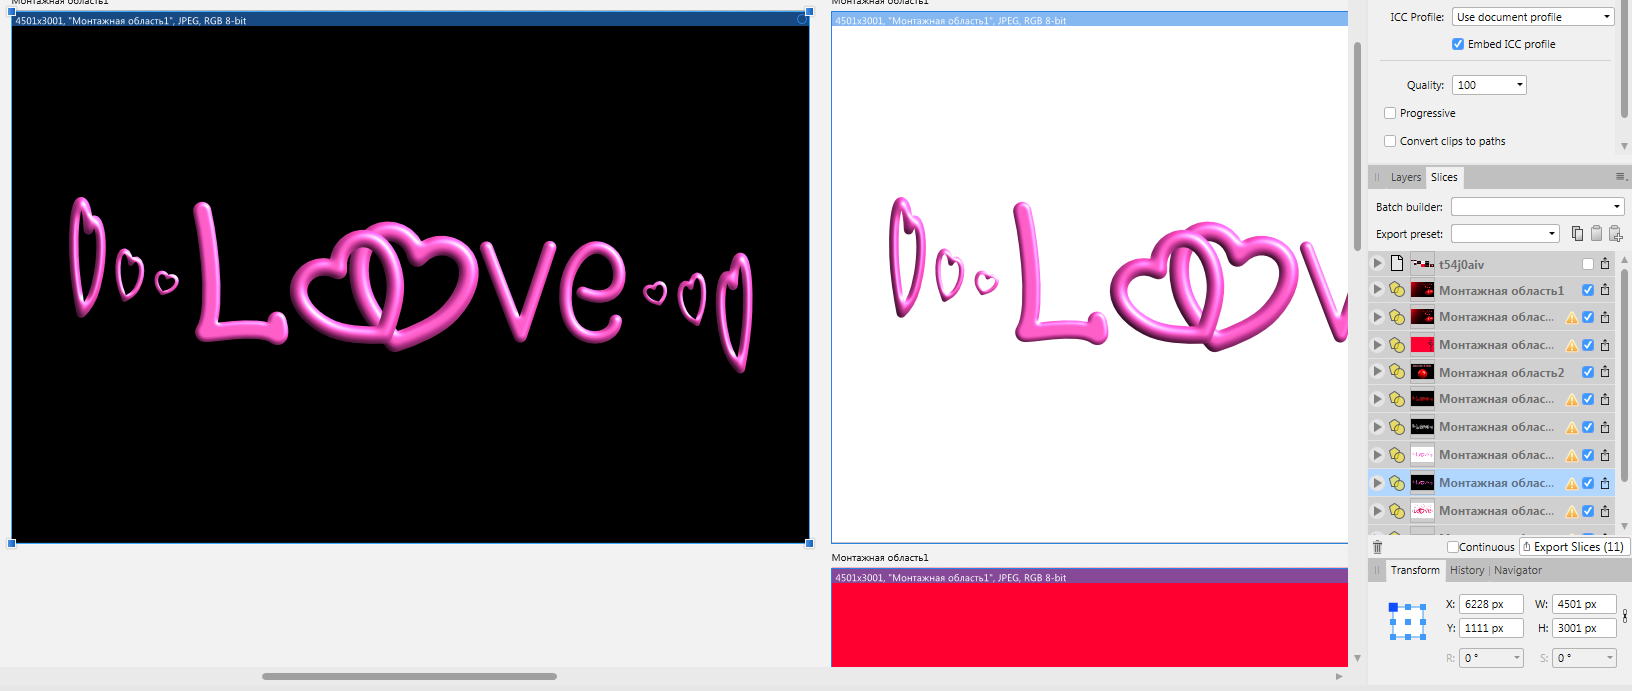
Yes, check the X, Y coordinates and artboard's width/height in pixels and round them to integer values.
 Rounded the numbers. But when you export, you still get a stroke.
 -
3 hours ago, Sean P said:
This looks like a known issue when your art boards position and/or size are not in whole numbers. Could you try rounding up/down that art board position and size and then re export.
The integer in what units should be? Pixels, centimeters, inches? I understand the pixels?
The size of the area is 4500x3000 px. -
-
-
57 minutes ago, Sean P said:
Thanks for the video Max! I can reproduce here and will get it reported.
AlainP, he has moved the rotation centre outside the shape and the objects exceed the page slightly.
I am glad to help
-
-
-
The fact that the sliders look like this - is it so conceived?
-
It became much more stable. And the lights are now working more palpably.
The cool tool turns out.
-
Big job. We will be testing.
-
When creating a document, you need to check this box. It helped me.
-
I would like to recall the problem with the Wacom tablet. The first time I reported it on June 9. The solution to the problem was not proposed.
-
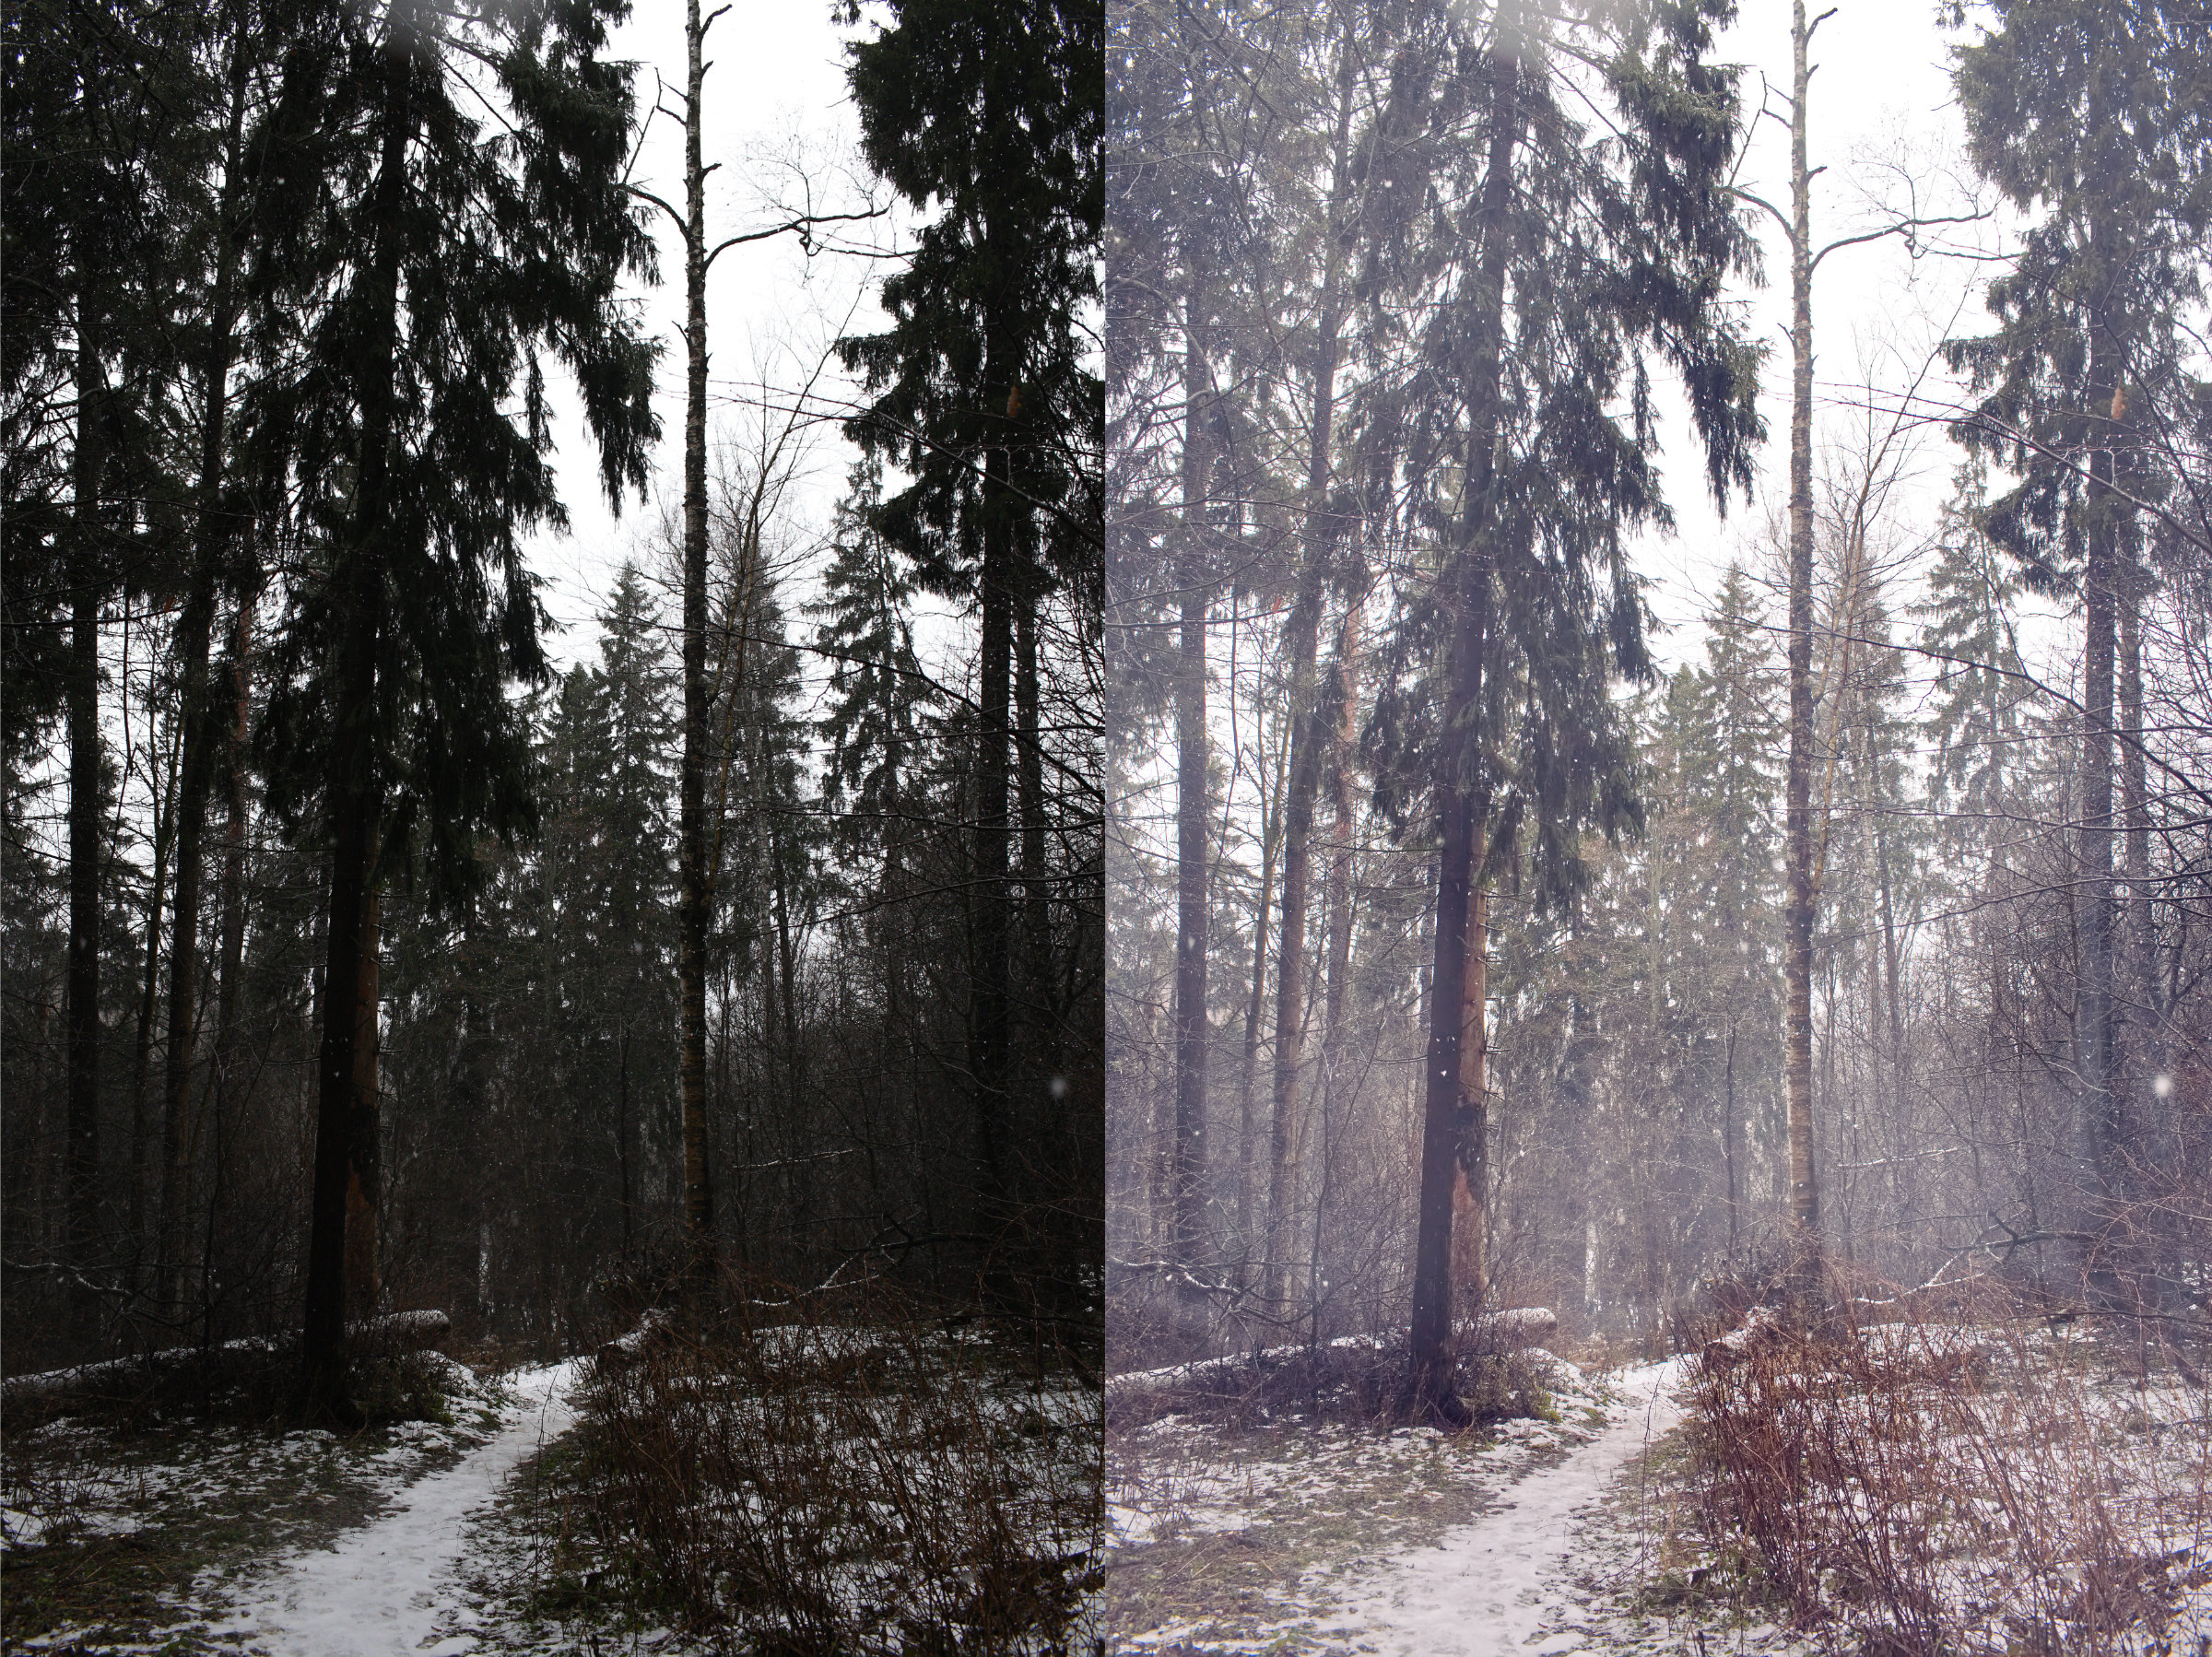
Once again I tested the work of lights and shadows. Details on the video.
If raw is good, then light and shadow work very well. Increasing the clarity no longer looks terrible.
At the end of the video, in the RAW module, almost HDR is sawed. Only HSL for the selected colors is missing.
Thanks to the developers for the work done! Keep it up!- pixelcoder, worf2, PaulAffinity and 1 other
-
 4
4
-
14 minutes ago, Uwe367 said:
You are right. That can´t be the right way. The area of the controller for the shadows is much bigger than the area of the lights and it will be limit the creativity of the user. Sometimes it´s necessary to overexpose areas in an image.
I hope my english is good enough because sometimes i have to ask google to find the right words
So let´s wait and see what the development makesIt seems to me that for greater convenience and understanding it would be worthwhile to arrange the instruments so. In the order in which the sections on the histogram are located, on which the sliders operate. The arrangement in the two panels, breaks the logical part. Plus it is a very often used tool, and taking it out to a separate section does not seem very convenient.
-
15 hours ago, Max N said:if interested I can throw the file in PM.
Yes. Interesting.
-
1 hour ago, Uwe367 said:
I tried a RAW (NEF) File with strong highlights and one with "normal" lights but there is no Reaction.
But if i open a .jpg in Develope Persona it works.... crazy....if interested I can throw the file in PM. -
1 hour ago, Uwe367 said:
I tested the Beta now and the new Clarity and Shadow algorithm works very much better than in 1.6.1.93. Thanks a lot for this development. But the Lights doesn´t work. It doesn´t matter if i set it up to +100% or down to -100%... there is no reaction detectable. In the older Version (1.6.1.93) it is working.
My OS is WIN 10 64, newest Updates.The tool draws only strong overshoots, while not affecting neighboring tones. For this, the tool sometimes works imperceptibly. This tool is so lacking in other editors who, following the overexposures, reduce the brightness of those colors that are inappropriate to lower. As a matter of fact, the dynamic range of the image is greatly expanded, without loss of contrast. I did not see the influence of the instrument at first, but finding the right shots surprised his work.


Read the size for large images only by clicking the "learn size" button. The AD export algorithm causes the program to hang. Actual for both beta and stable version.
in [ARCHIVE] Designer beta on Windows threads
Posted
AD with a large number of Artbord, pressing Shift + Ctrl + Alt + S opens the export window. The document turns out to be huge (30000x40000 pixels and sometimes more). I'm going to select not all the document in the save, but only one Artboard, but this is impossible, because the program hangs trying to generate an image, to calculate its size. With small documents such a problem does not arise.
The solution to the problem. Read the size for large images only by clicking the "learn size" button.