kirkt
-
Posts
440 -
Joined
-
Last visited
Everything posted by kirkt
-
Affinity can't handle shadows...
kirkt replied to Southwest_Visuals's topic in [ARCHIVE] Photo beta on macOS threads
I have always found AP's handling of black point, contrast and shadow detail in the Developer (I.e., raw conversion) persona to be extremely sensitive and twitchy, with very little room between default rendering and pure crushing of significant shadow tones. kirk -
Affinity Photo Customer Beta (1.7.2.146)
kirkt replied to Andy Somerfield's topic in [ARCHIVE] Photo beta on macOS threads
Hey now! Here is a link to a ZIP with a bunch of icons and art, including a "Beta" splash screen. Put them in the Resources folder in the .app package if you want to give it a try. It includes the green "beta" icon for the Photo persona, dimmed and active, light and dark interface, as well as Dock icons, and app icons. https://www.dropbox.com/s/d0xpstb9fmdajcx/APPICONS Test.zip?dl=0 kirk
-
Affinity Photo Customer Beta (1.7.2.146)
kirkt replied to Andy Somerfield's topic in [ARCHIVE] Photo beta on macOS threads
If you start to rummage around in the Resources folder, you can probably figure out which PNG files can be swapped to help you identify the Beta App's photo persona icon, again to help you from getting confused visually once you are in the app itself... kirk Also - MODS - if what I am doing is violating terms of the beta usage, or is just morally reprehensible in general, please let me know and I will delete these posts. Just trying to be helpful based on the previous posts. kirk
-
Affinity Photo Customer Beta (1.7.2.146)
kirkt replied to Andy Somerfield's topic in [ARCHIVE] Photo beta on macOS threads
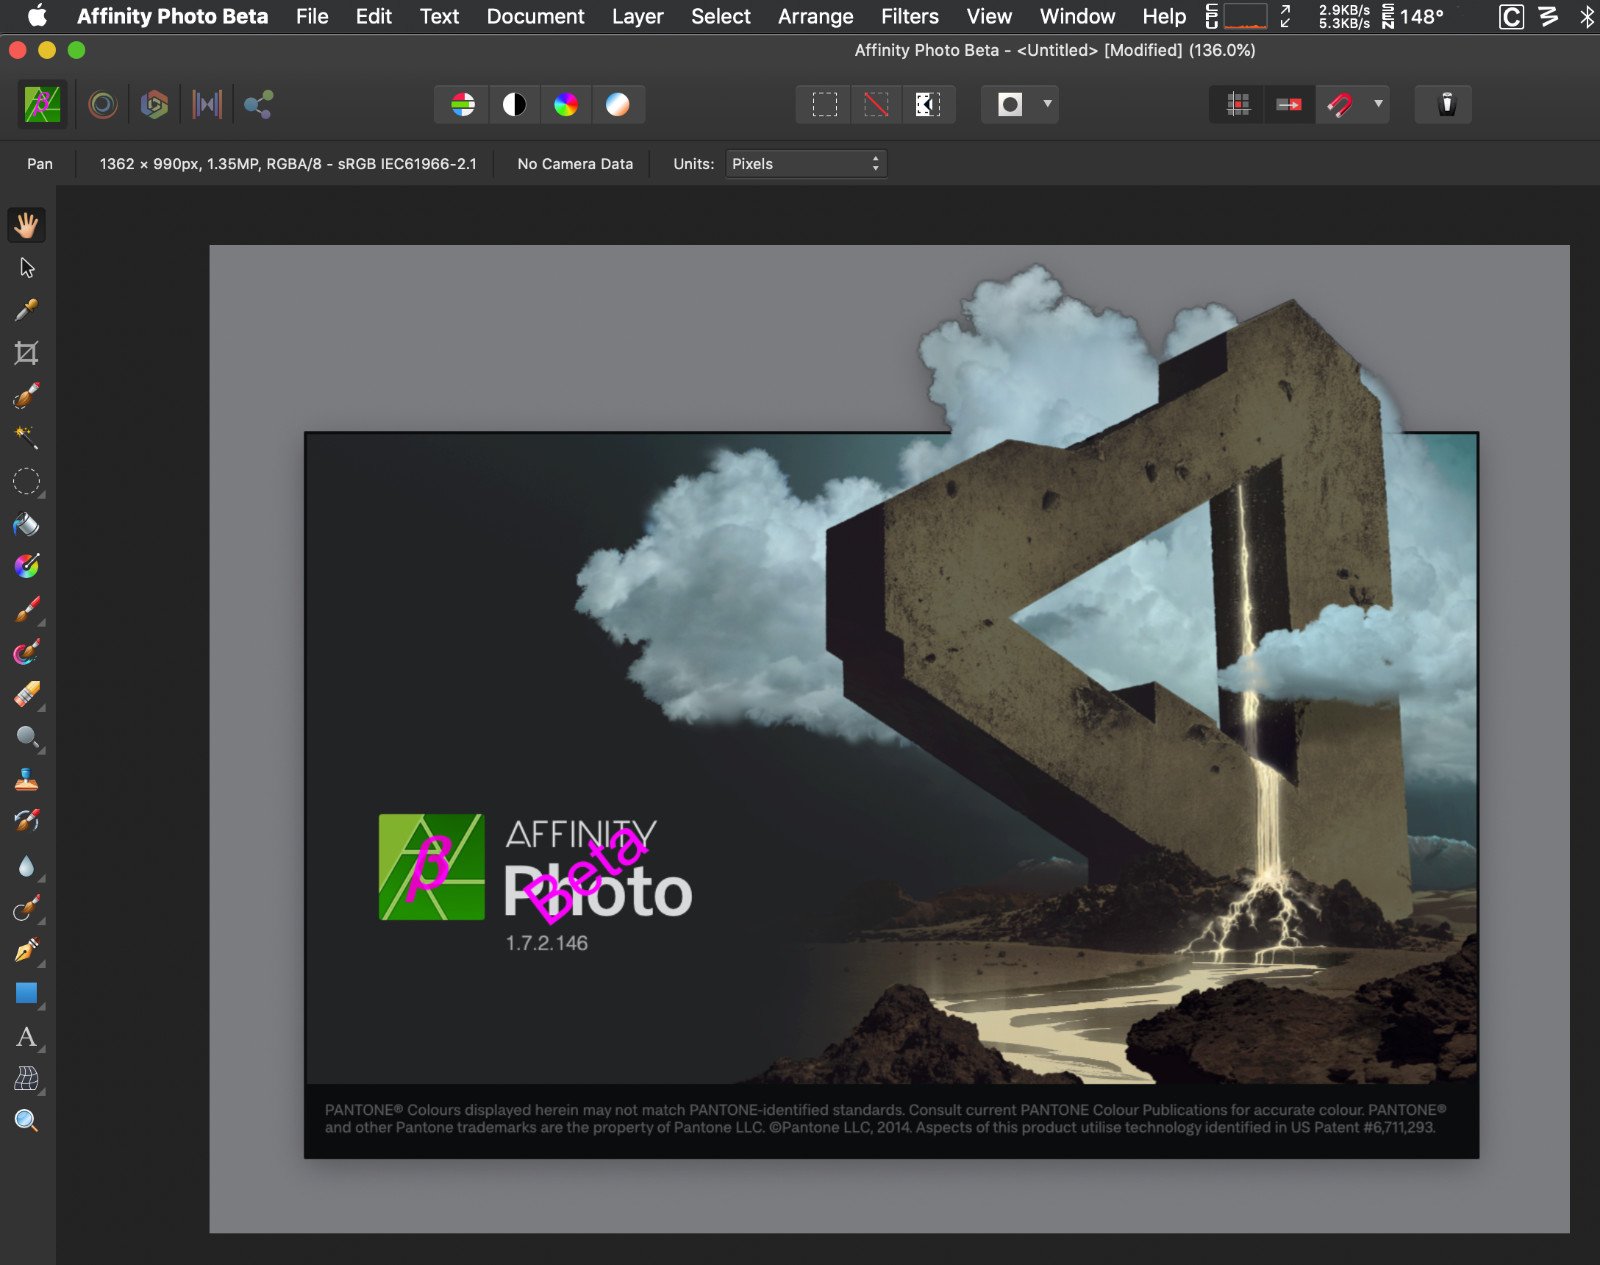
Here is a Dropbox link to a .icns file I created so you can switch out the existing beta icon with one that will stand out: https://www.dropbox.com/s/w7m5vdm48anqtsl/AppIcon.icns?dl=0 I just inverted the existing icon art and added a "beta" character in the existing magenta-ish hue. The .icns file just needs to be dropped on the icon for the beta app when you open the "Get Info" window: 1) Select the beta application in the finder (click on it); 2) Use the keyboard shortcut CMD-I (the letter "eye") to bring up the Get Info window for the application; 3) Drag the <AppIcon.icns> file onto the existing icon for the beta application in the upper left corner of the Get Info window. 4) Easy peasy. Attached images show a preview of the icon and its appearance in the dock (i compressed the posted images for quick upload - the icon art is not JPEG-artifacted as it appears in the previews). The icon artwork was made in the 1.7.2 beta and contains all of the resolution variations that the original .icns file contains. To convert the .icns file to a .iconset (folder of images), use the OS X command line utility called "iconutil" - type: man iconutil for help on how to use it. If you convert the existing .icns file to an iconset, you can see all of the PNG files used to make the icns file and you can create your own - then you can convert the iconset back to a .icns file and drop it on the Get Info window and you will have your own, custom icon. If you want to make a copy of the existing icns file that ships with the beta, so you can alter it for your custom icon, it lives here: /Applications/Affinity\ Photo\ Beta.app/Contents/Resources/AppIcon.icns Here is a brief rundown of Apple's human interface guidelines for creating icon artwork, resolution, etc.: https://developer.apple.com/design/human-interface-guidelines/macos/icons-and-images/app-icon/ Have fun! Kirk
-
You will have to use Adobe DNG converter on a PC or Mac desktop - there is no iPad version. However, you can batch convert RAFs from your older S5000 and then make them available to your iPad through a number of different transfer/storage paths, including iCloud, Dropbox, a WiFi accessible drive, Airdrop, etc. Once you convert your files to the appropriate form of DNG and upload them to your preferred storage/iPad accessible location, you are good to go. Easy peasy. Astropad is simply an application that permits you to use your iPad as a second display, a feature that the upcoming MacOS will have built into it. It does not permit you to transfer files to the iPad, etc. kirk
-
I was able to convert the raw file in AdobeDNG Converter using some custom settings: (Change Preferences > Custom (Compatibility) > Backward Version DNG 1.1, Linear (demosaiced). Play around with the custom compatibility settings to see what works best for your workflow. In this example the raw data were demosaiced, so the file has been rotated appropriately. Attached is a screenshot of your raw file, converted to DNG, opened in the Develop persona. Here is a Dropbox link to the converted DNG: https://www.dropbox.com/s/0rfzunzpx8jxk6i/DSCF2600.dng?dl=0 kirk
-
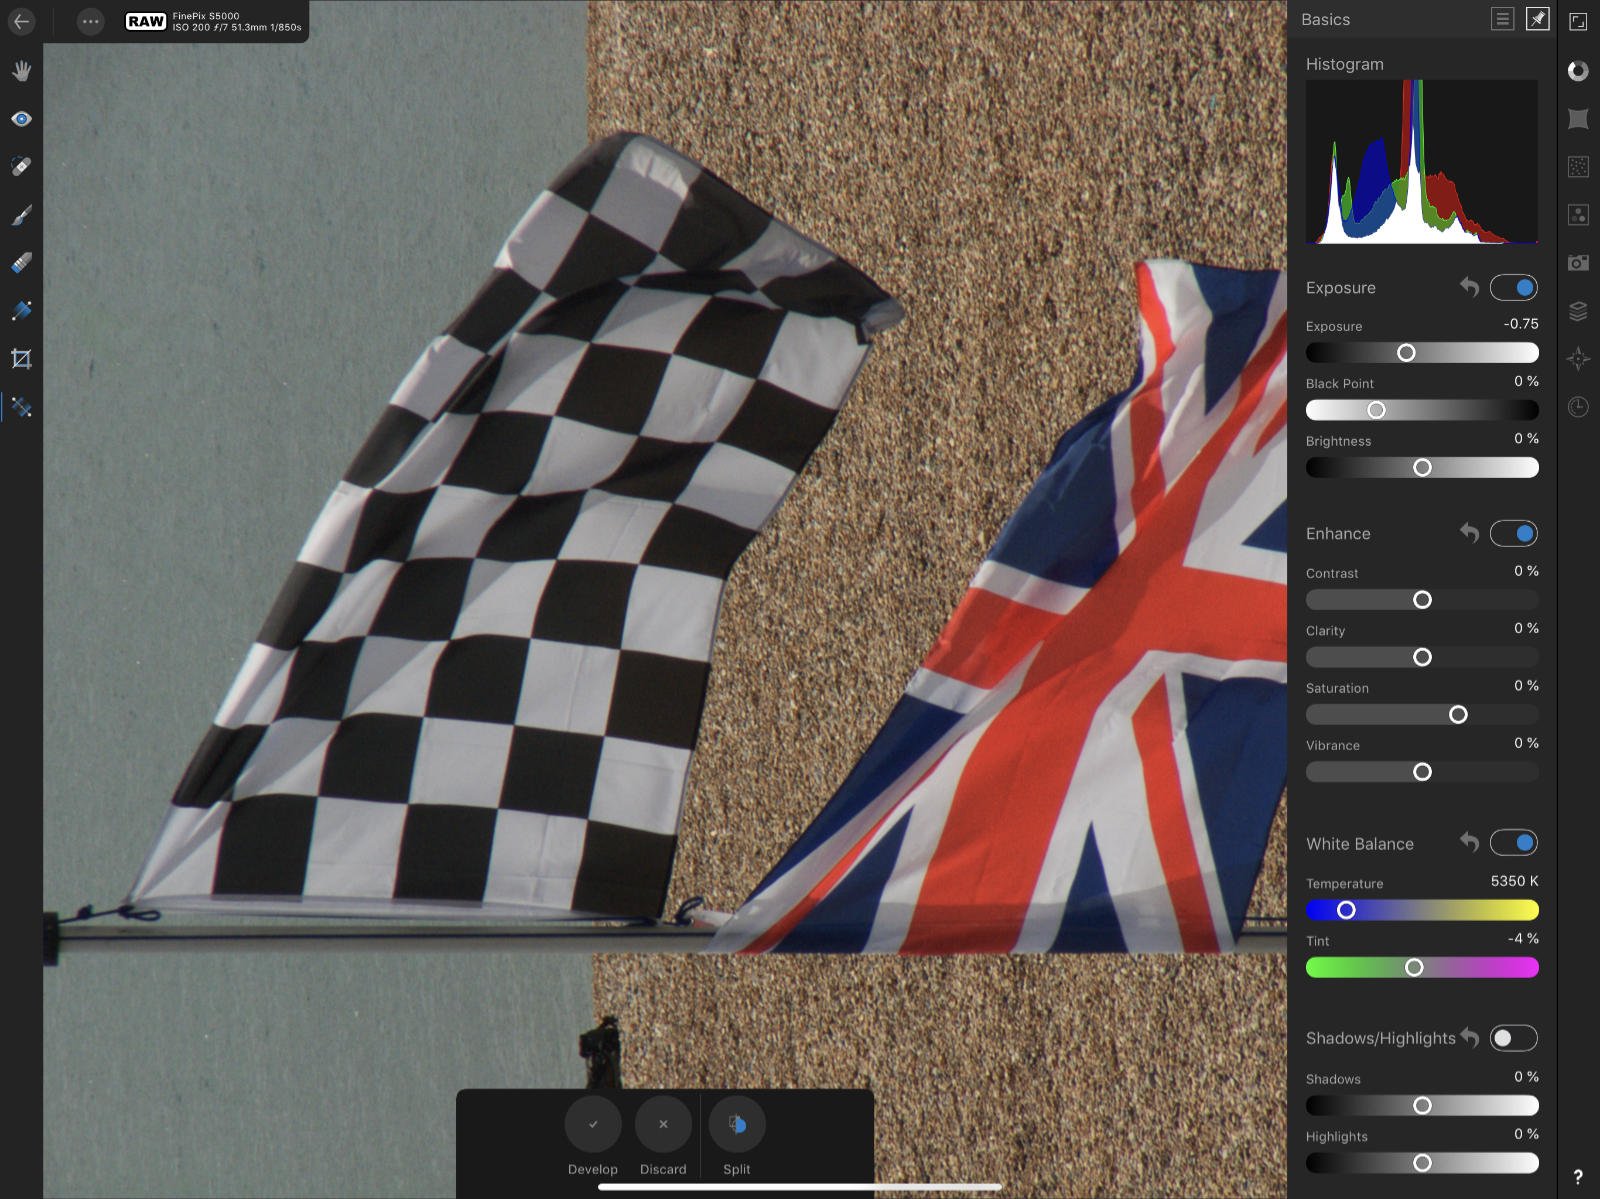
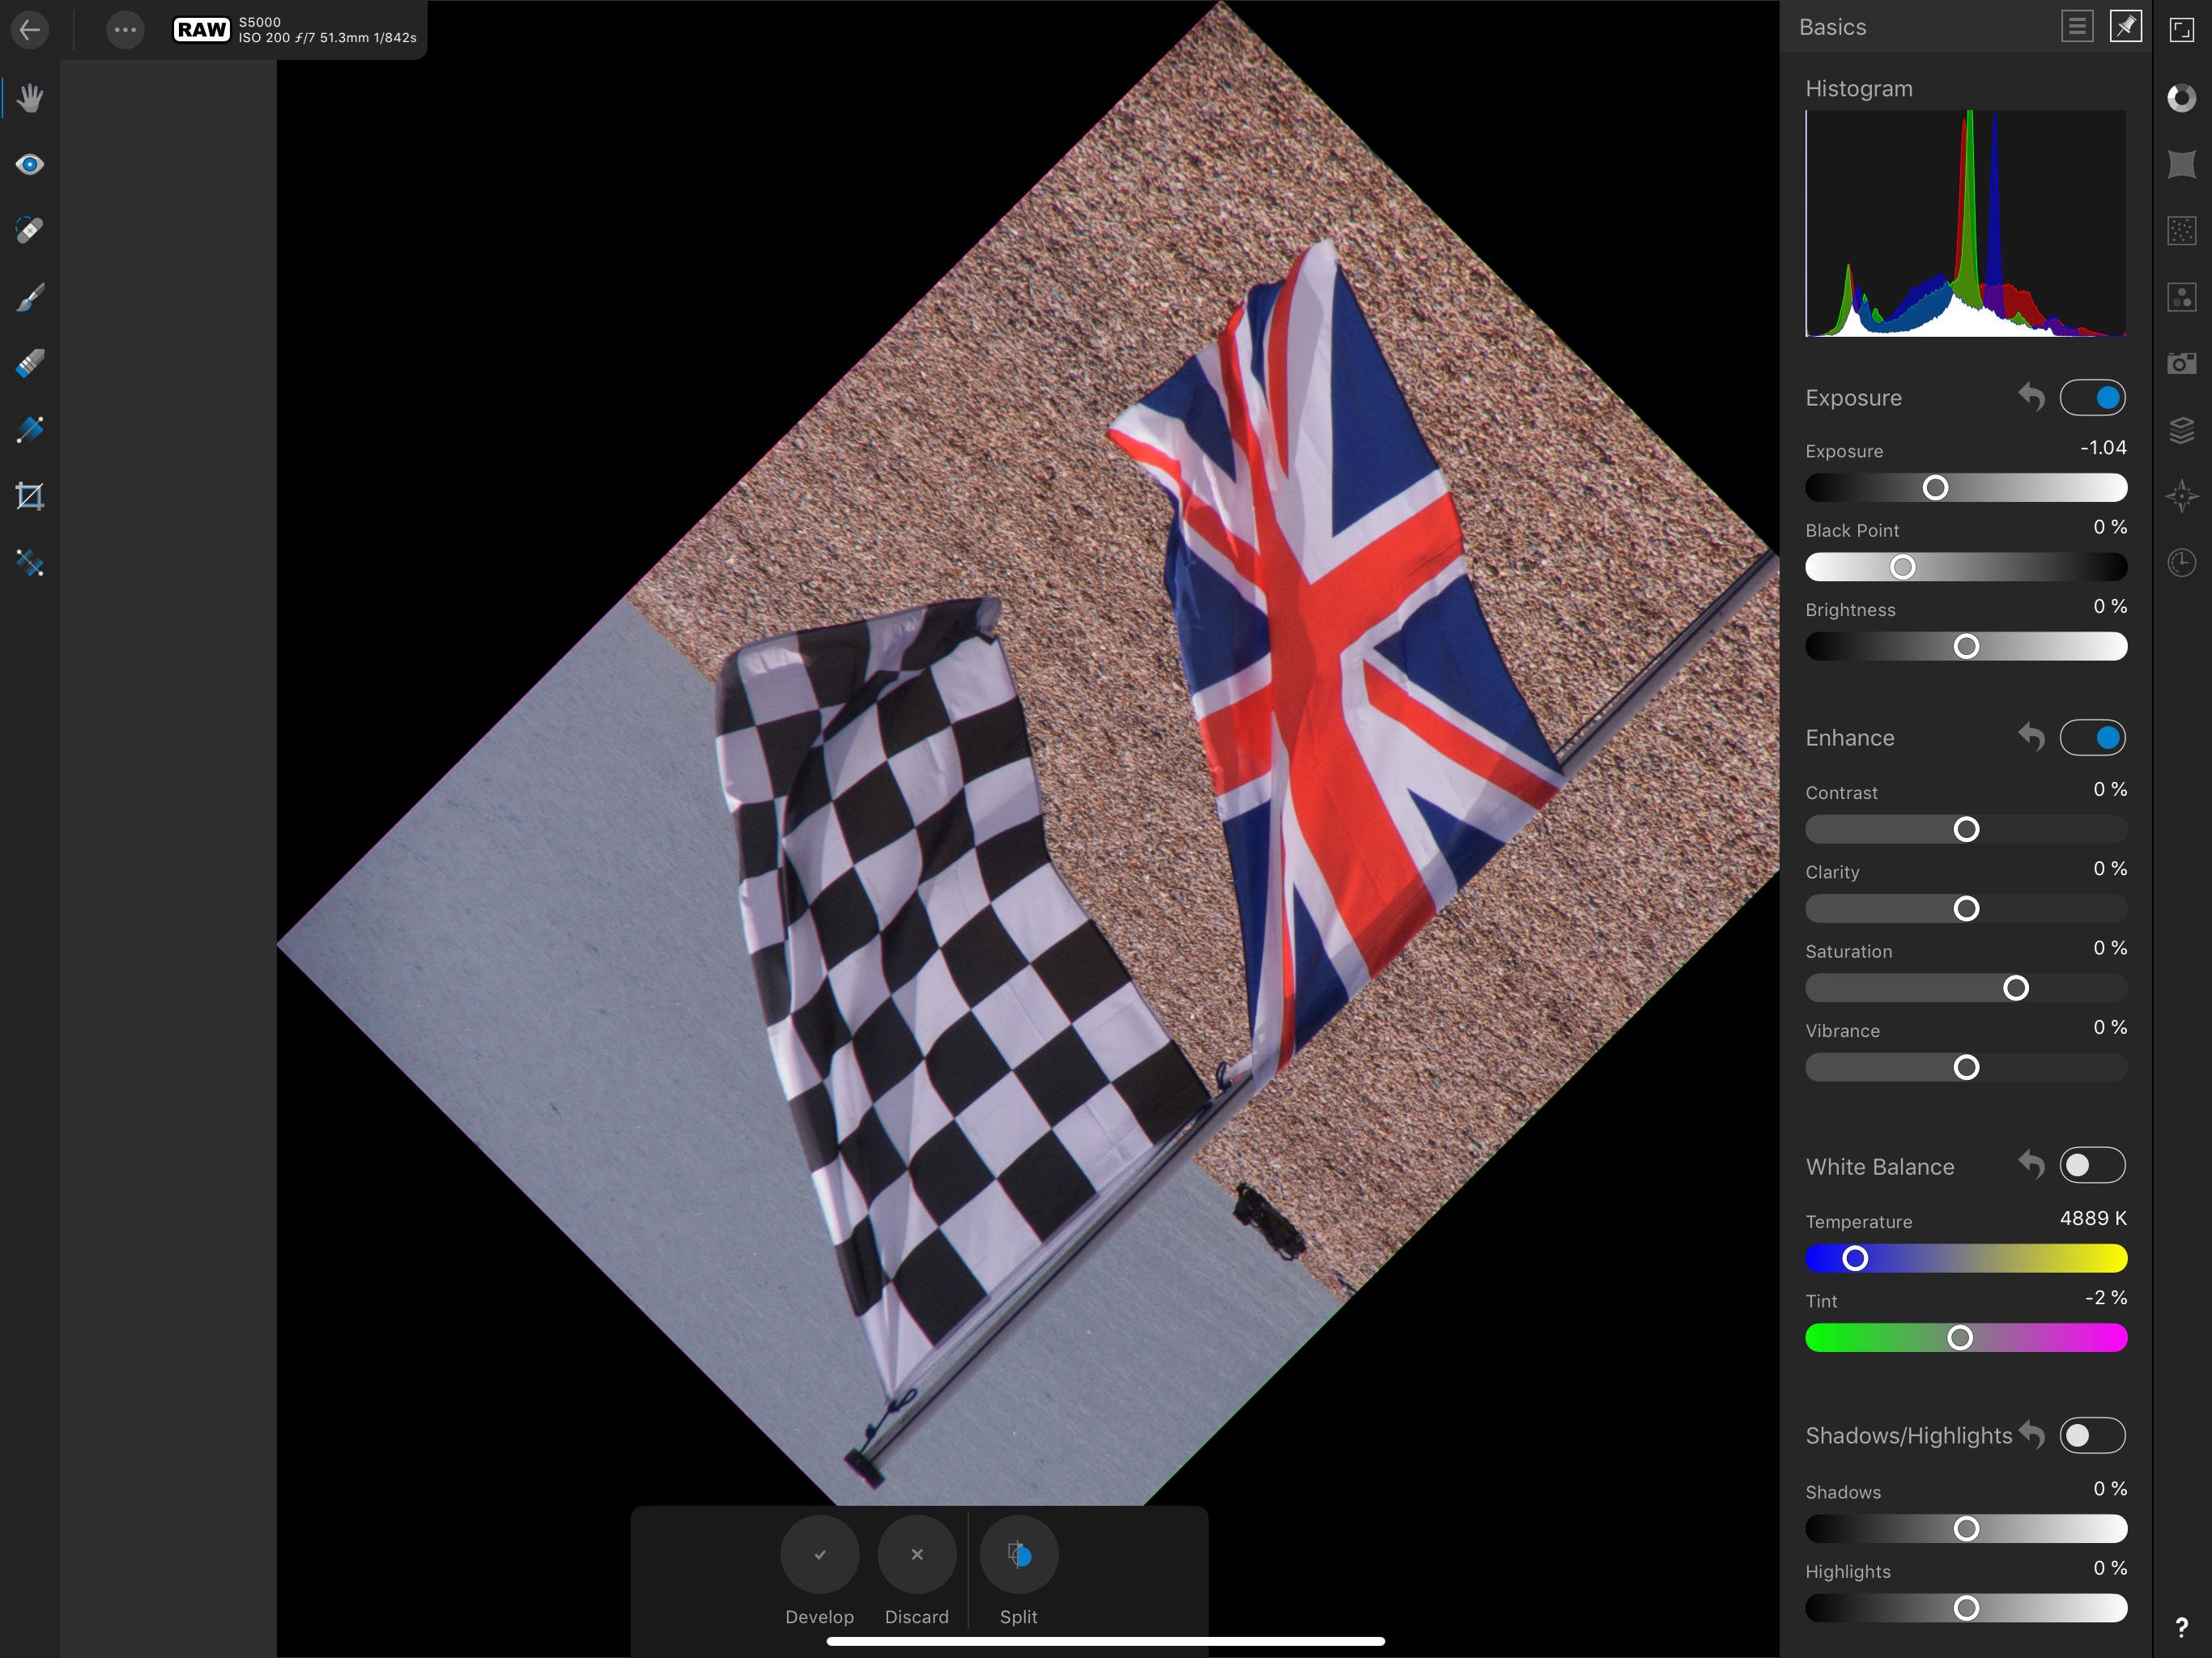
Ok - the camera uses the Fujifilm SuperCCD, which has its quirks. I was able to use a Mac desktop application called LumaRiver HDR (meant to blend raw exposures into a single HDR DNG, TIFF or EXR). This application must use a more robust technical implementation of the DNG API, because I was able to open your raw file in it and then export a DNG from it that I was able to open in AP on my iPad. Here is a link to the DNG: https://www.dropbox.com/s/rfdzu8z3fi9ty1r/testDNG.dng?dl=0 and attached is a screenshot of the DNG opened in the Develop persona in AP on the iPad (Import from Cloud, loading the file from my Dropbox). The image is rotated 45 degrees because of the orientation of the photo sites on the sensor of the SuperCCD. kirk
-
The Fujifilm Finepix S5000 is a pretty old camera. There is a raw converter for MacOS and iOS called Photo Raw - here is the camera support webpage: https://mcguffogco.freshdesk.com/support/solutions/articles/8000063657-supported-cameras the list of supported cameras includes the S5000; however, I cannot open your file with Photo Raw. Perhaps the file itself has an issue that is causing applications that would otherwise support it to fail to recognize the file format or open the image. Do you have other raw files shot with this camera available to test, or, even better, do you still have the camera and can you update it to the latest firmware and shoot some test images to try? kirk
-
@GabrielM Thank you! kirk
-
@Rob Chisholm Bummer. Obviously it would be nice to have AP work properly on the iPad, but in the interim you might want to try using Raw Power as a raw converter for iPad. It is made by the former lead of the Apple Aperture application and has a similar control UI. kirk
-
I had the same issue with my new iPad and my x-h1. Restart your iPad (shut it down and turn it back on). Then try again. Worked for me. I found this solution in another similar thread in the forum. The mod was puzzled as to why it worked, but it worked. Who knows what the iOS is doing to adapt to the user in the background. Kirk
-
NICE! Glad everything got sorted out. kirk
-
@Aammppaa - Thank you for linking to the other thread. kirk
-
Try: 0) Open the App Store and make sure that you do not have updates for AP or AD pending. 1) Restart your Mac. 2) Launch Publisher, Designer and Photo so they are all running. Then, in Publisher, drag an image onto the page (create a new document if you have not already), select the image and click on the Photo persona button in the upper left corner of the Publisher window. You should get the Photo tools to edit your image as if you are in Affinity Photo. The ability to dip in and out of the various personas all within a single application is next level stuff. Nice work Serif folks. Kirk
-
I apologize - it looks like this topic has been covered, with the answer being that I need to update the App Store versions to the latest version (1.7.1) of Photo and Designer, which are available now. The Mods can delete this topic if they would like. Kirk
-
I purchased Photo and Designer a while ago through the Apple App Store and purchased Publisher through the Affinity webstore. I just was able to download Publisher (congratulations Affinity!) and have found that Studiolink does not "see" my installs of Photo or Designer. Do the App Store and Affinity Store versions of these applications play nice through Studiolink, or will I have to purchase Photo and Designer again through Affinity to get the Studiolink functionality? Thanks, Kirk
-
Bug in Convert Format / Assign ICC Profile?
kirkt replied to toodee's topic in V1 Bugs found on macOS
@toodee - A little off topic... I am not sure if you are aware, but the ACES working group has a command line utility called raw2aces that uses the libraw raw conversion library to convert supported raw files to ACES EXRs. See: https://acescentral.com/t/rawtoaces-calling-all-developer-types/1048 You can use a package manager or similar to build it. I use homebrew to build the latest version on my mac. Maybe helpful for you? kirk -
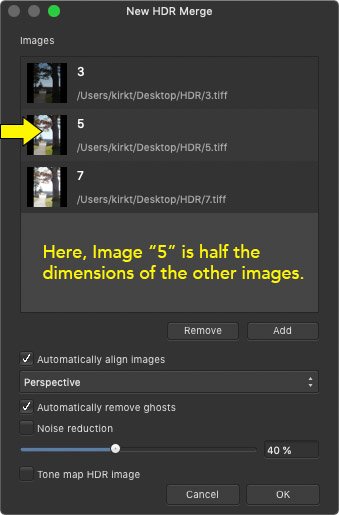
The attached images are from an admittedly extreme example, but it was actually this image set that revealed the problem. The raw converter I used has a half-res or full-res setting and one of the images was inadvertently rendered at half-res, while the others were rendered at full-res. kirk
-
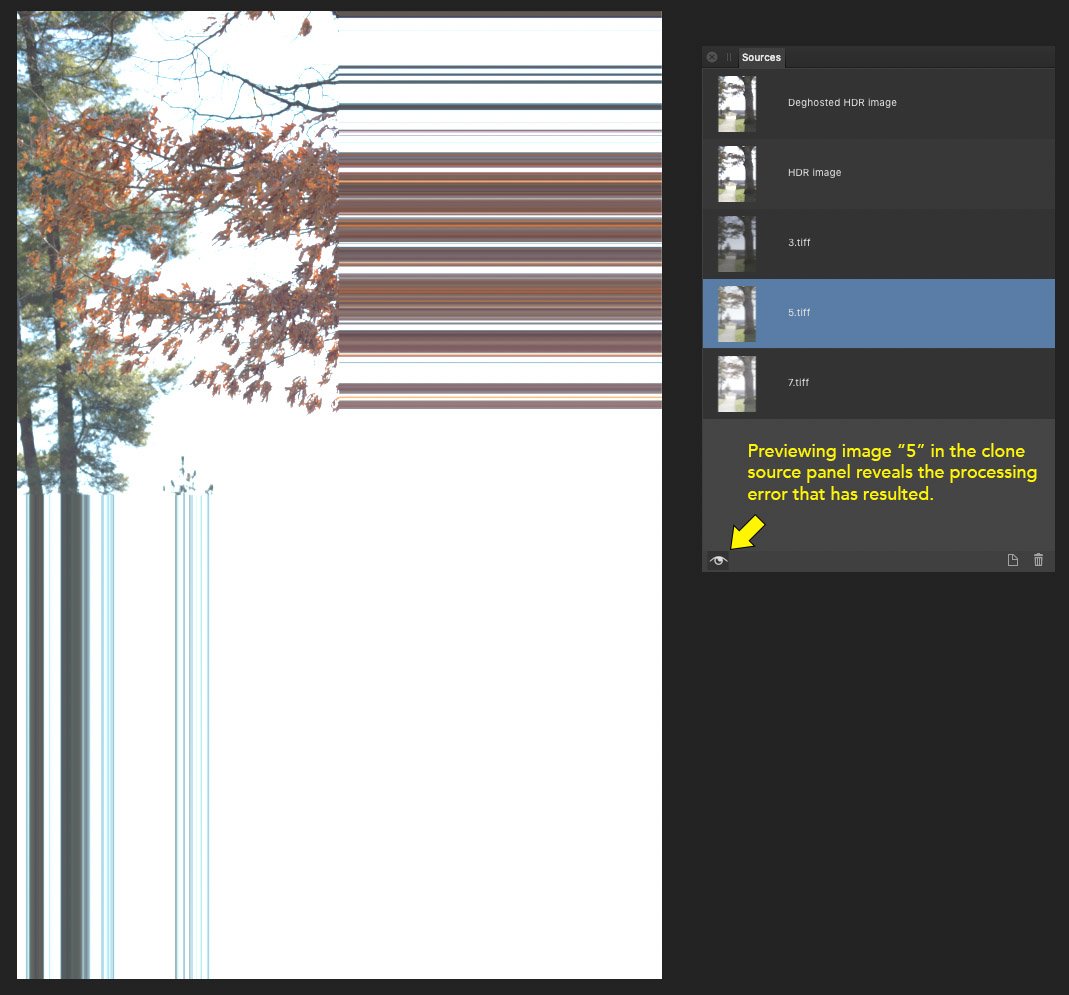
When performing a merge to HDR, the resulting merge completes successfully (or gives the impression that it has) even when the source images are not all equally sized. When the clone source panel opens for manual deghosting, etc., you can examine the resulting processing that AP has performed on each image to equalize the exposure - for the smaller images, the right and lower edges of the undersized images are repeated to the borders of the large image size, making these source images useless for cloning, etc. Also, the undersized image appears as if it has been scaled up to the full size of the other images but then only the top left quarter of the image has been properly used, with the rest of the image being the repeated streaks of pixels - either that or one of the other images has been substituted into the undersized image's slot but, again, improperly rendered. In any case, it makes me wonder how the actual merge completed successfully (was the undersized image ignored completely?). It seems like there should be some error checking going on prior to attempting the merge that would prevent this from occurring - "WARNING: Source images are not all equally sized." Or something to that effect. Kirk
-
Great job Affinity folks - congratulations! kirk
-
The Nik Collection v2 is now available for purchase, FYI. kirk
-
I am beta testing the upcoming version of the Nik Collection, that is why you do not have access to the version that I have - it has not been released yet. kirk
-
I am using a beta version (a release candidate) for the upcoming version of the Nik Collection. I am also on a Mac. In other words, DxO have done something that has addressed the current "updating fonts" issue. kirk
-
Just a heads up - I am currently beta testing the Nik Collection and I am happy to report that the current RC has fixed the Updating Fonts issue, at least in my very brief test today using AP beta 1.7.0.128. Yay! Kirk
-
AP- Soft Proof - Gamut Warning with false color overlay
kirkt replied to kirkt's topic in Older Feedback & Suggestion Posts
The user could also make selections on the Soft Proof false color map of particular colored pixels (red, for example) and then use that selection to make a mask for an adjustment layer, such as hue-sat, to isolate just the areas on the original OOG image where an adjustment might be necessary. kirk