Jörn Reppenhagen
-
Posts
98 -
Joined
-
Last visited
Everything posted by Jörn Reppenhagen
-
AI generative Fill in Affinity
Jörn Reppenhagen replied to WMax70's topic in Desktop Questions (macOS and Windows)
Of course there's no universal way - but that's the exact purpose of discussing such a topic: Finding out what Affinity users actually want - and in which way this is congruent with Serif's plans. But that requires talking about possible implementation options, their drawbacks and benefits. I already answered that in my previous post. 😉- 631 replies
-
- 1
-

-
- artificial intelligence
- ai
- (and 3 more)
-
AI generative Fill in Affinity
Jörn Reppenhagen replied to WMax70's topic in Desktop Questions (macOS and Windows)
That's a secondary thought as the heart of most AI features is the models/checkpoints and a local architecture including a Python installation. If you wish to use generative infill, inpaint, outpaint, upscale, importing custom objects/faces into the database, even swap things (or faces) in movies and the like - it all builds on the same base infrastructure. And it all works with a local installation, without sending all your personal works to foreign servers, keeping your property your property. That's also a secondary step as a suggestion should be something we are sure of. I don't see too much sense in drowning a suggestion in countless pro and contra posts, Serif guys would very quickly lose any interest in following an endless discussion. Thus I find it better to discuss a suggestion and come to a mutual conclusion, THEN launch the idea as a suggestion. -
AI generative Fill in Affinity
Jörn Reppenhagen replied to WMax70's topic in Desktop Questions (macOS and Windows)
I am badly missing two specific topics in this AI discussion: 1) AI, 2) Cloud or local AI use? As said before, PS and LM voted for a cloud approach. Benefits are quick and easy implementation without specific hardware requirements, no need to download and install huge data volumes prior to use. But the drawbacks are serious: NO PRIVACY anymore. AI needs to know the whole image to decide which AI model to use - there are countless AI models for multiple purposes, each providing it's own picture style; thus the model needs to be chosen or adapted according to the image to process. In addition, each and every image needs to be scanned for prohibited contents, so the cloud service can deny processing your image. Thus each and every image we process using AI needs to be transferred to unknown destinations. Massive restrictions regarding contents, especially sensitive if it comes to any sexual-related matters. I saw AI models denying to generate anything containing terms like "butt". So you need to become real creative if you wish to remove anything near such body parts. Also many AI models restrict celebrity rendering or any styles similar to styles of famous modern artists, also copies of other works. Of course there's a high risk of false positives. Restricted flexibility: There's a wealth of great extensions for AI generators like Stable Diffusion, free of cost. You cannot install such extensions in a cloud environment. Endless operating costs. A cloud solution would force Serif to introduce one of the dreaded subscription models, the reason why we abandoned Adobe, the reason why we chose Affinity. Of course AI features could be offered as a separate service - but this would lead to the same ugly result: Subscription. In that case, we could also return to Adobe. And that's exactly what would happen. Legal liability if abusive images get rendered by the provider's cloud service. Thus the provider needs to examine every single image very closely, worsening the privacy issue mentioned above, also increasing risks for the provider. That's why I believe a local install would be the only way to go. The question is not if Serif needs to implement AI features, the question is how this should be done in the best way possible. I guess it would be quite beneficial if we try to collect some ideas helping Serif with their decision.- 631 replies
-
- 4
-

-

-
- artificial intelligence
- ai
- (and 3 more)
-
AI generative Fill in Affinity
Jörn Reppenhagen replied to WMax70's topic in Desktop Questions (macOS and Windows)
I didn't read the full discussion (16 pages is a bit much), but here's three points to consider: 1) Looking away (or making fun of the technology) does not help at all. People WANT it. And even Skylum (Luminar) already jumped, better: stumbled on the train. 2) Everybody who ever did some more complex image corrections will LOVE this new tool. 3) Serif will lose a major part of their customer base to PS and LM if they keep on ignoring reality. Now for a possible solution ... I read things like "Cloud" and "legal" ... Sounds like a real wrong approach. It's the approach PS and LM chose, but there's another solution, maybe better: local install. If Serif provides a local installation of "Stable Diffusion" (most flexible AI solution today, also free to use) combined with a "safe" pre-installed model/checkpoint, disallowing nudity, also celebrity and artist fakes, they should be on the safe side: Images will be generated by the user's computer, not by a cloud service owned by Affinity. However, users could use other models/checkpoints different from the "safe" one (like URPM) at their very own discretion. That way, there wouldn't be any cloud costs to be covered by Serif, also Serif would not be liable for naughty things users might do if they dare to download and install other models/checkpoints than the preinstalled and highly recommended one. There's several more benefits, but I wish to keep this short. Drawback: Users need a modern GPU, starting from RTX 2070 with 8 GB of VRAM and more, and about 30 GB free disk space. That's what I would call minimum requirements. Think about it, correct me if I am wrong.- 631 replies
-
- 1
-
-
- artificial intelligence
- ai
- (and 3 more)
-
Sure it's possible. Walking from Berlin to Moscow is also possible. If you concentrate on the moon, you won't need any tracking mount. Jupiter and Saturn may also come into reach. It is also possible to do some more basic astrophotography without - but it's like walking from Berlin to Moscow, with the results usually being "suboptimal", politely expressed. If you love this hobby, do yourself a favor and invest in a tracking mount, there's inexpensive solutions providing you far more observation and general comfort and allowing longer exposure times (but don't expect being able to do minutes of exposure). But your first step should be achieving sharp, focused pictures without excessive noise and grain - see thread linked by NotMyFault.
-
Moon again. To stack or not to stack
Jörn Reppenhagen replied to irandar's topic in V1 Bugs found on macOS
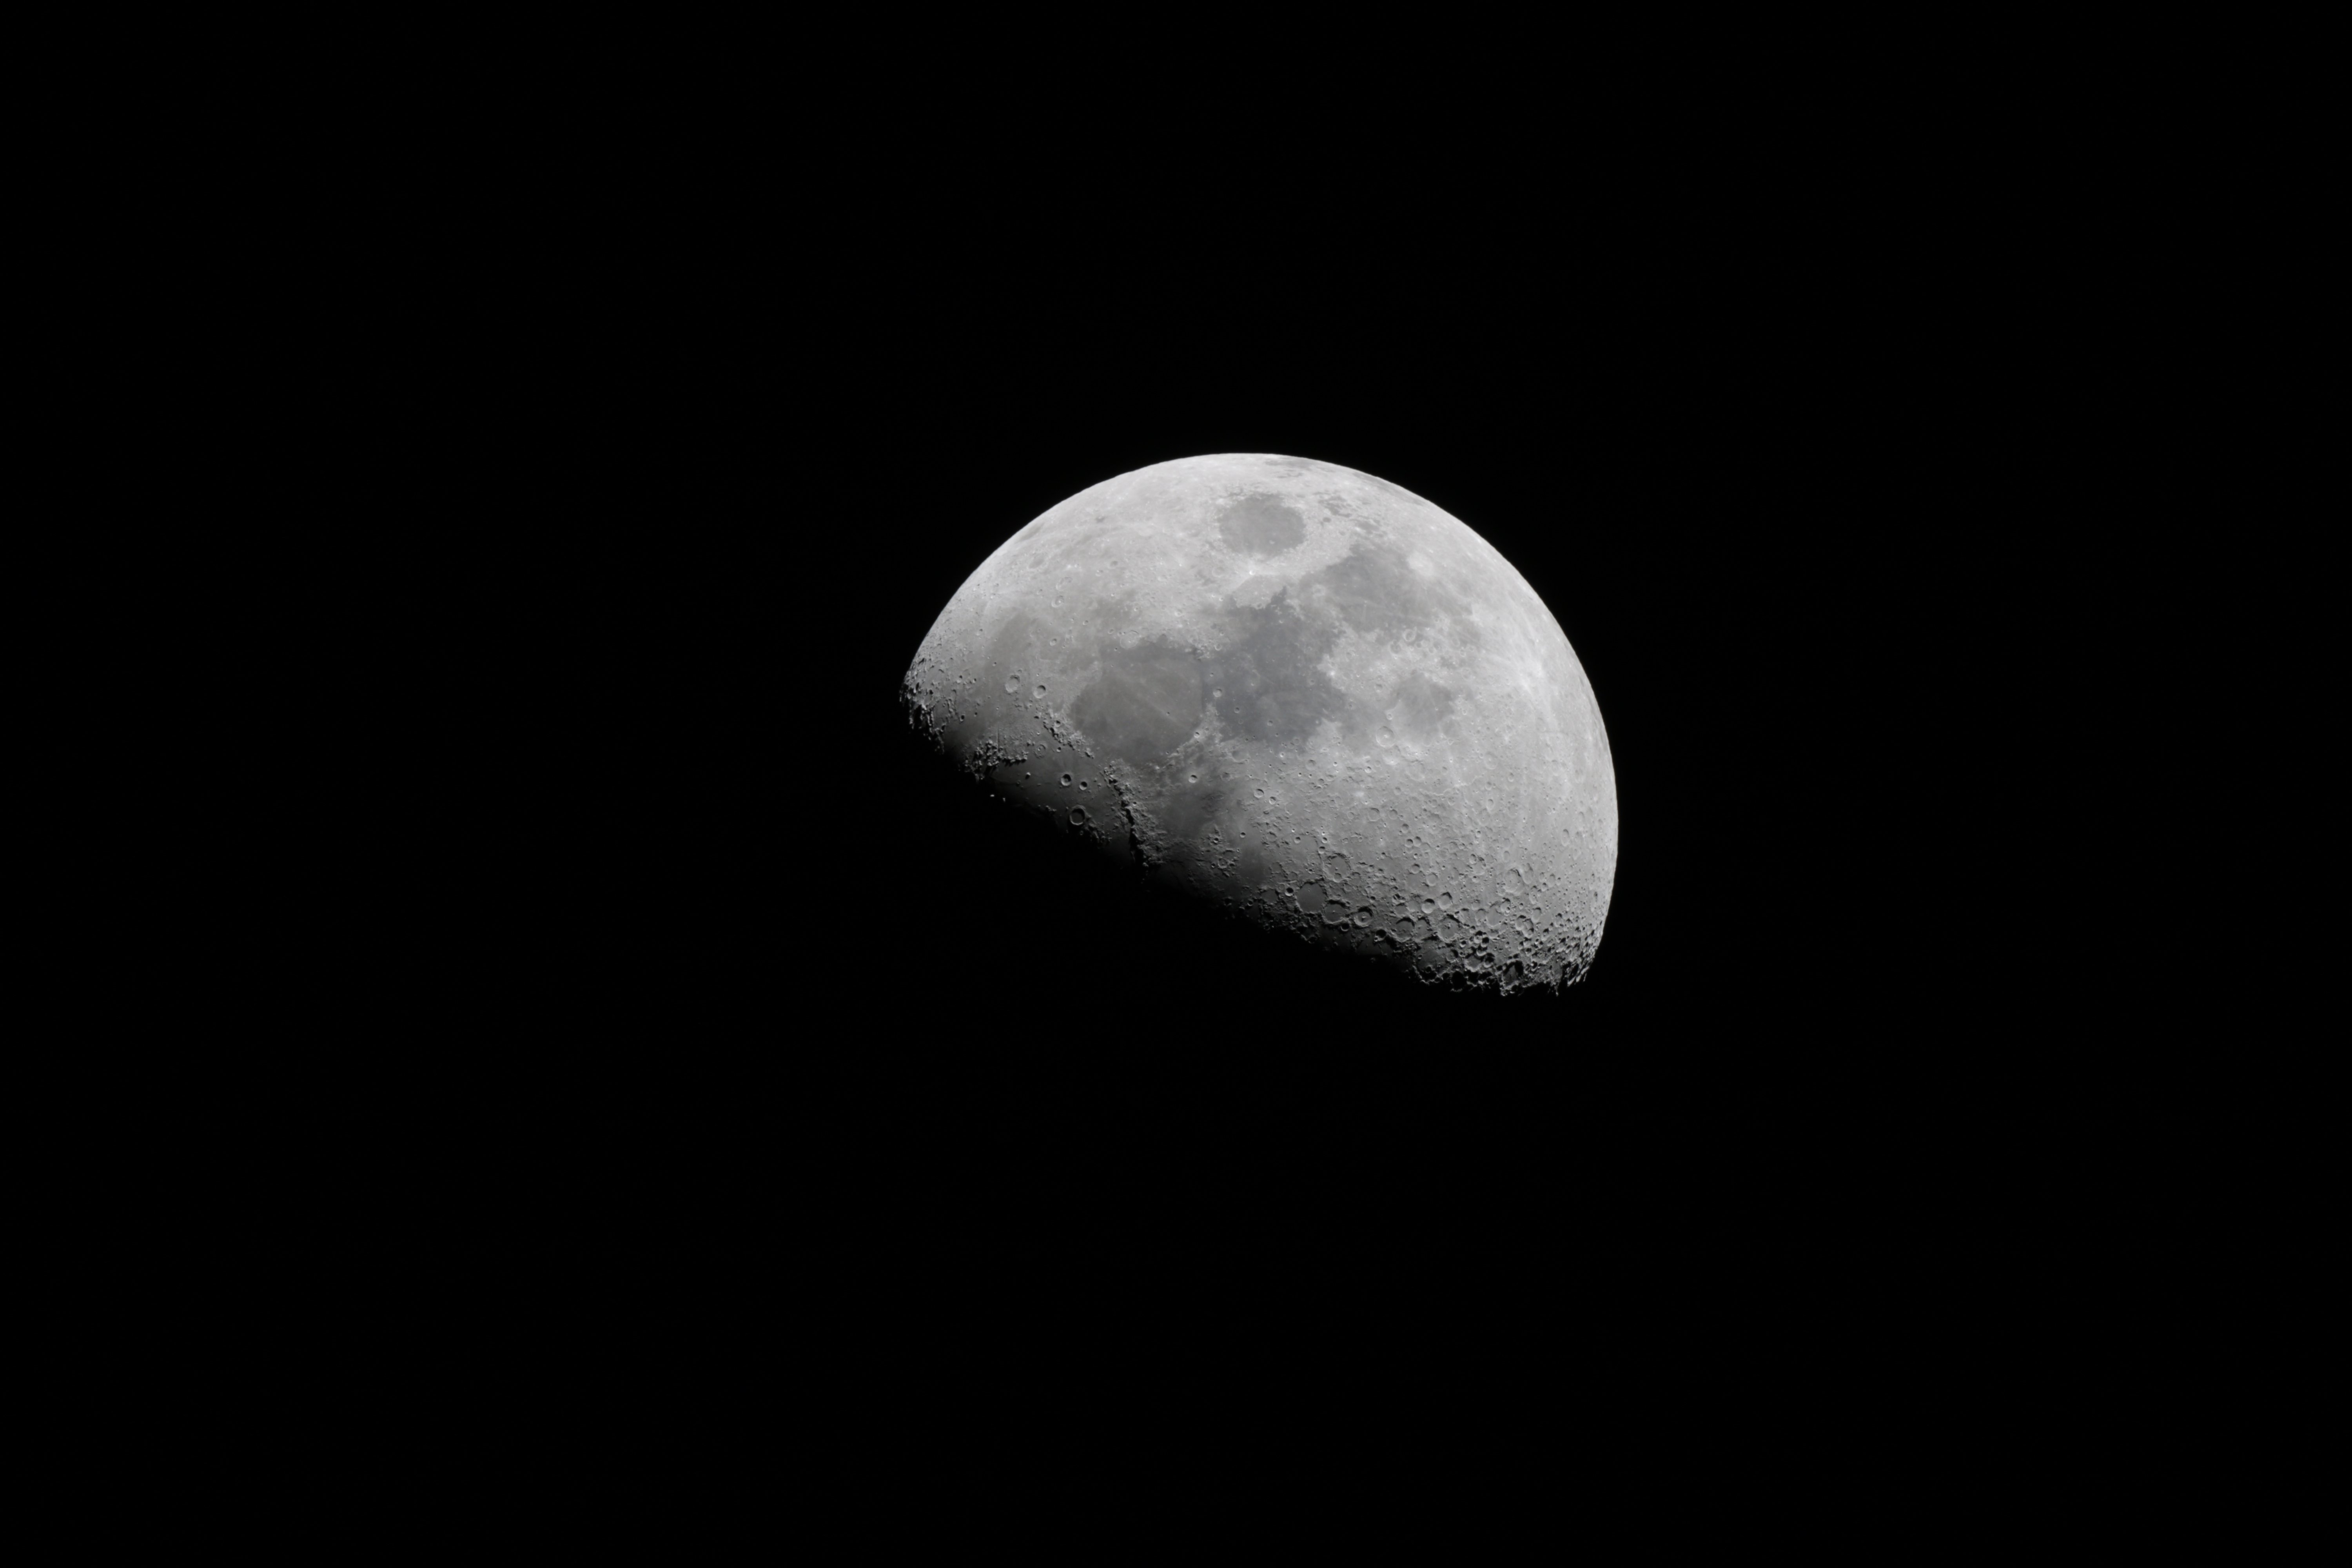
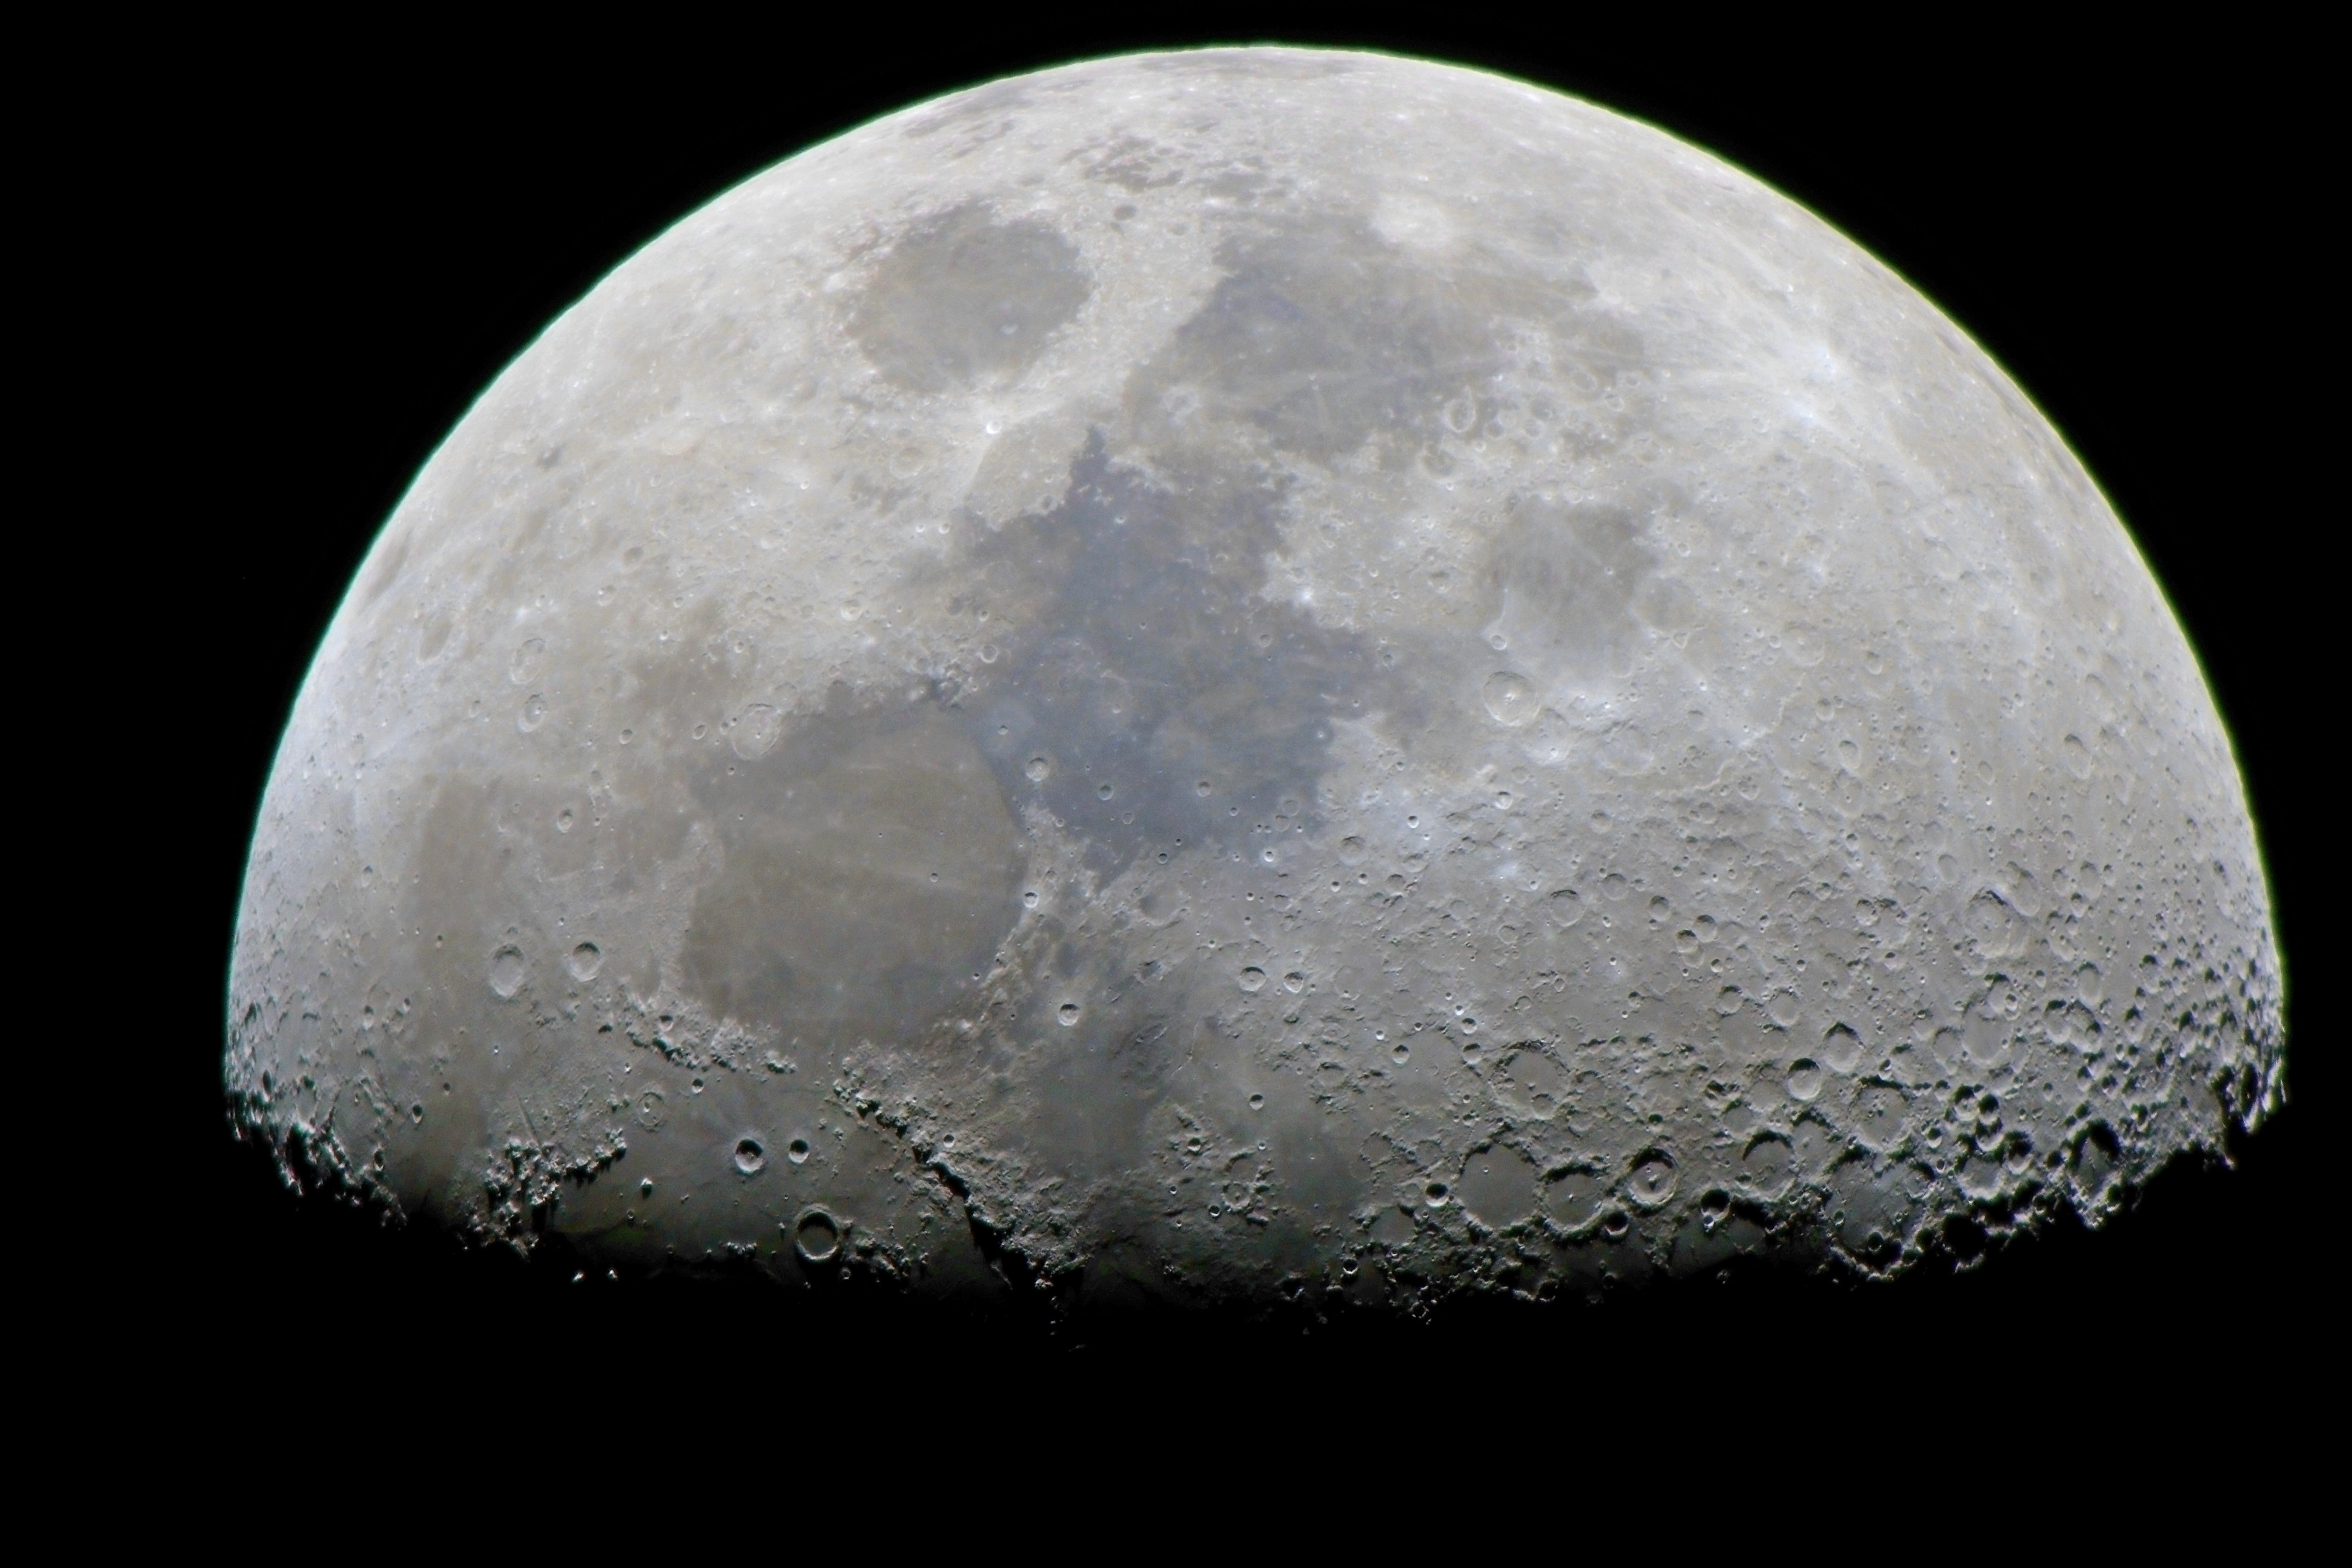
I still like the single image better. The moon is a horrible bright object, so there shouldn't be any strong noise-related issues. Problems are equipment, correct adjustment and of course "seeing"/atmospheric turbulences. "Lucky imaging" often works great, meaning: take a lot of single shots in a series, later pick the sharpest one. Exposure times should be as short as possible. @irandar - Honestly, I wonder about how you managed to get such a low picture quality out of your gear? Noise levels and graininess are unbelievable high. - Both camera and MAK should provide far better results. Thus it could be interesting to know a bit more about your setup and your procedure. I'd first try lowering the ISO value as low as possible. Plus, I'd make sure the picture is focused correctly (maybe a Bahtinov mask would be the way to go); there's several focusing methods, I can explain if you like. Plus (this is wild guess): Switch the camera off for a few minutes to cool down. Then switch on and take the photos as fast as possible. I know, a bit hard without a tracking mount, but still doable. Reason: Usually the noise levels increase with the sensor temperature. And a general hint: If the stars "twinkle", this is good for a romantic mood, but bad for taking astrophotos. The more the stars twinkle, the worse is the atmospheric turbulences, making sharp pictures very, very difficult if not impossible. But that's not the reason for noise and grain in your photos. Another idea: You didn't take the photos from a warm room, but outside in the cold? If not - you should. --- Two example pics, single shots, not stacked in any way - first one (no editing at all, right from the camera) showing the size of the moon at 750 mm focal length, second one giving an idea of the quality a single shot should provide. Pictures were among my very first astrophotos, unfortunately taken without a field flattener, edited with no greater expertise. Info: Taken with a cheap Canon 750D, first picture ISO 100, 1/100 s; second picture ISO 400, 1/60 s, both with a Skywatcher Newton 150/750. Hint: Right-click the pictures, select Open LINK(!) in new tab - then you'll be able to watch them in their original size.
-
Diese Fehler mache ich besonders gerne: Mehrere Ebenen, aber nicht die Pixel-Ebene ausgewählt, Pixel-Ebene nicht blau markiert. Passiert ständig, wenn man irgendeine Anpassung anwendet, die als neue Ebene ergänzt und damit automatisch ausgewählt wird. Klick auf die Pixel-Ebene, dann gehts wieder. Bild ist keine Pixel-Ebene. In dem Fall: Rechtsklick auf die Ebene, dann "Rastern ..." wählen. Deckkraft 0 oder sehr niedrig. Je niedriger die Deckkraft, desto weniger wirkt der Effekt. Fluss 0 oder sehr niedrig. Auch dann gehts nicht - oder nicht vernünftig. Das wurde zwar alles bis auf Fluss schon oben von Dan C und Komatös erwähnt, aber vielleicht ists so beschrieben noch ein Häppchen verdaulicher.
-
@irandar: The results are typical - it cannot work this way. Stacking expects pictures where the objects have an predictable, identical offset - example: Photo 1: Star A at position 100 x 200, star B at position 150 x 170. Photo 2: Star A at position 110 x 205, star B at position 160 x 175. So we've got an offset of 10 in the X axis, an offset of 5 in the Y axis. The same offsets for star A and star B. And the same offsets for stars C, D, E, ... Your main problem is not exposure times, it's looking towards the rotational axis of the sky, the celestial pole, while there's significant time differences between your photos. Your AP stack shows that the North Star, Polaris, is somewhere near the upper right corner of the picture, the pivot point of the sky. This causes objects near the upper right corner "moving" slower than objects far away. Thus the offsets more and more increase with the distance from the North Star, aren't identical anymore. You can see this by the different lengths of the star trails. That's why the stacking algorithms produce that star trails, it just cannot work with stars of different offsets in the same picture. Just imagine sitting inside a dome with stars painted on it's walls, the dome rotating around you. If you look up the stars near the top move slower than the stars at the sides. And if you look parallel to the ground, the stars seem to move with the same speed. If you take photos of the top and stack them, you'll get the same results as with your stacked photos. But if you take pictures parallel to the ground, the results will be much better as the offsets become almost identical. Remedies: a) Very short exposure times, as already mentioned in this thread. PLUS: Photos need to be taken immediately after each other. b) Taking photos more parallel to the ground plane. c) Use of a less expensive motorized mount like Star Adventurer or AZ-GTi, or a "real" mount starting from the EQ5 class, not below. I'd go for option c) if you wish to dive deeper into astrophotography as these mounts also allow mounting of smaller telescopes. You won't be able to achieve real long exposure times of several minutes, but this would solve your problem. If you wish to stick with your DSLR and shorter focal lengths for astrophotography, mounts like Star Adventurer and AZ-GTi are your friends. For everything else a "real" mount (EQ5 and up) is the way to go. Additional info: a) Your photos are out of focus, stars are discs, not points. Focusing on stars isn't easy, manual focusing with maximum magnification of the preview might help, also a Bahtinov mask. With higher focal length/magnification, a Bahtinov mask would be the way to go. With lower focal length/magnification (like 55 mm), it's better to focus via the preview at maximum magnification, take a sample picture (short exposure time, higher ISO) and check if stars are points by watching the taken photos at maximum magnification, correct the focus if needed. Nothing's more frustrating than finding out all your pictures are out of focus - wasting the results of several hours of imaging. b) Take some dark frames as Pauls already mentioned. You've got masses of defective pixels in your photos, that tiny red, blue, green or white dots just every digital camera produces with longer exposure times. Dark frames help eliminating these. Also playing with the Stacking Options (Threshold and Clipping iterations) might help. c) Use RAW photos. JPGs usually look better out of the camera, but the camera's JPG algorithms apply a lot of changes, often in a more or less random and unpredictable way. But astrophotography and stacking need unmodified data to achieve best results. Just set your camera output to RAW + highest JPG quality, so you always get a pair of RAW and JPG, can't forget setting the output to RAW.
-
Astro problem
Jörn Reppenhagen replied to Bruno106's topic in Pre-V2 Archive of Desktop Questions (macOS and Windows)
@Bruno106: Could you post two of your original RAW files and two of the FITS files? I am no AP expert, but I could give this a try. -
Stacking adds a Curves and a Levels adjustment to the picture layer after stacking, so the visible results indeed are stretched. Just deactivate or delete the Curves and Levels adjustment layers to work with the unstretched image.
-
Astro problem
Jörn Reppenhagen replied to Bruno106's topic in Pre-V2 Archive of Desktop Questions (macOS and Windows)
Had a similar problem. My mistake had been the white balance setting in the stacking dialog - it was set to "Daylight", which caused all colors to be rendered yellow/white. -
See this video by James Ritson: Plus, you may want to check out this YouTuber and enter "masking" into the search box. You'll find countless useful hints about masking and working with masks: https://www.youtube.com/watch?v=j8jszUpmSM0
-
Plus, a JPG usually gets heavily processed in-camera before saving. Usually it takes quite some effort making a RAW look as good as the JPG. That's why I always set my camera to save RAW and JPG - to get a JPG I can use immediately, and a RAW I can really play with. You've got some harsh contrasts in your image, pure white to pure black. For not overexposing, the shadows need to become quite dark in the RAW. But still, it seems to be a bit overdone. If you post the original RAW file, we could check and compare the RAW development with other RAW converters. Comparing highly processed JPGs and pristine RAWs just doesn't work.
-
@Dan C - Mystery solved: a typical case of HAUS (highly advanced user stupidity). A mysterious entity (ME) had set the white balance in the stacking dialog to "daylight".
-
@Kevin Barry- ASI071MC Pro uses a Sony sensor. This thread is about Fujifilm. @Dan C - I am reluctant to opening a new thread if there's already an old thread dealing with the matter. In most forums you'll immediately get lectured for redundancy. I'll try astrostacking again, maybe I just missed setting a vital option - and if the result is still the same, I'll open a new thread. Note: There's no total absence of colors like before - there's just ONE color; in my case it's yellow, with all the other colors not showing up.
-
Just to push up this topic again: Still no colors with Fujifilm RAW files and astro stacking with update 1.10.3. Single RAF files have color information, stacked files just show a single tone. Come on, AP guys - this bug is known for more than 8 months, now.
-
I found some similar issue (Windows version): If I use the Displace filter e. g. to overlay some text on brickwork, then apply more adjustments like a Gaussian blur to smoothe the text and adapt it to the low pixel resolution of the underlying photo, the results look like it should be. But if I export the finished image, all adjustments after using the Displacement filter just disappear, the picture gets saved with just the Displace filter applied without any further editing steps - rendering the text too sharp and unnatural. Same happens if I use "Merge Visible". Only way of exporting the correctly rendered image is taking a screenshot. I guess it's the same problem causing that behavior. Exporting and merging obviously just don't follow the "include what you see" approach. @Iconoclast: Will try that and report back later.
-
Yes, Vignette is there. But almost unusable because it's stationary fixed to the center of the image. Who puts the subject in the center? Suggestion: Make that vignette freely movable. (Yes, I know ... Ellipse, Gaussian Blur, Erase blend mode - usable workaround, but still a pain in the you-know-where ...) That tiny, tiny slider buttons ("thumbs") ... Sure, that titchy knobs look sooo modern and sophisticated, but it's not what you really need. How often did you miss that knobs? How often did you set the mouse pointer on that knobs, looked back to the picture to see the change - only to find nothing changes because your mouse pointer shifted by some pixels before pressing the mouse button? See? Suggestion: Make 'em BIG! - Alternatively: Keep the size but enlarge the "hit zone" around that knobs. Best: Let the user choose the size in preferences.
-
Banacan: For this usage case, you might be better off with a simple HSL adjustment - especially because of the transparent background and the uniform color range. Select HSL adjustment, choose red color circle, select the picker, click on a bright red area, set Hue Shift to e. g. -62, Saturation Shift to 56, Luminosity Shift to 49 - or to your liking. Then make sure the HSL layer is selected, invert the layer (color reverts to red), choose the Paint Brush Tool [B], select pure white as a color (255, 255, 255), then paint over the areas you wish to recolor, Opacity controls intensity. Take care not to select "Wet Edges" and "Protect Alpha". That's essentially the same as Recolor - but the above also works with more complex color combinations (not just with "everything red" things). Workaround for setting correct hue with Recolor: Set your target color using RGB, then switch from RGB to HSL. The now shown Hue value is the value to set in the Recolor dialogue. In private: I also find the behavior of the color replacement brush rather strange/senseless - it just doesn't do what it should be supposed to do.
-
Affinity Photo 1.10.1.1142 crashes
Jörn Reppenhagen replied to phoenixart's topic in V1 Bugs found on Windows
Chris: Possible, but I don't know for sure. I'll pay attention to active selections next time and immediately come whining again. -
Affinity Photo 1.10.1.1142 crashes
Jörn Reppenhagen replied to phoenixart's topic in V1 Bugs found on Windows
Chris: So I can stop thinking about spending a fortune on a psychologist. 1. Indeed, I use a 3 monitors + VR setup - but I never experienced that brazen context menu desertion to the left wing before. Had been a first with Affinity. 2. Also my thoughts. But I just didn't change anything of the configuration during the last weeks, except redefining the keys for increasing/decreasing the brush size for mask refinement. The good thing: AP didn't crash or permanently hang anymore, even with hardware acceleration on. There are occasional "hickups" with my case fans turning up violently, indicating a high CPU load over one or two seconds, but then AP recovers. I don't remember noticing that behavior before; maybe it's the update, maybe my hardware acceleration is still off while the config shows it's on - who knows. Only crashes I experienced happened when zooming in fast and deep with Ctrl + mouse wheel. -
This is a small but nice one if you use a keyboard with a non-English layout. Changing the brush size is quite clumsy if using the mouse: Click the drop-down, exactly hit the tiny slider thumb (why the heck are that "grab points always that tiny???) with the mouse, pull the slider, find a place to click outside the drop-down to close it and to see the new brush size, find the brush size to be wrong (because you didn't see it's size while dragging the slider), repeat. So you wish to use the keyboard. Unfortunately, the default definition is "[" and "]". Convenient für users with an English keyboard layout, a pain in the you-know-where for everyone else. E. g. for German keyboards, it's Alt Gr + 8/9. So you call up the preferences and change the shortcut keys. But you need to change that brush size keys for each and every single brush in all the different categories, next pain in the ... Only to find out later that you missed a definition. Back to preferences, search for the brush in question ... Quite an annoyance. So my suggestion is obvious: A gobal definition of keys for changing the size of all brushes at once in the preferences.
-
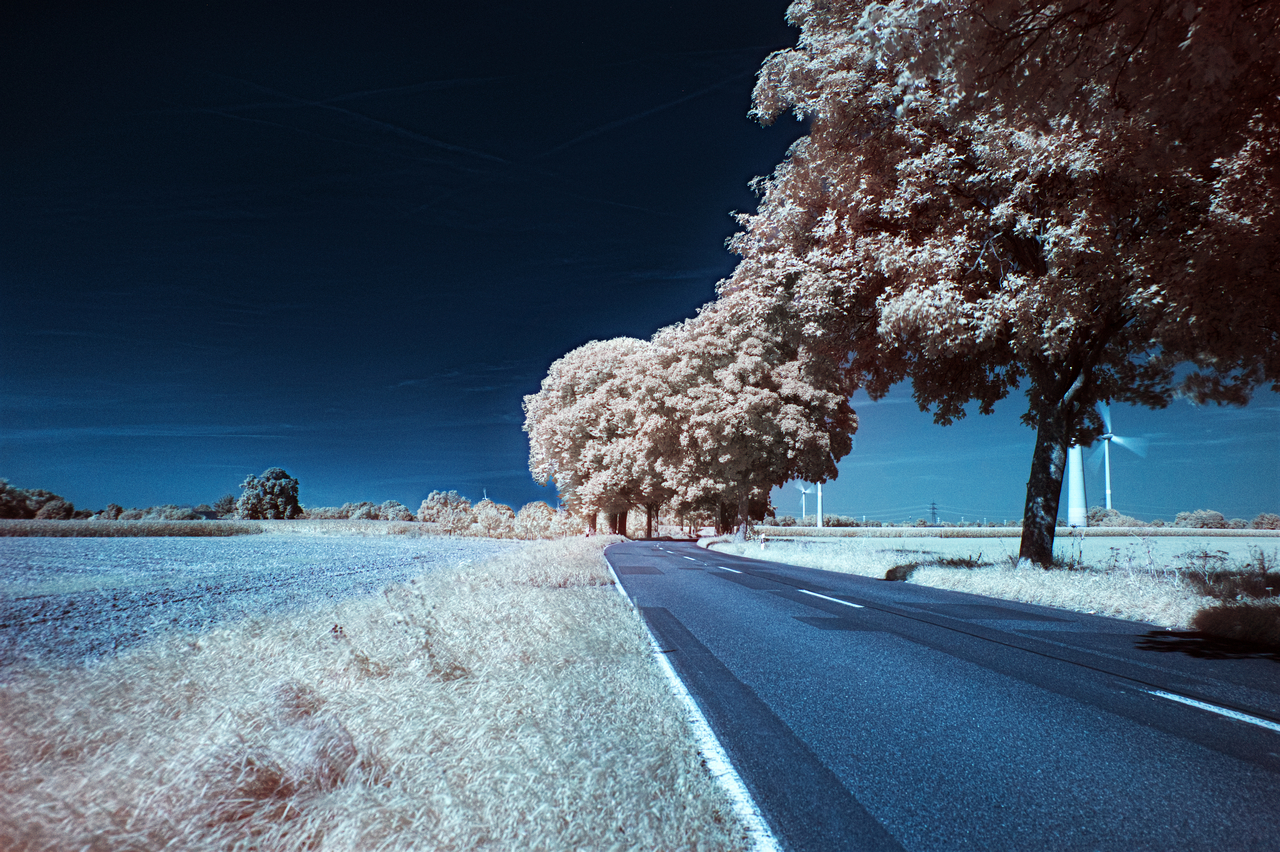
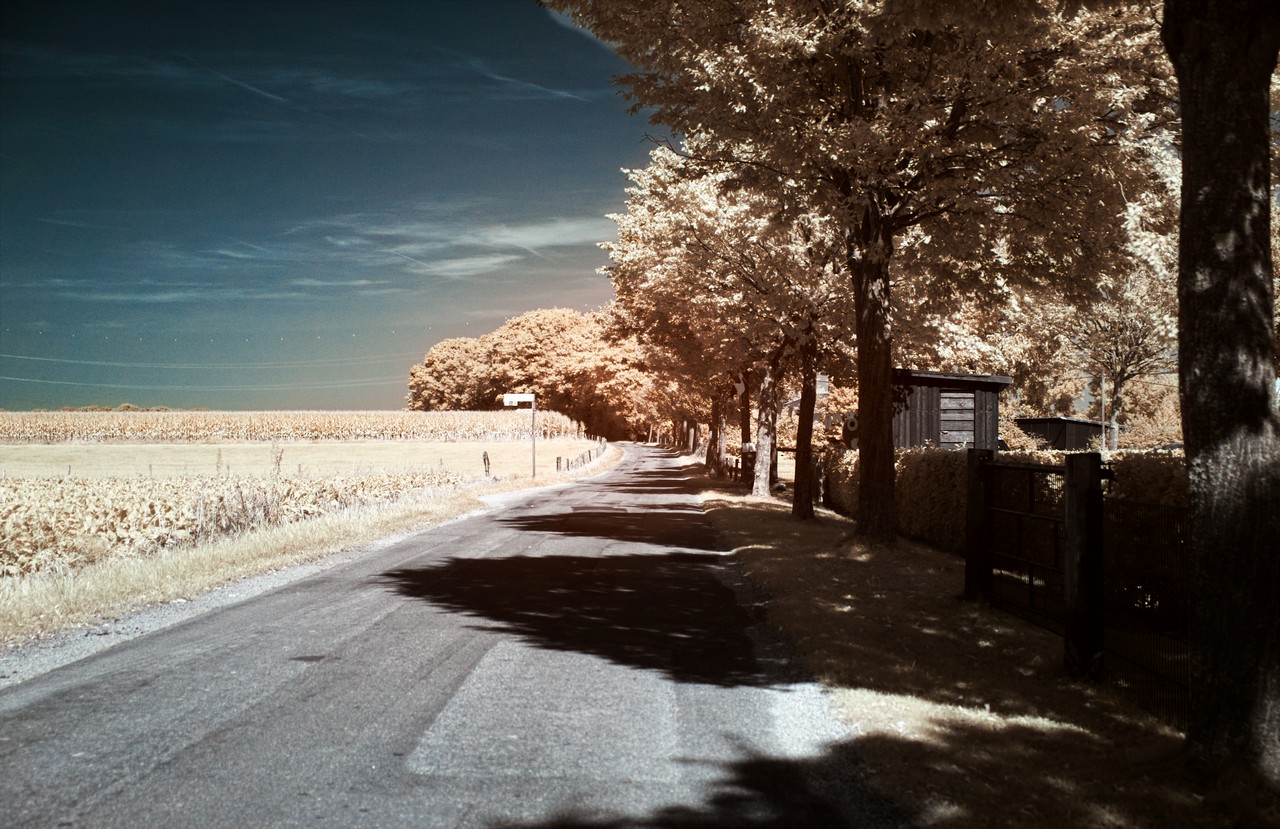
An update ... I managed to solve the problem halfway - it's still faulty, but bearable. Two sample pictures attached. It's a sequence of white balance, levels, frequency separation, multiple HSLs on the low frequency layer and painting on the same layer, using a reversible mask for sky and foreground objects, then applying contrast and sharpness adjustments on the layers. I am quite sure there is a quick, direct and flawless approach - but I just don't see it.
-
Affinity Photo 1.10.1.1142 crashes
Jörn Reppenhagen replied to phoenixart's topic in V1 Bugs found on Windows
Crash again after I did the same thing I did for the crash I reported on September 8th - Zooming via Ctrl + mouse wheel. There was NO crash report (DMP file). Not while Photo was hanging, not after terminating Photo using Task Manager, not after restarting Photo. There's pretty some DMP files in the folder, but nothing documenting the latest crash. Add: Some strange secondary effects after restarting AP. 1. First right-click on the Layers list on the right side opened the context menu on the LEFT side of the screen, just below the Files menu. Happened only once, after that the menu permanently was back on the right side. 2. Hardware acceleration switched BACK ON. I updated the graphics card drivers after the first restart, then wished to switch on hardware acceleration to check if the new drivers solved the crash problem. And found the option ticked already. Yes, it had been off. Otherwise my AP installation wouldn't have survived three of four editing steps - had been the only remedy against that constant crashes. I left it switched on - and no crashes till now. I experienced some "digestion issues", everything slowing down, freezing like hanging, but then AP recovered. No, I don't drink, I also did not consume any drugs. -
I am using one single RTX 2070 - and I also have that crashes. Maybe the solution is Serif buying us a second graphic card for removal.