

Dazzler
-
Posts
218 -
Joined
-
Last visited
Posts posted by Dazzler
-
-
Ok, so upon further investigation, saving out from Photoshop if I don't check the save transparency option (below the compression settings dialogue), then the file comes in with a white background into publisher when placed. However that same exported (supposedly no transparency) file can be opened back up in Photoshop and has the transparency still. Which is a bit weird isn't it?
-
4 hours ago, Murfee said:
Hi Chris, I have all 3 apps so I am not sure if you can see the Edit Image button, if you can then with your image selected click the Edit Image button, a new tab should open in Publisher, go to this tab and copy the layer, then go back to your original tab and paste

This is what I see when I click the new tab, still in Publisher
Oh this is weird. I have all three apps installed, but on my publisher I don't see that Edit Image button like you have?!! Is that something you've added in somehow? I do have the replace image button and the surrounding tools look to be the same, but just no Edit Image button.
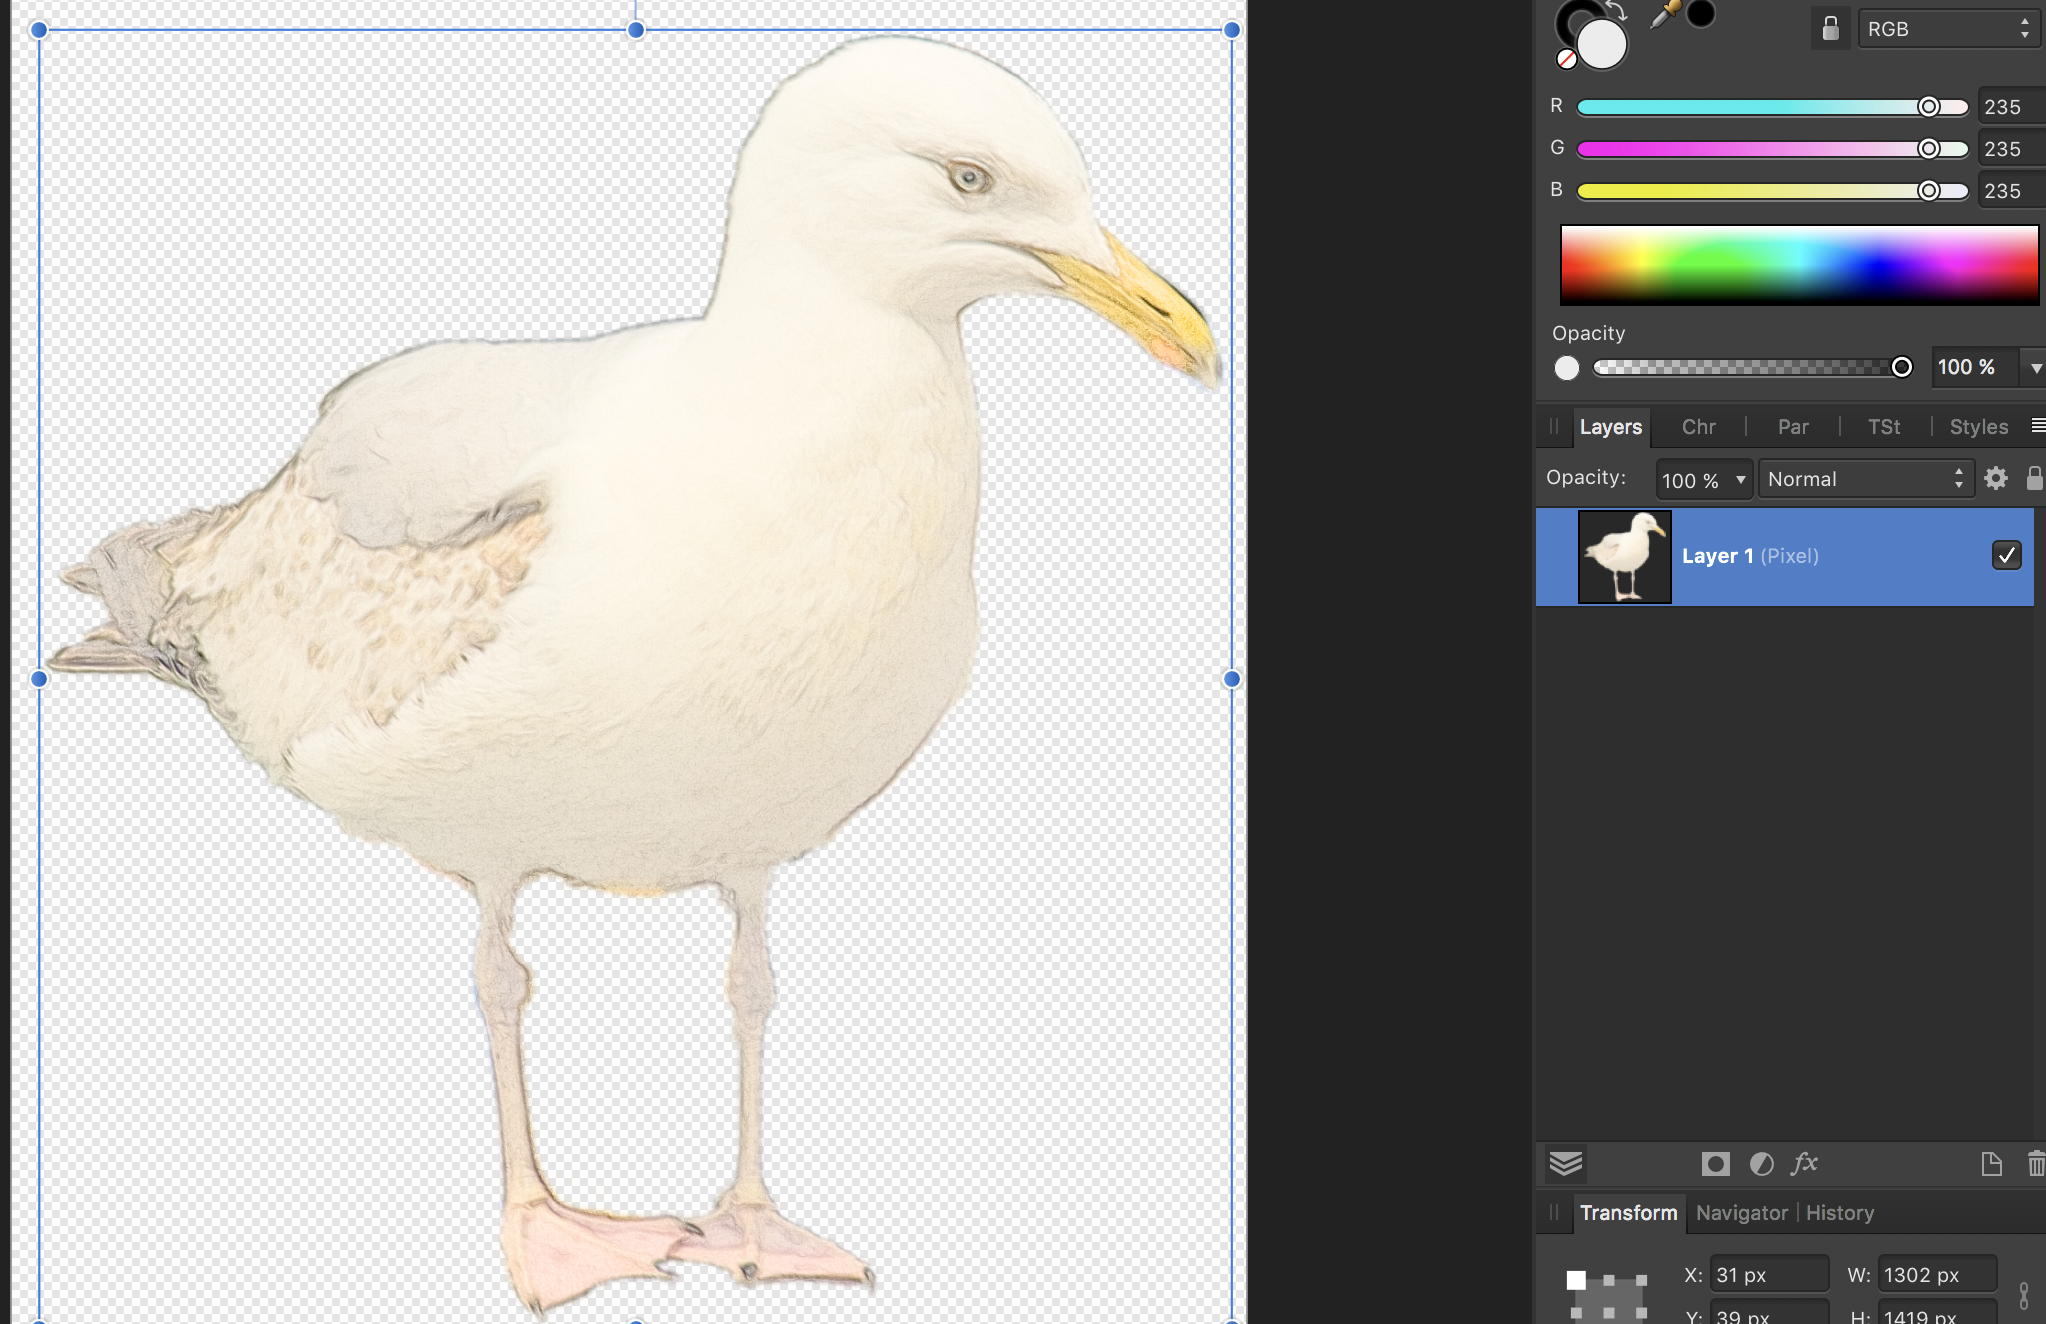
But looking at the tiff scenario, if I open the seagull image in Photoshop or Affinity Paint I have the transparency. If I place it in Publisher, no transparency. If I save it as a tiff from AFPhoto it opens fine with it's transparency by placing it in Publisher just as you would expect. If I open the original in Photoshop, then save as a tiff, and then place in publisher then still no transparency, yet it still opens in Photoshop ok.
-
I'm also learning the table styling. The help docs are actually quite decent for explaining how this works, however the second line reads 'Affinity Publisher comes with an impressive selection of pre-defined table formats'. Well I've got one! is there somewhere to find more?! I've done a quick scout around the program folders and can't find anything, so I'm thinking the impressive selection may actually just be one! Not to worry, it's fairly painless to create more! The key thing is realising that within the edit table format panel, the cell formats in the centre column are applied to the table diagram on the top left, and that you can adjust the arrows in that diagram to select fixed areas on the edges, everything else gets repeated. Then the right hand column of the dialogue is everything to do with the currently selected cell format. Not sure how all this compares to other software as I don't normally use page layout software in my daily duties - just had to get publisher to complete the set really and experience the magic link between packages which is excellent.
-
This was one of those tiny features that actually made me realise there were people 'thinking outside the box' at Serif. It's a fairly easy transition from Photoshop to Affinity Photo, but don't assume stuff will be the same, as there are a few things that sound similar but are actually slightly different or better thought out. I'm still transitioning myself, as a very long time Photoshop user (since the very first version of Photoshop), it's easy to find yourself trying to do things in a way that is engraved into your workflow, but I've been going through many online videos for Affinity Photos, just going over basic features, that I thought I knew like the back of my hand, only to find it's done slightly differently (and often better) in Affinity Photo.
-
On 6/21/2019 at 10:41 AM, redlik said:
Unless I'm missing this option somewhere I'd like to have the availability to save flat 1-layer-background image as something else then afphoto. I do a lot of cropping from scanned large sheets of photos and it would be nice to select, copy, new from clipboard and then save as widely recognised file formats for quick easy workflow.
I know there's the export but it's just too many unnecessary steps.
It may be worth investigating some alternative workflow options available. If I understand correctly, you should be able to select then paste (as a separate layer rather than a new document), then label the layer with your intended filename. Once you have separated all the images to layers you can switch to the export persona, select all your layers and create slices (one button click), then hit the export all button (deselect the first slice to avoid exporting the orginal back out), choose a folder and you should get all the slices as individual files in the format you choose in the export settings.
Alternatively, you could just save them all as afphoto files for speed then do a batch file conversion on them using the batch tool, selecting a new format. -
I think it would be nice to be able to store distort equations in a similar way to the procedural texture equations preset panel. At the moment it seems the only way to store distort equations is to either jot them down in another app somehwere, or store them in a macro. When you store them in a macro you lose the equation, so you can't go back to it, which is kind of annoying. I've currently got my equations building up a text document, but working like that doesn't fit the nice workflow that the other features have. Also, with the procedural textures panel if you accidentally apply before storing the preset you lose the equation, would it be possible to have a persistent edit buffer that populates the dialogue with the last equation you used, rather than it opening with a blank panel each time? It's really easy to spent time messing about to get an interesting pattern and then pressing apply to see the pattern properly (with the anti-aliasing in place), before saving it as a preset ... then it's gone, you've lost all that effort!
- John Rostron, CM0 and Andrew Buckle
-
 3
3
-
+1, that would be an awesome addition.
AP doesn't seem to have the exact equivalent of displacement maps at present. The displacement filter seems to be more of a texturing thing rather than a mapped lightness direction to amount of shift in the x/y direction. Would be great to be able to pull values from a map (layer or image) for use in an equation. Maybe similar to the sources panel where you select a source and give it a variable name that could then be pulled into an equation? That way multiple maps could be used.
I've been doing a lot of experimenting with equations and they are very powerful, and I love the way you can record them and expose the controls in a macro, however when used directly the sliders are smooth and instant, but in a macro they seem to wait for you to release before reacting, which makes it much harder to get the correct adjustment. Also, when using distortion equations directly you can click on the canvas and it relocates the centre point, whereas when recorded in a macro this doesn't seem to work.
-
Good to hear embedded font support is something that might appear in the future. It's one thing that is keeping me glued to my adobe subscription
(luckily my company pays for that - whereas my affinity products I bought personally because they are affordable!)
I have a workflow for a particular job, where I need to make a set of thumbnail images from a batch of pdf files (40+), showing just the opening cover (page 1) of each. So the other thing that would be useful is to be able to somehow select a single page on the batch job input dialogue rather than it automatically open them all up and output it as a contact sheet of pages.
Apart from that, I'm really very impressed with Affinity Photo and what it has to offer. Haven't found much else that it can't cope with so far. -
15 hours ago, reglico said:
You're right, but for some reason it doesn't always work: sometimes the text goes directly from the top (right) to the bottom (left) of the image, leaving the entire height part of the image without text, either left or right.
The image is then simply placed between two text groups.Could that be down to the font size not allowing the words to fit in the space to the sides of the image? It works fine for me doing some quick tests here with a circle (image area) cut out of a rectangle and then inserting filler text. I can edit the circle using the node tool to distort it without any unexpected results.
-
Alternatively, any shape can become a text frame so you can simply draw a shape avoids and runs around the picture then put your text into it by clicking on the 'Frame Text Tool' then clicking on the shape. You can then refine the shape using the normal editing tools, after adding your text, to make the text fit nicely around the shape.
-
20 hours ago, Pšenda said:
Vector export is problem, because this is a Serif specific function.
Yes I tried it out and the effect becomes a raster, so no good for export really unless you are going to raster format, but still a great function to know about for speed/quick proofing etc.
On 8/28/2018 at 3:12 PM, lilyrose said:Wow, thank you !
It works and it's really simple with Pšenda method.
Dazzle, I tried your method, it was what I tried to do before posting here, but I can't have my blank space, it's only transparent then I see the behind shape. I certainly do something wrong.
I'm confused - what do you mean by 'I can't have my blank space'? Maybe you're missing out the 'expand stroke' bit? That is necessary to convert the stroke to it's own shape. It's that shape that you duplicate and subtract from the shapes surrounding your original object. You do also need to subtract from your orginal shape because a stroke normally sits over part of the fill, so if you remove the stroke the object gets larger by half of the stroke width (or smaller that what originally was with the stroke by half the stroke width!). You don't need to make anything transparent with this method - you are simply cutting shapes away from other shapes.
-
6 hours ago, funkmaster3000 said:
Yes! Thank you αℓƒяє∂. That was easy. I feel stupid now for not looking for it in options.
Why would you ... I don't think it's optional in other software is it?
Anyway, I had the same issue, and glad it's there in the options to be changed, as the default behaviour seems counter-intuitive/confusing to me and can easily lead to things being slightly distorted when you're actually trying to constrain them. -
14 minutes ago, Pšenda said:
Group this object, and Blend mode set to Erase.
Oooh that's kind of nice! Any idea what happens upon export etc to a vector format? Does it retain it's erase state?
-
If the above answer is not what you meant (I think you might mean something slightly different, because making the stroke transparent will reveal the shape behind again), then there is another way involving subtracting shapes.
First make sure the shape with the stroke is converted to outlines. Then under the Layer menu, select 'expand stroke'. This will make the stroke into an object of it's own. You can then duplicate this outline object and use the subtract tool to subtract it from any shapes that it overlaps - I say duplicate because you'll also need to subtract it from it's original fill shape to maintain the 'outline' thickness. That will give you a completely transparent space that was the thickness of the original stroke. You'll need to duplicate the outline shape for each shape that you need to subtract it from, as the subtract method removes the shape that is being subtracted.- buildpax and Paul Masri-Stone
-
1
-
 1
1

Tiff Files in publisher - slightly dissappointed....
in Pre-V2 Archive of Desktop Questions (macOS and Windows)
Posted
Thanks Patrick.
So surely this is the answer then? The original seagull file has been saved out of Photoshop (or whatever) without the transparency being checked?
Any ideas about why I can't see the edit image button? I've tried doing all sorts, changing personas etc. but I just can't get it to appear? Should it be there for me? As I say, I have all three apps installed, and can happily switch between the personas. Is there a reset for the workspace somewhere that I can use?