twojtyniak
Members-
Posts
15 -
Joined
-
Last visited
Recent Profile Visitors
The recent visitors block is disabled and is not being shown to other users.
-
 Megnusin reacted to a post in a topic:
Want to remove noto fonts (split)
-
Purchased universal v2 license. Had activated and was using all apps. Had to restore HD from backup and then none of the apps would register. Getting "Please try again" message. (See first screenshot) Followed ALL steps in Troubleshooting Affinity V2 Licence Activation Issues document with no success. Tried Check Connectivity, but Checking Connectivity dialog makes zero progress. (See second screenshot) Had to force quit app. Followed section on Deactivate Affinity 2 Apps. No success. Tried again, but instead of following instruction to : "When the Clear User Data window appears, make sure that Deactivate Affinity 2 apps is the only option selected and then click Clear." I selected all options on All Affinity 2 apps. SUCCESS! Before clearing any of the user data or deactivating apps I made a copy of all of the Affinity related items in (user)>Library>Application Support folder and also the preferences in (user)>Library>Preferences starting with com.seriflabs. Ater activating the apps and quitting, I replaced them. So far it appears that all of my settings have been preserved. I hope this saves you the multiple hours and much frustration I went through. Serif people: Please update the troubleshooting doc to add the extra step of clearing user settings for all apps. It was the only thing that worked for me and allowed me to salvage part of my workday. Let's help others avoid my fate. Even better would be to make the activation a bit more robust. Clearly something was very wrong when I could not even get a connection check to make any progress.
-
Export selection exports whole document
twojtyniak replied to twojtyniak's topic in V1 Bugs found on macOS
I am pleased to see the frank conversation here. I realize that I expected to hear "that's how it is, learn it and live with it" and my view of the products and community is improved by what I have experienced. I will adjust my expectations up! While we are talking about exporting, the v2 improvements are nice and I am pleased to pay money for this upgrade, especially vs renting software that doesn't seem to improve. Kudos to Affinity for letting me own software and also for making meaningful, valuable improvements. One thing that still throws me off is that changing the export Area selection wipes out any pixel dimensions I have specified previously. I understand that my Area selection may cause a necessary change to those dimensions and so would propose that the Area selection be the first thing that can be interacted with rather than a later item which messes with earlier items in the dialog. -
Export selection exports whole document
twojtyniak replied to twojtyniak's topic in V1 Bugs found on macOS
Thank you for the tip on Rasterize and Trim, ashf. I would not have thought that I needed to do something further after the crop. When I look at Resize Canvas and Resize Document they show the existing size matches the cropped area size, so I had no expectation that my document was in any way larger than the cropped size. Perhaps this product is just too sophisticated for my skills and needs. -
Export selection exports whole document
twojtyniak replied to twojtyniak's topic in V1 Bugs found on macOS
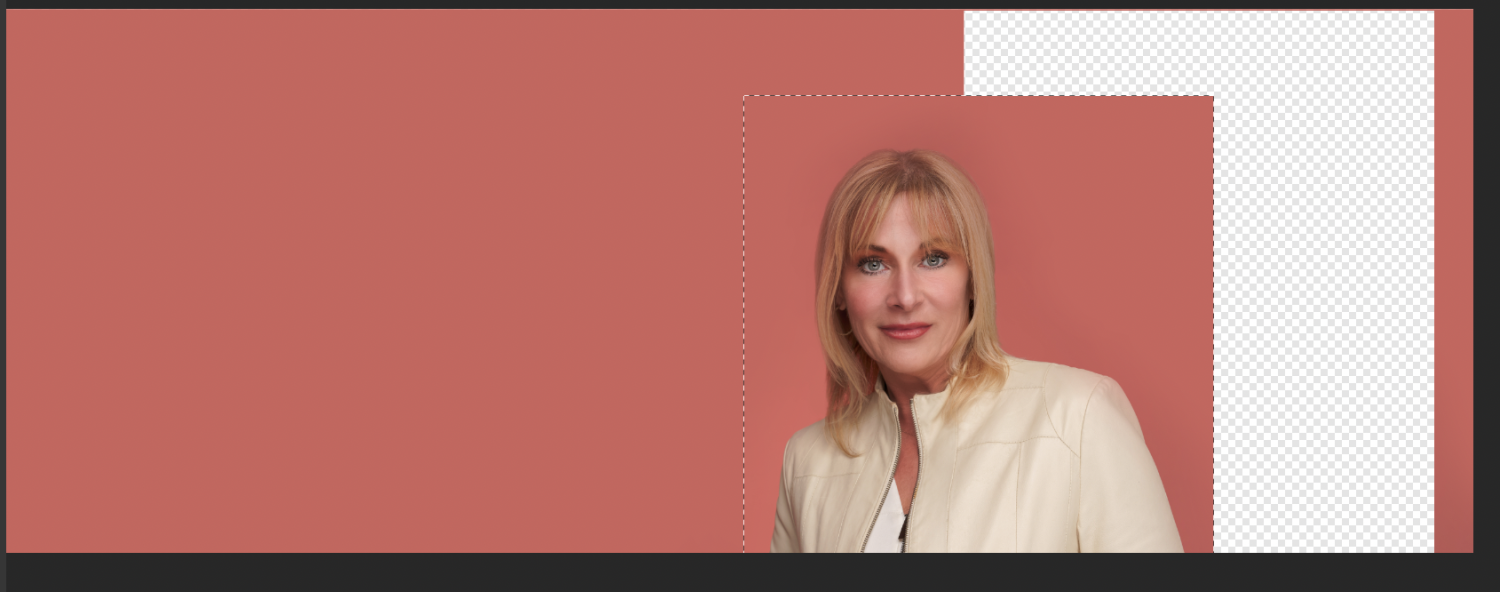
I am just noticing that my cropping is not actually cropping the file. The cropped out area of the file seems to stick around. Is there something that I am missing that lets me "hard crop" the image to get rid of the stuff I am trying to crop off? -
Export selection exports whole document
twojtyniak replied to twojtyniak's topic in V1 Bugs found on macOS
Thank you for the replies. I have cropped the photo to make use of it instead. Not that any of you are responsible for the confusing language, but it is very confusing that when choosing Area in the Export dialog, "Selection" and "Selection Area" doesn't mean the area I have selected. There's a whole "Select" menu and there are all those things I can do to my selection, but when I export my selection no longer is my selection? Baffling switch of meaning to me. When using Designer it makes more sense to me as those are separate objects with their own dimensions. Per the online docs: (Optional) If one or more layers is selected, the exported file can be trimmed to their boundary by setting Area to Selection Area or Selection Only, which include or exclude all other layers from the output, respectively. Clearly it is my own ignorance here, but I do not understand how the "boundary" of another layer would be different than the boundary of all layers in a document. I can see how the boundary of an object is different, but not the layer itself. Does the Layer not have the same dimensions as the canvas? Is this dual use of selection just obvious to everyone else? Do you not ever want to quickly save off a selected area of an image as a separate file without having to add another layer to the file or create another afphoto file to do so? Perhaps the choices in the "Area" drop down could say "Selected Layers" for clarity? -
Export selection exports whole document. Even preview shows it disregarding selection. Am able to move selection, so I know it is selected. Export ignores selection. Very repeatable. Very frustrating. MacOS 12.6 Affinity Photo 1.10.5
-
Well, for some reason I did not get notified of all the action here on this post. I just gave up on the idea of the checkerboard background and have not wandered back until just now. I do see the checkbox MEB mentioned and find that it does, in fact, resolve the issue I was having. Thank you all for weighing in with possibilities. Is there a way to have transparency turned on by default in all new documents? I am not seeing a preference for it..
-
Any chance there will ever be a setting for choosing the "transparent" background color? Or perhaps the alternating gray and white boxes of other products, which seems to be the "norm" and works well. Having to add a layer every time I work with white objects just annoys me every time. It requires remembering to hide it or ensure I turn it off before exporting. A workaround is not a resolution to the user experience challenge. This one seems so unnecessary.
-
I'd rather not leave that debris layer in my files, as I export them to many different formats and distribute them on a regular basis. I accept that as a workaround. I judge that the friendliest thing for the user is to let them choose, or use something that is more universal, like the black and white pattern would be.
-
I appreciate the response, d. I certainly don't want to have to add a layer every time I want to work on the file. That is a waste of time. The issue is that the gray and white checkerboard that shows as "transparent" is too light to work well with white lettering that shows up frequently in my projects. If it was black and white it might be okay, but the light gray and white very specifically doesn't work well in my situation. My request is to allow the user to specify what the "transparent" background looks like. Much like other apps let you choose a color for the background or masking that works for the specific project. Or perhaps change it to black and white, which would likely be good in more situations. Examples of how the issue presents itself attached.
-
I have some files that have white text on a transparent background. With the default pattern for transparent backgrounds I cannot see the white text when working unless I change to outline mode. Please allow changing the default background color so to allow for more conveniently work with this type of file.


