
.jpg.6e58b559a01ee06423e815b2040e99b1.jpg)
Dylan SJ Perez
-
Posts
29 -
Joined
Posts posted by Dylan SJ Perez
-
-
10 minutes ago, Alfred said:
The Layers panel in your first screenshot shows that you have a Group rather than a Compound object. Try ungrouping the group and then doing a Boolean ‘Add’ to create a single Curves object for use in your ‘Subtract’ operation.
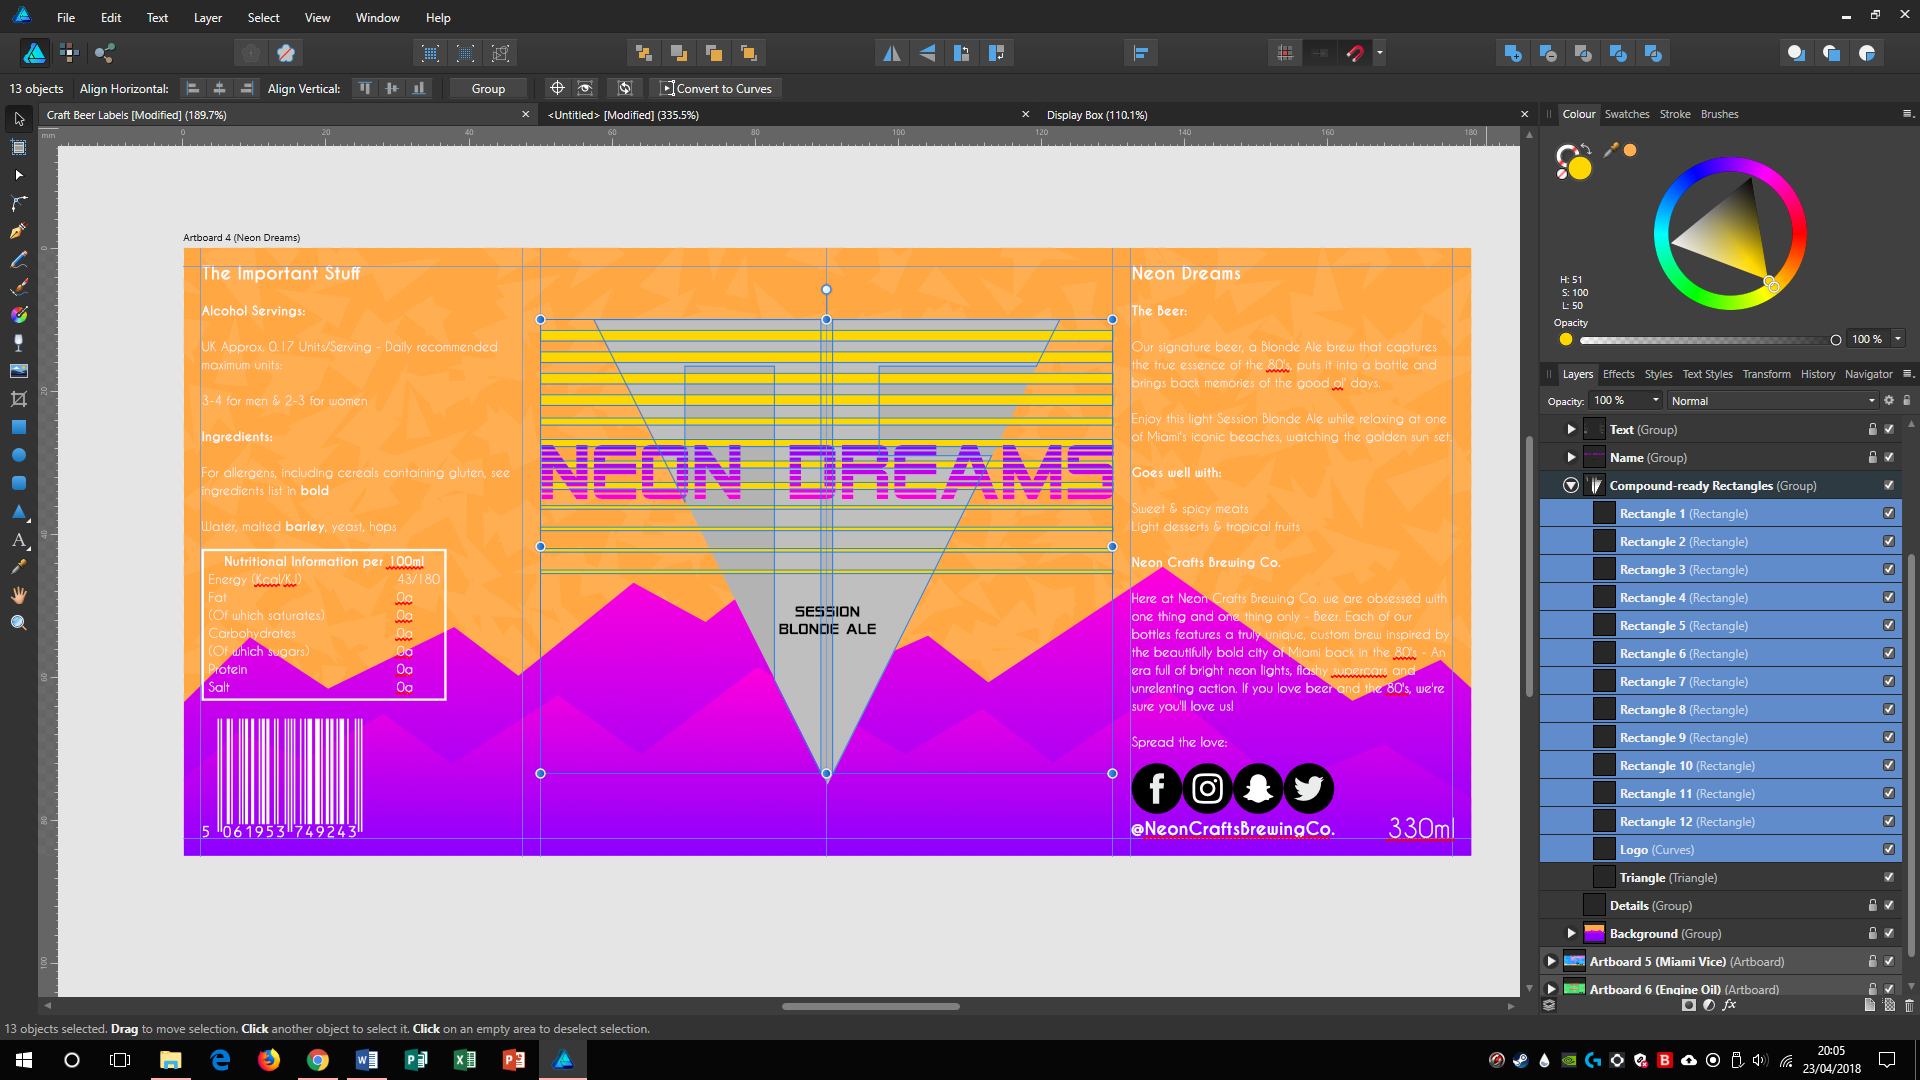
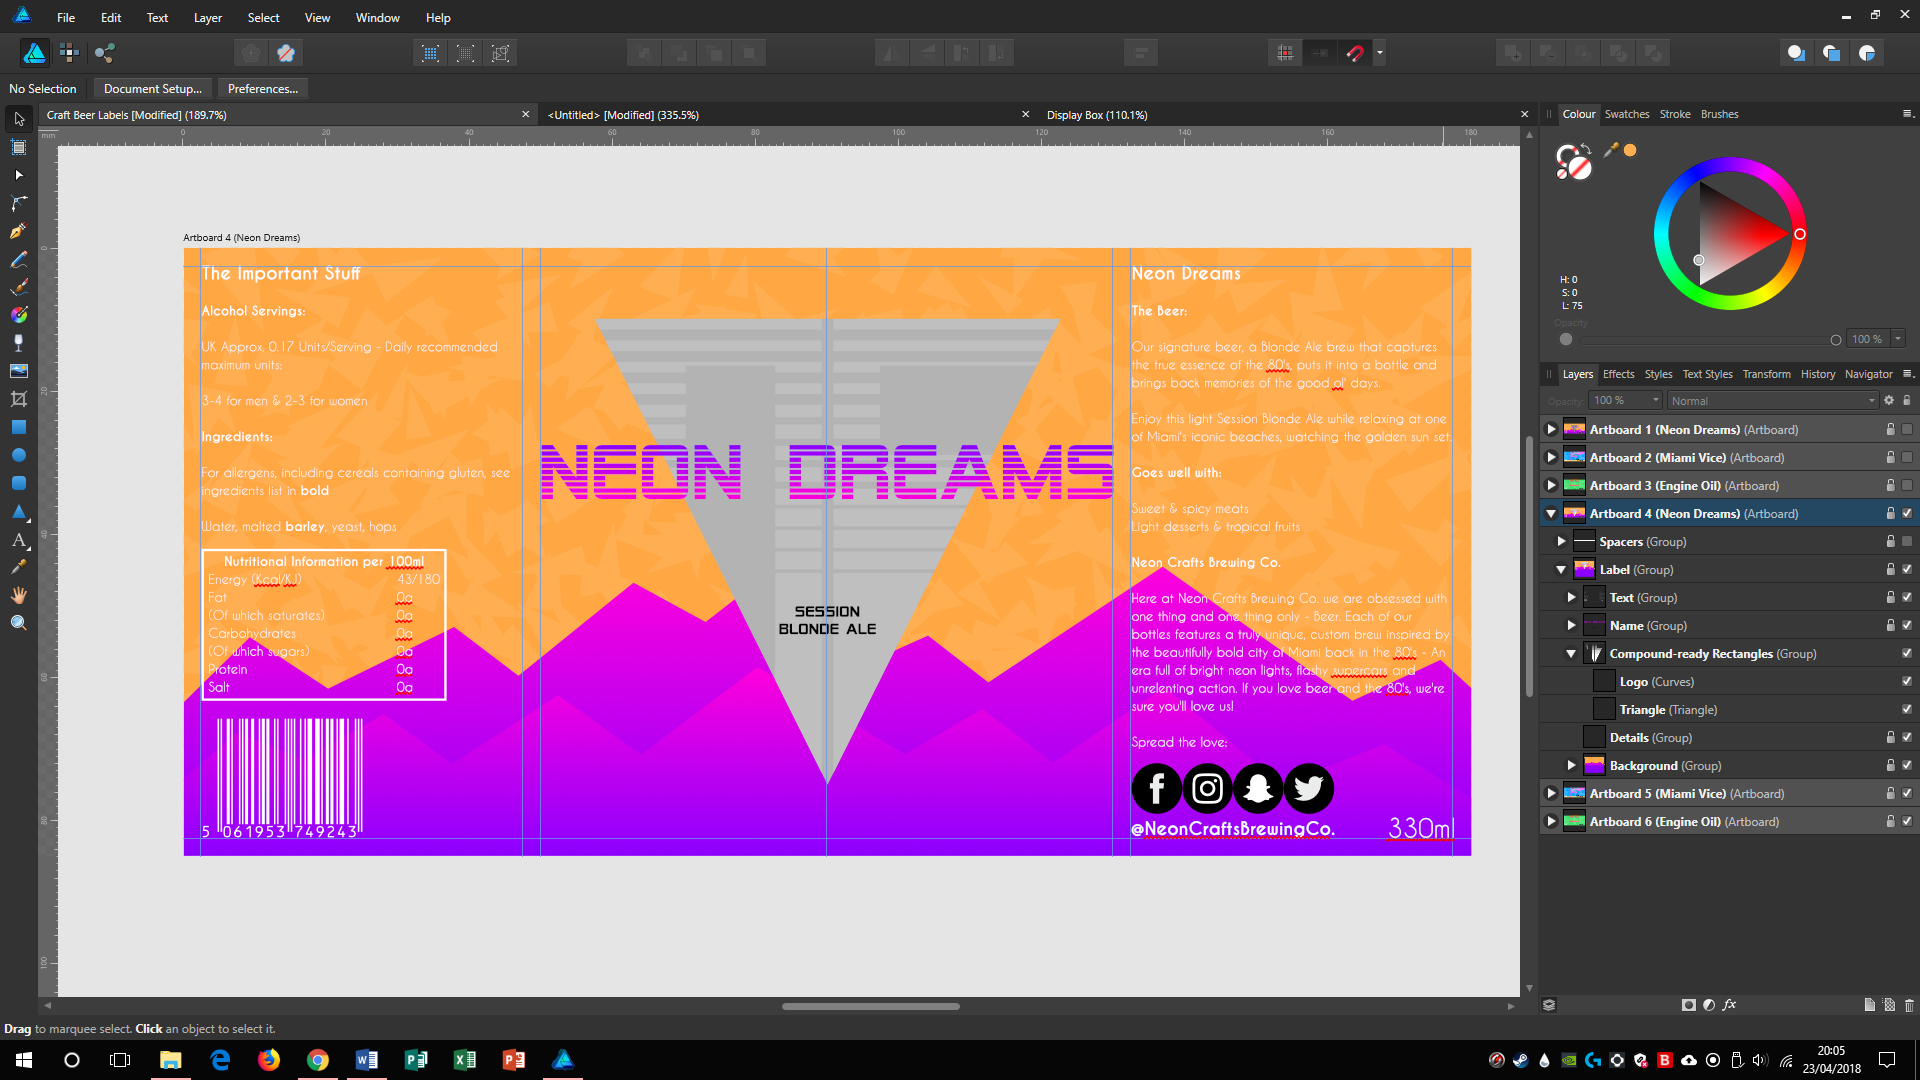
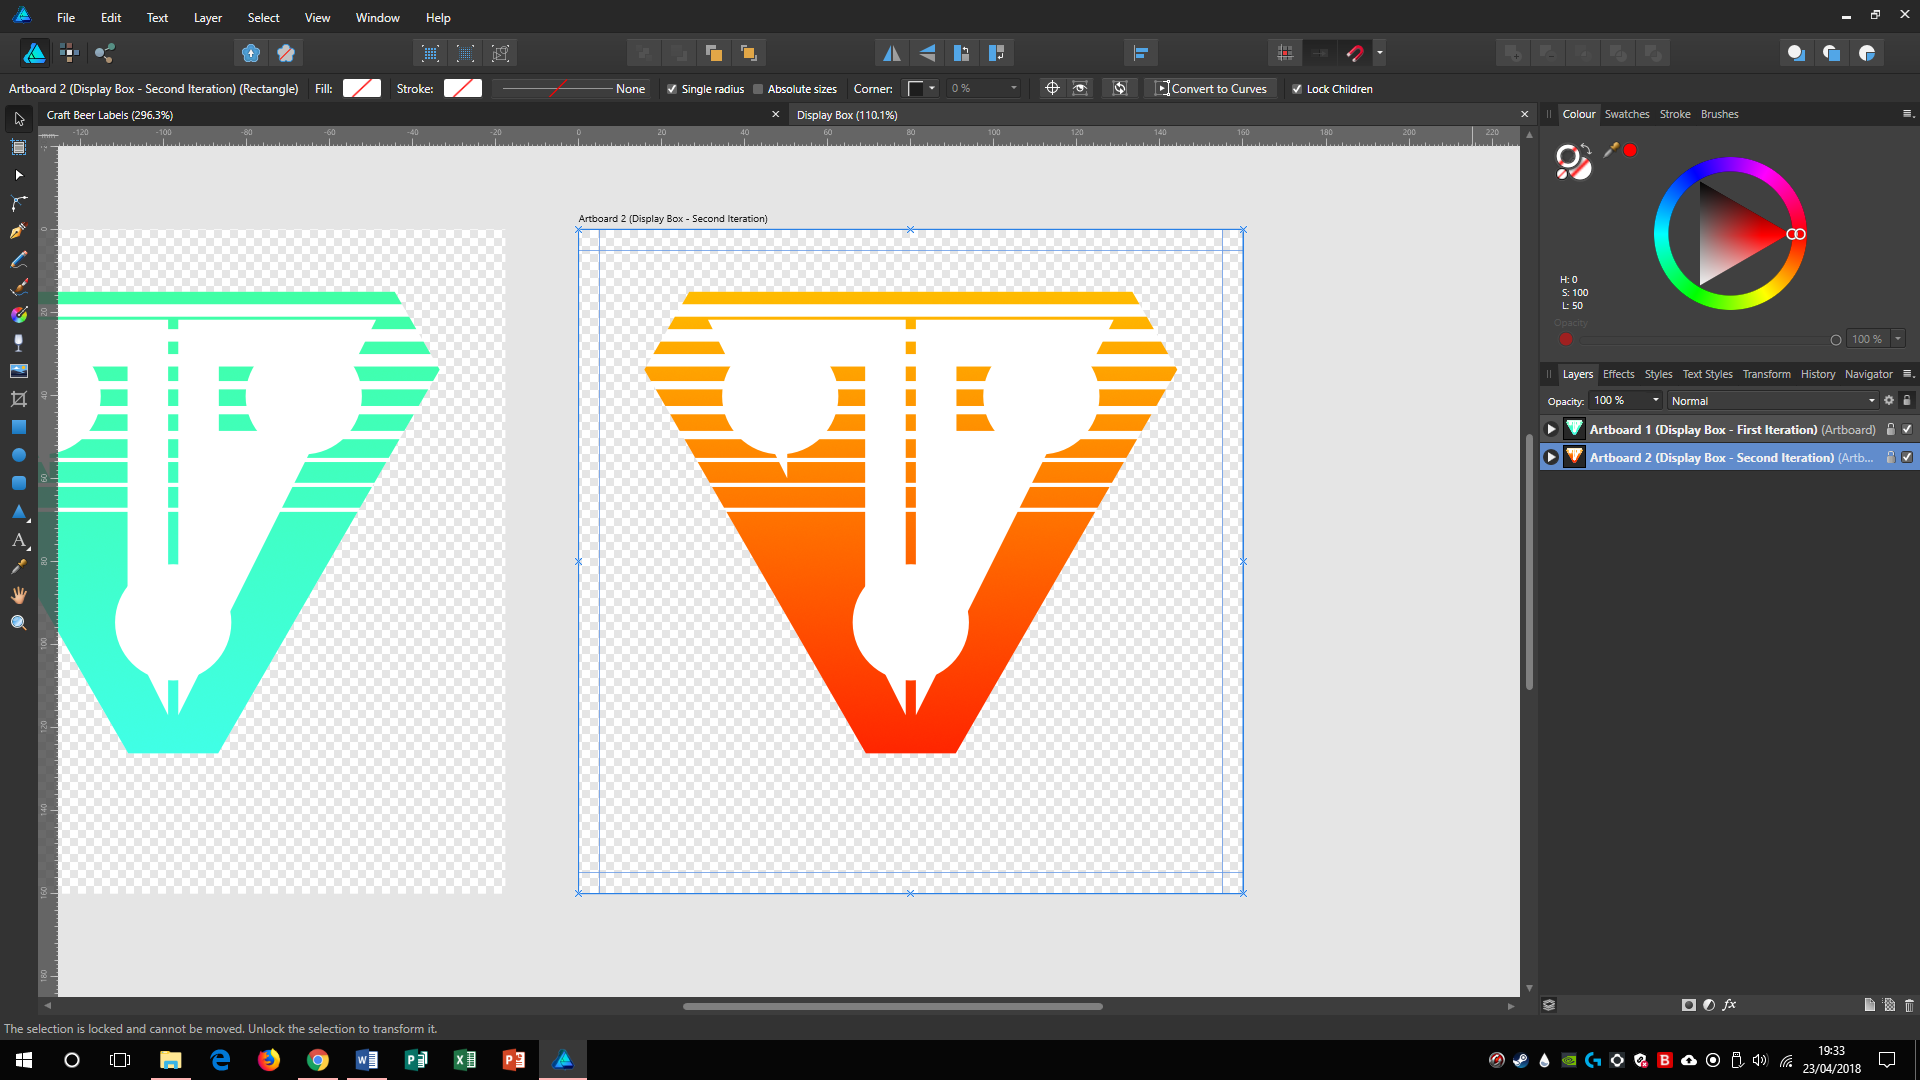
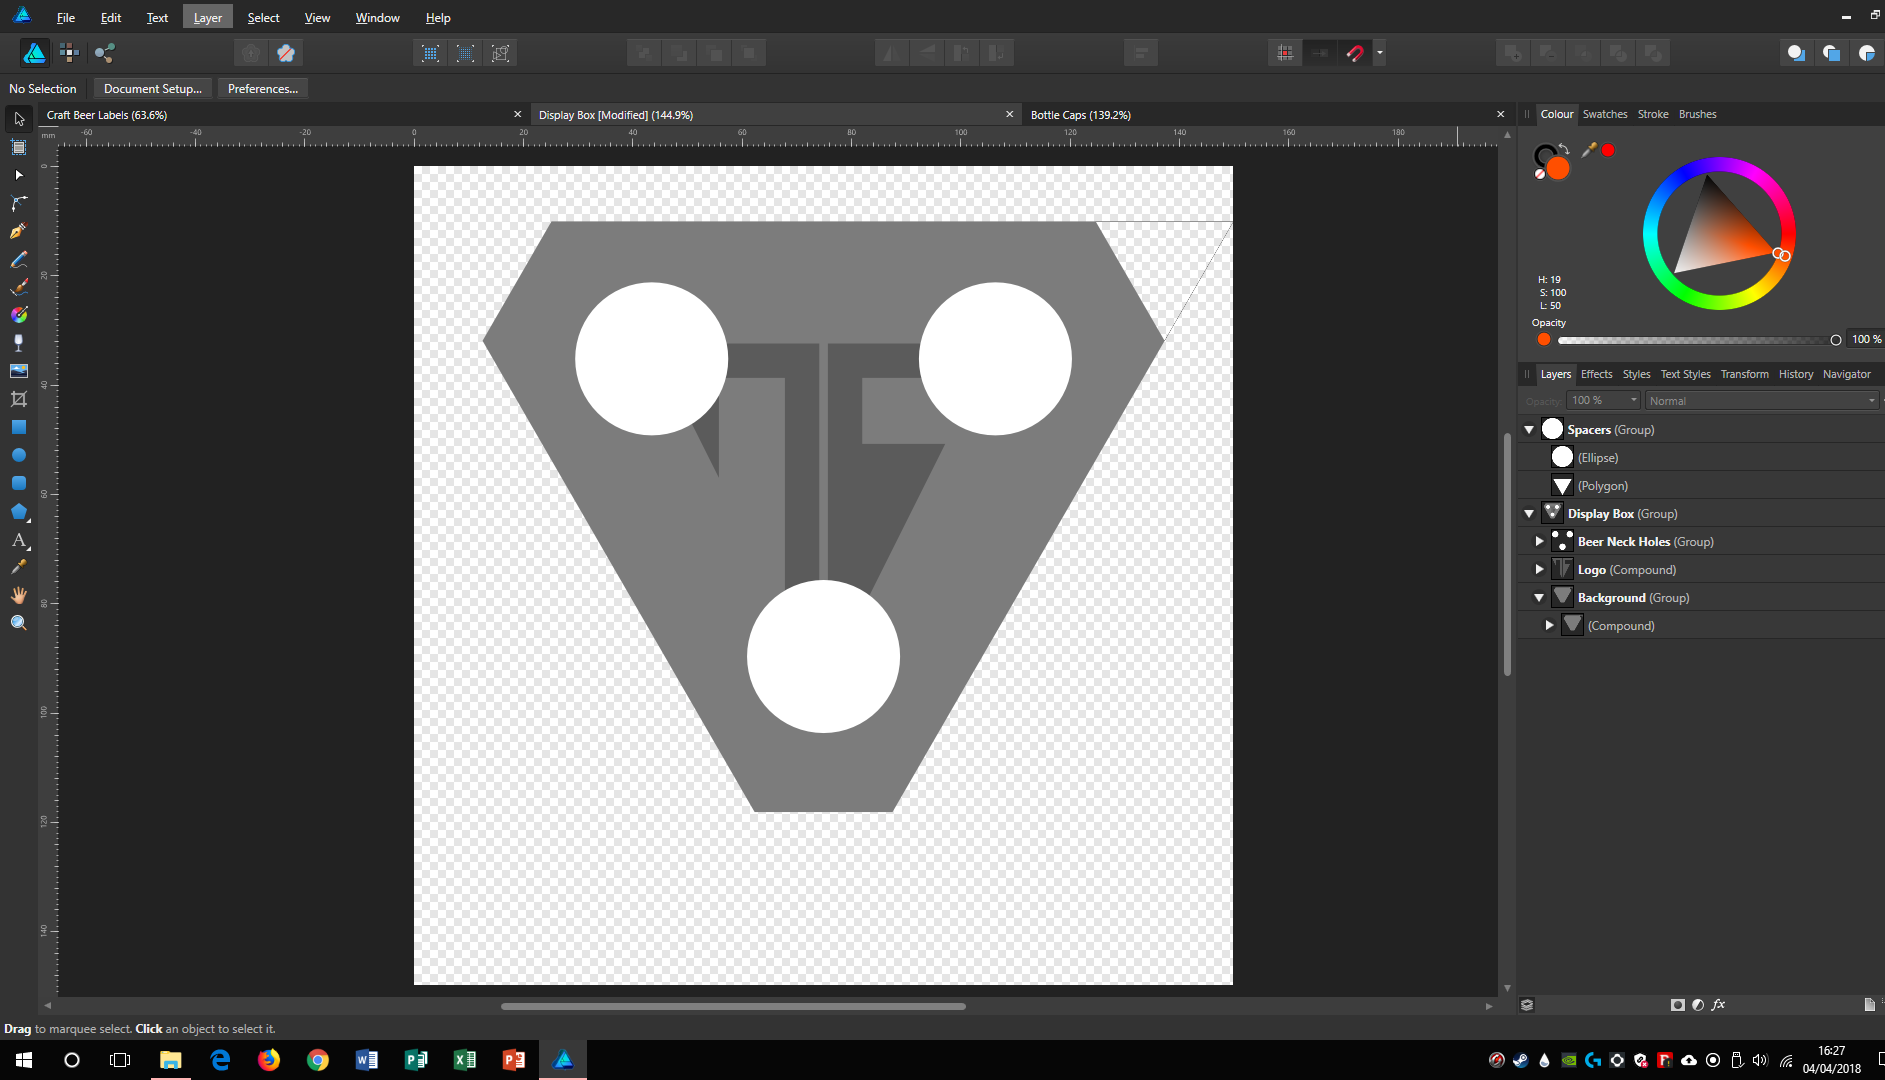
Your suggestion worked, though, highlighting the yellow rectangles and just the logo will give me the desired effect as seen in the first and second screenshot.
Whilst I think this looks good I'd also like to see what it looks like if I do the logo AND the background gray triangle behind, problem is that the "add" function only flattens the two shapes, in the sense that it merges them into a single colour, I may have missed something that you said.
Cheers,
Dylan

-
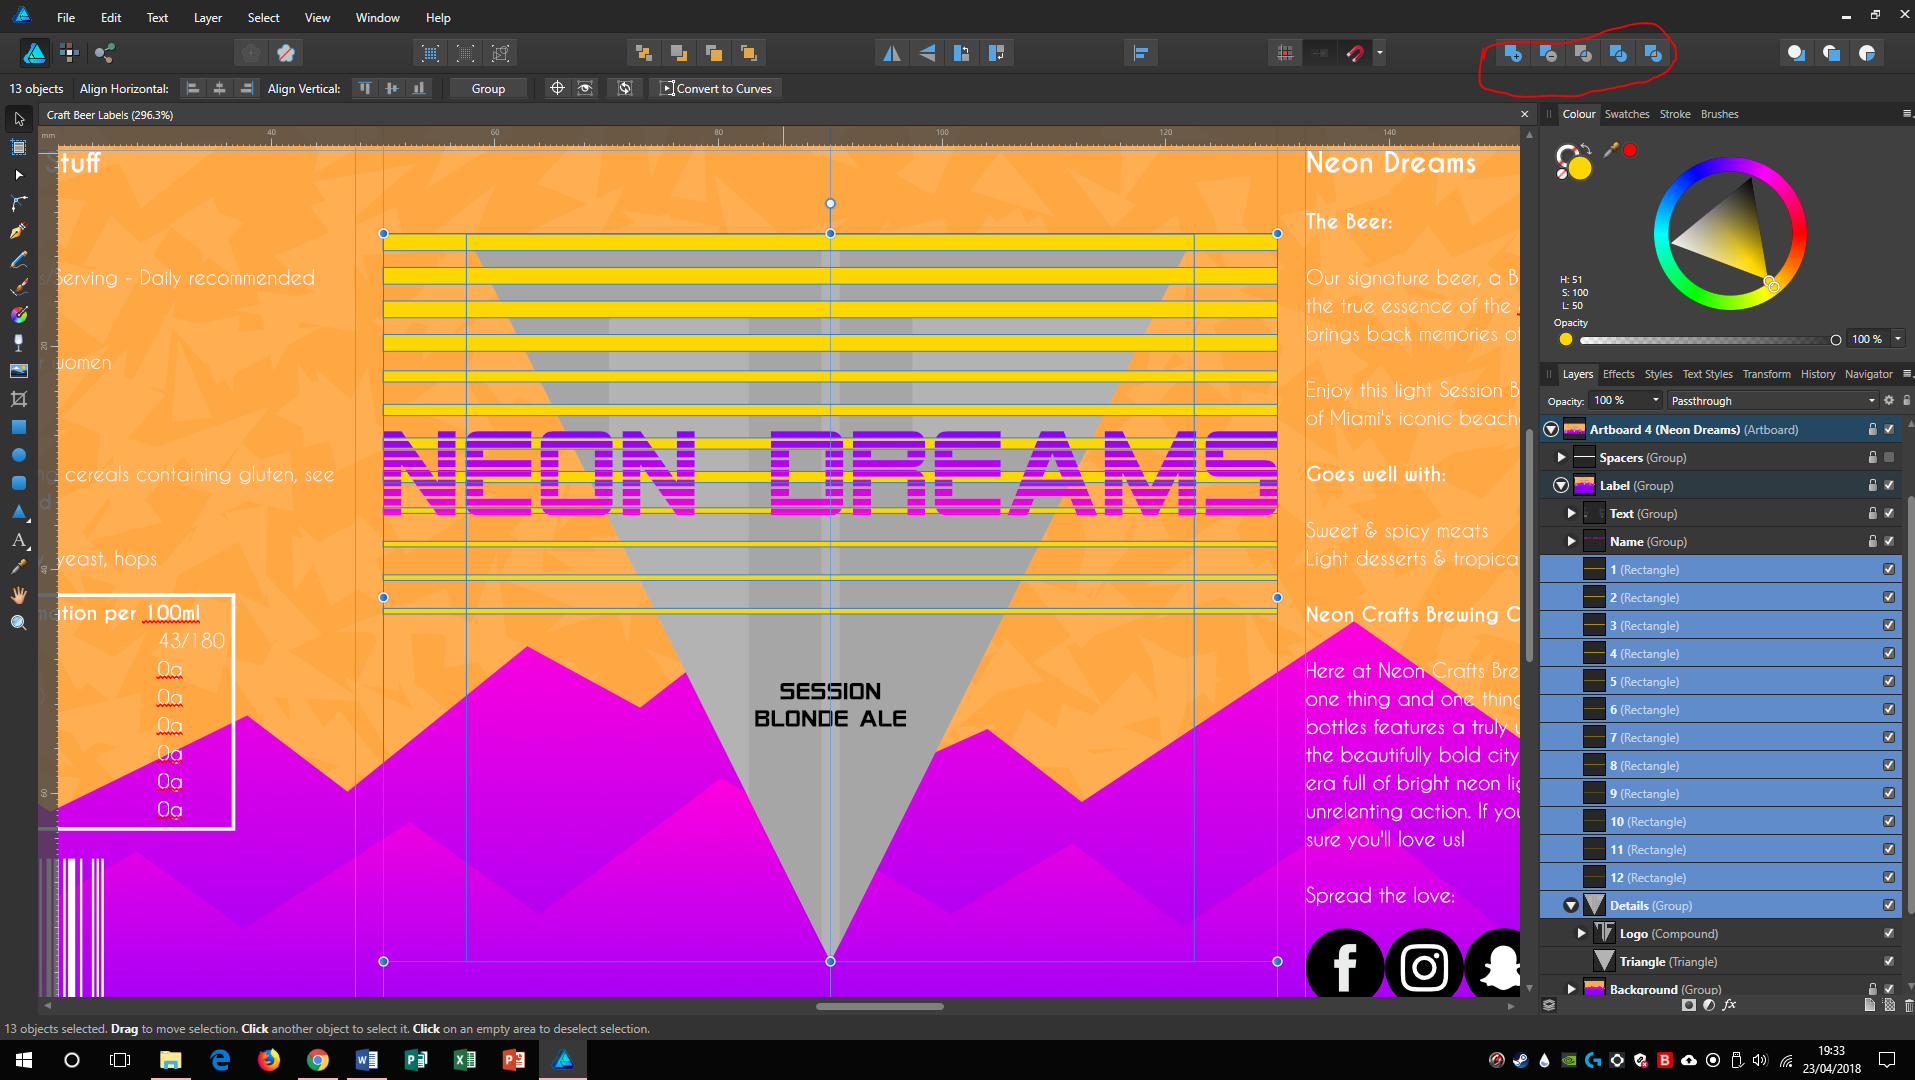
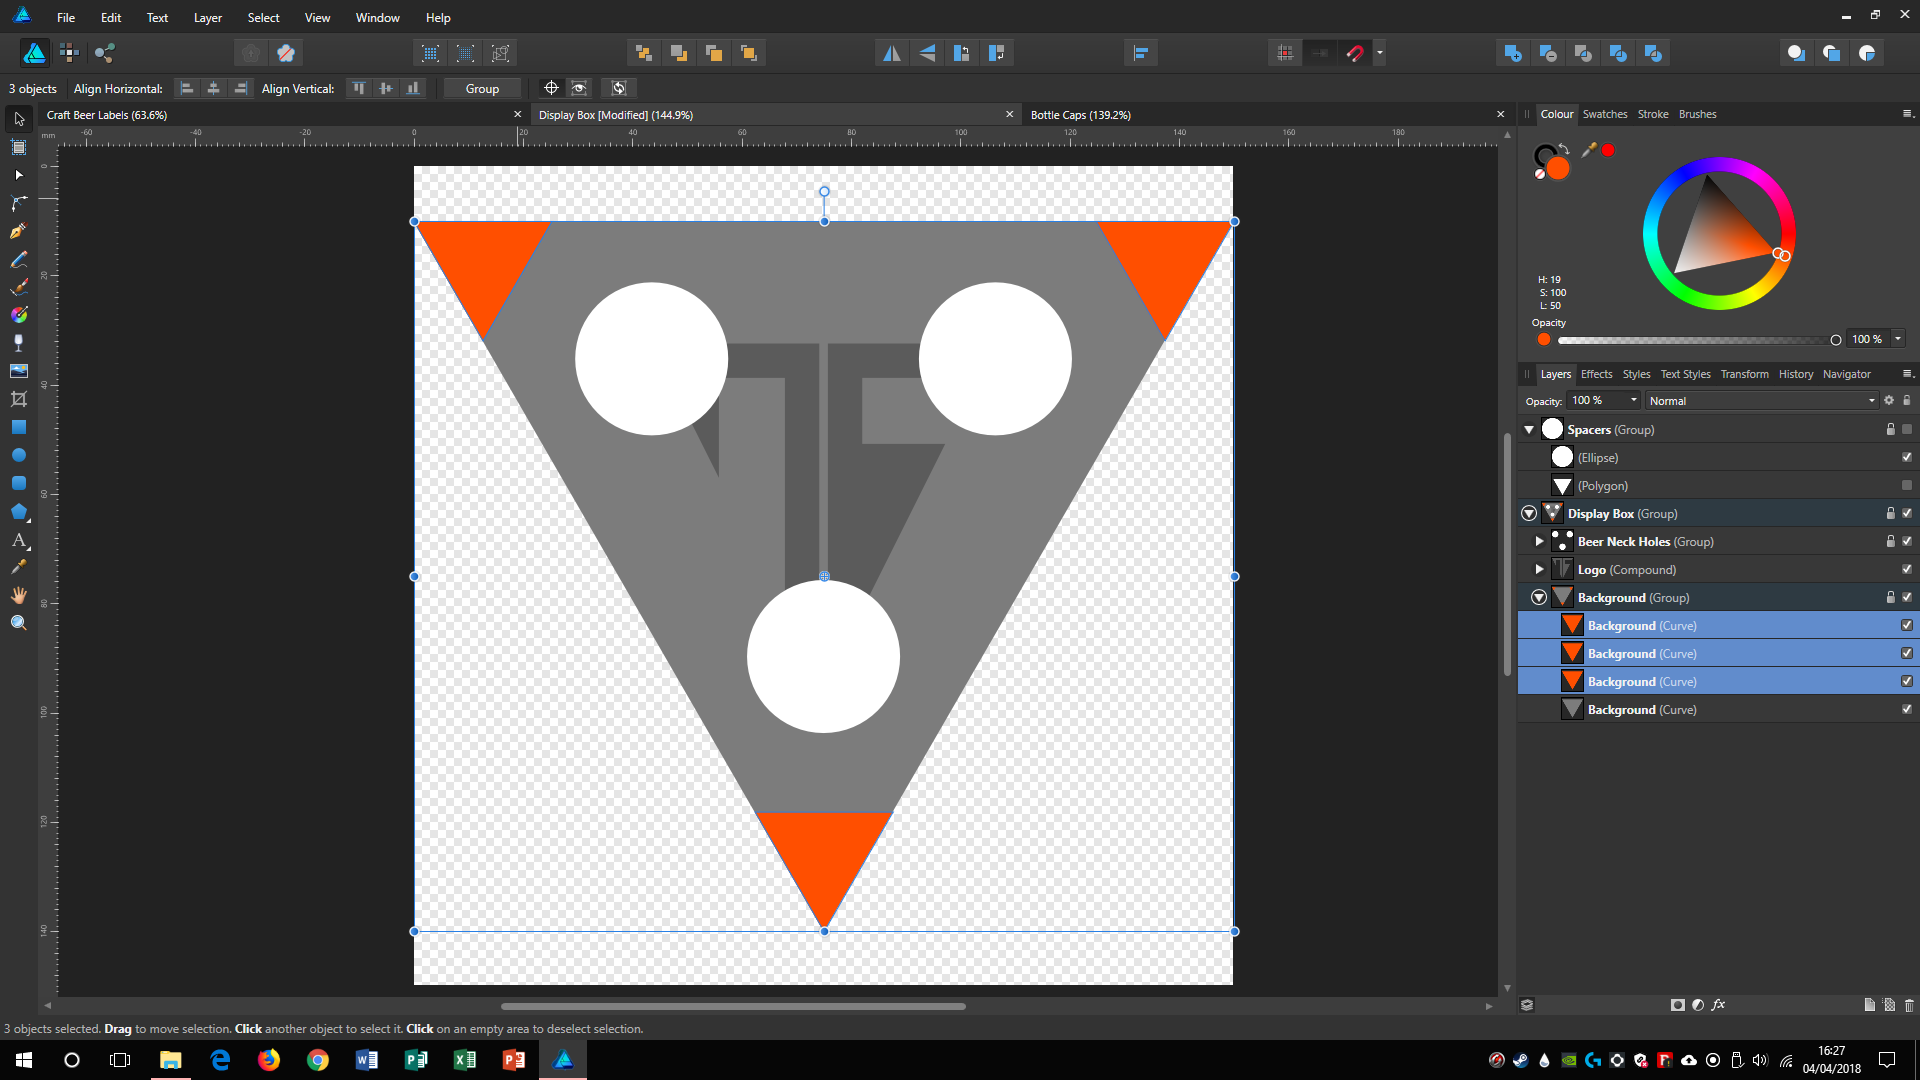
I'm not quite sure if I can explain this in a way that makes much sense so I'll let the screenshots do more of the talking; what I'm trying to do is use the "subtract" function to create and effect on the "Neon Dreams" piece similar to that of the other screenshot, with the transparent lines, I don't want to make it too complicated so I hope the screenshots help make everything make sense.
I know what I have to do but it seems that I can't because I'm trying to subtract an existing compound?
Am I doing something wrong here?
Thanks.
Dylan
-
14 minutes ago, Friksel said:
@Dylan SJ Perez Looking at your work (wich looks promising btw nice colors), I am trying to help you, but can't really tell anything from the screenshots alone. So I can only throw some things I normally check if strange things happen; are you sure there are no strokes that needs to be converted into paths before you start adding/joining? Are all paths closed? Do you still have the problem when you don't use smart nodes?
2 minutes ago, Alfred said:The 'Join Curves' command joins the nearest start or end node of one open curve to the nearest start or end node of the next. The 'Add' command creates a single object from the selected curves, closing them first if they're open to begin with.
Thanks, I think everything is converted to paths, they should all be closed. I didn't use smart nodes to begin with either.
I tried what you said Alfred, and also broke all of the curves and then joined them, then closed them, but that just seemed to mess everything up.
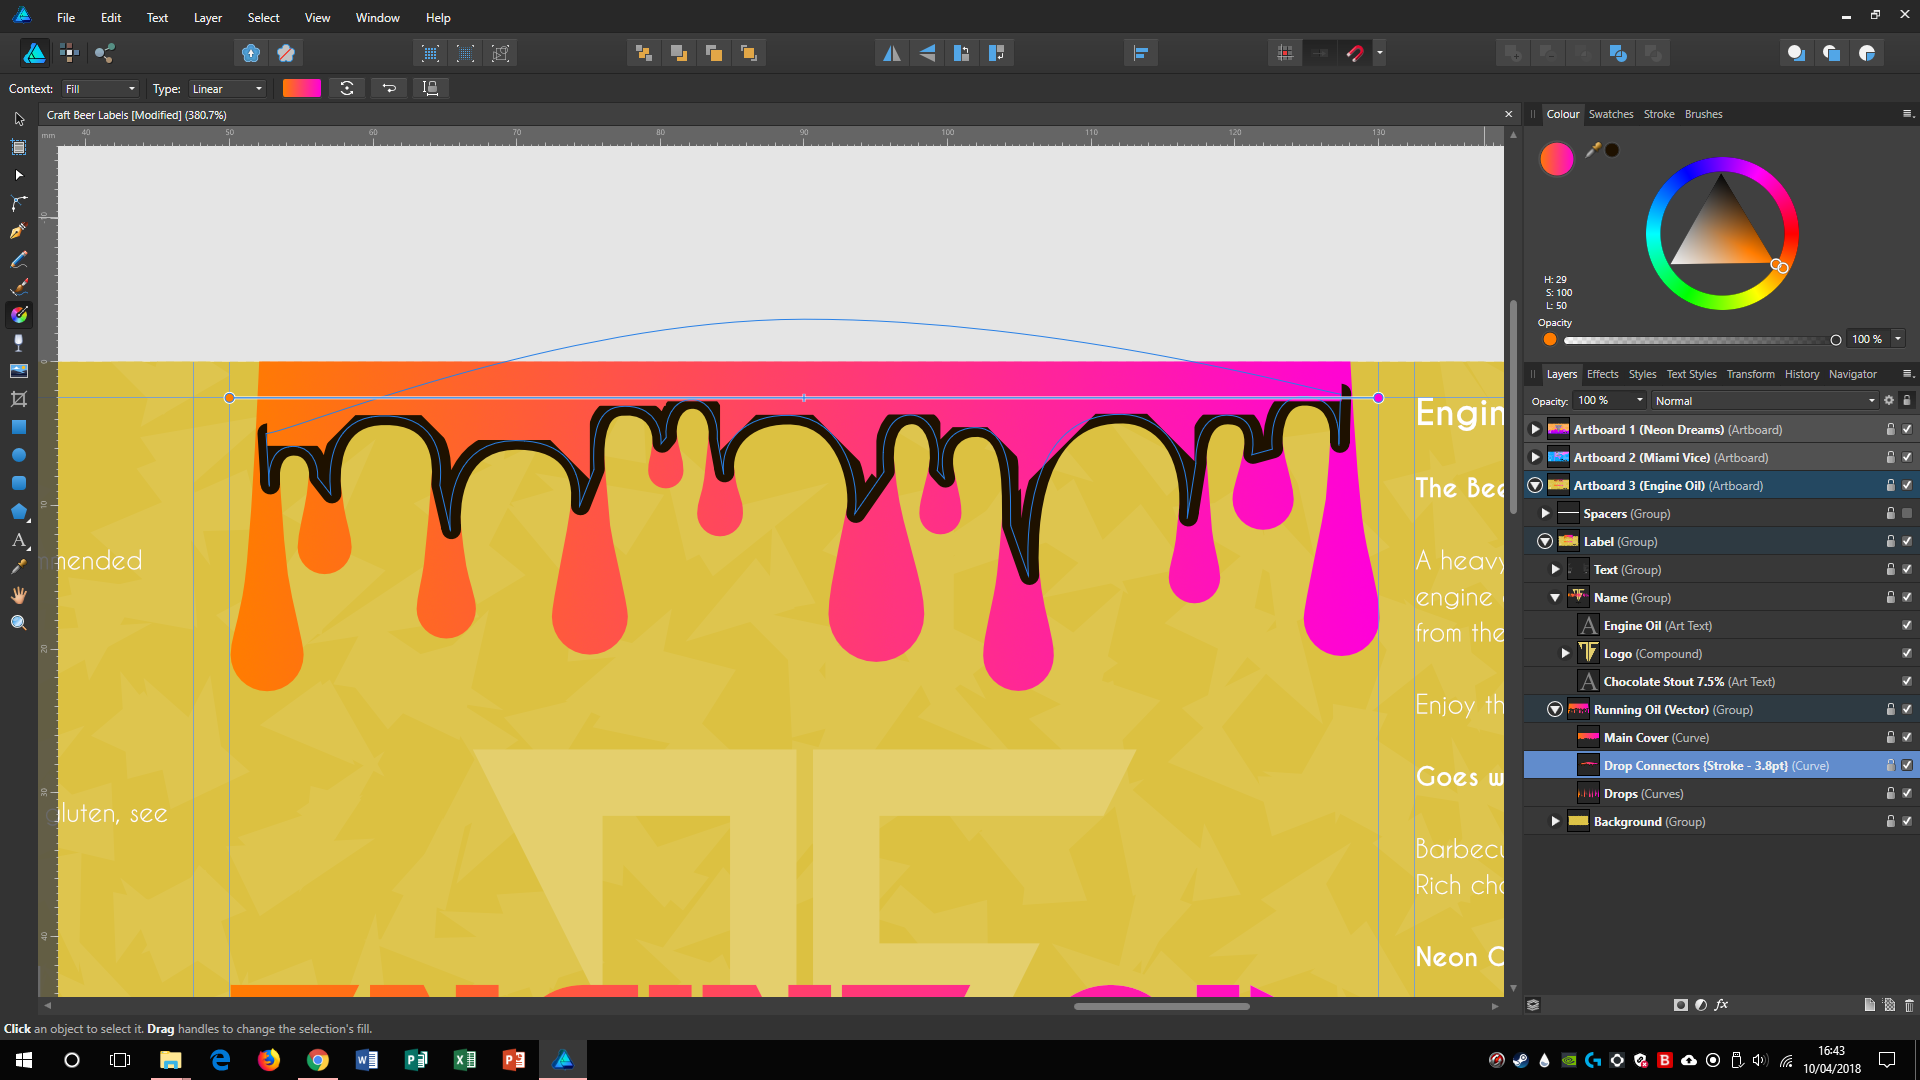
I did however figure out how to add gradients to outlines and that seems to work great.
Thanks guys!
-
29 minutes ago, Alfred said:
There's currently a bug which surfaces when you add shapes which include 'Smart' nodes, but from your first screenshot you don't have any of those. Try it and see!
21 minutes ago, gdenby said:You can also apply a gradient to a stroke. In this case, should not be too hard to get a match. But as Alfred said, why not try and add them all to make one object.
I wasn't able to join curves and turn it into a single object (maybe I'm doing something wrong?)
I'm not sure how to apply the gradient to the stroke either
Applying a gradient to the stroke seems like the easier option at the moment but if I could turn it all into a single object I'd prefer that
-
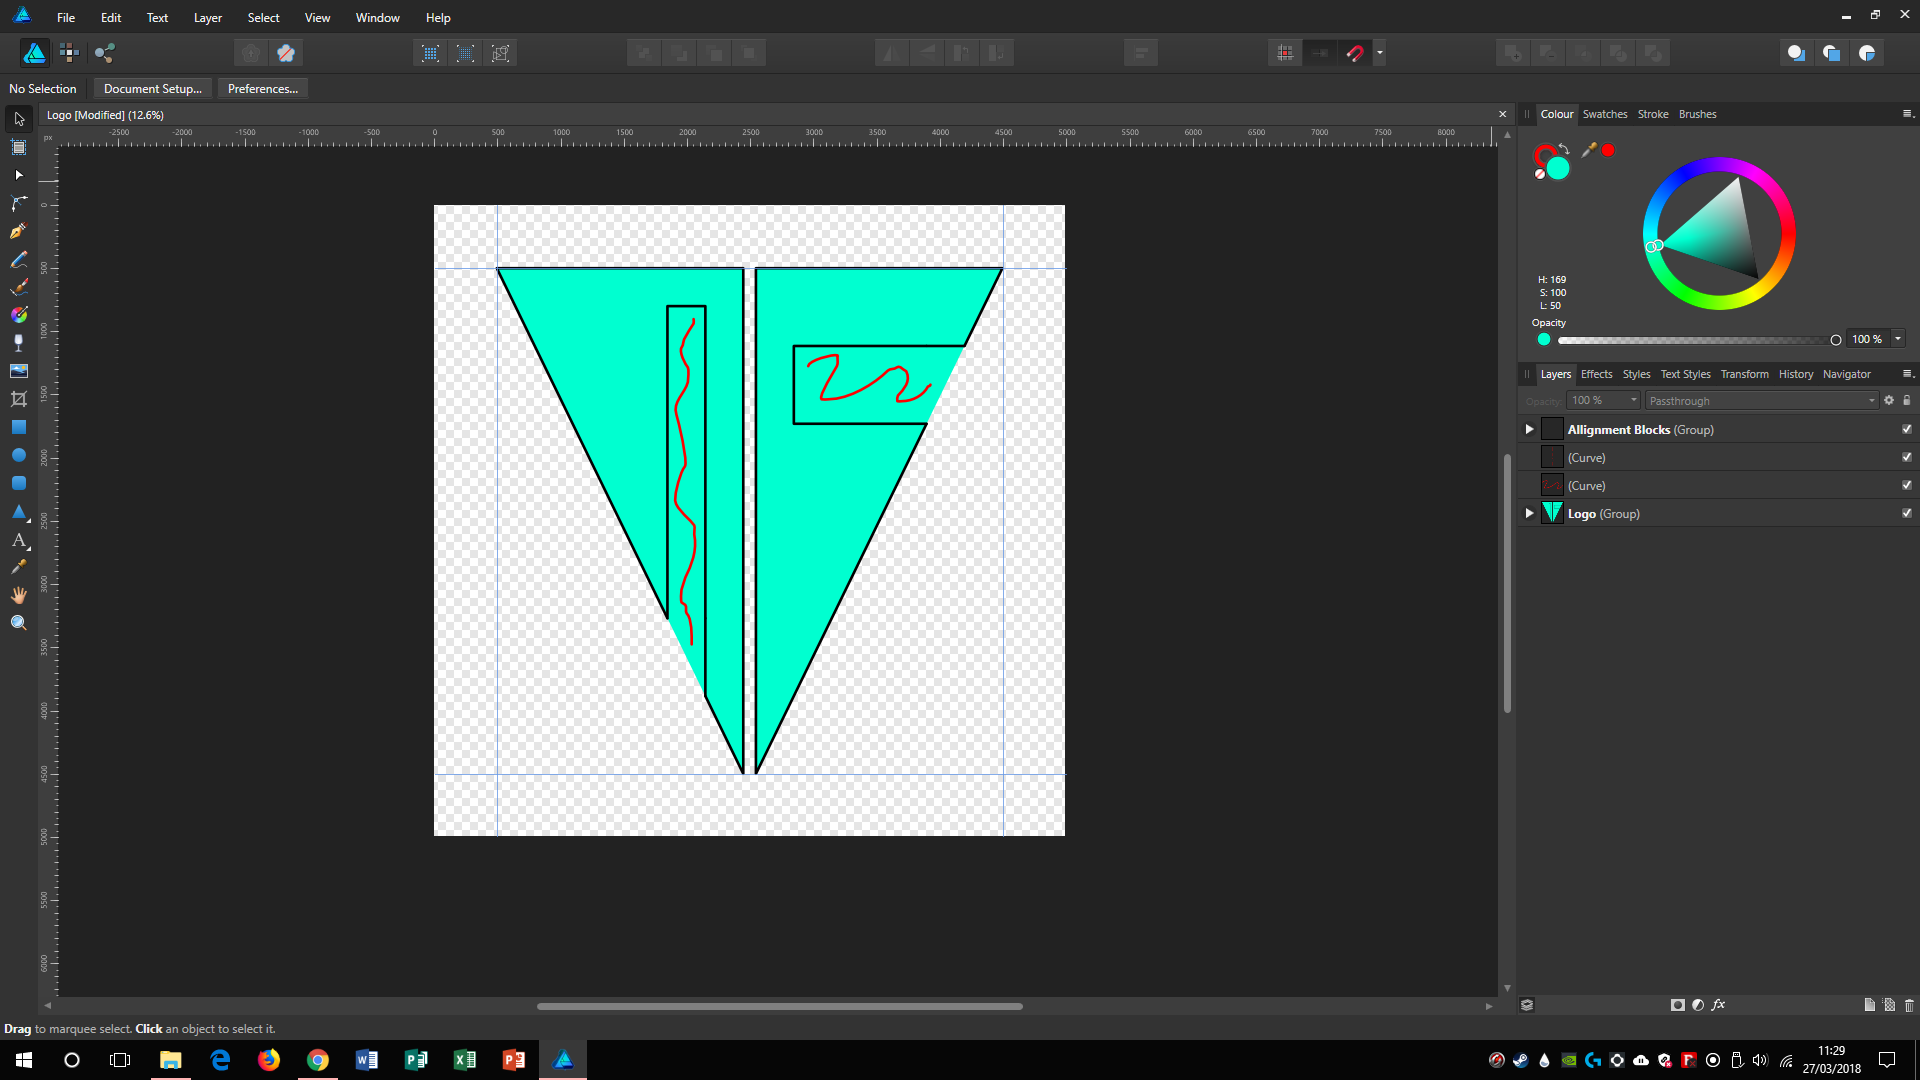
Hey everyone, I'll attach a screenshot of my problem at the endn of the thread, but what I'm trying to do is merge these 3 curve layers into one flat object that I can put a gradient on (I wasn't able to do this with a rasterised pixel layer?) Is there any way I can do this?
My issue with applying a gradient to the current set is that the gradient doesn't apply to the outline (which one of the layers uses as seen in the second screenshot)
Are there any ways to do this or any workarounds?
Thanks,
Dylan
EDIT: I know I could join curves but that would mess up some of the nodes and their placement wouldn't it?
-
4 minutes ago, MEB said:
Hi Dylan SJ Perez,
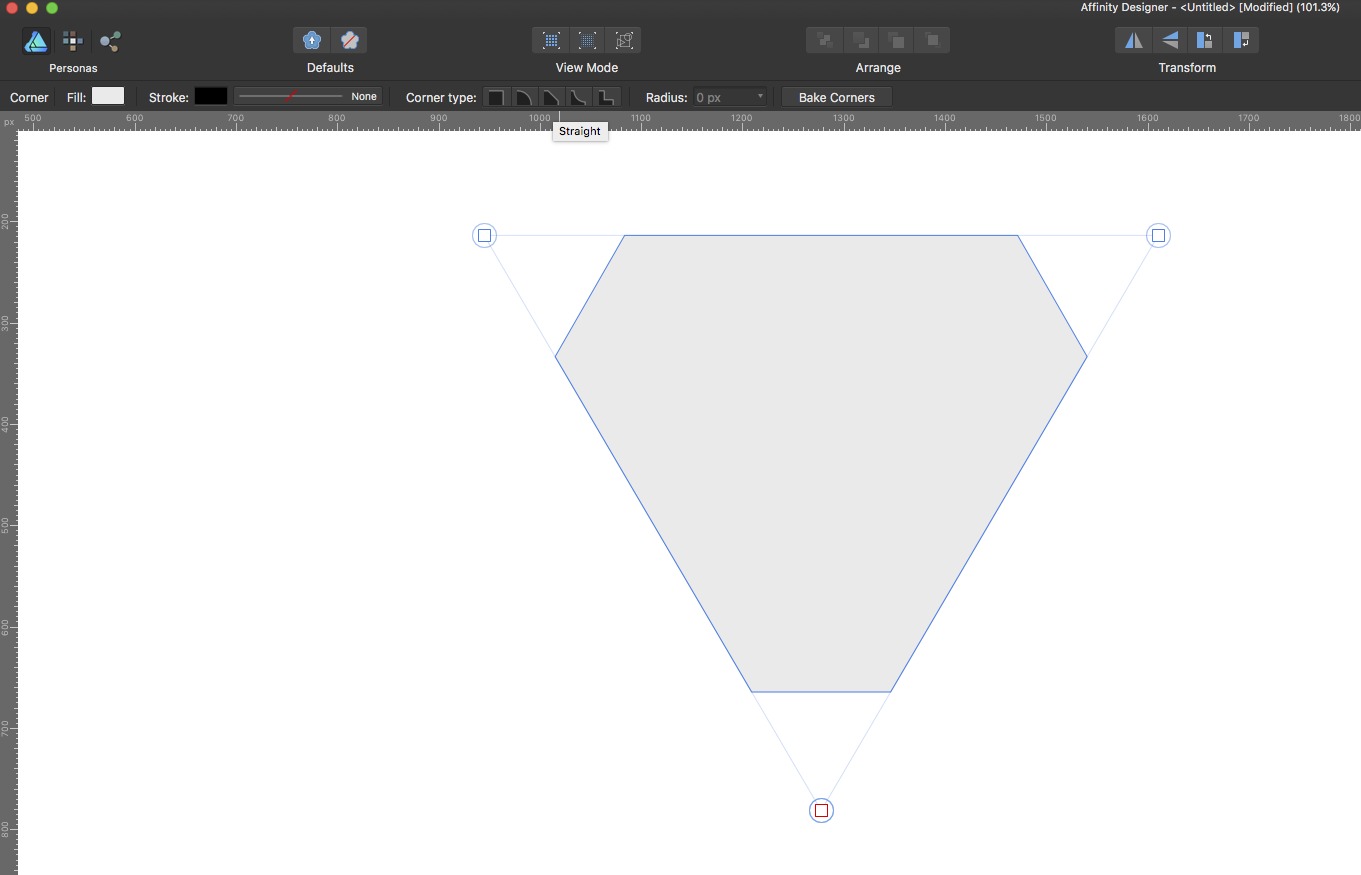
This is a know issue with boolean operations when the edges of shapes overlap/match. To workaround it, and one node to each side of the triangle that overlap the bigger triangle and drag them outside bigger triangle along with the node that located in the vertice then perform the subtraction. In other words the only thing on that triangle that you need to keep in the original position is the edge that doesn't overlap the edges of the big triangle.
2 minutes ago, Scungio said:You could select the 3 points of the triangle and use the Corner Tool with the straight option:
Thank you for the explanation MEB, but I completely forgot that the Corner Tool existed seeing as I'm pretty new to AD, I think that this tool would serve me better in case I need to resize it again later.
Thanks to both of you for the quick replies.
-
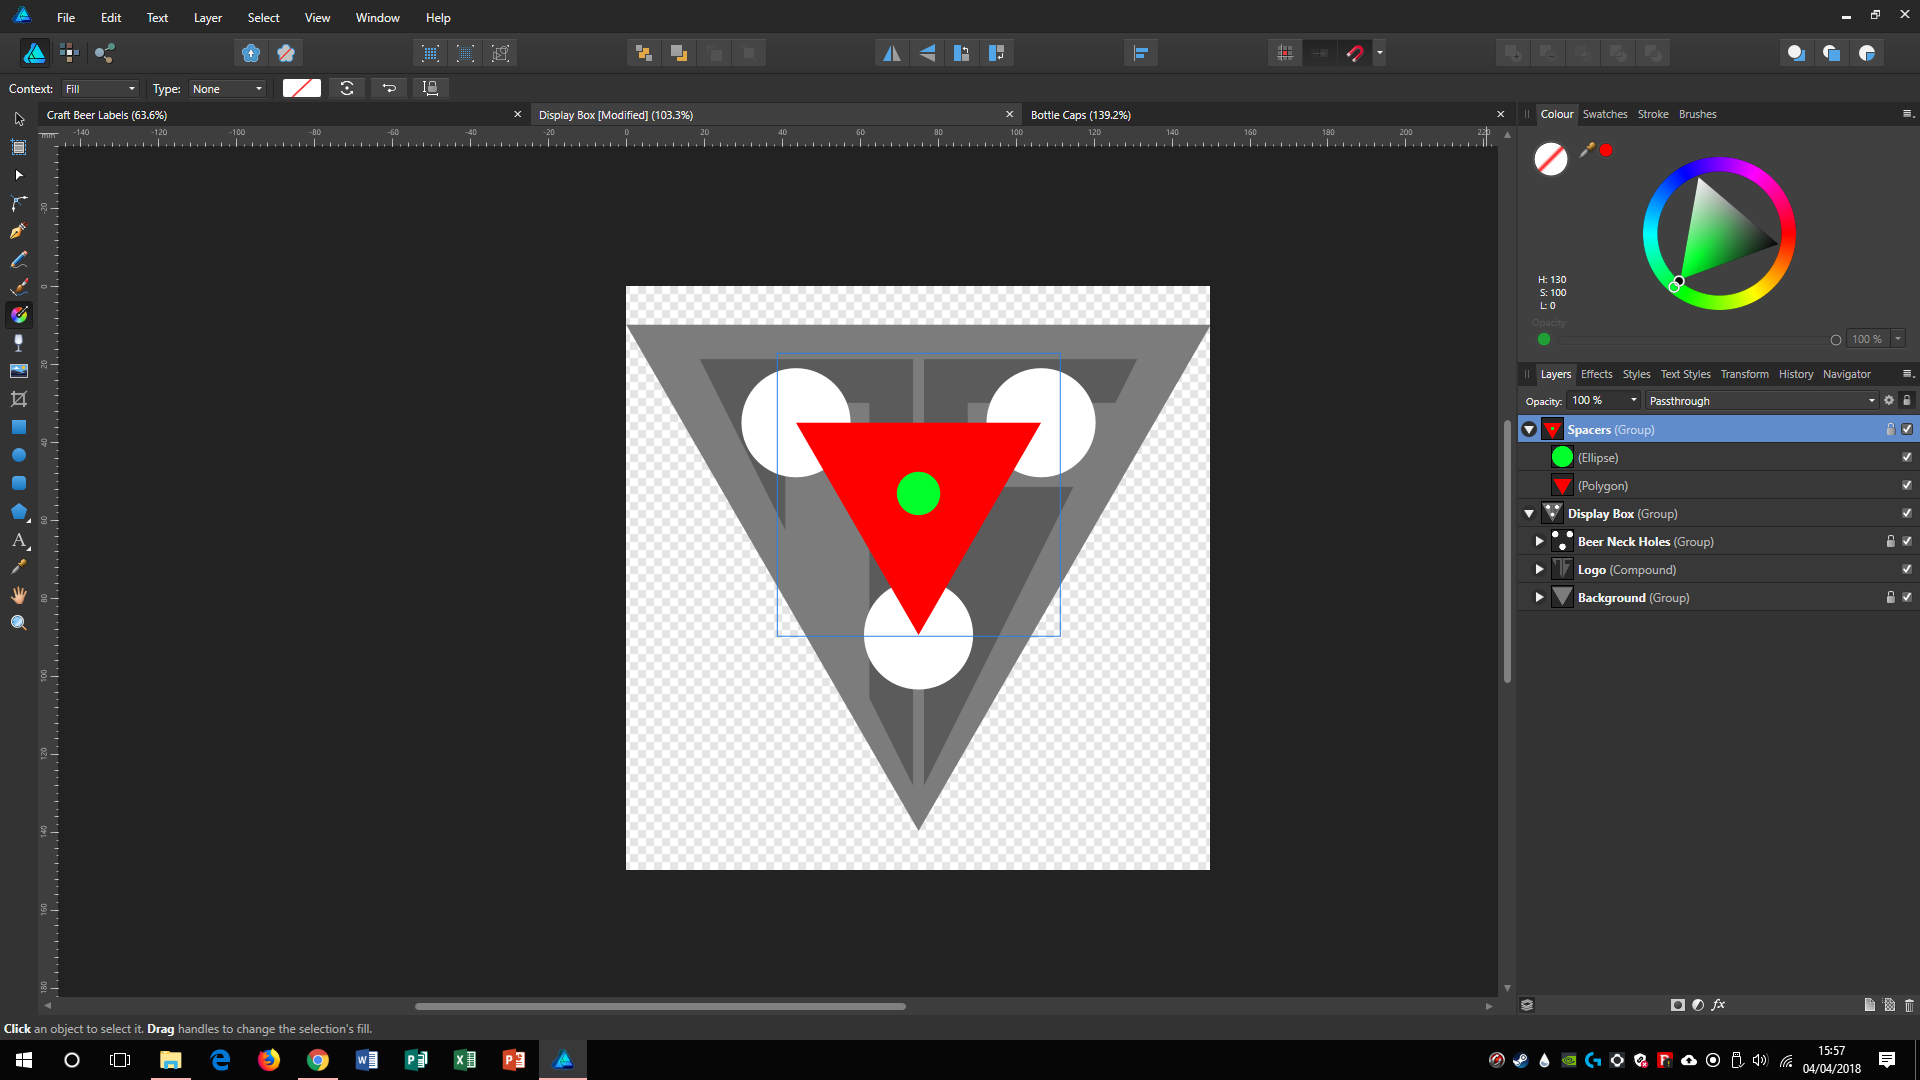
So I'm trying to use a few triangles on a larger triangle, using compounds to try and flatten the vertices of a triangle, this works well on 2 vertices but leaves an artefact on the 3rd, the screenshots should show it and nothing I've tried so far has gotten rid of it; editing curves, making another triangle, etc.
I should also mention that this artefact remains after I export it into PNG format for example
-
30 minutes ago, Aammppaa said:
Seems pretty straight forward to me… (But maybe I'm missing something?!)
- Draw a Triangle using the Polygon Tool (sides = 3)
- Draw a Circle and snap it it the top point of the Triangle
- Move the Circle down to achieve the desired offset
- Show then Snap the Rotation Center of the Circle to the center of the Triangle
- Duplicate (Ctrl+J) and rotate 120 degrees
- Power duplicate to create the third Circle
This would've been the quicker way, I wouldn't have thought of it, I used Alfred's method, it didn't take long anyways, all I had to do was move a center point and draw a smaller triangle.
As for how straightforward it is, yeah it's easy now that I think about it, but I am still new to Affinity software (and vector in general) so I'm still learning all of the ways that I can do things, as well as workarounds.
This is the method that I used.
Thanks for the help!
-
40 minutes ago, Alfred said:
I haven’t tried this, Dylan, but from your description it looks to me as though each circle must be centred on a vertex of a smaller, similar triangle which itself is centred on the original one. Duplicate the existing triangle, shrink it while holding down Shift to maintain its aspect ratio, and then also hold down Ctrl to resize it from the centre; I think you should find that snapping the centres of the circles to the vertices of the new triangle will give you the result that you want.
Your solution worked, but I had to mess with it first, I made the mistake of converting the original triangle to curves, which shifted the center point down, not exactly sure why. Messing with it a bit more I decided to use the original shape before it was converted, lay out some more shapes as guides and then go about moving the circles, I'm not sure if what I said makes much sense, but either way, the solution did it for me, thanks.
-
Hi everyone, I'm trying to move these circles to all be an equal distance from each other as well as the points of the triangle, it doesn't seem possible with the snapping system and I have no clue how to move them the way I want, can anyone help? I've attached a screenshot
Thanks
-
4 hours ago, dutchshader said:
maybe add a little 3d effect.
I appreciate the suggestion, but it wouldn't really fit with my overall theme
Thanks
-
-
11 hours ago, JohnCa said:
If I need shapes like this, I create a rough outline with the pen tool and then smooth that selection to get the curves right.
Here's a quick and dirty example:
I used the polygon option to create a rough shape, made a selection out of it and then simply used the smooth selection option.For this sort of shapes I find this quickest. You could also use the pen tool and create the whole shape manually but that's too work-intense for me personally.
That would've saved me a very very long time, I used curves and the vector brush to do it in the end, this seems much faster and less cluttered too, I feel stupid asking, but where's the smooth selection tool?
This is my result with my method, I'm still pretty happy with it:
-
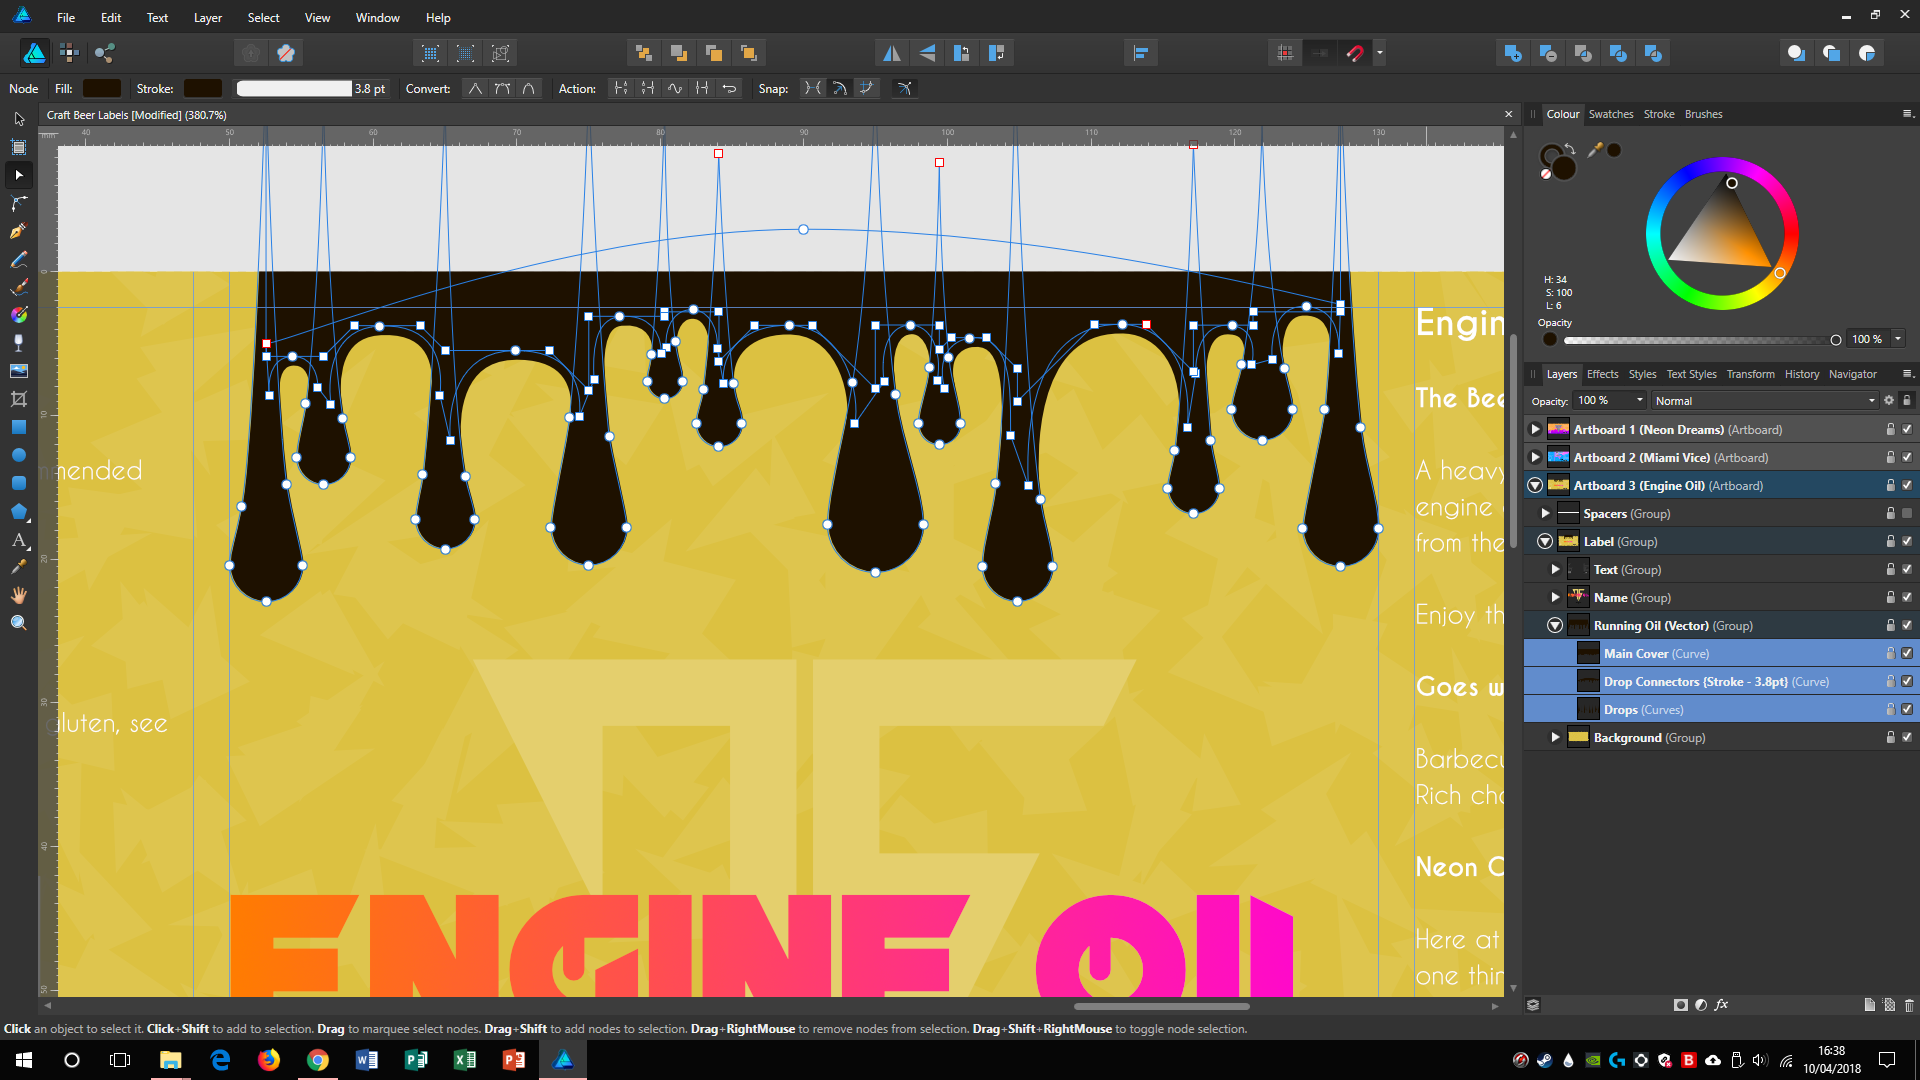
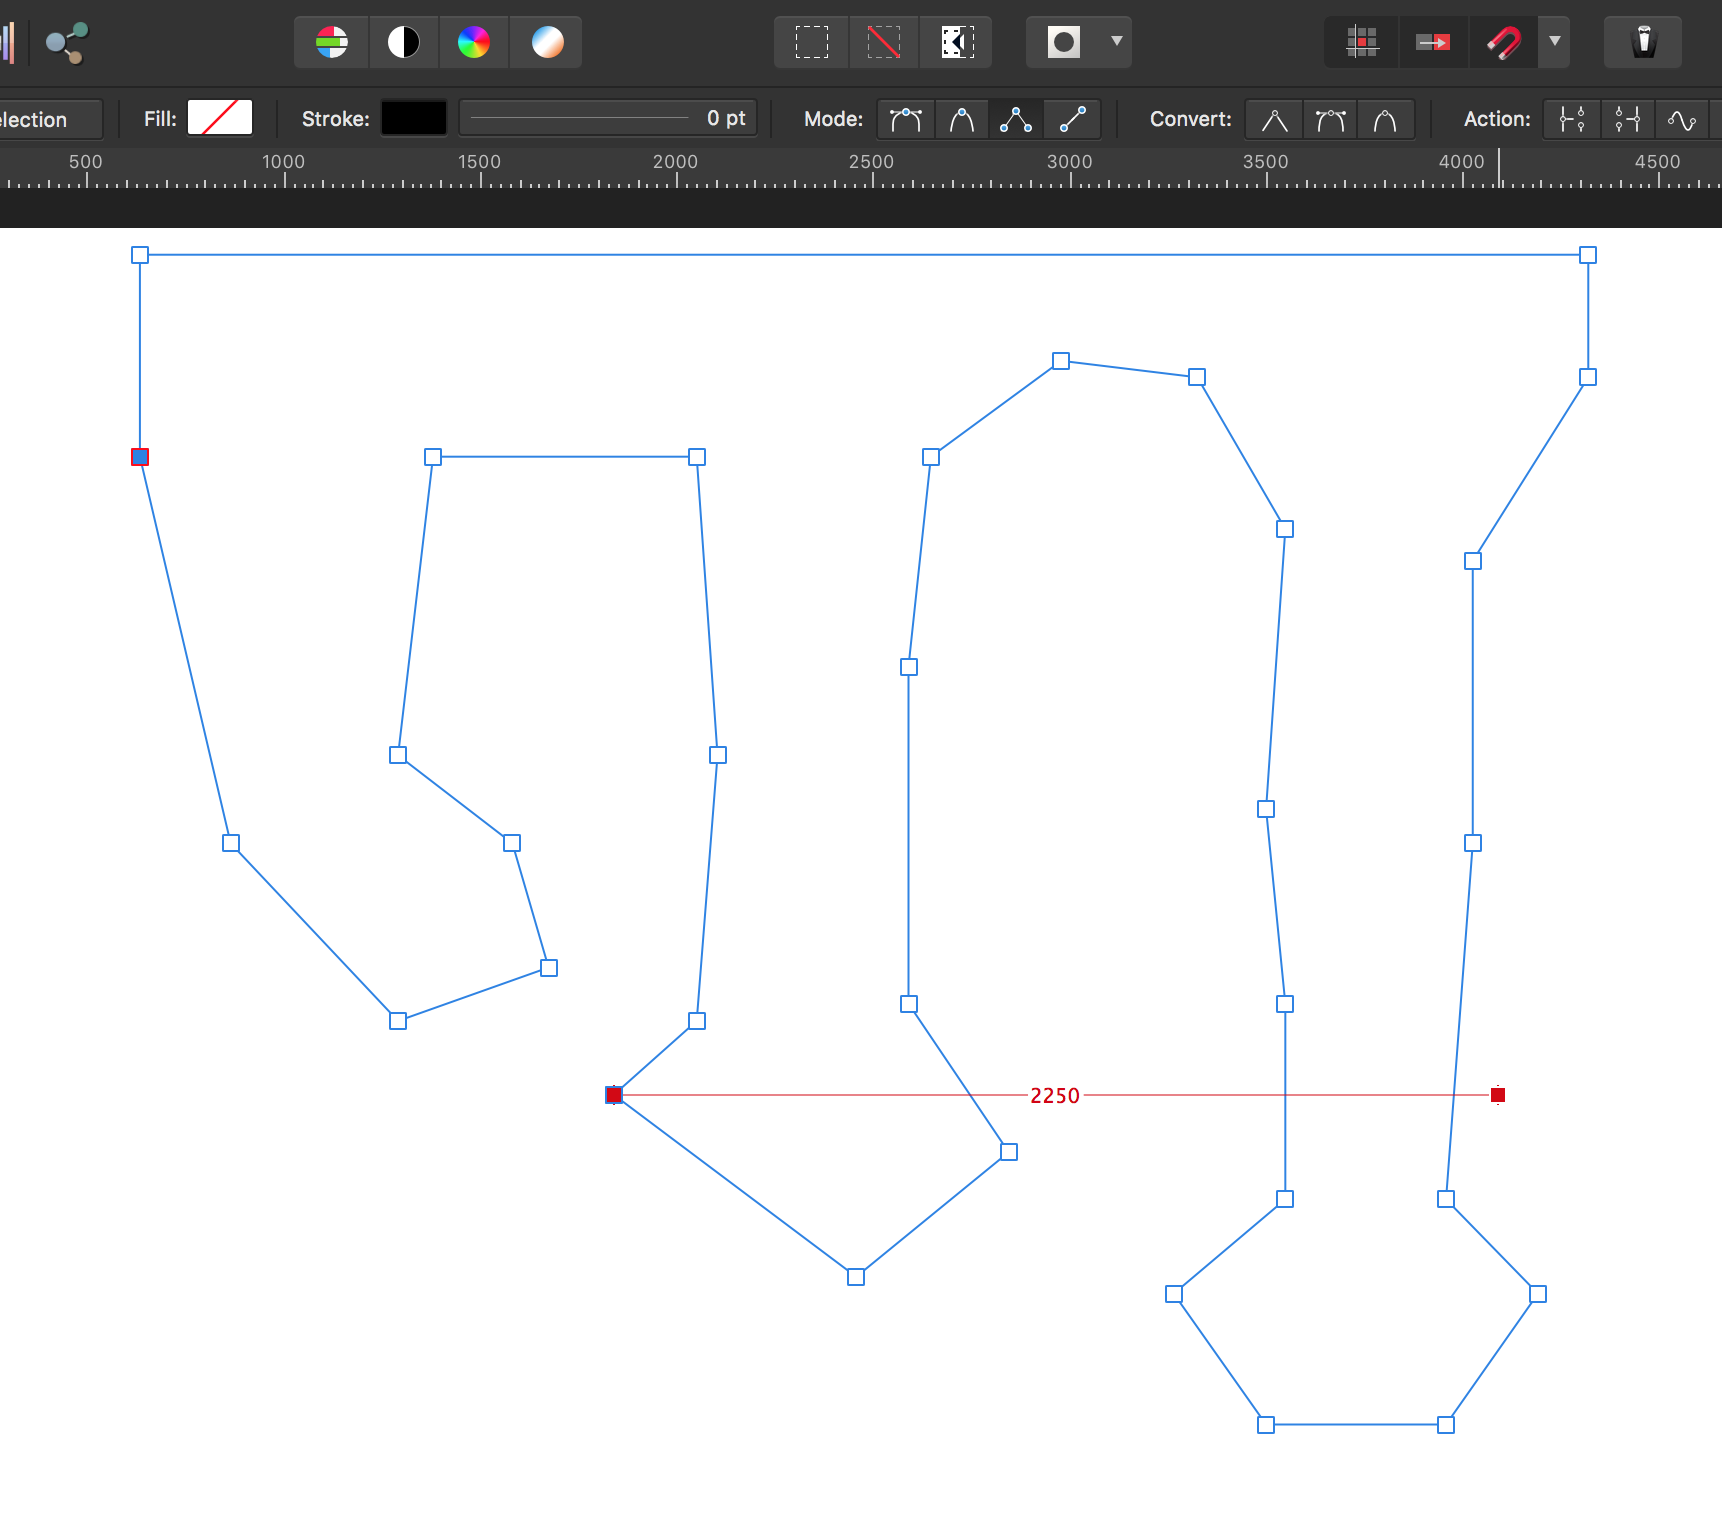
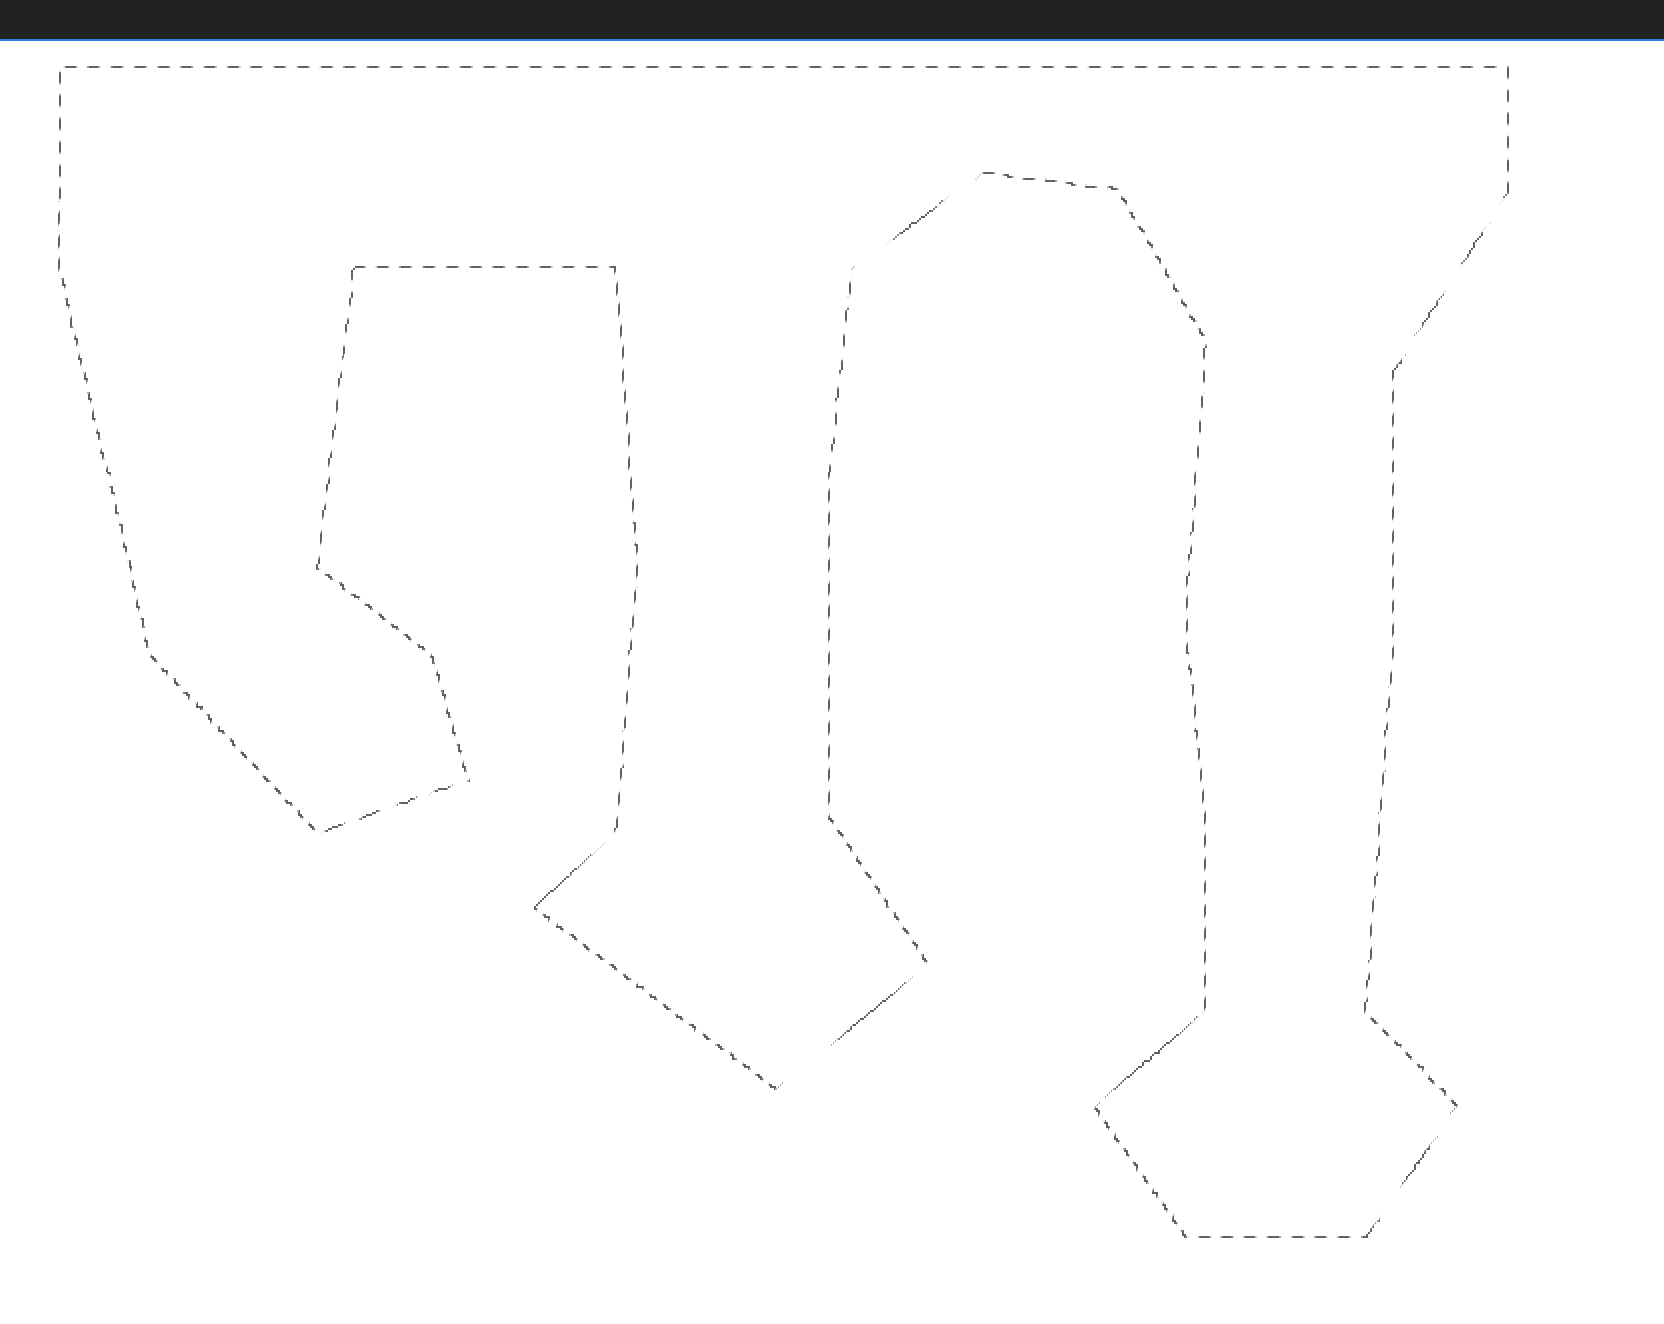
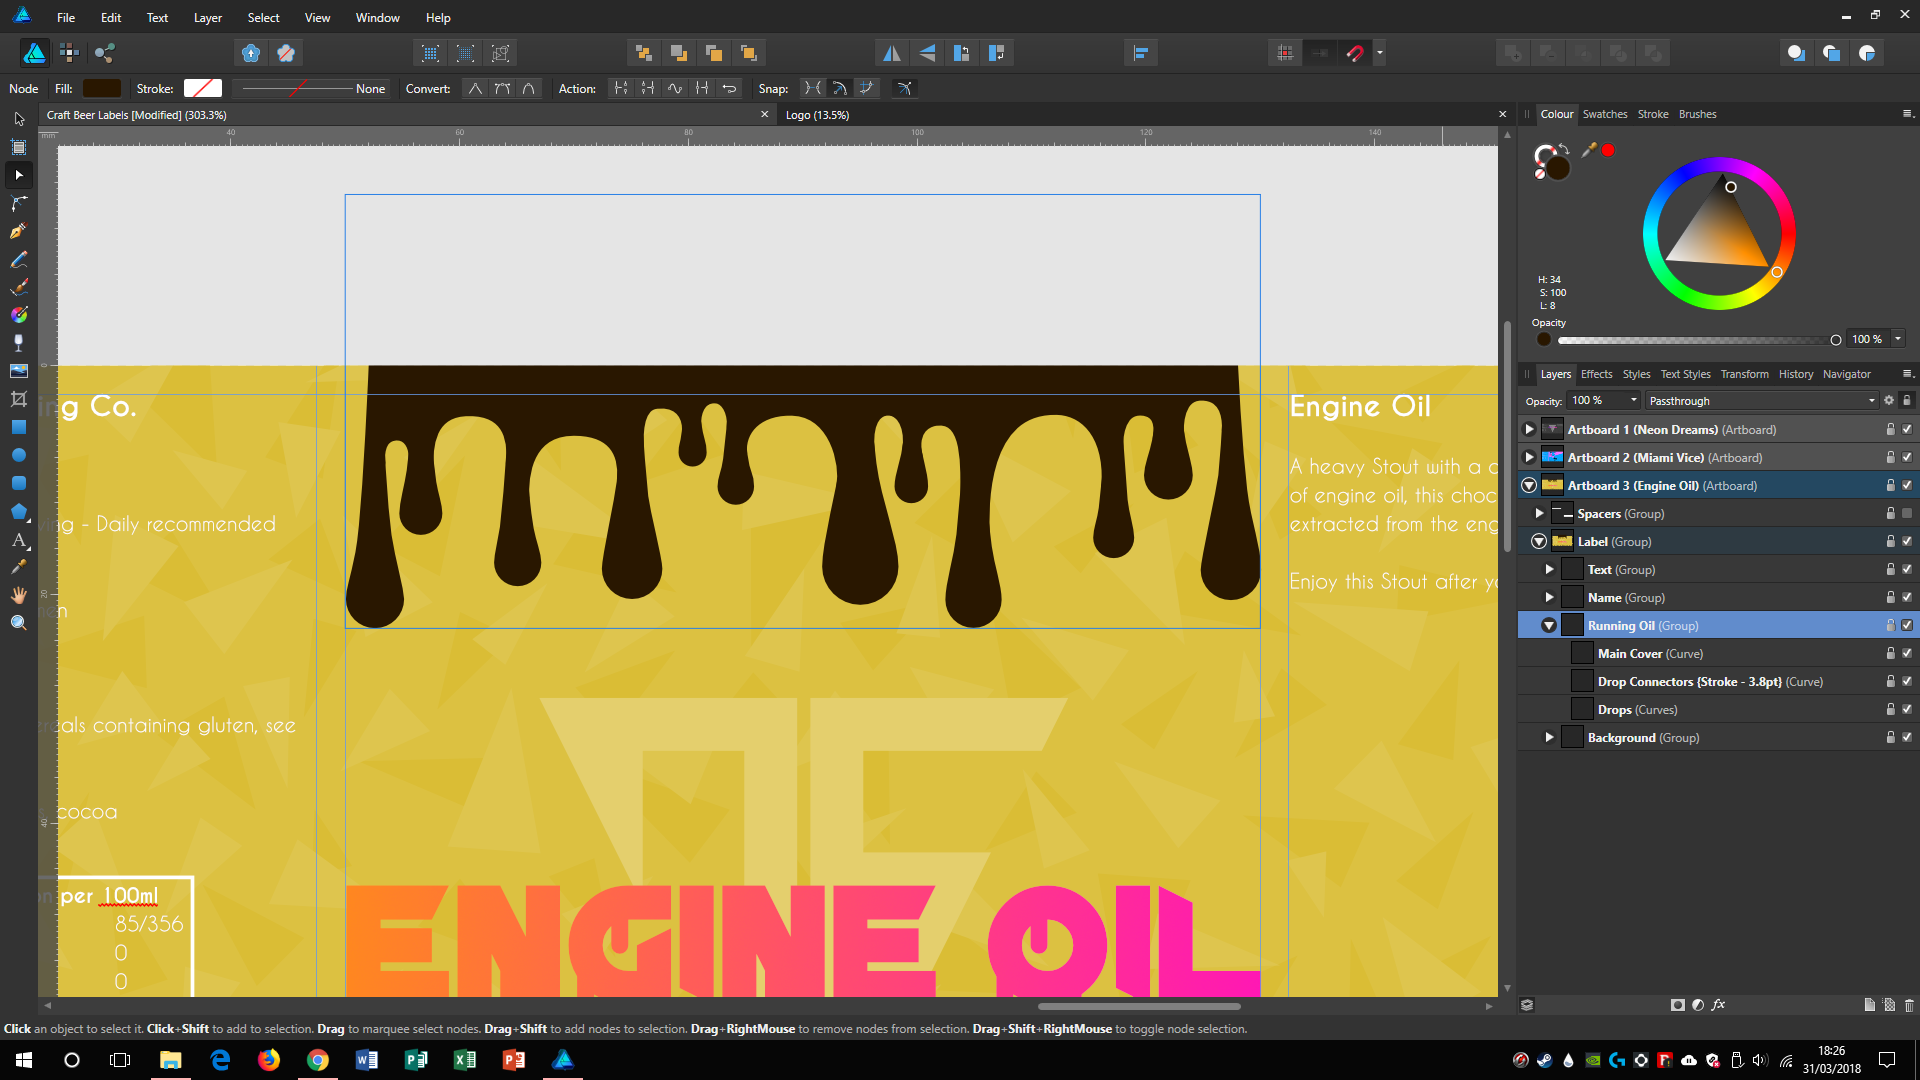
As part of my project I want to make those brown dribbles in the screenshot look more like oil running down the screen, currently it just looks like drops, how can I make it look like more of a singular mass? As shown in the other photo I've attached, I know what I want to do but not how to do it, thanks!
-
34 minutes ago, Alfred said:
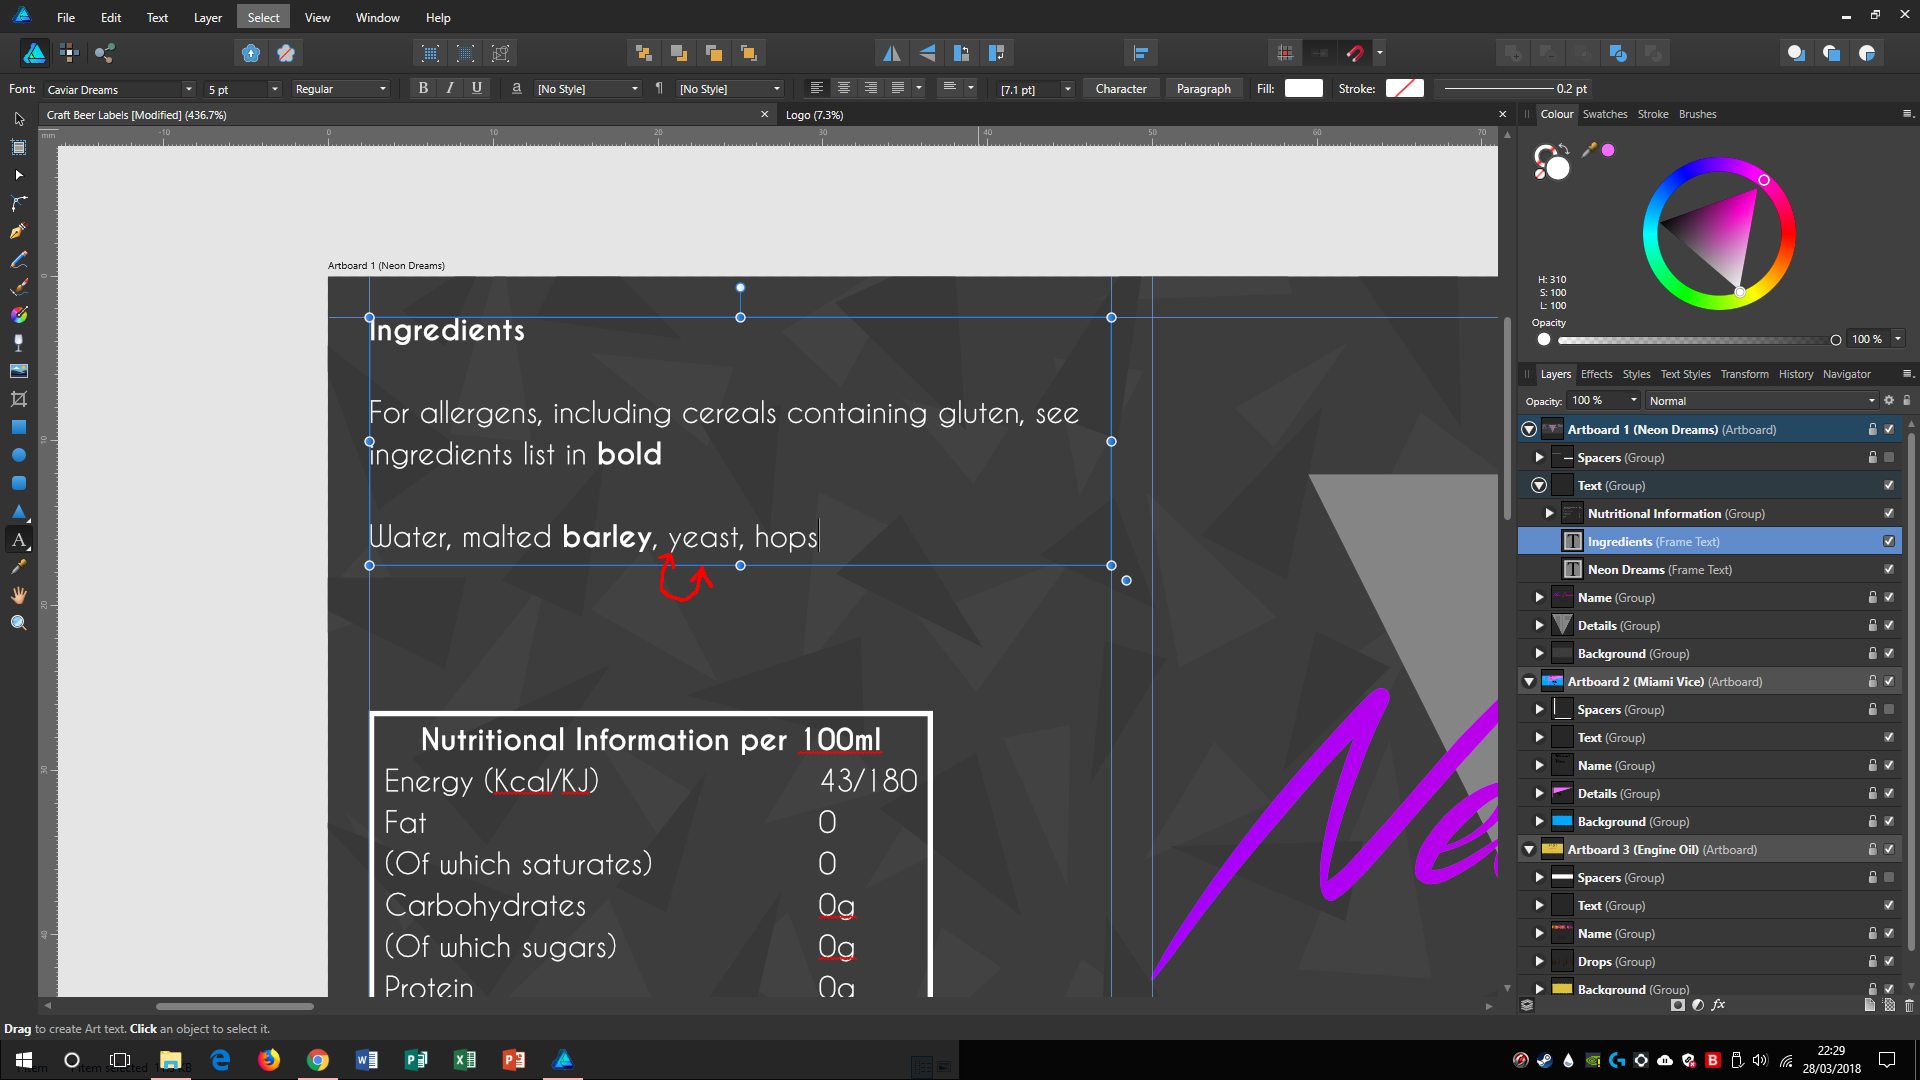
To make the bottom of the frame tight to the text in Affinity Designer 1.6, double-click on the bottom centre adjustment handle. (You can similarly make the right-hand edge tight to the text by double-clicking on the middle right adjustment handle.)
Nice, thanks
-
The screenshot speaks for itself really, I know this is a thing in Photoshop but is there any way to snap the bottom line of the Frame Text to the bottom part of some text? I'd need this to space everything out just right.
Thanks
-
-
It works great and it's easier to do this way, I notice that Garry, yours turned into a compound group, where you could still move around that rectangle, I must have missed something but mine's just turned into a curve, so I can't edit it anymore, it'd make changing it a pain if I have to, though I could keep a copy of the original, how did you manage to make it a compound group?
-
17 minutes ago, GarryP said:
If I've understood your requirements correctly, you could have done this more easily by using compound objects.
Draw a rectangle - or whatever shape you want to cut out of the triangle - and place it over the triangle.
Then select both shapes and use the Subtract function.
If you hold down Alt while subtracting you can later move the rectangle around (and edit it) without needing to edit the nodes - see attached video.
This also a great tip, is there any advantage to either?
-
4 minutes ago, Alfred said:
If you explore the buttons in the Action section of the toolbar, you’ll find that one of them is the ‘Join Curves’ button. Select the two curves of the N and then press that button; repeat for the two curves of the C. You could finish off by pressing the ‘Close Curve’ button to join the start and end nodes of the selected curve with a straight line, but that isn’t really necessary since there are no gaps in this case.
That worked perfectly, thank you so much for the help and the quick replies
-
8 minutes ago, Alfred said:
It would be easier to tell if the ‘Logo’ group weren’t collapsed in your screenshot, but it looks as though you just need to hide that group, select the two outline shapes and apply the desired fill directly to the selected shapes.
I completely forgot that everything I needed was already cleared, I managed to figure it out, all I had to do was remove the fill, but now everything's transparent, I'll attach the screenshot of the current stats (with the necessary sections expanded)
Based off my understanding I now have to join all of the curves for each side (the N on the left and C on the right) so that there'll only bee 2 entities, if that makes sense? How could I do that?
Cheers -
Hi everyone, I'm working on a logo and I'm trying to get rid of 2 filled sections of some triangles, the outlines are already done but the fill is still there, the area that I want to clear is the red crossed out part, does anyone know how to do this?
The way I was thinking to do is just clear the fill and use shapes to fill it in instead, merge those and then select the colour, but I feel like that'll take longer than other solutions
I've attached a screenshot
Thanks
-
Thanks for the solution guys! They all worked
-
Hi guys, so I'm still relatively new to Designer and I've been having a bit of trouble lately, I'm creating a logo and I need to snap some shapes around, I'm trying to get this triangle to snap to the long part of the other one but it won't capture it as a snapping point, could anyone help out? I'll attach a screenshot
Thanks


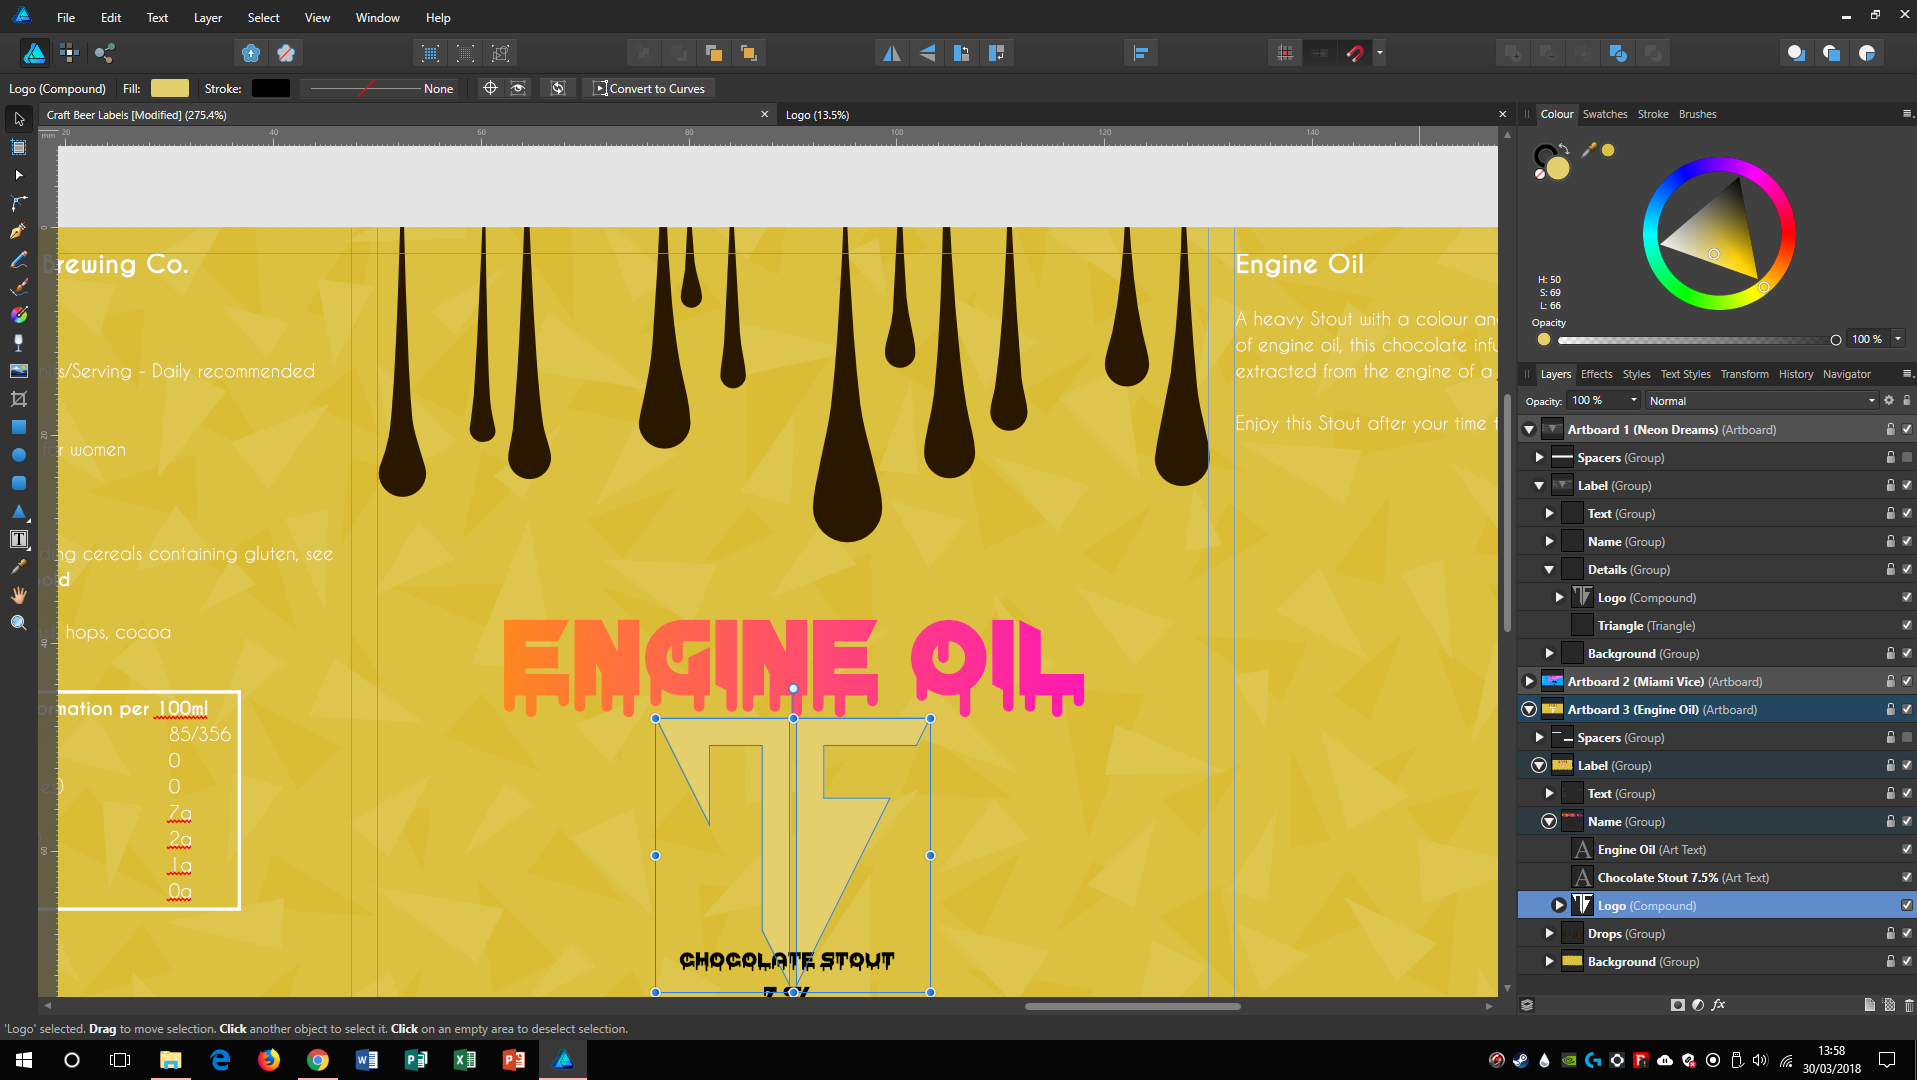


Can I use the "subtract" function on an existing compound?
in Pre-V2 Archive of Affinity on Desktop Questions (macOS and Windows)
Posted
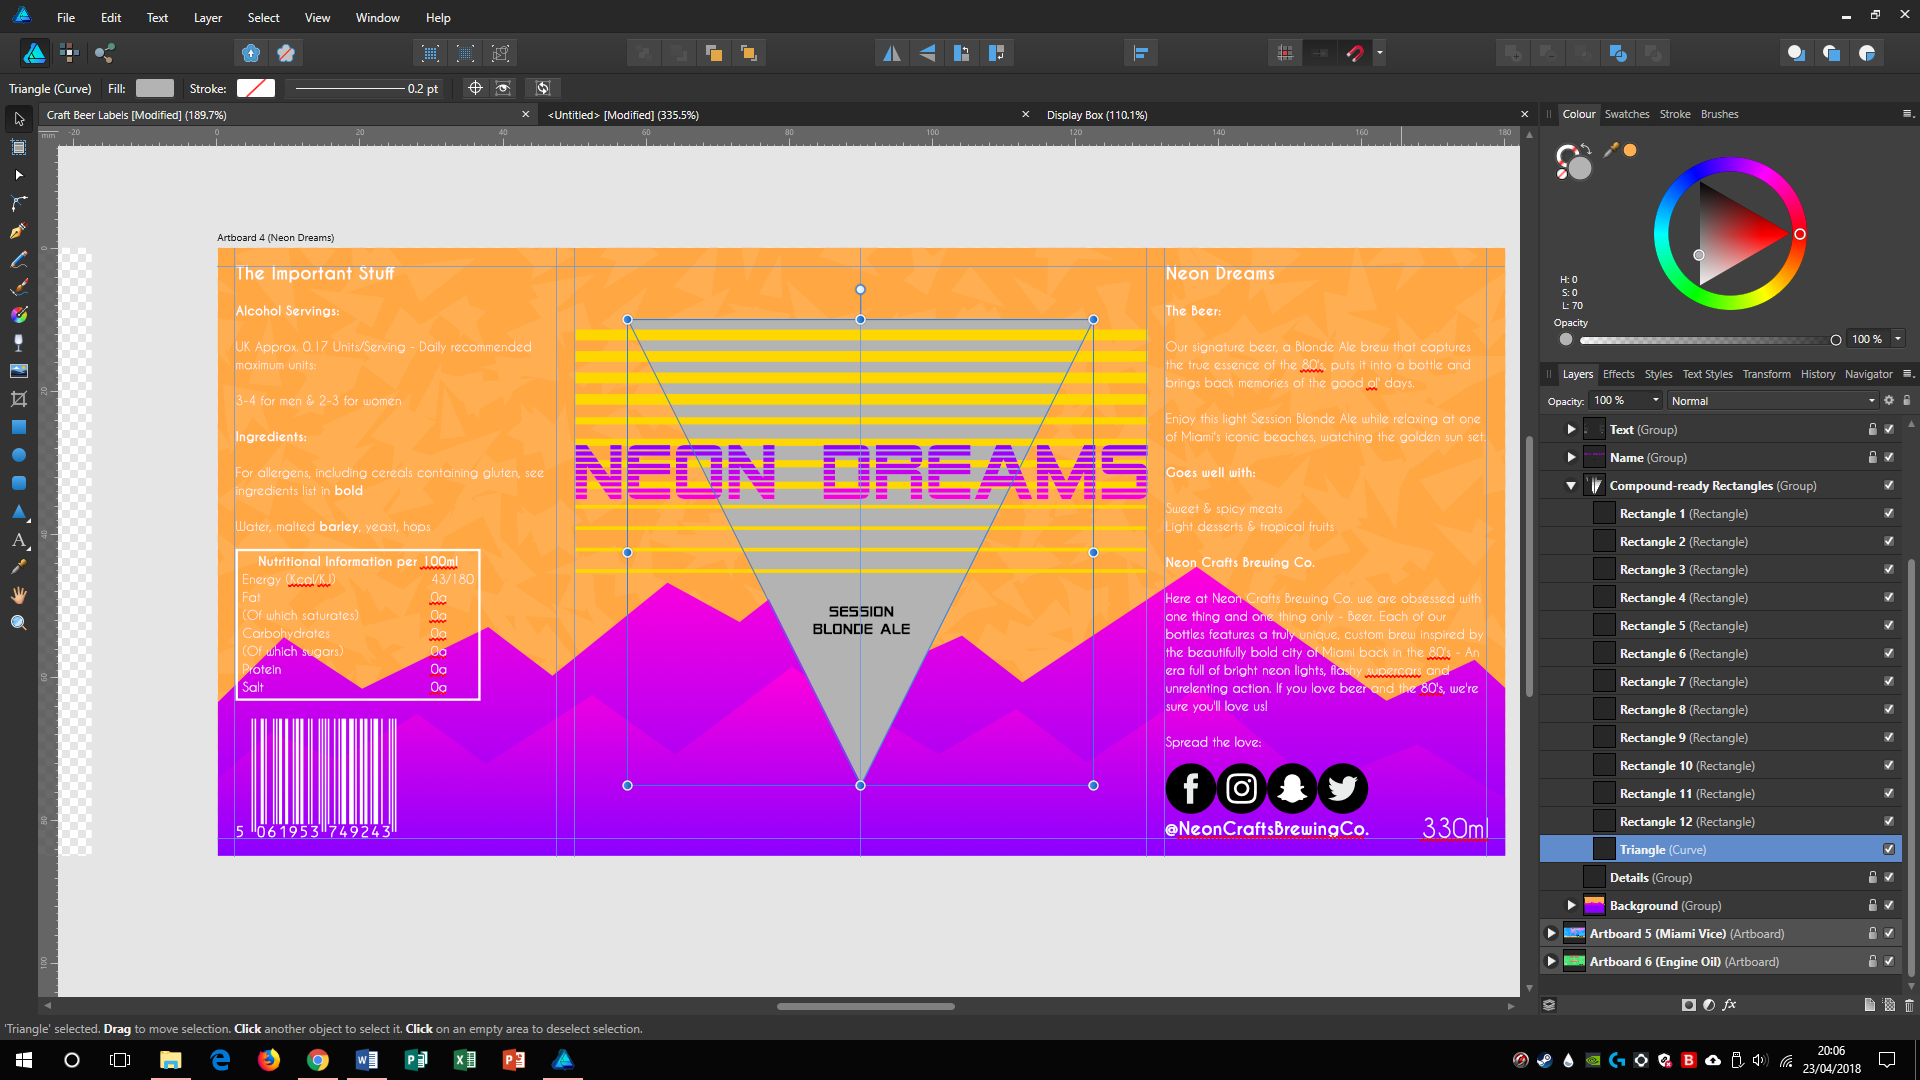
I wouldn't really be looking for a gradient, rather for the logo to be contrasted to the rear triangle, so if it flattens the shapes it'd be a problem for me, I have yet to try this but maybe I can do them separately and then group them to hide the mess if that makes sense. The way it looks now is growing on me, it may look too "cluttered" if I use a compound function on both shapes.
Anyways, I'll give my idea a shot and see how that goes.
Thanks for the help and quick replies as always,
Dylan
EDIT: So the good news is my idea worked, the semi-bad news is that my suspicions were confirmed and it looks absolutely vile (see the screenshot) - I'll keep it how it was, thanks!