Adrian Wood
-
Posts
20 -
Joined
-
Last visited
Recent Profile Visitors
716 profile views

-
Hi Thank you very much. My name might be wood but I couldnt see the wood for the trees!
-
I was working away colouring with the brush tool and now the colours selection section has disappeared. I have obviously pressed something wrong. All I see now is the brushes selection but I cant now choose colours. Thank you
-
Cracked it thanks. I found it by exporting it and not saving it..
-
Thanks, I can see the wheel etc but how do I save to the document to RGB? I just have it saved as a jpeg at the moment.
-
I have coloured in images on a previous version and now with the current version, I cannot find and use the colour bar at the top right once I select the painting tool. All I get is grey scale. There used to be a range of colours I could click on and apply to my drawing. Apologies if this is the wrong section of the Forum as I did try the Help but didn't get anywhere. I have attached two files completed on the previous version. I want to do the same with a new drawing.

-
 walt.farrell reacted to a post in a topic:
Hardness function in Brush
walt.farrell reacted to a post in a topic:
Hardness function in Brush
-
Hardness function in Brush
Adrian Wood replied to Adrian Wood's topic in Desktop Questions (macOS and Windows)
Yes I found them now and thanks for the advice.- 9 replies
-
- 1
-
-
- paint brush
- drawing
- (and 1 more)
-
Hardness function in Brush
Adrian Wood replied to Adrian Wood's topic in Desktop Questions (macOS and Windows)
I used the basic brushes for this drawing where the Hardness was a vital tool for me but that was V1. I don't really see why every brush cant have the feature. No doubt there is a technical reason that is beyond me. y
-
Hardness function in Brush
Adrian Wood replied to Adrian Wood's topic in Desktop Questions (macOS and Windows)
I understand this now but why make it so complicated? The basic brush works for me with all the controls I need. It seems that because they can they do.. Thanks for the clarification. -
In version 1 when I was using the brush I had three options: width of the brush, Flow of the colour and Hardness which made the selected colour stronger. In version 2 I seem not to have Hardness with the Paintbrush. The function is greyed out and set at 100%. The function is available with the Clone tool so I know that it is there somewhere. I have tried using the various brush options and wondered if somehow I had disabled the Hardness when using the Brush. I have probably missed the obvious so anyone with a clearer mind: thank you
-
Painting with the Brush Tool and doubling
Adrian Wood replied to Adrian Wood's topic in Desktop Questions (macOS and Windows)
Thank you very much. I was working with a pad and must have clicked on the Symmetry without realizing. Lot to learn... -
I am colouring in a background to a drawing and working close up and then I zoomed out only to find that the bottom half of the drawing has been painted as well. It looks as if the top right is repeated at bottom left. I have no idea what I have done and how to undo this. I have obviously set the tool to do this but I cant find an undo and I dont want to start again if I dont have to. Can you please tell what I have done? Thank you Adrian
-
Thank you Paul. I didn't see the wood for the trees.
-
I have lost how I check I have the latest version of Affinity Photo. I am sure its obvious but can someone please advise. I am sure it's obvious. Many thanks
-
Joachim_L reacted to a post in a topic:
What I Want To Do Is.......
-
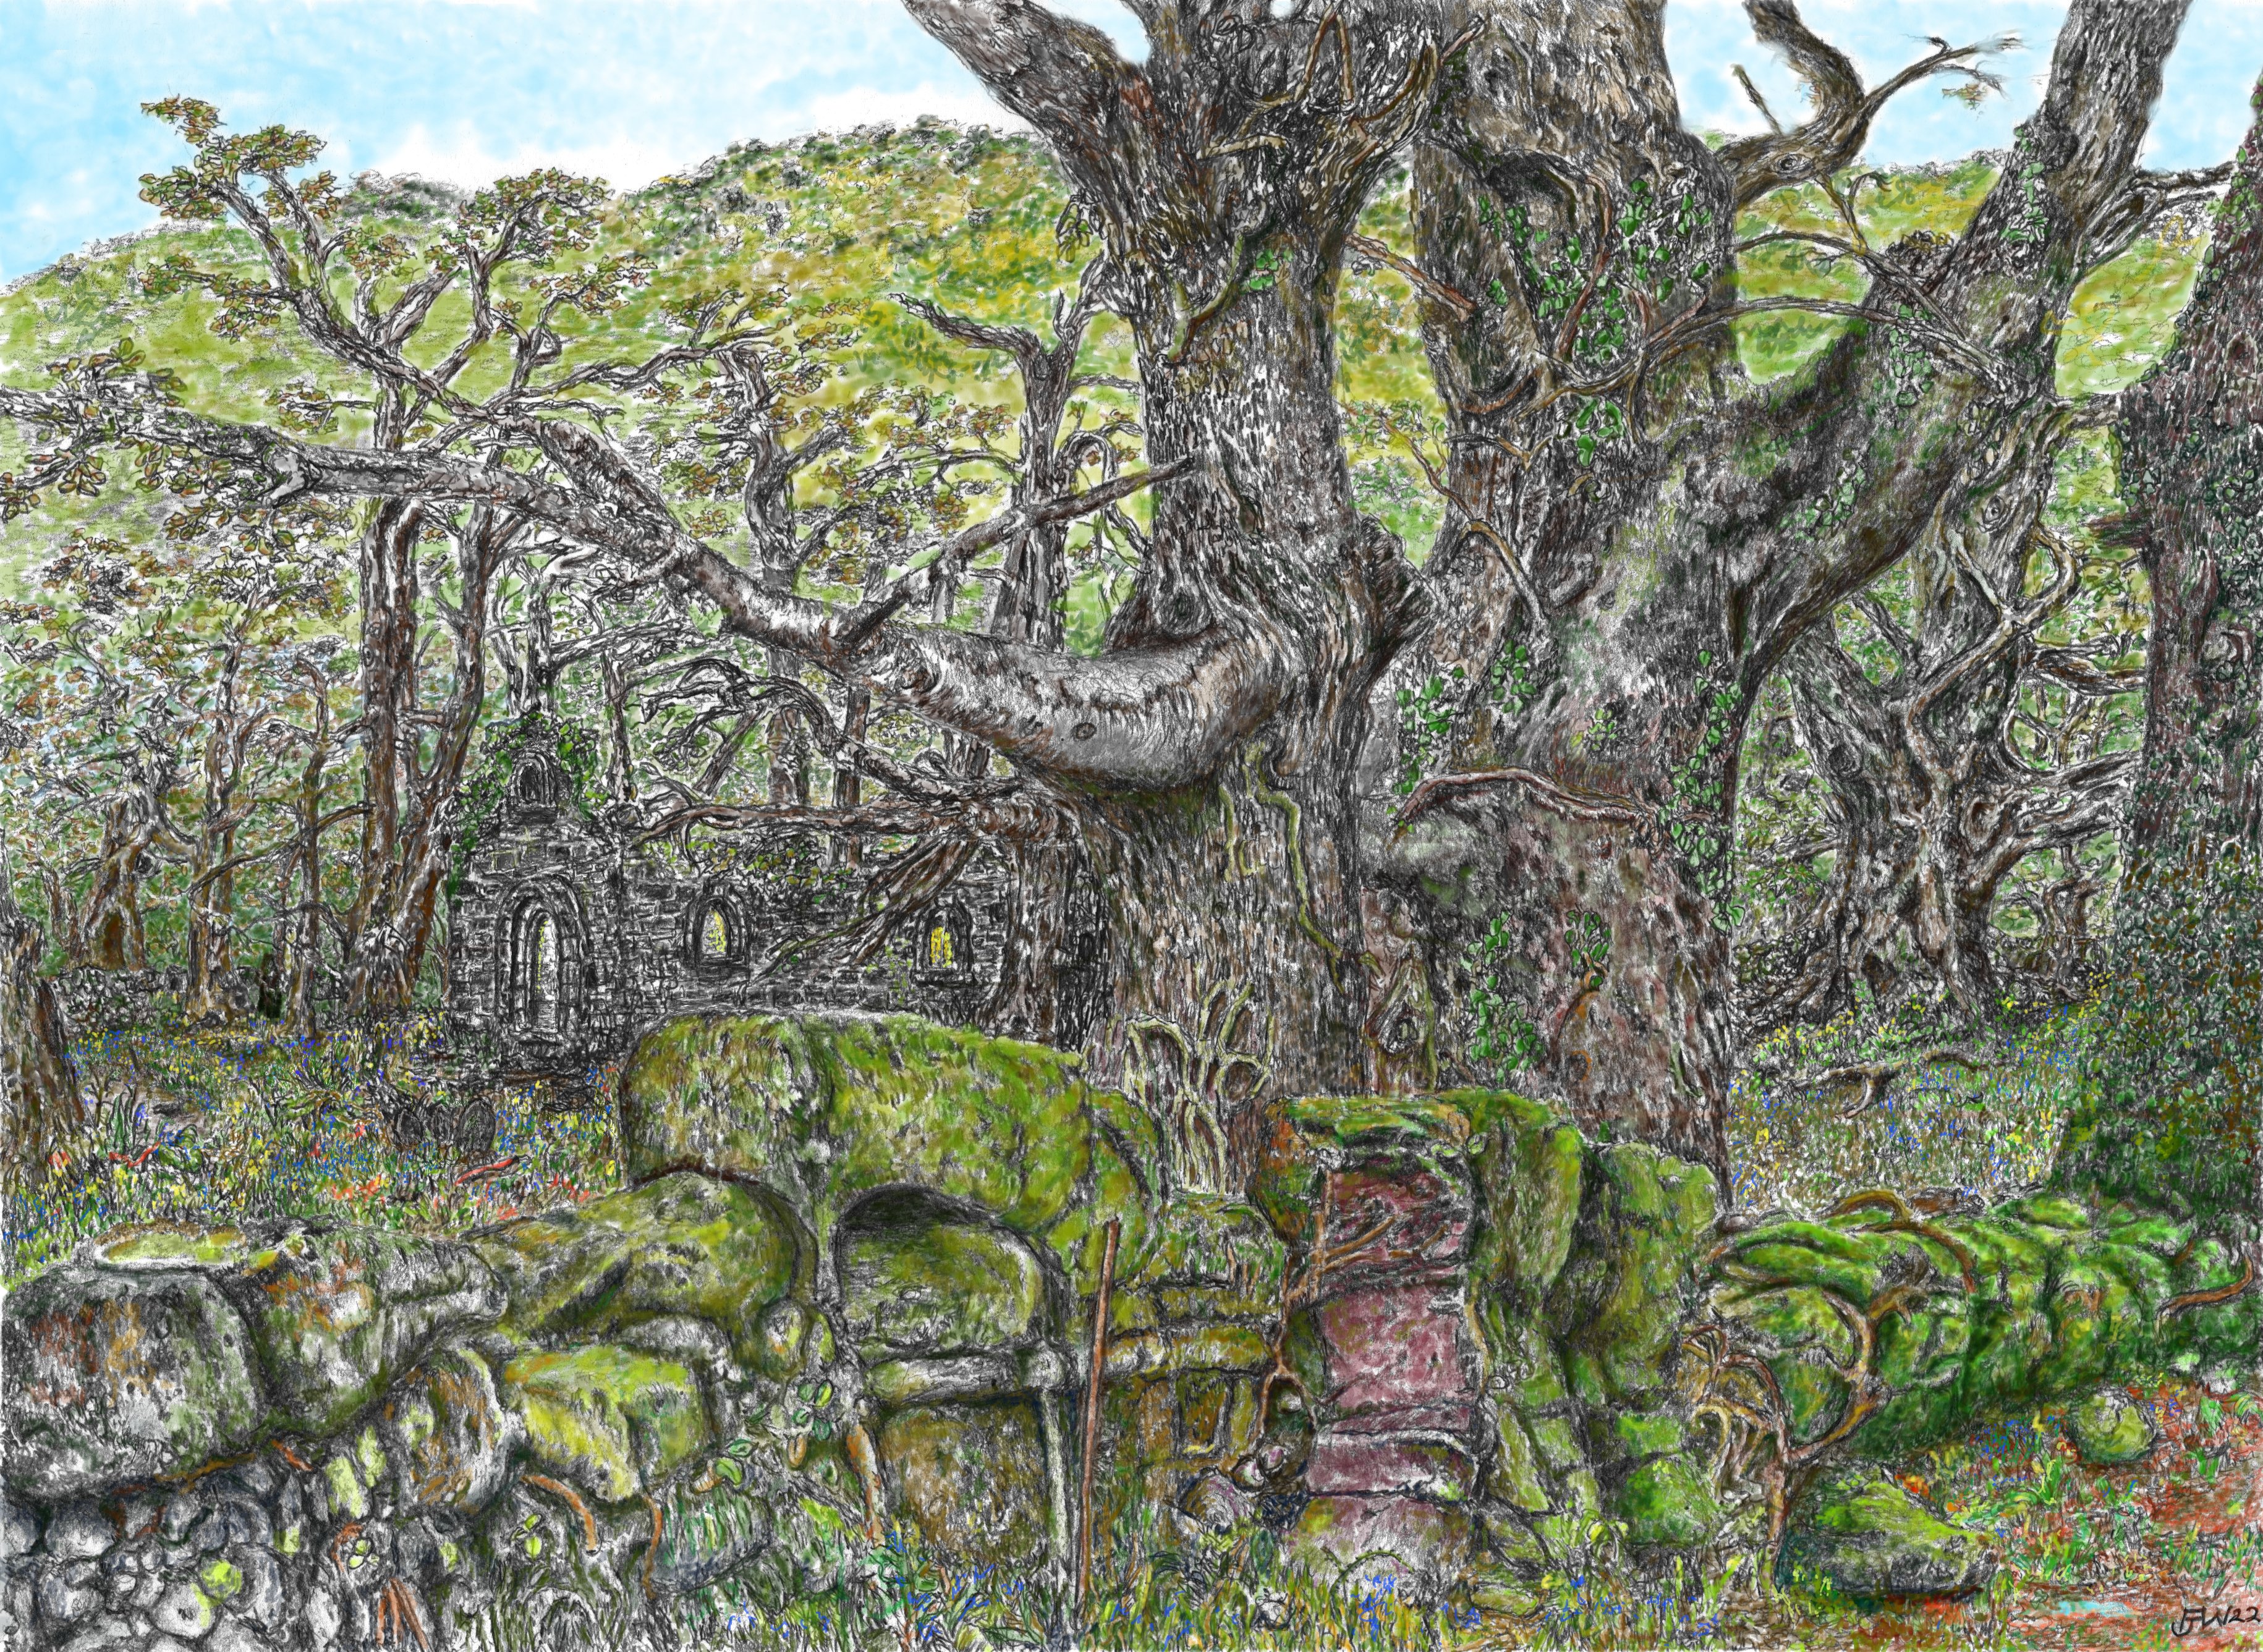
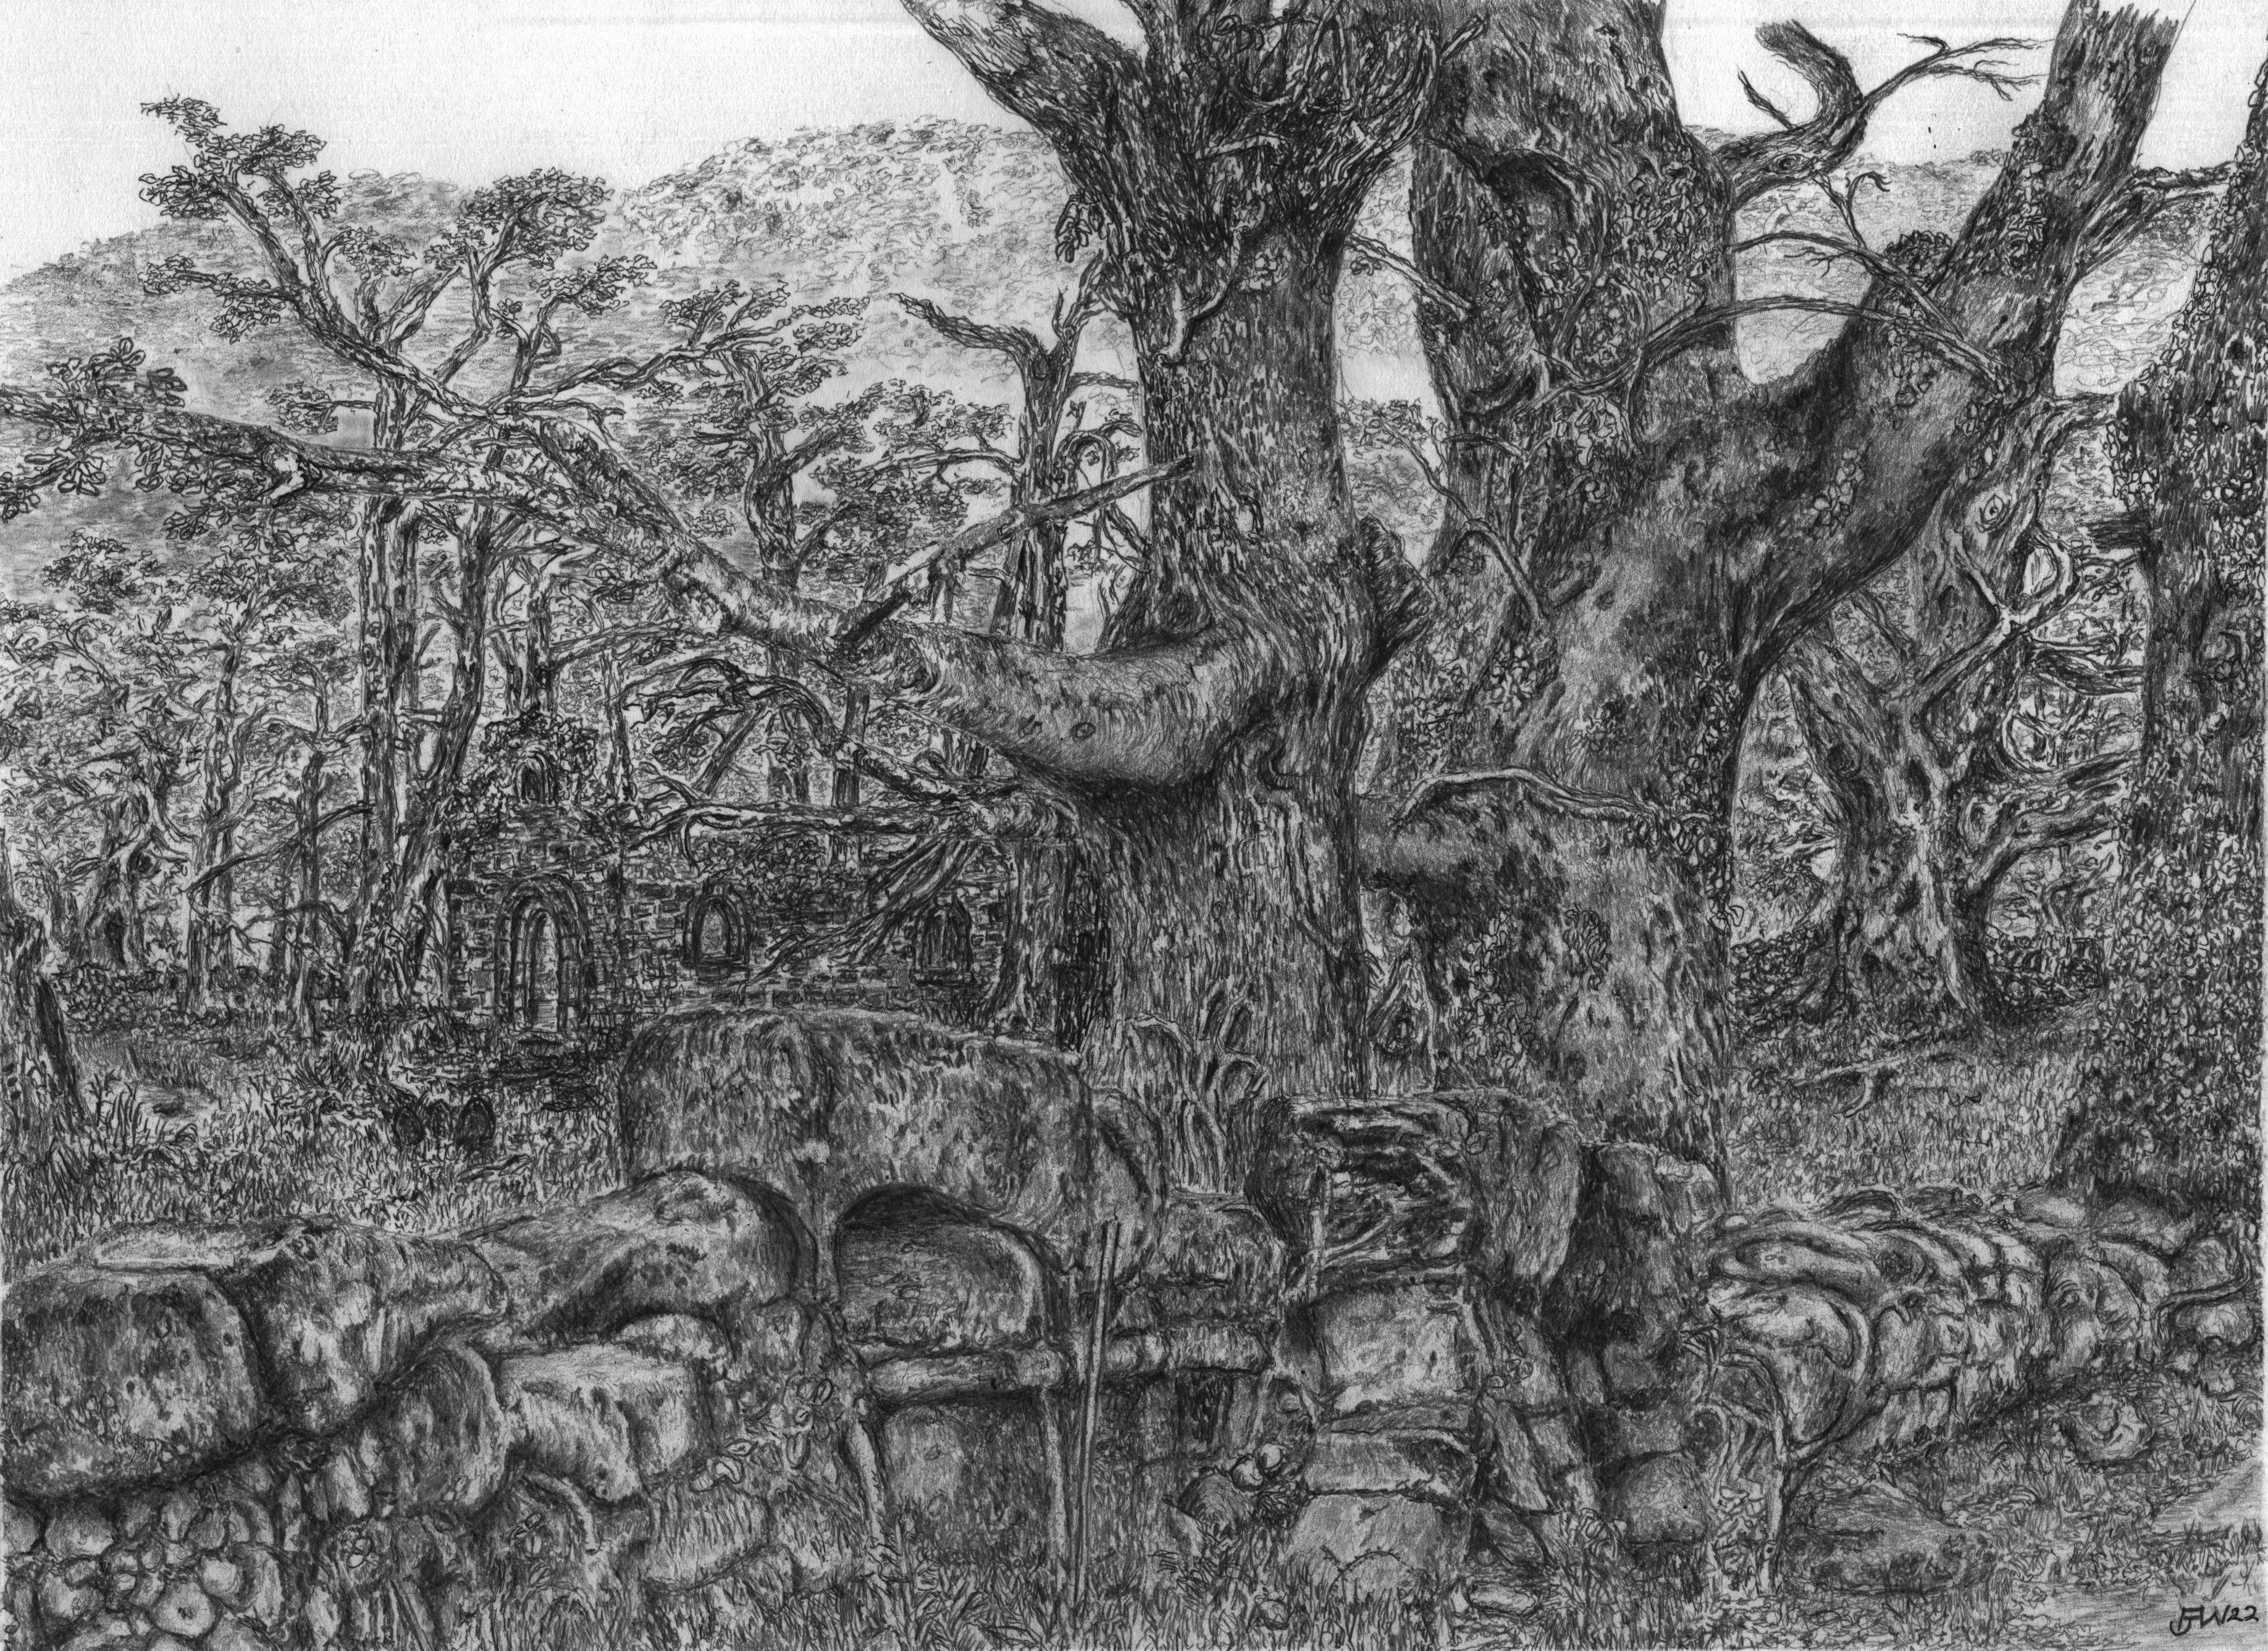
Thank you again for your help and I have learned a lot. I have attached the two images before and after to show you what I have achieved.. Adrian
-
Mark - I didn't know there is a history panel. Do I use your image you sent me and where is the History Panel?