h_d
-
Posts
1,472 -
Joined
-
Last visited
Everything posted by h_d
-

UI glitch in Channel Mixer adjustment
h_d replied to h_d's topic in [ARCHIVE] Photo beta on macOS threads
No probs! -
UI glitch in Channel Mixer adjustment
h_d replied to h_d's topic in [ARCHIVE] Photo beta on macOS threads
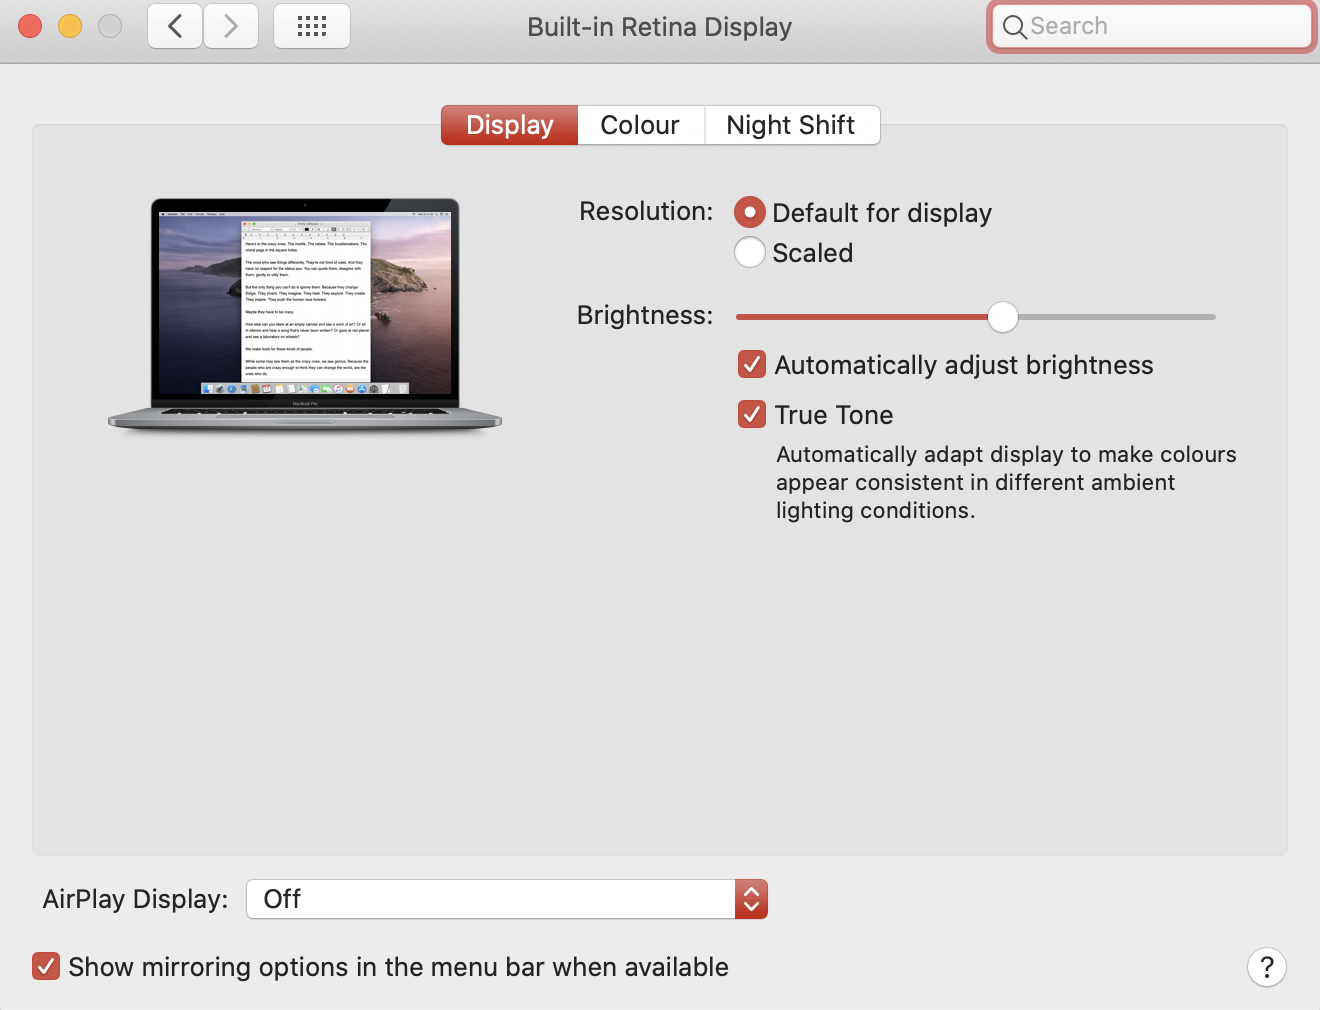
Hi @Chris B I'm not scaling the display at all: Just to confirm, I'm on a 2019 15" MacBook Pro. I've just checked and I get the same glitch in the release versions of Affinity Photo, Affinity Publisher and Affinity Designer. The common factor: in all cases I have Preferences - User Interface - Font UI Size set to Large rather than Default. If I change to Default (a bit too small for my poor old eyes) the glitch disappears. This is Affinity Photo Beta with the size set to Default: Hope that helps! H
-
I was wrong about this. Again, if I flatten manually then edits made using the Edit With command are in fact saved back to Apple Photos.
-
Done!
-
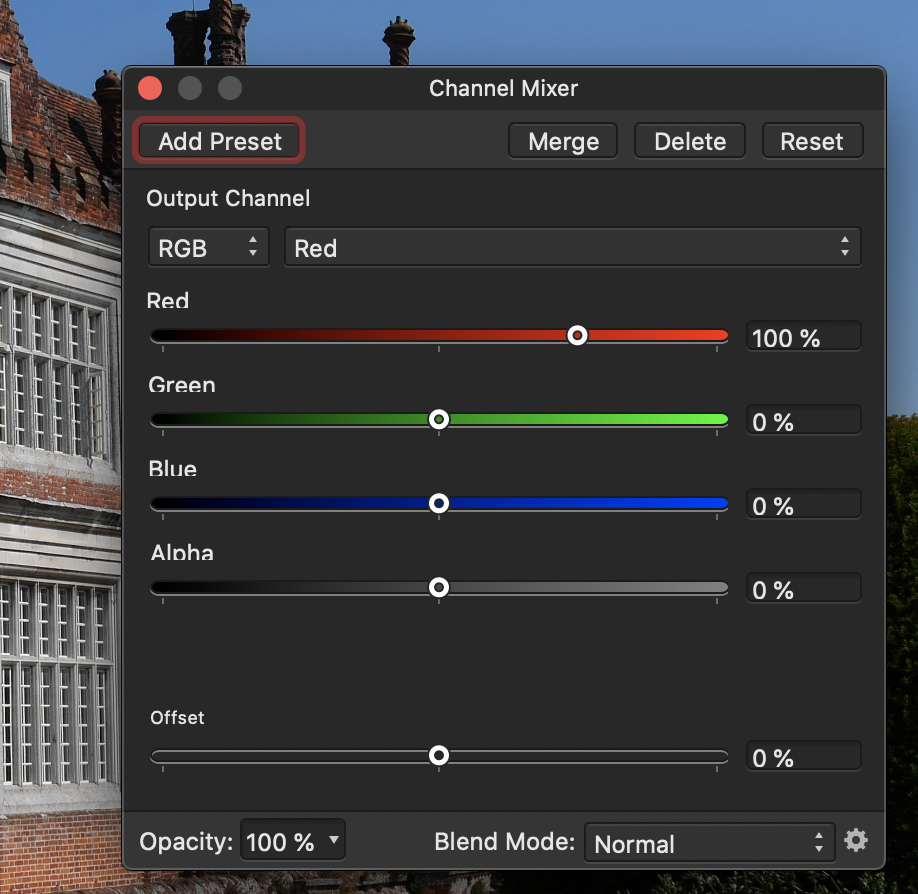
See screenshot: the bottoms of the words "Red", "Green", "Blue" and "Alpha" are sliced off. macOS 10.15, 2019 MacBook Pro 15"
-
Yes, it does sound the most likely explanation.
-
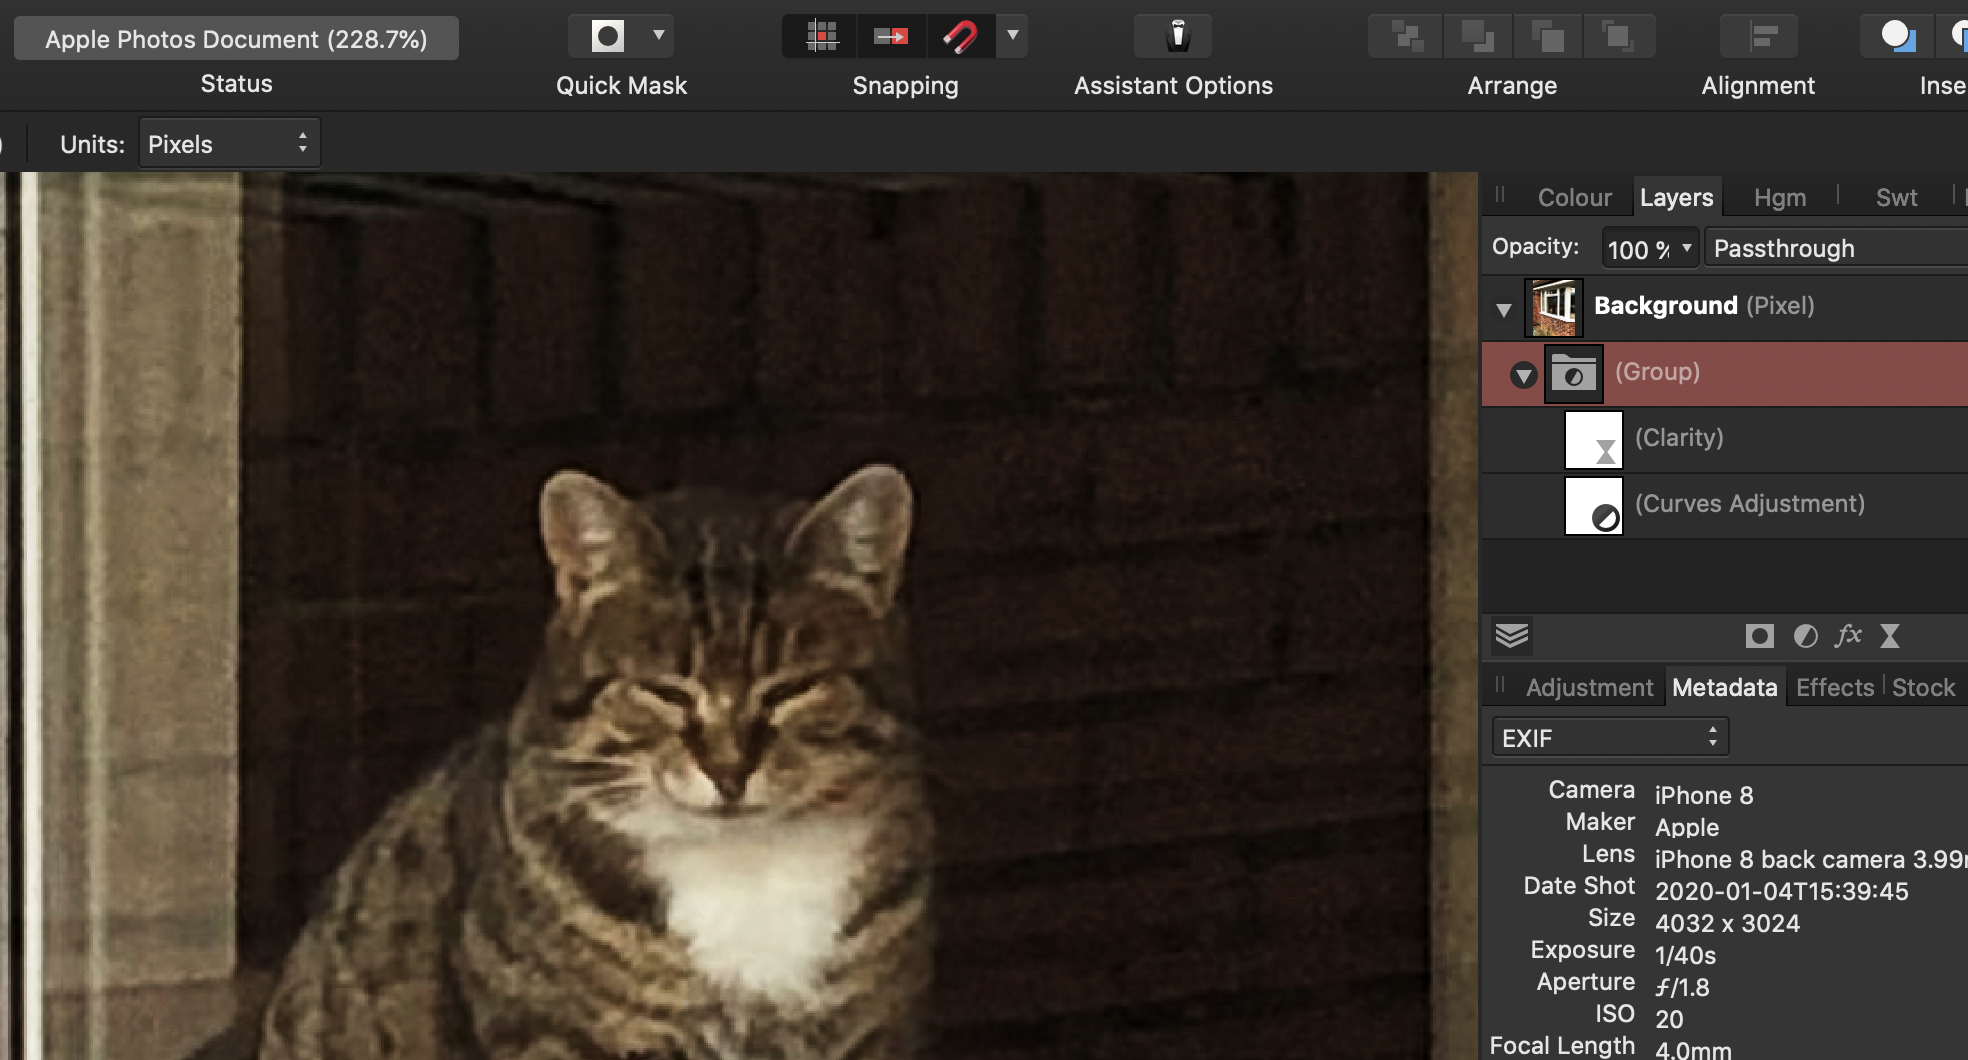
One more observation... If I run an Edit in Affinity Photo session and add to the image's metadata (specifically its IPTC Location and Region) then it will not save back into Apple Photos, unless it is flattened and saved in Affinity Photo. And if I run a second Edit in Affinity Photo session on the same image, my amendments to the IPTC are no longer visible.
-
No problem - glad to clarify in any case!
-
No, as per my original post, if I manually flatten an image at the end of an editing session using the Edit in Affinity Photo extension, and then save, the edited version is successfully sent back to Apple Photos. Yes, as per my original post, they all work well with the exception of Affinity Miniature which is pretty buggy, but still saves back. It may or may not be relevant, but I have disabled the 1.7 extensions in System Preferences.
-
Not sure if I ever installed a prior beta. My preferences file was created today (which is a bit odd as I installed 1.8 a couple of days back):
-
The latter, and yes, I think that alert has always been there - the point I was making is that there is no such alert when saving a layered file during a round trip.
-
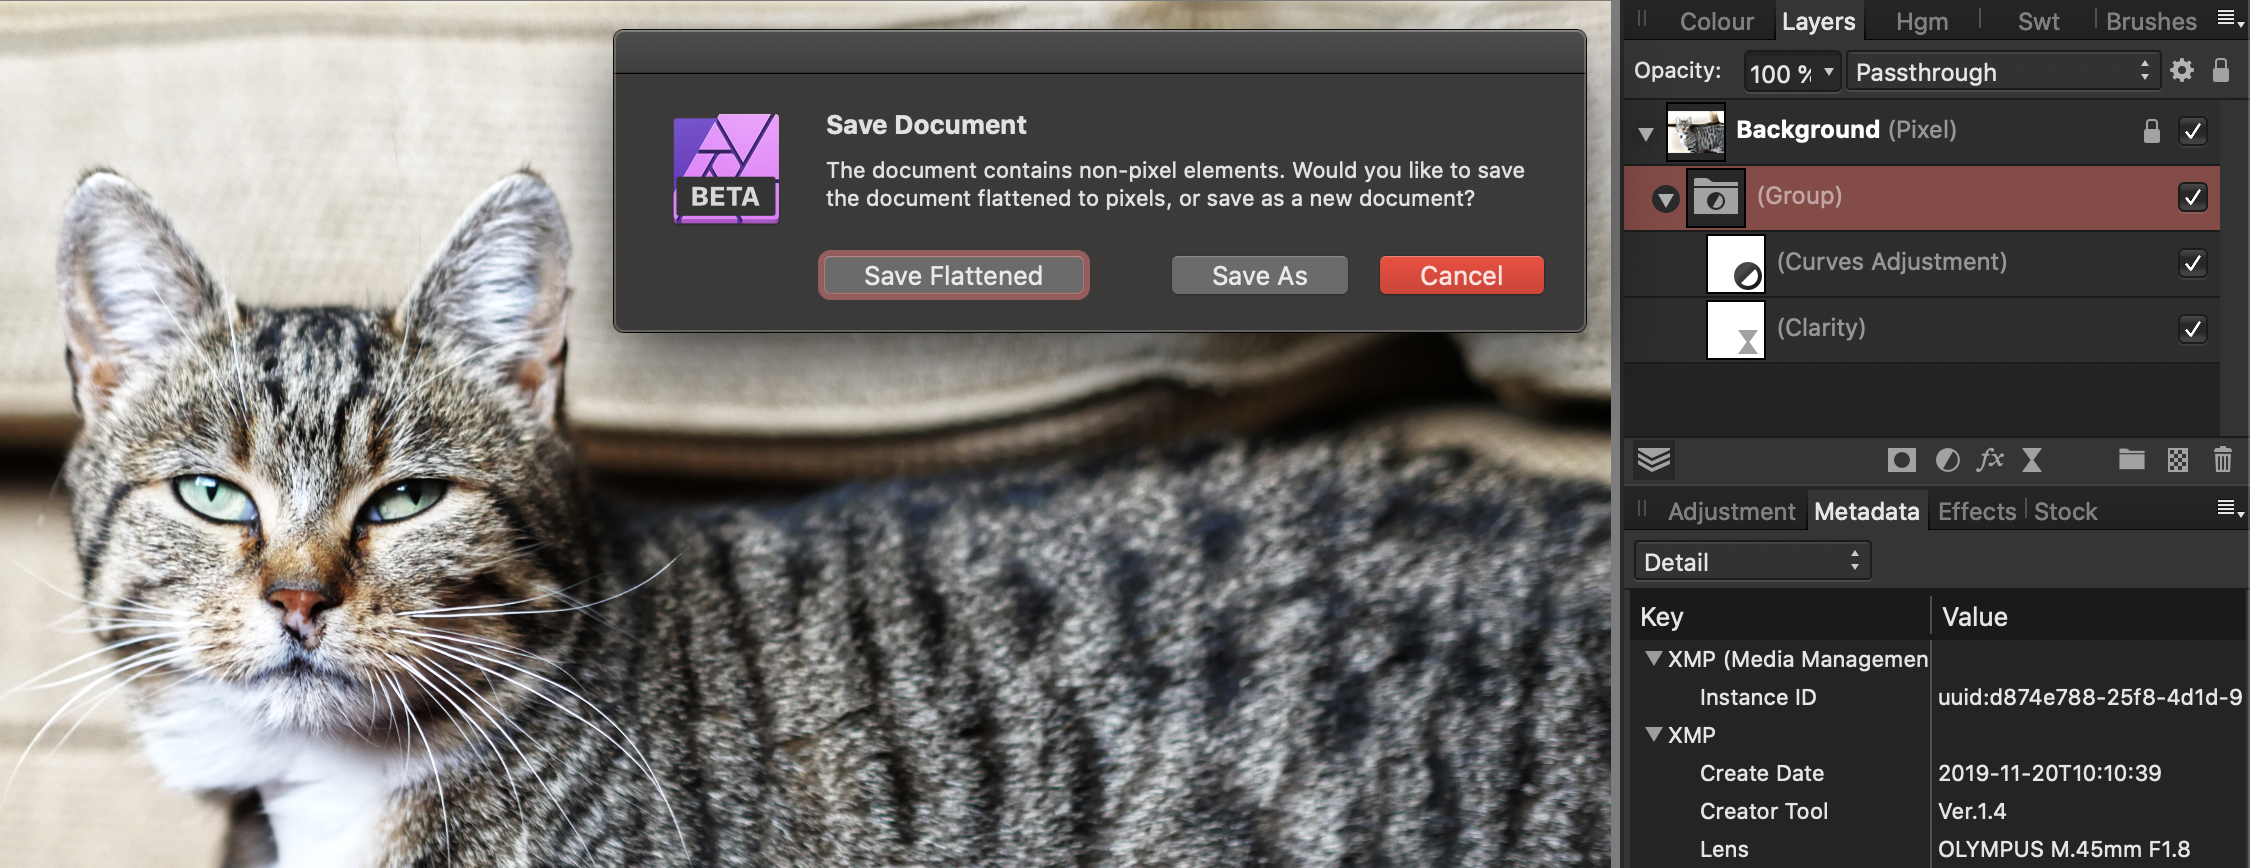
Also... If I open an image in Affinity Photo Beta 1.8.0.163, add adjustment layers and live filters, and then save, I get the following alert: If I use the Edit in Affinity Photo extension to apply similar edits, and then save, I do not get the alert (Above is a screen grab of no alert )
-
May well be machine specific I guess. I'm on a 2019 MacBook Pro with Retina display.
-
I'm not seeing that here: (1.7.3 on the left, 1.8.163 on the right.) There's an option in Preferences - User Interface to enlarge the Font UI (but not the toolbar icons as far as I can see): I've got both of mine set to Large.
-
When I crop an image, the initial Crop Overlay defaults to the Golden Spiral. This is in a 'pristine' installation of APhoto 1.8, no prefs changed. I don't personally mind, but it could well throw users who might expect the more usual "None" or "Grids Third".
-
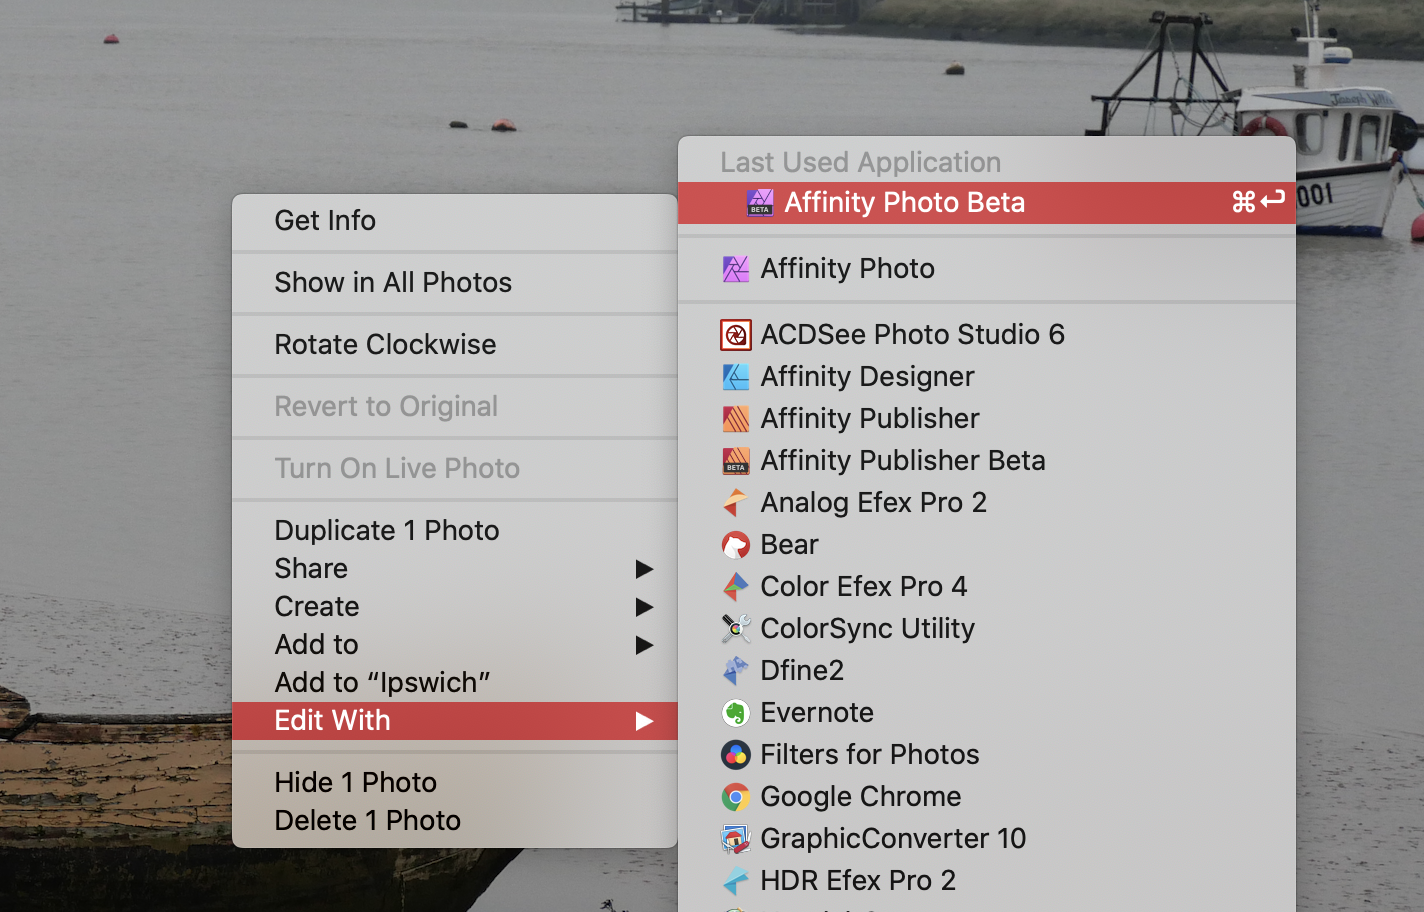
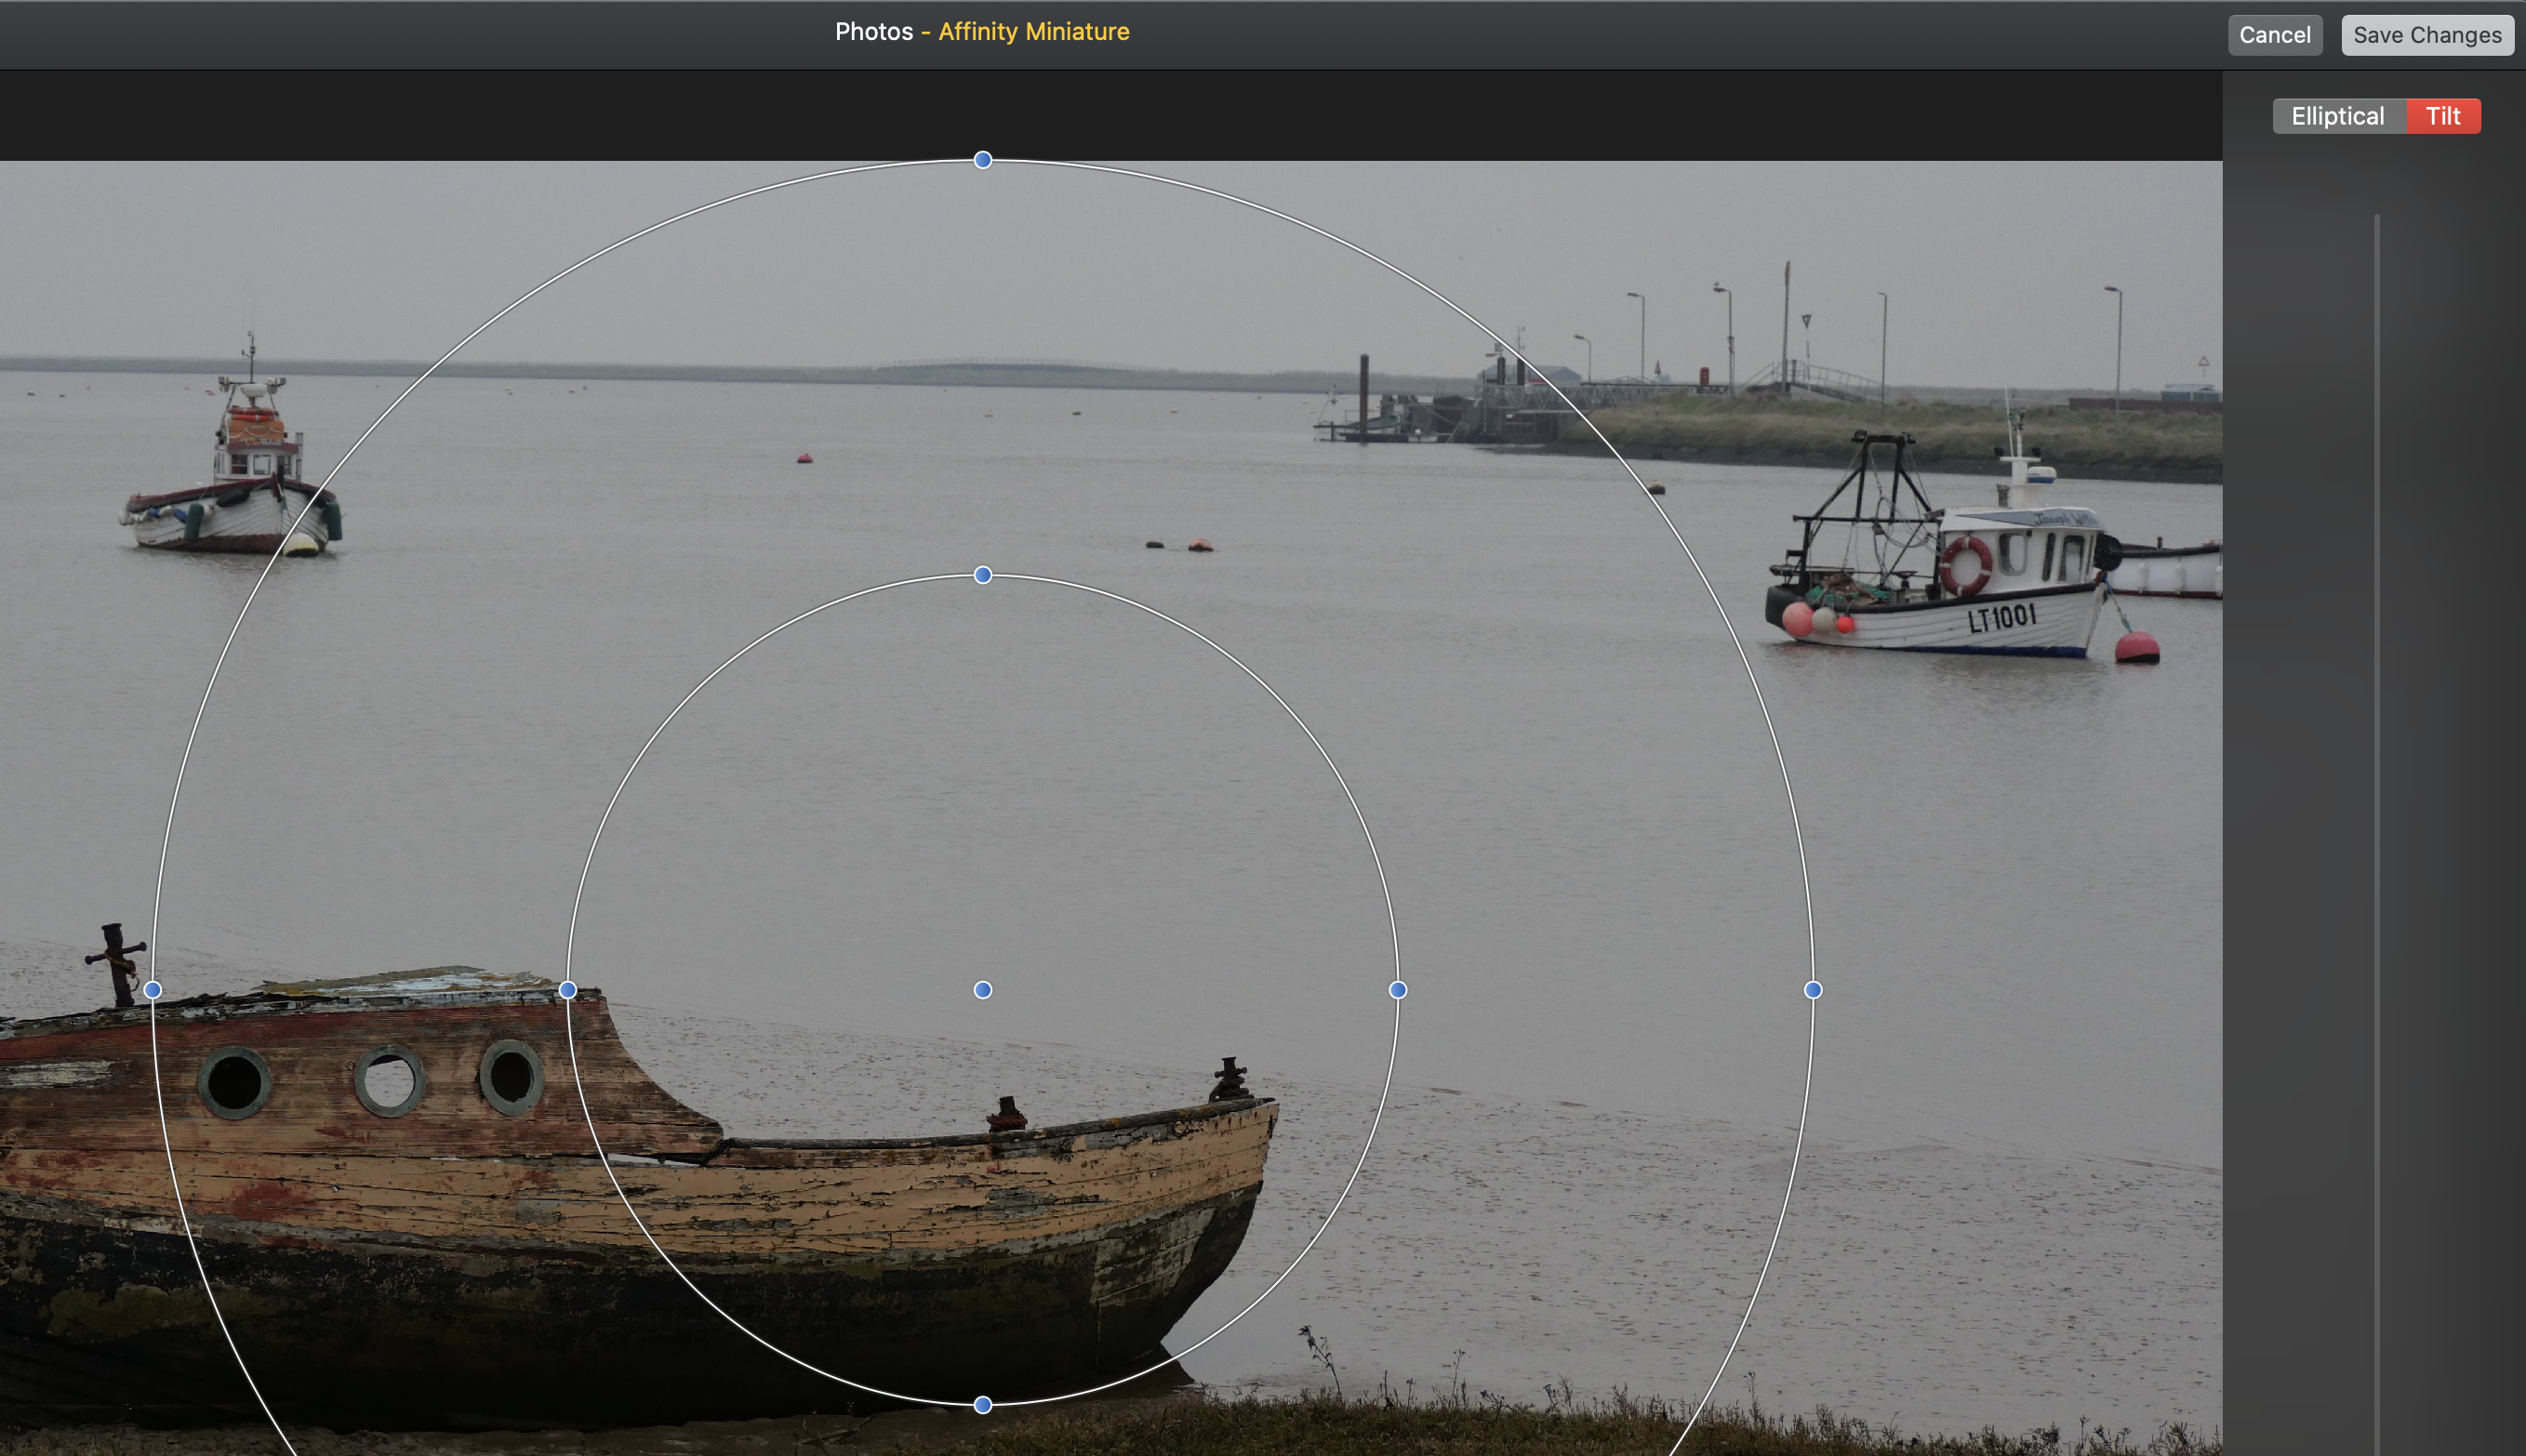
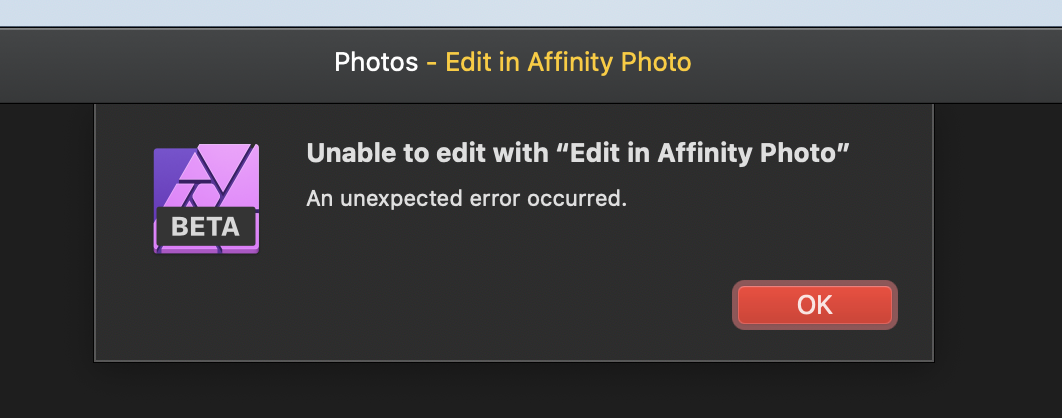
I know there's another thread about this, but it has got muddied with recommendations for other software, requests for DAMs, issues with opening images from the Media 'folder' in the Open dialog sidebar... So hopefully to get things back on track, this is my experience with round-tripping from Apple Photos 5.0 running in macOS Catalina (a developer beta) into Affinity Photo Beta 1.8.163 and back again. I am using a 2019 MacBook Pro 15" with Radeon Pro Vega 20 GPU. All these tests were conducted on .jpg format originals. On installation, there are six standalone Affinity extensions, plus "Edit in Affinity Photo", all flagged with the BETA icon and available from within Apple Photos' editing suite: As far as I can see, Affinity Develop, Affinity Monochrome, Affinity Retouch, Affinity Haze Removal and Affinity Liquify all work as expected. Edits are saved when committed and are carried through to Apple Photos' main display, with the "Edited" icon visible in the top right-hand corner of each edited image. Images edited with these extensions can be reverted to the original in An apple Photos' edit suite. Affinity Miniature is buggy, on my machine at least. When first launched, it displays the controls for "Elliptical" while the "Tilt" button is highlighted: Clicking and dragging on the control nodes over the image, and on the sliders to the side, frequently has no effect, or at least the response is unusably slow. Saving and returning to Apple Photos takes far longer than I would expect (up to the point I would almost consider a force quit) but does eventually save the image correctly. Edit in Affinity Photo works correctly, but only if the image is flattened before saving back to Apple Photos. Clicking Save Changes when returning to Apple Photos, having edited and saved an Affinity Photo session with adjustment layers, live filters, layer effects, masks or additional pixel or shape layers leads to the following sequence of dialogs in Apple Photos: then Clicking OK at this point returns the user to the Apple Photos editing suite without applying any changes to the image. Similarly, any image which has been cropped during an Edit in Affinity Photo session will not save back into Apple Photos unless it has been manually flattened before saving in Affinity Photo. Same outcome as above. My impression is that previous versions of Affinity Photo may have "silently" flattened images before saving back into Apple Photos. This doesn't appear to be happening in 1.8. But of course my impression may be wrong. The alternative way of round-tripping is to Edit with Affinity Photo (not "in") via the contextual menu (or Command + Enter) from Apple Photos' image listing: As far as I can see, no edits made and saved in Affinity Photo using this method are saved back to Apple Photos. During the Affinity Photos editing session, the file name in the contextual menu gives the original document name (not "Apple Photos Document" as when editing via an extension): vs It does not display the Apple Photos' "internal" file name either (something like "C0C8960B-C98C-454E-8CF6-E922274D7D27.jpg"). And the original file (P1000554.jpg ing my case) does not appear in Affinity Photos' File - Open Recent menu or in its equivalent in the MacBook Pro TouchBar. It's as if the file was never edited at all. Hope this helps - thanks for a great product! H
-
Like this? If you continue embedding large images (8x10, presumably inches, at 300 DPI) into your AFPub document, its size will balloon. No-one really seems to know how big an AFPub file (lots of pages, lots of embedded images) can get before it starts to cause issues with editing/saving/exporting, but better safe than sorry. There are (at least) two possibilities. First, in the File menu under Document Setup is an option to "Prefer Linked". With this checked, placed images will not be embedded but referenced, and the AFPub document will hopefully remain at a manageable size. The downside to this is that if the images are subsequently moved (to another folder, say), then Publisher will lose track of them and you would need to re-link them. Second, if you really do want to embed all the images (which removes the risk of them being moved), then you could resize them to the dimensions of your Picture Frames before Placing them. This will keep the AFPub file down to a manageable size.
-
Text: Insert: Fields - "More" option has no effect
h_d replied to h_d's topic in [ARCHIVE] Publisher beta on macOS threads
And if it’s already focussed then nothing happens. (I think I had Help panel open front of it which didn’t help.) -
Text: Insert: Fields - "More" option has no effect
h_d replied to h_d's topic in [ARCHIVE] Publisher beta on macOS threads
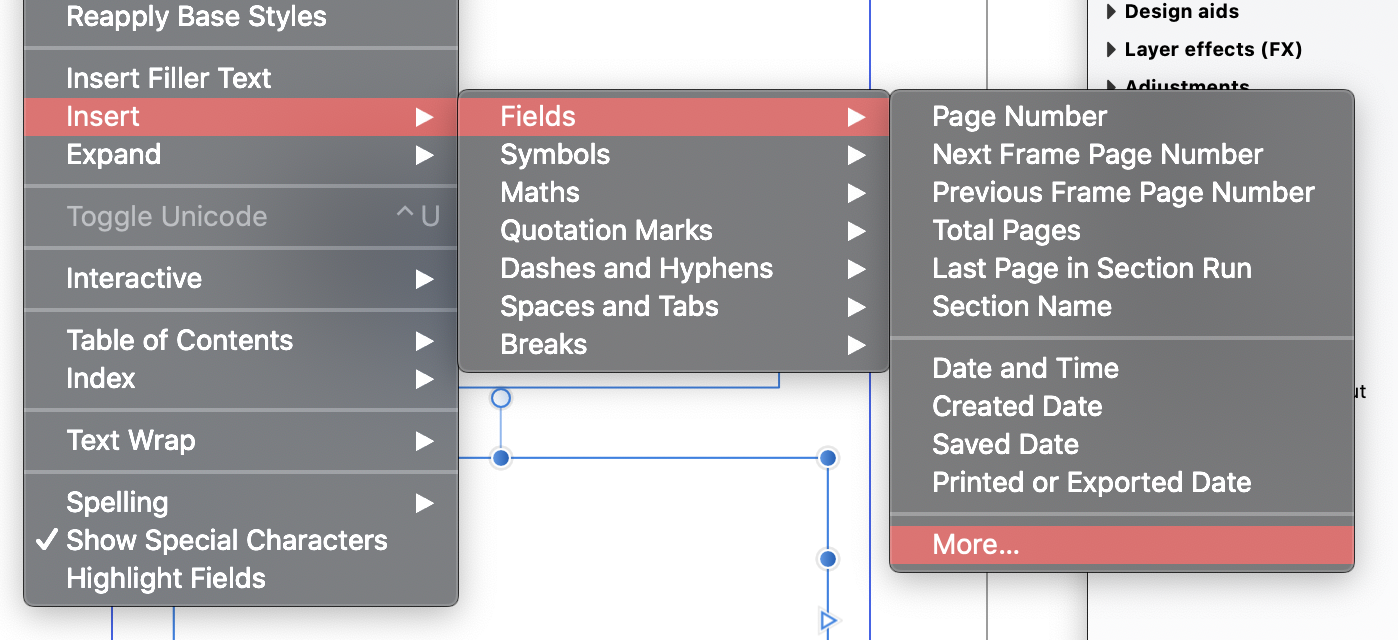
Ah yes. It's a slightly odd bit of interface design, though. Choose "More..." and nothing appears to happen. Maybe it should read "Display Fields Panel" or something a bit clearer. -
Title says it all. Choosing "More..." here does nothing.
-
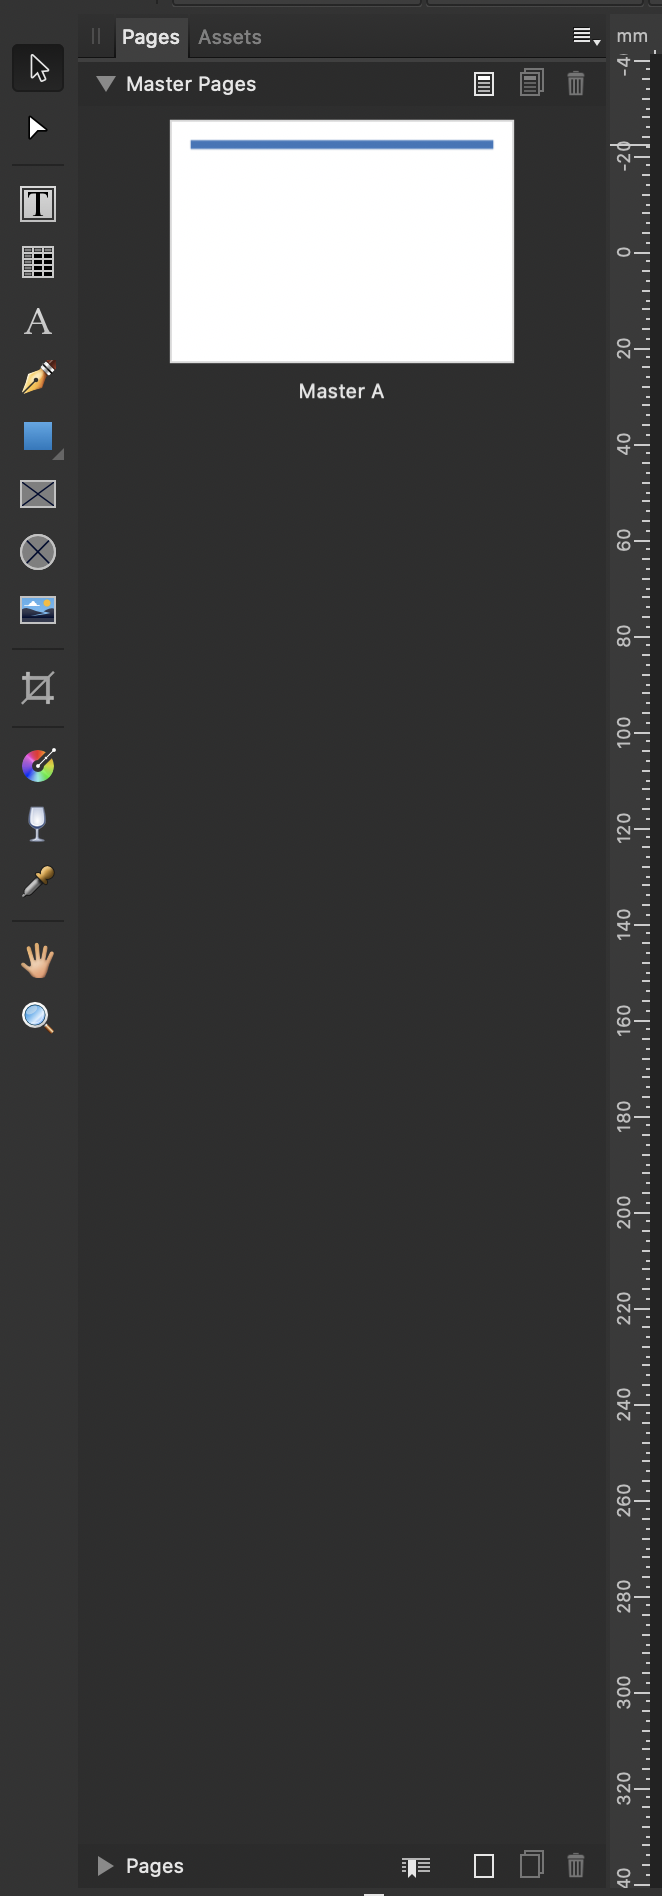
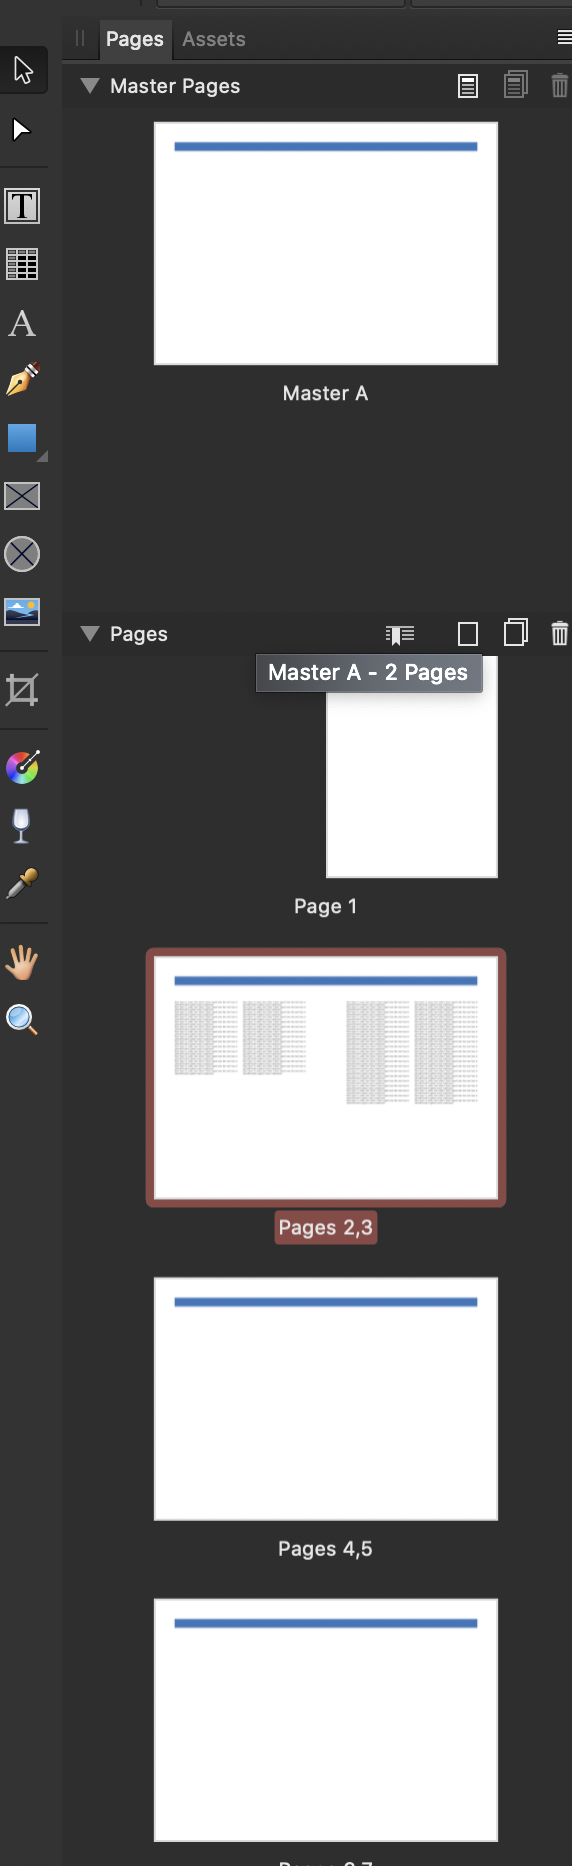
Hi, If I display my lists of Master Pages and Pages like this: And then click the disclosure triangle next to Master Pages... The Pages list (undisclosed) drops right to the bottom of the panel, even if (as here) I only have one master page set up. The first couple of times this happened I thought the Pages list had disappeared. Disclosing the Pages list bounces it back up to the top of the panel: Just seems like a slightly weird bit of interface: I would expect the top of the Pages list to be displayed immediately below the Masters list, even when undisclosed. Cheers, H
-
Have you tried increasing the Screen tolerance? I find with your settings (Screen tolerance 3, at pretty much any magnification), then it won't snap. Increase the Screen tolerance to around 8 or 12 and see if that helps. (I'm on Catalina too, 2018 MacBook Pro.)
-
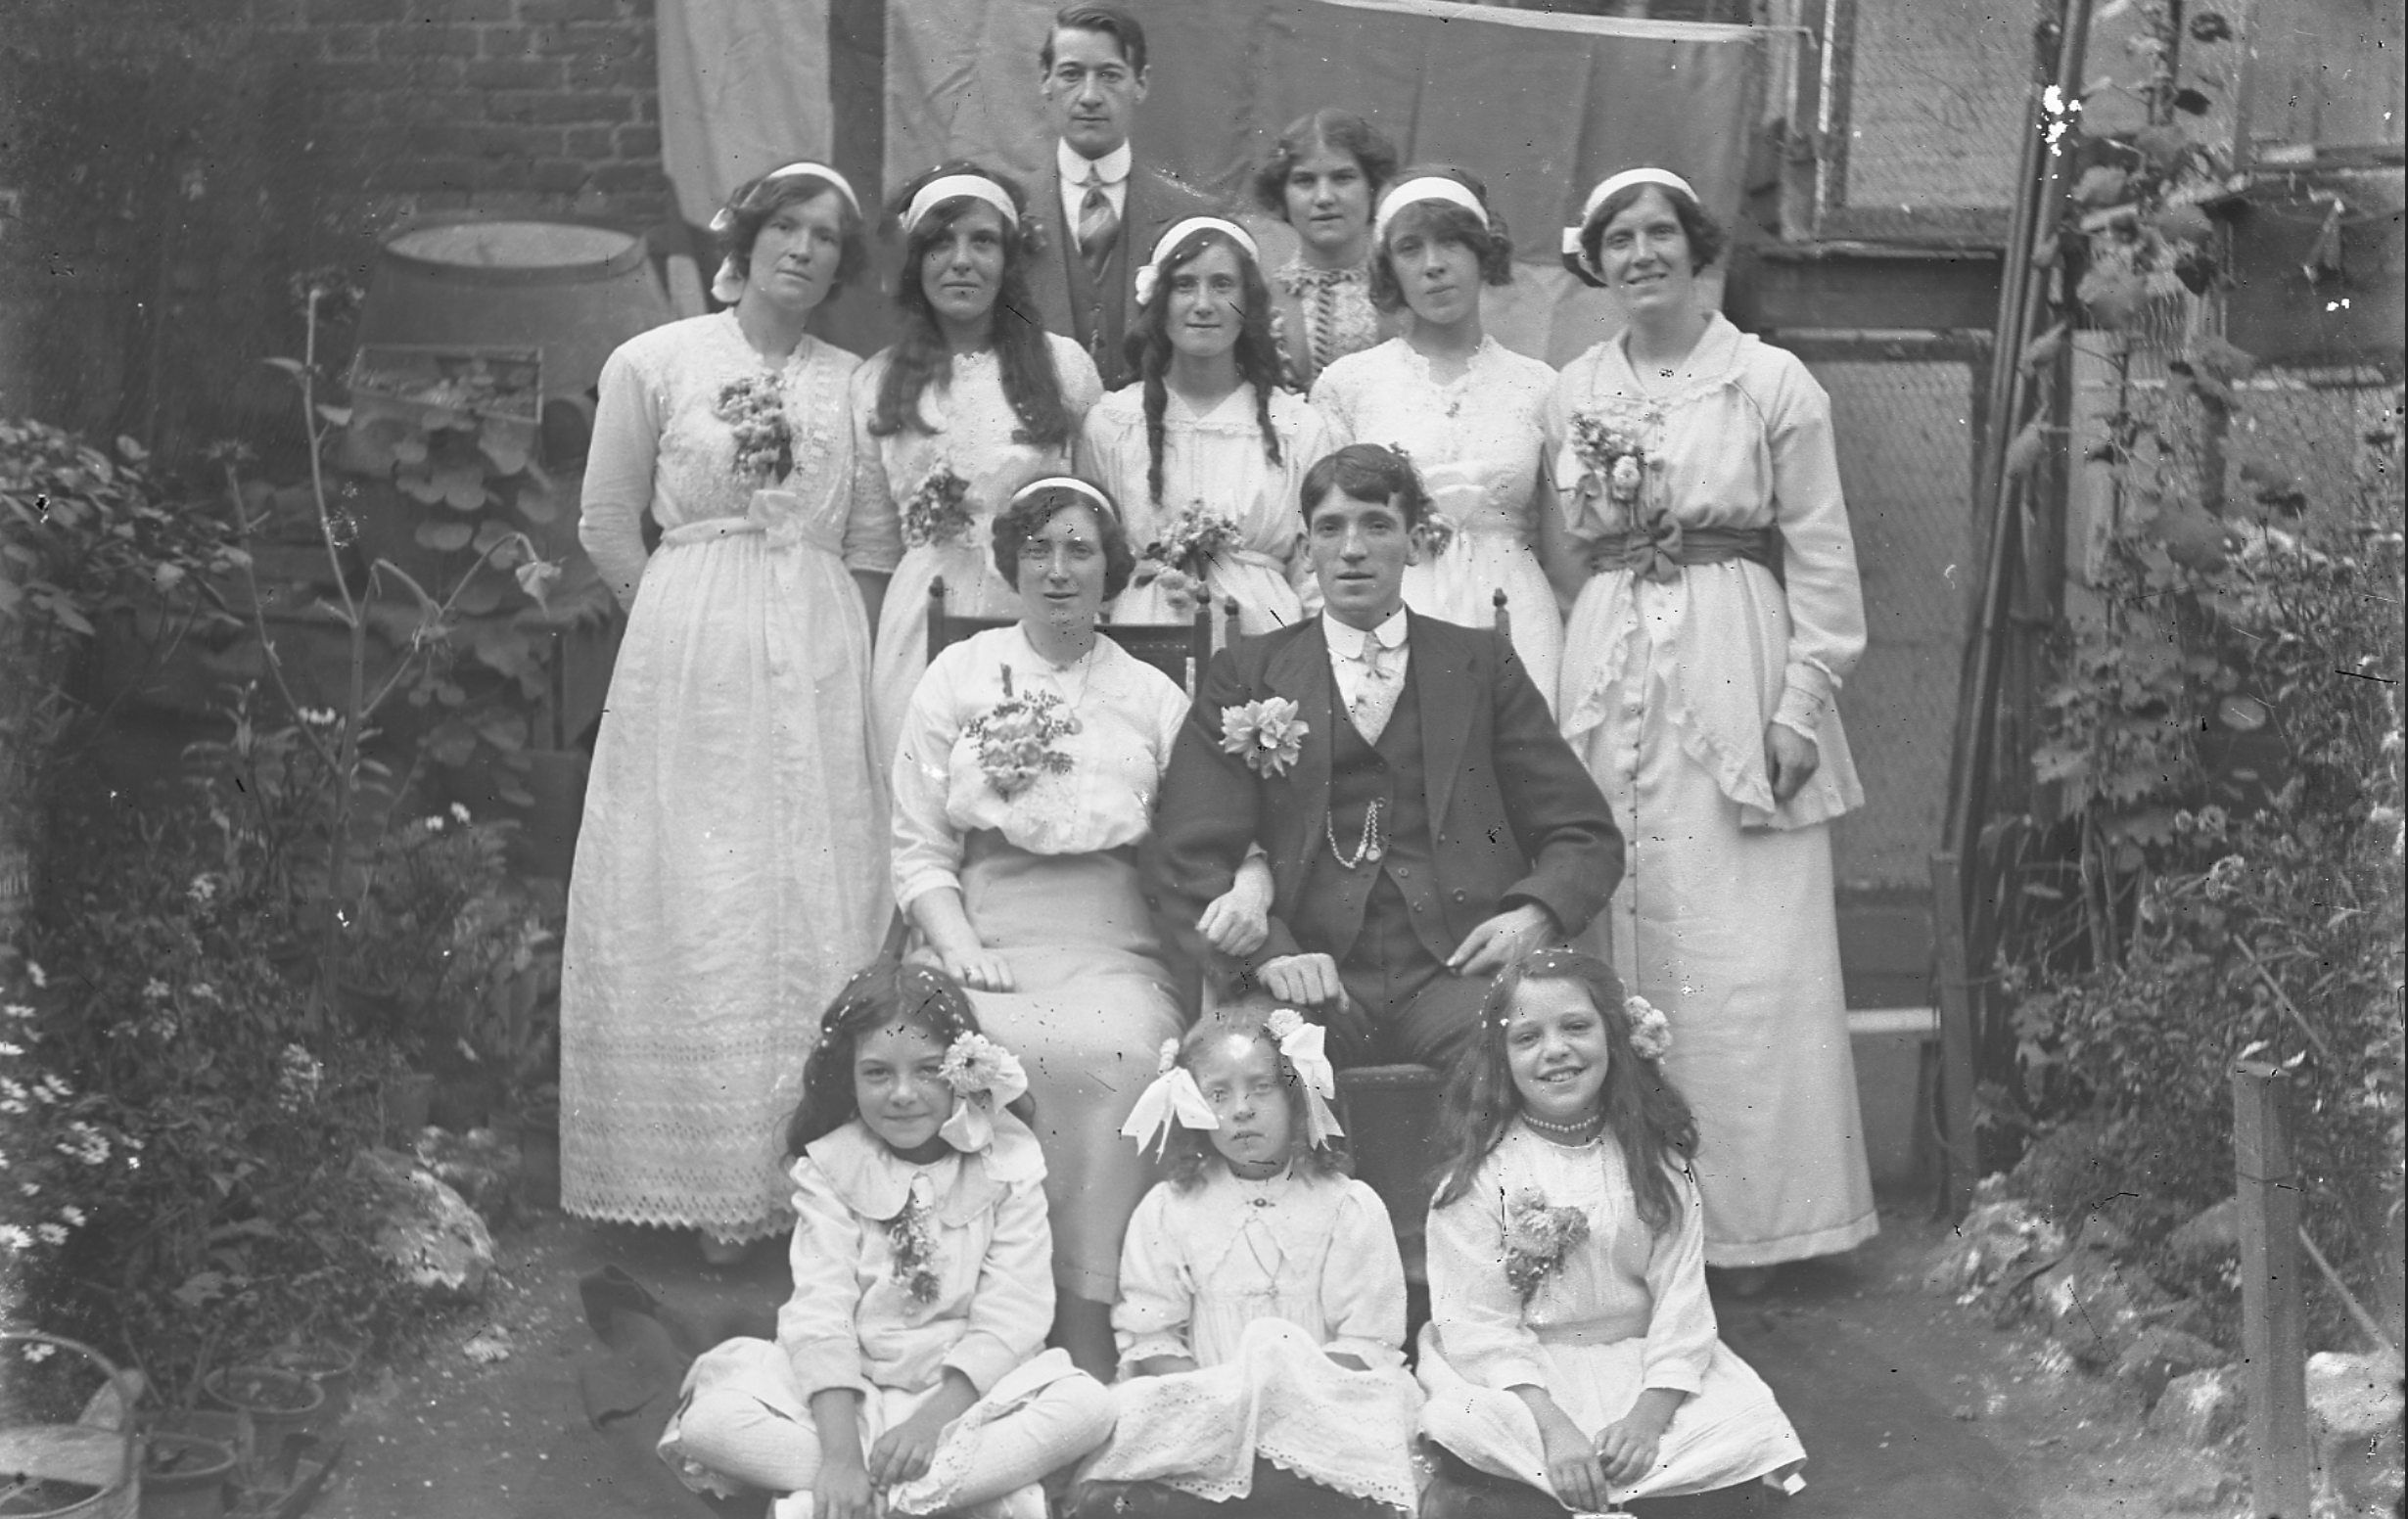
Hi @wibby baff and welcome! Here's one way: Open both images, copy and paste one of them onto a new layer in the other image. Set the Flood Select Tool to very low tolerance (around 2%). Use it to select the grey triangular areas on each layer in turn, and then delete them. Increase the width of the Canvas (Document menu) so that both sections of the image fit within it. Use the Move Tool to adjust the positions of the two sections so that they match up as closely as possible. Flatten and crop the document. Use the Inpainting Brush Tool in very small stages to clean up the inevitable "stitch line", and the Healing Brush Tool to clean up blemishes. I've attached my effort (RLtiff.tiff) and a screen shot. It's a charming photo! RLtiff.tiff
-
Hi and welcome! Can't be sure without a screen shot, but it sounds as though you're working on a placed image layer, not a pixel layer. You'll need to rasterise the layer: This will convert it to a Pixel layer. And the 'magic wand' or Flood Select Tool should now work as expected: Hope this helps...
-
Ah yes, my mistake.