Pavel
-
Posts
23 -
Joined
-
Last visited
Everything posted by Pavel
-

[ADe] Keyboard shortcut for find in layers panel
Pavel replied to AshTeriyaki's topic in Older Feedback & Suggestion Posts
I didn't quite understand the new option initially. If others are also wondering about it, you can now go to Preferences - User Interface and tick the checkbox "Show selection in Layer Panel". Still, I would really like to have the option to "trigger" this function by doing something like a "ctrl/cmd + click". -
[ADe] Keyboard shortcut for find in layers panel
Pavel replied to AshTeriyaki's topic in Older Feedback & Suggestion Posts
Hey, are there any updates on this topic MattP? Thanks! -
Hi, This is what I also thought, but snapping does affect the X / Y position and this can sometimes be a value with ,5. Please notice the attached screenshot. The 2 rectangles are created, then I move the black rectangle around. Without snapping it always goes to a position that has a full pixel value (great!). But then it snapped to align its middle to the bottom line of the gray rectangle, at which point the Y value received a ,5 px. This is why I'm thinking there might be a need for a rounding method to be applied on the pixel value when "Force Pixel Alignment" is set. I don't want to disable snapping just because I'm worried about decimal values in X/Y :-( And at the same time, I want to be able to create objects, align them, move or resize them, without worrying about decimal values...

-
Hi, Is there a way to work with Affinity Designer so that I never get decimals in the Transform panel? I'm getting mixed results with using "Force Pixel Alignment" and "Move by Whole Pixel" and due to snapping/aligning, I sometimes still end up getting : X: 900px | Y:62,5px Of course this makes sense, if you align something in the middle, and the heights don't match, you do the divide by 2, and get a ,5 decimal... but it makes me always having to check the transform panel to make sure I don't have "badly" positioned elements. The reason I want this is for better export. I found that export works best if things are aligned on full pixel value. Maybe you can change the logic of the "Force Pixel Alignment" and/or "Move by Whole Pixel" to actually reflect this and do rounding of values whenever decimals are present. The explanations above are a bit all over the place, hopefully you understand the goal. If I were to go deeper into implementation, I would say this would make sense for "Move by Whole Pixel" with the rounding of the X / Y values. If user holds ALT / OPTION key pressed, then maybe allow decimal values, as an exception. Width and Height with decimals are maybe not that big of a deal, because the export slice can be set to a whole number, but the reference point (X/Y) is pretty important.
-
[ADe] Keyboard shortcut for find in layers panel
Pavel replied to AshTeriyaki's topic in Older Feedback & Suggestion Posts
Hey guys, any update on this topic? I'd really like to be able to do something like CMD+OPTION+CONTROL+SHIFT+F13+X+MOUSE_LEFT_CLICK and execute the "Find in Layers Panel" function. Kidding :) A simpler shortcut should suffice. I also looked for it in the keyboard shortcuts list and couldn't find it. Looking forward to the next update, keep up the great work! -
You can insert Unicode characters on a Mac by following these steps: 1. Open System Preferences -> Keyboard -> Input Sources 2. Click on the [ + ] on bottom left 3. Search for "unicode" 4. Add "Unicode Hex Input" 5. Switch to using "Unicode Hex Input" 6. Enter desired code by holding down Option key (alt) and pressing the actual code You can use this for example with Font Awesome. 1. Download the font: https://fortawesome.github.io/Font-Awesome/ 2. Install it using Font Book 3. Create a text block in Affinity Designer 4. Switch input source to "Unicode Hex Input" 5. Lookup a code from the cheatsheet: https://fortawesome.github.io/Font-Awesome/cheatsheet/ 6. Hold down Option (alt) and type "f0f3" to get the "bell" icon, for example Hope this helps.
-
Switch persona keyboard shortcut
Pavel replied to Pavel's topic in Pre-V2 Archive of Desktop Questions (macOS and Windows)
Always the quick response on the Affinity Forums, love it! :) @VIPStephan, @Callum, thanks for the info, I currently have 1.3.5 and there's no results when searching for "shortcuts" in help. The Media Browser shortcut works in Designer & Photo, the Liquify and Export only in Photo. I forgot to mention the product I'm interested in is Affinity Designer. Thanks again for your answers, I'll be waiting for the new release then :) -
Hi, I've searched on Google and Affinity Forums but couldn't find any information about switching between personas with a keyboard shortcut. Does anyone have any info on this? Thanks!
-
How can I measure things?
Pavel replied to Pavel's topic in Pre-V2 Archive of Desktop Questions (macOS and Windows)
Aha, I see now. You mean using a Rectangle and keep it on the screen, and then just move it around as I need it. OK, that's good advice, thank you! -
How can I measure things?
Pavel replied to Pavel's topic in Pre-V2 Archive of Desktop Questions (macOS and Windows)
Hi, I don't really think a specific "Measurement Tool" is required. I think using a rectangle to drag/move on the screen is enough, in my opinion. MEB, the problem I have with the Rectangle Tool in Pixel Persona is that the dimensions are not shown dynamically (like a rectangle in Draw Persona). It is only AFTER I drag'n'drop the rectangle that the Transform properties get filled in. This is something I did not notice before and therefore I asked here. Steps to replicate: Pixel persona -> create rectangle -> no information in Transform Move rectangle -> immediately the Transform fields get populated (including updated automatically when moving the rectangle) Thanks for the answers! -
Hi, Is there a quick way to measure distances? My use case is: margins / paddings for web designs. I would normally use the Marquee Tool (in pixel persona) or Rectangle Tool (vector persona) and look at the dimensions in the "Transform" panel. However, in the Pixel persona, the Marquee dimensions are not shown. Any ideas how I can quickly do what I want? Thanks
-
Image Cropping
Pavel replied to Patrick Thompson's topic in Pre-V2 Archive of Desktop Questions (macOS and Windows)
Hey, I'm continuing on this thread rather than starting a new one with the crop question. Apart from the Export (which exports only to the 1x & 2x the section you've created), how can I crop an image quickly? I have a large picture that I need to transform into a smaller and cropped image of the original. Generally I crop the area that I need, then resize, then export. The only way I could do this is by using Marquee Tool, Cuting the section I needed, pasting (which creates a new layer), resizing the newly created layer, and then using Export Persona. Is there an easier way then this? -
[ADe] Keyboard shortcuts wishlist
Pavel replied to boudewijndanser's topic in Older Feedback & Suggestion Posts
Please more shortcuts. I especially need it to switch between the 3 Personas. Also, a lot of the time I wish I would be able to just add a "slice" (from the export persona) but while being in the other personas. Especially when having to do a lot of exports / slices - and no keyboard shortcuts, it's so slow ;-( I was googling for Add New Layer shortcut key, but cmd+shift+n apparently only works for "Pixer Layer". I was hoping at least that by switching to the Vector Persona it would create a normal layer but it didn't ... -
OK, thanks! Since it's a bitmap file I suppose it makes sense to be part of the other package.
-
Thanks for the instructions Dale, I followed them and I understand what you mean. This solution works for USING patterns. My goal here is to CREATE a re-usable pattern. Maybe this image will make it clearer what I wish to achieve: https://www.dropbox.com/s/7j0ac4ngzadtlsi/Screenshot%202014-10-23%2014.49.29.png The YouTube video describes how to do what I'm after, but in Photoshop: Title Photoshop Tutorial: Create Seamlessly Tiling Patterns with Complex Images -HD- By: RiverCityGraphix
-
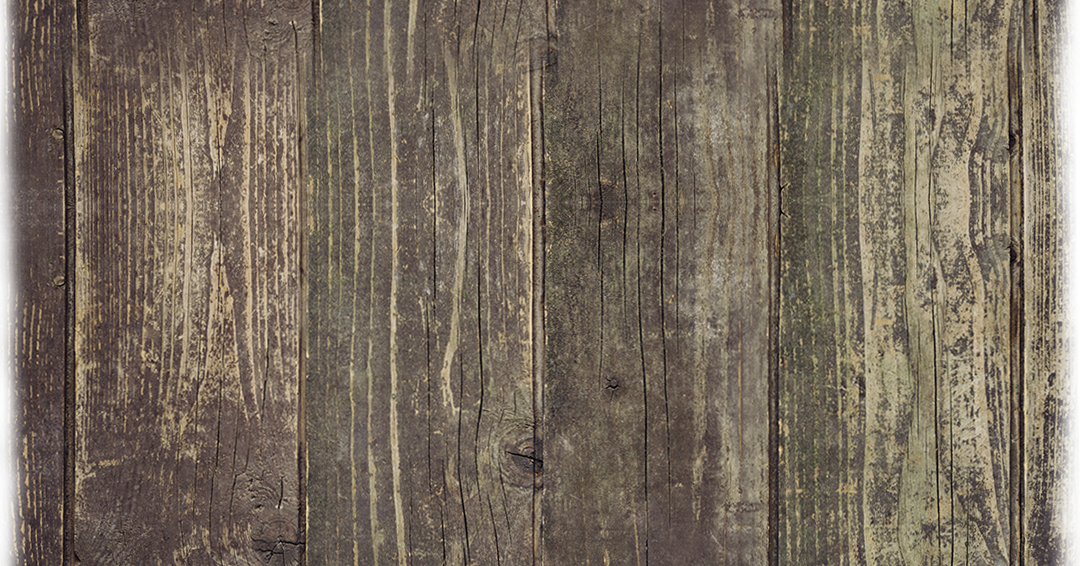
Hi, Is there any way to create a repeatable background in AD? I've been doing some searching online and all I can find is Photoshop Instructions that I can't apply to AD - most of it seems to be because of the "Offset" function. I have quite a complex wood image that I would need to turn into a repeatable background (y axis) for a website. Any advice on how to do this would be greatly appreciated!