DuncanL
-
Posts
98 -
Joined
-
Last visited
Everything posted by DuncanL
-
 Use the Resource Manager to make the images linked. Convert those files to PNG (I used XNView, but the tool is immaterial). Use the Resource Manager to replace the BMP image with the new PNG versions. Use the Resource Manager to embed those images. Save.
 -
Why are you using BMP format? It's very old and inefficient of storage space. Using PNG (which is compressed but also lossless, so won't change the image quality at all) works perfectly, and give you smaller documents. JPG would be smaller again; but at the cost of image quality, so I'd not go there except possibly for final output if it's for online use. That's certainly what I'd do! And gives you an immediate solution; rather than waiting for a possible future fix. Sims2Cars.afphoto
-
Help with old family portrait, please!
DuncanL replied to Darloman's topic in Desktop Questions (macOS and Windows)
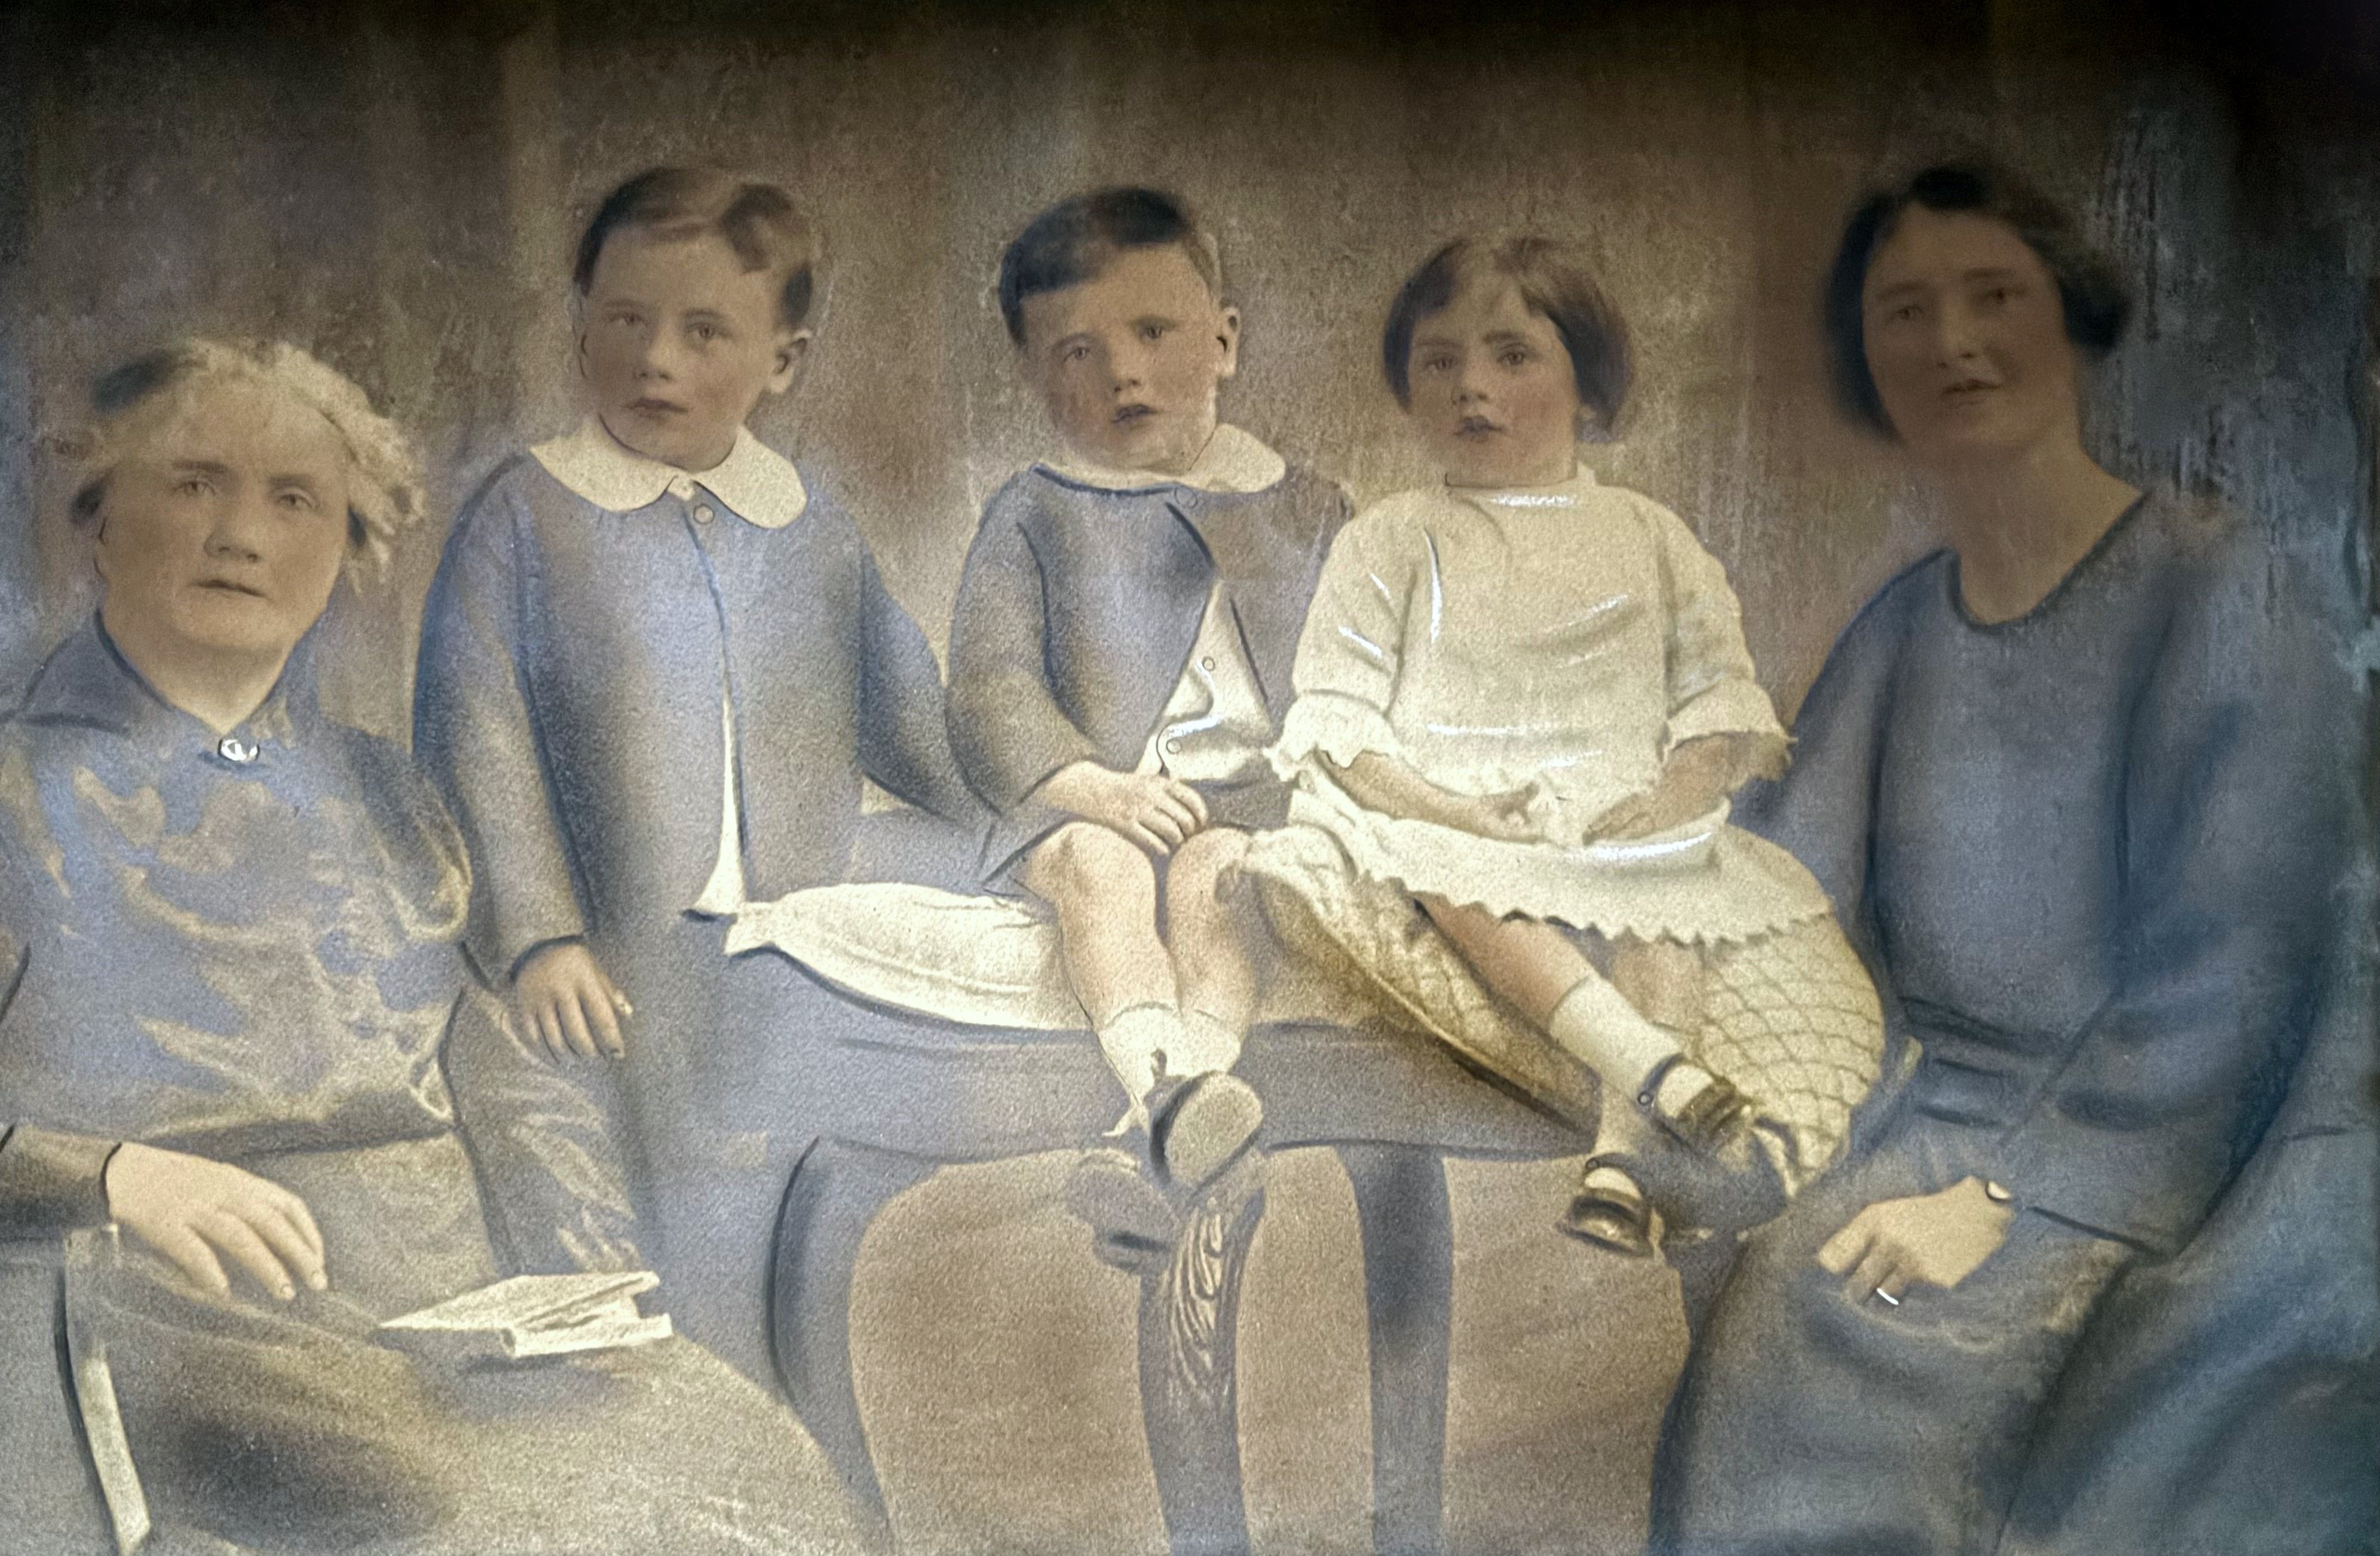
I would agree with this - overprocessing a historical photo with made up data (which is what AI would do) would probably ruin it. A very quick five minutes with the inpaint tool to remove dirt and a prod of the automatic contrast...
-
Help with old family portrait, please!
DuncanL replied to Darloman's topic in Desktop Questions (macOS and Windows)
There are no AI tools in Affinity applications (yet). You could certainly adjust levels, contrast and touch up damage in Affinity Photo. It looks like that photo has been touched up and coloured in the past with physical painting. -
Affinity Designer 2 keeps crashing
DuncanL replied to Basvo's topic in Desktop Questions (macOS and Windows)
AD locks up or crashes when zooming or editing that file. Is there a particular reason you're trying to achieve a paint\marker effect in a vector tool? -
Blurry PDF after exporting a logo
DuncanL replied to boutier-design's topic in Desktop Questions (macOS and Windows)
If they're rendered at the final print resolution (normally at 300dpi); then it will look fine. You will only have problems if the image is scaled up afterwards. So it's a matter of being aware what the final destination will be. But for logos that might end up being used huge; sticking wit pure vectors is often simplest. -
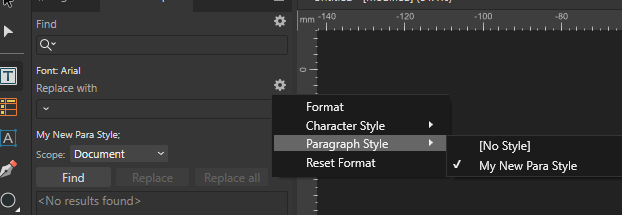
If you create a paragraph style formatted as you want; then use that as the replace target, if you later change you mind about the formatting, you can just update the style and all text with that style will be updated automatically - no need to resort to find & replace.
-
I think you have an adjustment on the layer and you're adding the gradient into the mask for that. I think what you want to do is add a new white layer, then add a gradient mask to that; to give you space to put your title? Affinity Photo 2 2024-12-15 15-45-48.mp4
-
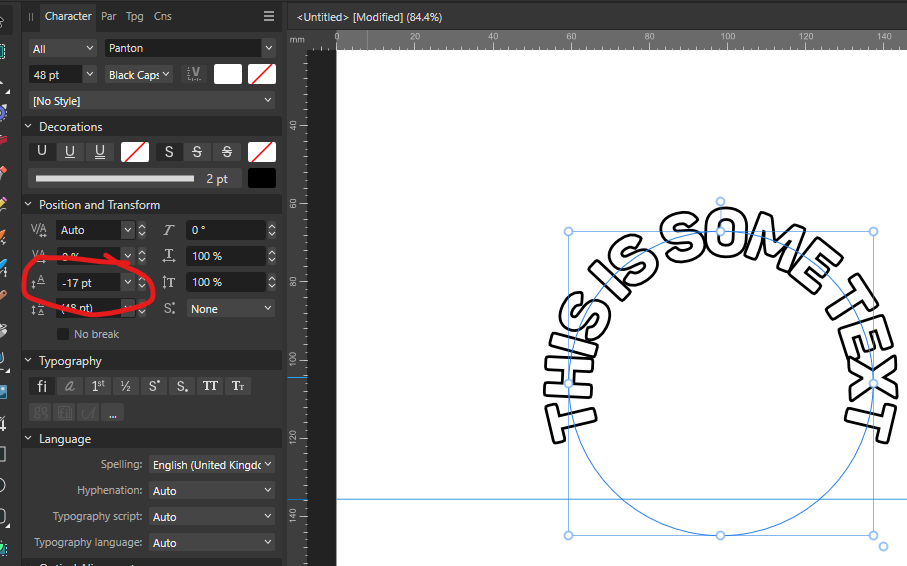
You can adjust the text baseline to achieve any arbitrary alignment you need:
-
AhH; I see. And Photo does the same nesting clipping (which I suppose shouldn't be a surprise)
-
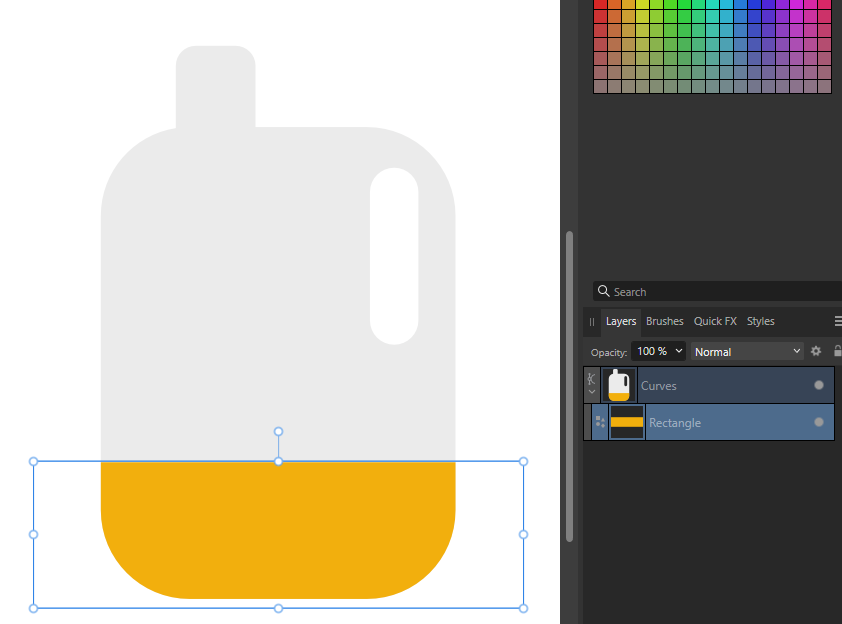
Of course the easiest solution is: Do it in a different app! In Designer, you can just clip one shape to another by putting it inside:
-
Show zoom percentage in Affinity Photo
DuncanL replied to nickbatz's topic in Desktop Questions (macOS and Windows)
You're welcome. The power of DDC at work. -
Show zoom percentage in Affinity Photo
DuncanL replied to nickbatz's topic in Desktop Questions (macOS and Windows)
No calibration required - it "just works"
-
Yes. Just drew a quick shape round the image and then tweaked the outline to a good looking fit. A short, rough example: Or not... Geting an "Error 200" attaching the video - sorry!
-
With a vector drawn behind the cutout works well, as @Ldina suggests. It doesn't have to be pixel perfect and you can easily tweak the nodes and curve to get a good looking fit. Mover Light 2 Back for Affinity Forum.afphoto
-
Documents causing crash in 2.5.5 (split)
DuncanL replied to rjav's topic in Desktop Questions (macOS and Windows)
Can you attach one of the problematic documents here for people to try? I'm using Windows 11, all Affinity products at 2.5.7, with current Nvidia drivers. -
Designer 2: Mirror objects on axis and join?
DuncanL replied to Otto Manuel's topic in Desktop Questions (macOS and Windows)
Interesting. Though that does leave you with a duplicated point\zero length curve at the join point. Not world ending but possibly mildy annoying if some cases! -
Designer 2: Mirror objects on axis and join?
DuncanL replied to Otto Manuel's topic in Desktop Questions (macOS and Windows)
The simplest way I know is much as you describe. Draw a shape, mirror, move and add the geometry together. You can't add just lines\curves; so add you have to add a fill and then remove it afterwards if you just want a line. If you have snapping enabled then aligning the copy is very easy. Redundant nodes are removed. Affinity Designer 2 2024-12-09 22-57-58.mp4 This demo file has history on to show the steps: Merge Demo.afdesign -
Put each image inside a rectangle (with no stroke) that's the size of the canvas; then export those as slices. Slicer Problem (Edit).afphoto
-
Why won't Amazon accept my PDF???
DuncanL replied to MamaHops's topic in Desktop Questions (macOS and Windows)
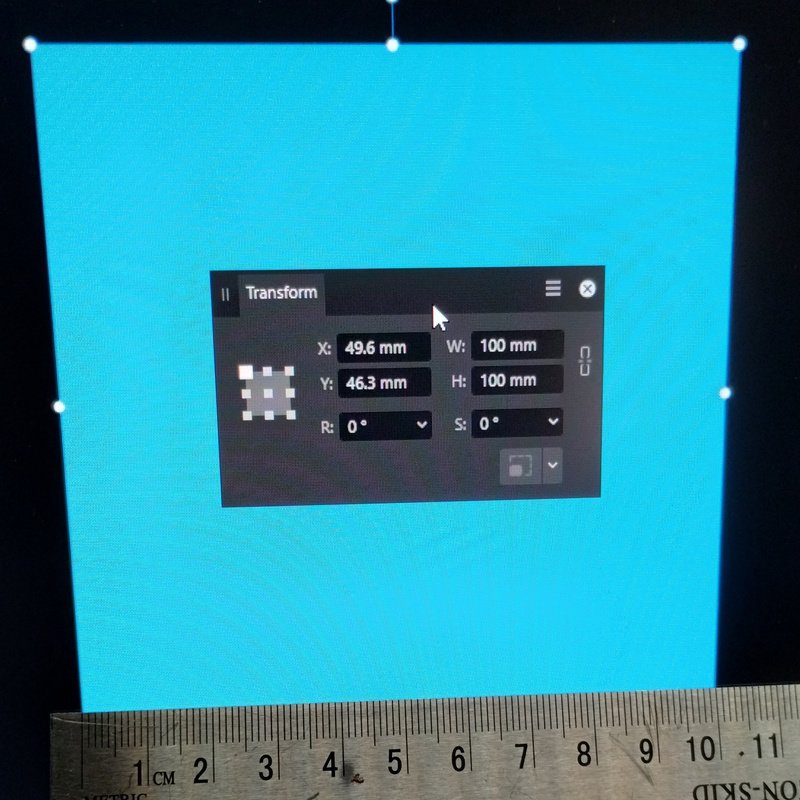
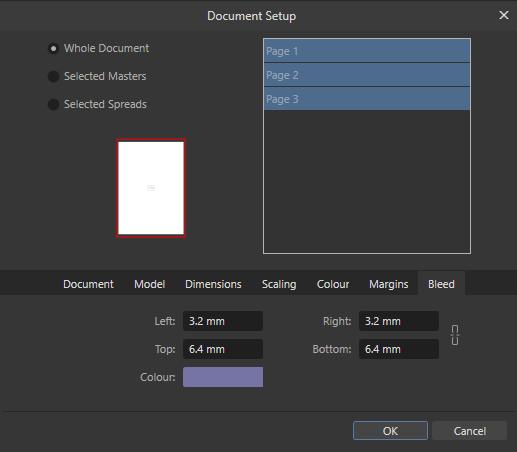
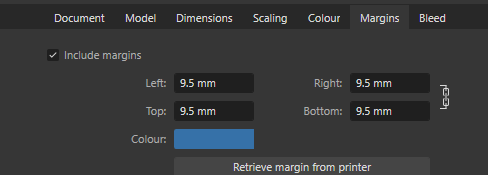
In APub, If you go to File > Document Settings and select the Bleed tab, what do you have set? This is what they want (I think - it's not totally clear if the bleed values are per side or in total for width and height - but this should work. If not. then halve the values on each edge.) They also say to keep page content 9.5mm from the edges; so set the margins: and make sure everything (except images you intentionally want to go into the bleed area) falls inside the blue margins.
-
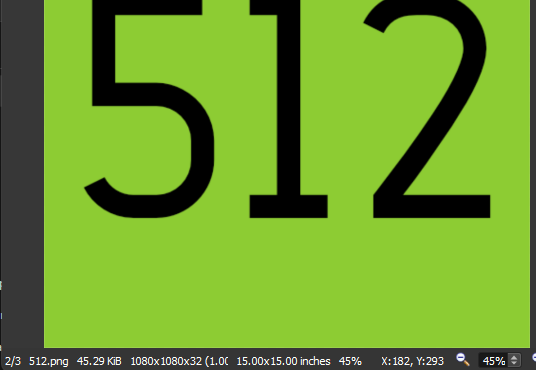
SliceDemo.afphotoI've tried to replicate what I think you've described and it seems OK to me - I get the 512 layer scaed to 1080x1080 as expected. Attaching a demo here might help. (Ah; I was testing this while you posted! Glad that solves it. The only downside is that if the smaller images were linked,m rather than embedded, then rasterizing them will remove that link and make your new file larger. That may not be problem for your use case though.)
-
Why won't Amazon accept my PDF???
DuncanL replied to MamaHops's topic in Desktop Questions (macOS and Windows)
Have you set a bleed and Amazon doesn't want one; or not set it and they do? If you can provide more details of the exact errors; and possibly a copy of the Affinity file; then people here can try to provide suggestions. (Cut it down to just a poage or two (save as a new file, not over the original!) if you don't want to share it all. -
How do I set up duplication in Affinity Publisher 2?
DuncanL replied to TVIL's topic in Desktop Questions (macOS and Windows)
2024-12-06 18-06-11.mkv The Duplicate feature on the object context menu automatically repeats the offset from the previous object. (Apologies - the default Windows capture, which displays on this forum fine, doesn't capture menus; which is a bit annoying! And the OBS recording I did doesn't display in the forum, so you have to download it.) -
Importing Word document
DuncanL replied to M J Maguire's topic in Desktop Questions (macOS and Windows)
You're welcome. -
Importing Word document
DuncanL replied to M J Maguire's topic in Desktop Questions (macOS and Windows)
Adding fonts is a feature of the OS - Affinity will use whatever fonts are available to the OS.