Reid Walley
-
Posts
14 -
Joined
-
Last visited
Everything posted by Reid Walley
-
What a cool option, setting the Effect's "Fill Opacity" to 0%. Worked like a charm!
-
Very helpful video!
-
Image Cropping
Reid Walley replied to Patrick Thompson's topic in Pre-V2 Archive of Desktop Questions (macOS and Windows)
This is exactly what I was looking for in Affinity Photo. Thank you! Most of the time I crop images and then copy them into a new file. But since Affinity Photo's Crop Tool crops images non-destructively, copying a cropped image into a new file just brings all of the non-cropped extra content with it. Totally useless for my needs. Thanks for the tip to Crop then go to Layer > Rasterize & Trim. Now I can successfully copy the cropped image into a new file. -
How to name a style in AD?
Reid Walley replied to deborah's topic in Pre-V2 Archive of Desktop Questions (macOS and Windows)
(for future readers) Control-clicking directly on the Style Name text did not work for me in either Grid view or List view. What did allow me to Rename the Style Name: 1) In Grid view, Control-click directly on the icon (as gdenby mentioned above); or 2) In List view, Control-click directly on the icon OR just to the right of the Style Name. -
Wow; so cool! Thanks so much for the info about Inkscape, the new afdesign files, and the Google font. So helpful!
- 5 replies
-
- 1
-

-
- choppy image
- (and 1 more)
-
My preference would definitely have been to have the logo in vector, but the client only had it in JPG. The JPG format gave me choppy text edges once in PDF, so I tried saving the JPG as an EPS. But the same choppy text edges happen once in PDF. This JPG/EPS logo may be the best I can hope for since no vector exists. Thanks!
-
1. Saved logo as EPS (as well as JPG) at 300dpi in Photo. Open logo in Mac Preview and zoom in: logo's text edges look GREAT. 2. BUT after placing logo into Designer and exporting to PDF, and inspecting PDF in Adobe Acrobat Reader: logo's text edges are really choppy. Goal: send business card PDF to CMYK printer for business card printing. How do I get a clean logo in PDF? EH300-generic-cmyk-profile-eps.eps Erucae Biz Card - MASTER - test with EPS logo.pdf

-
This was REALLY helpful! Thanks!
-
Distort / warp feature affinity designer
Reid Walley replied to a topic in Feedback for Affinity Designer V1 on Desktop
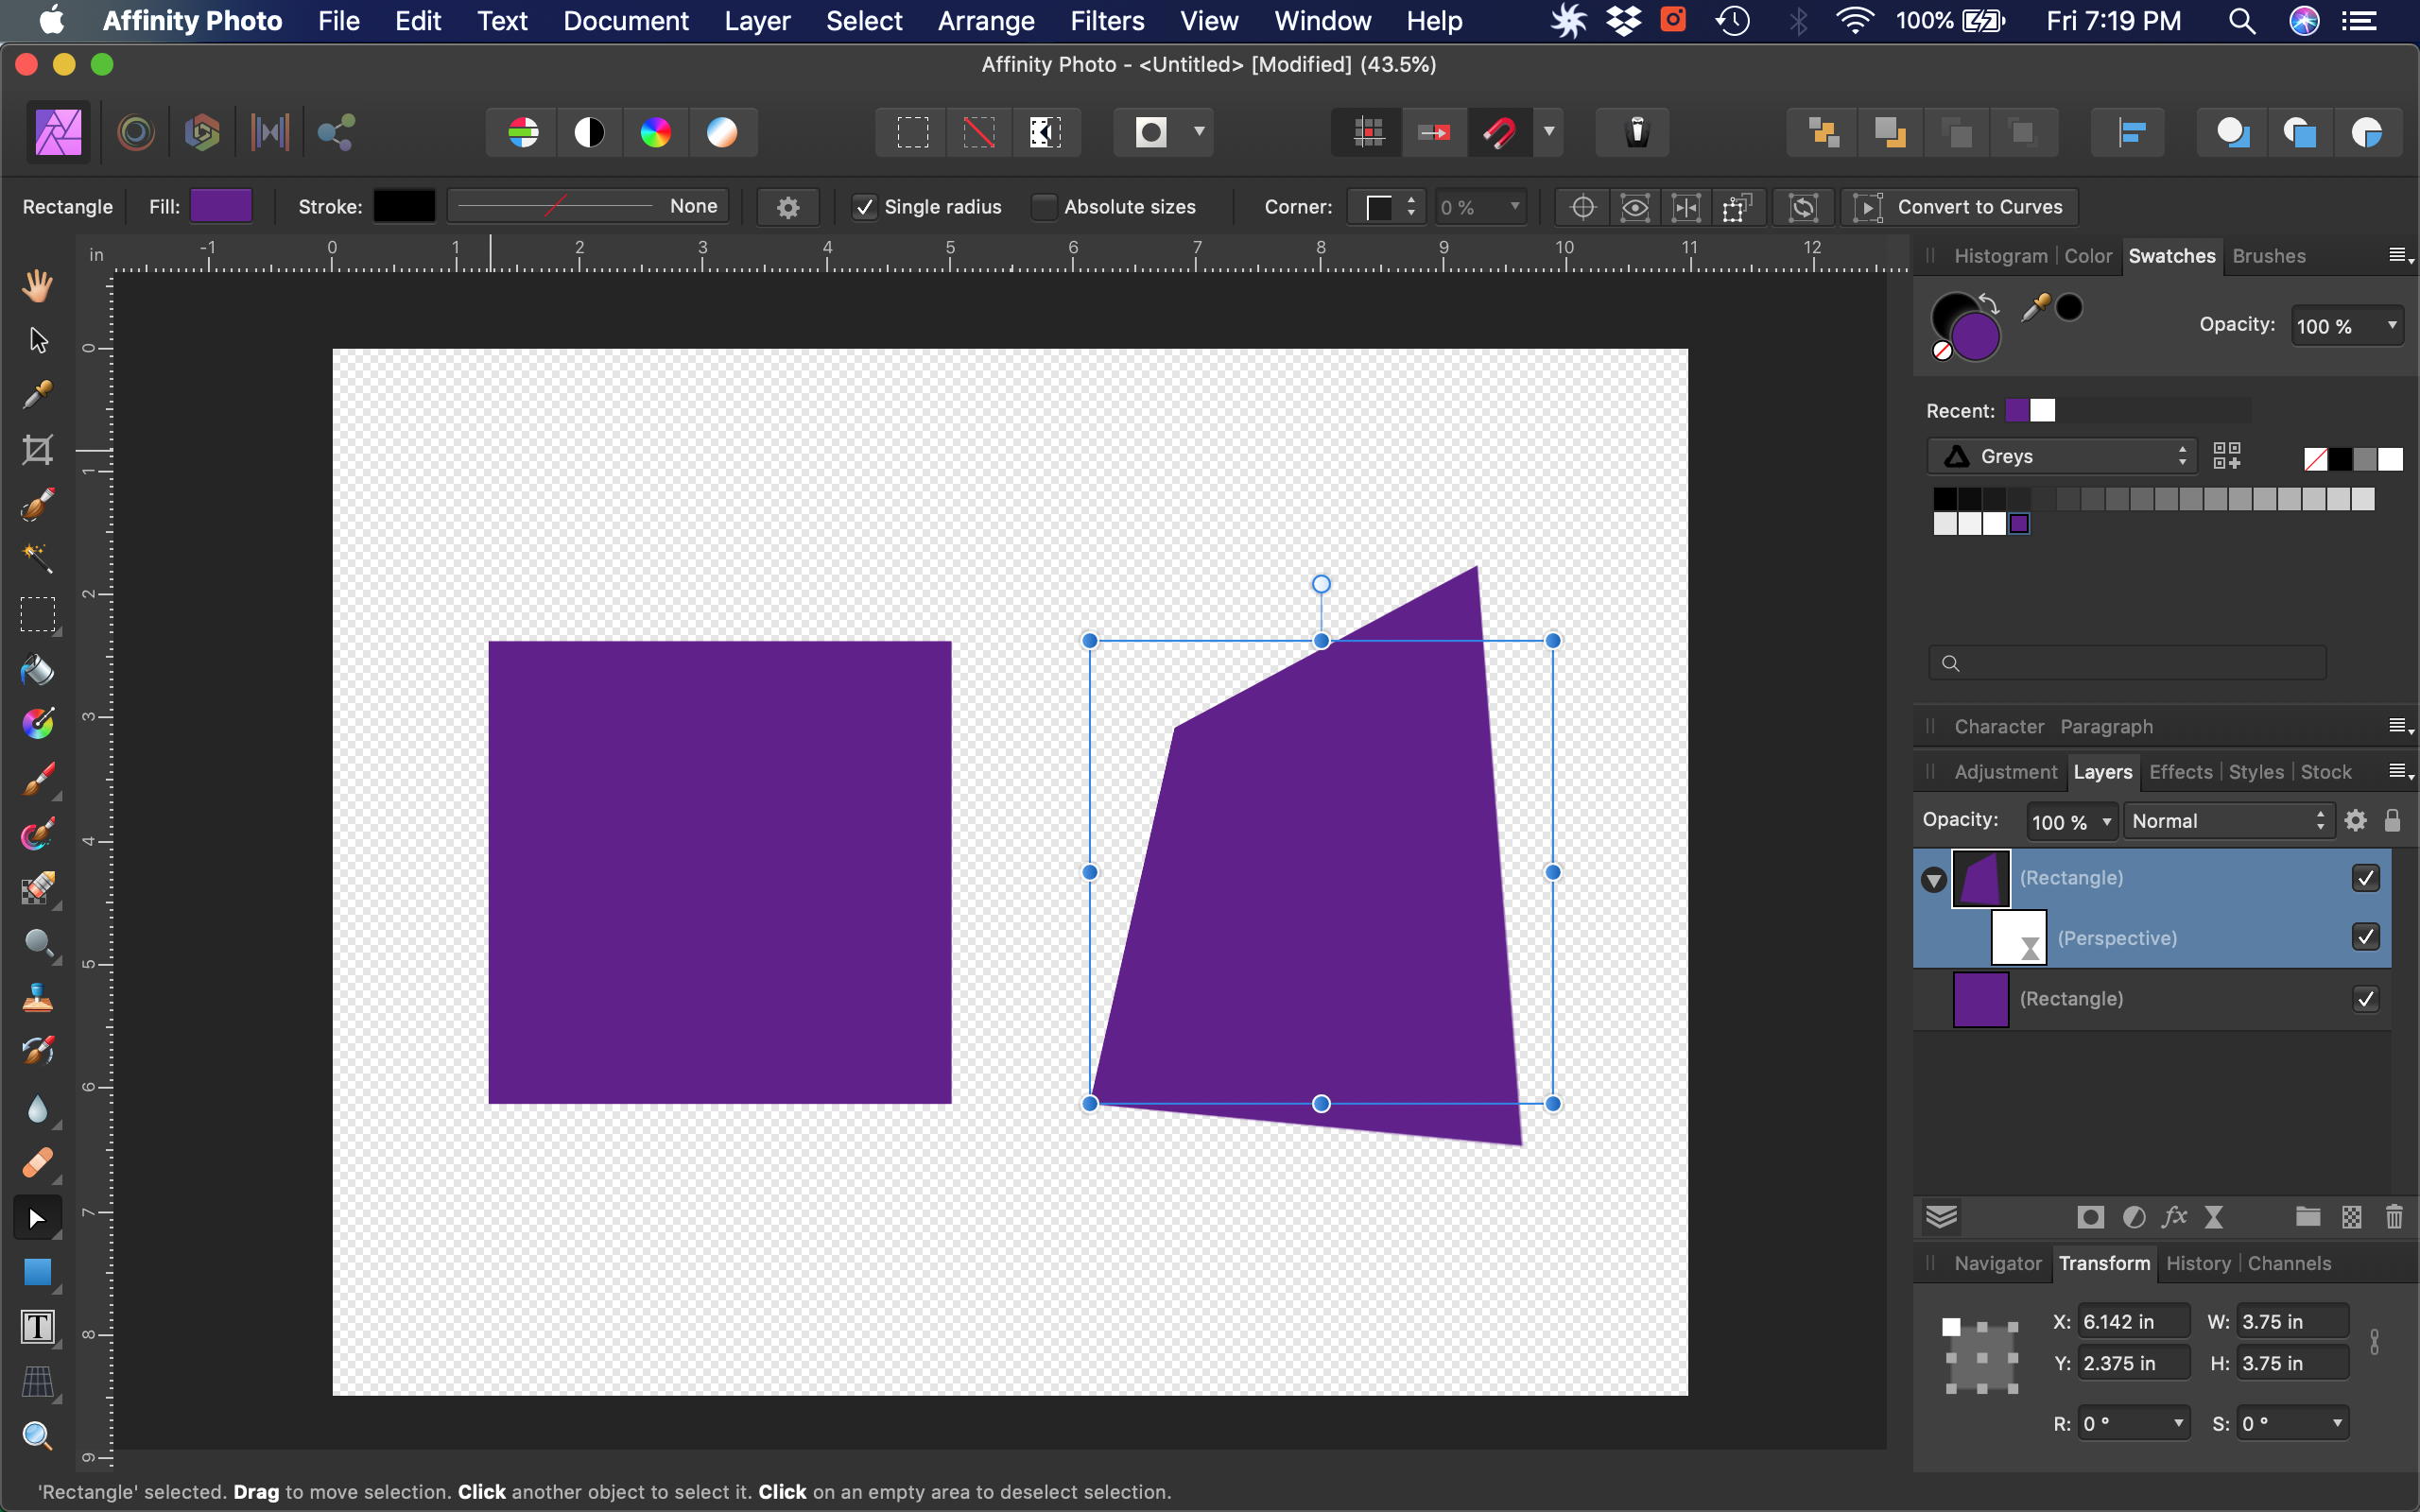
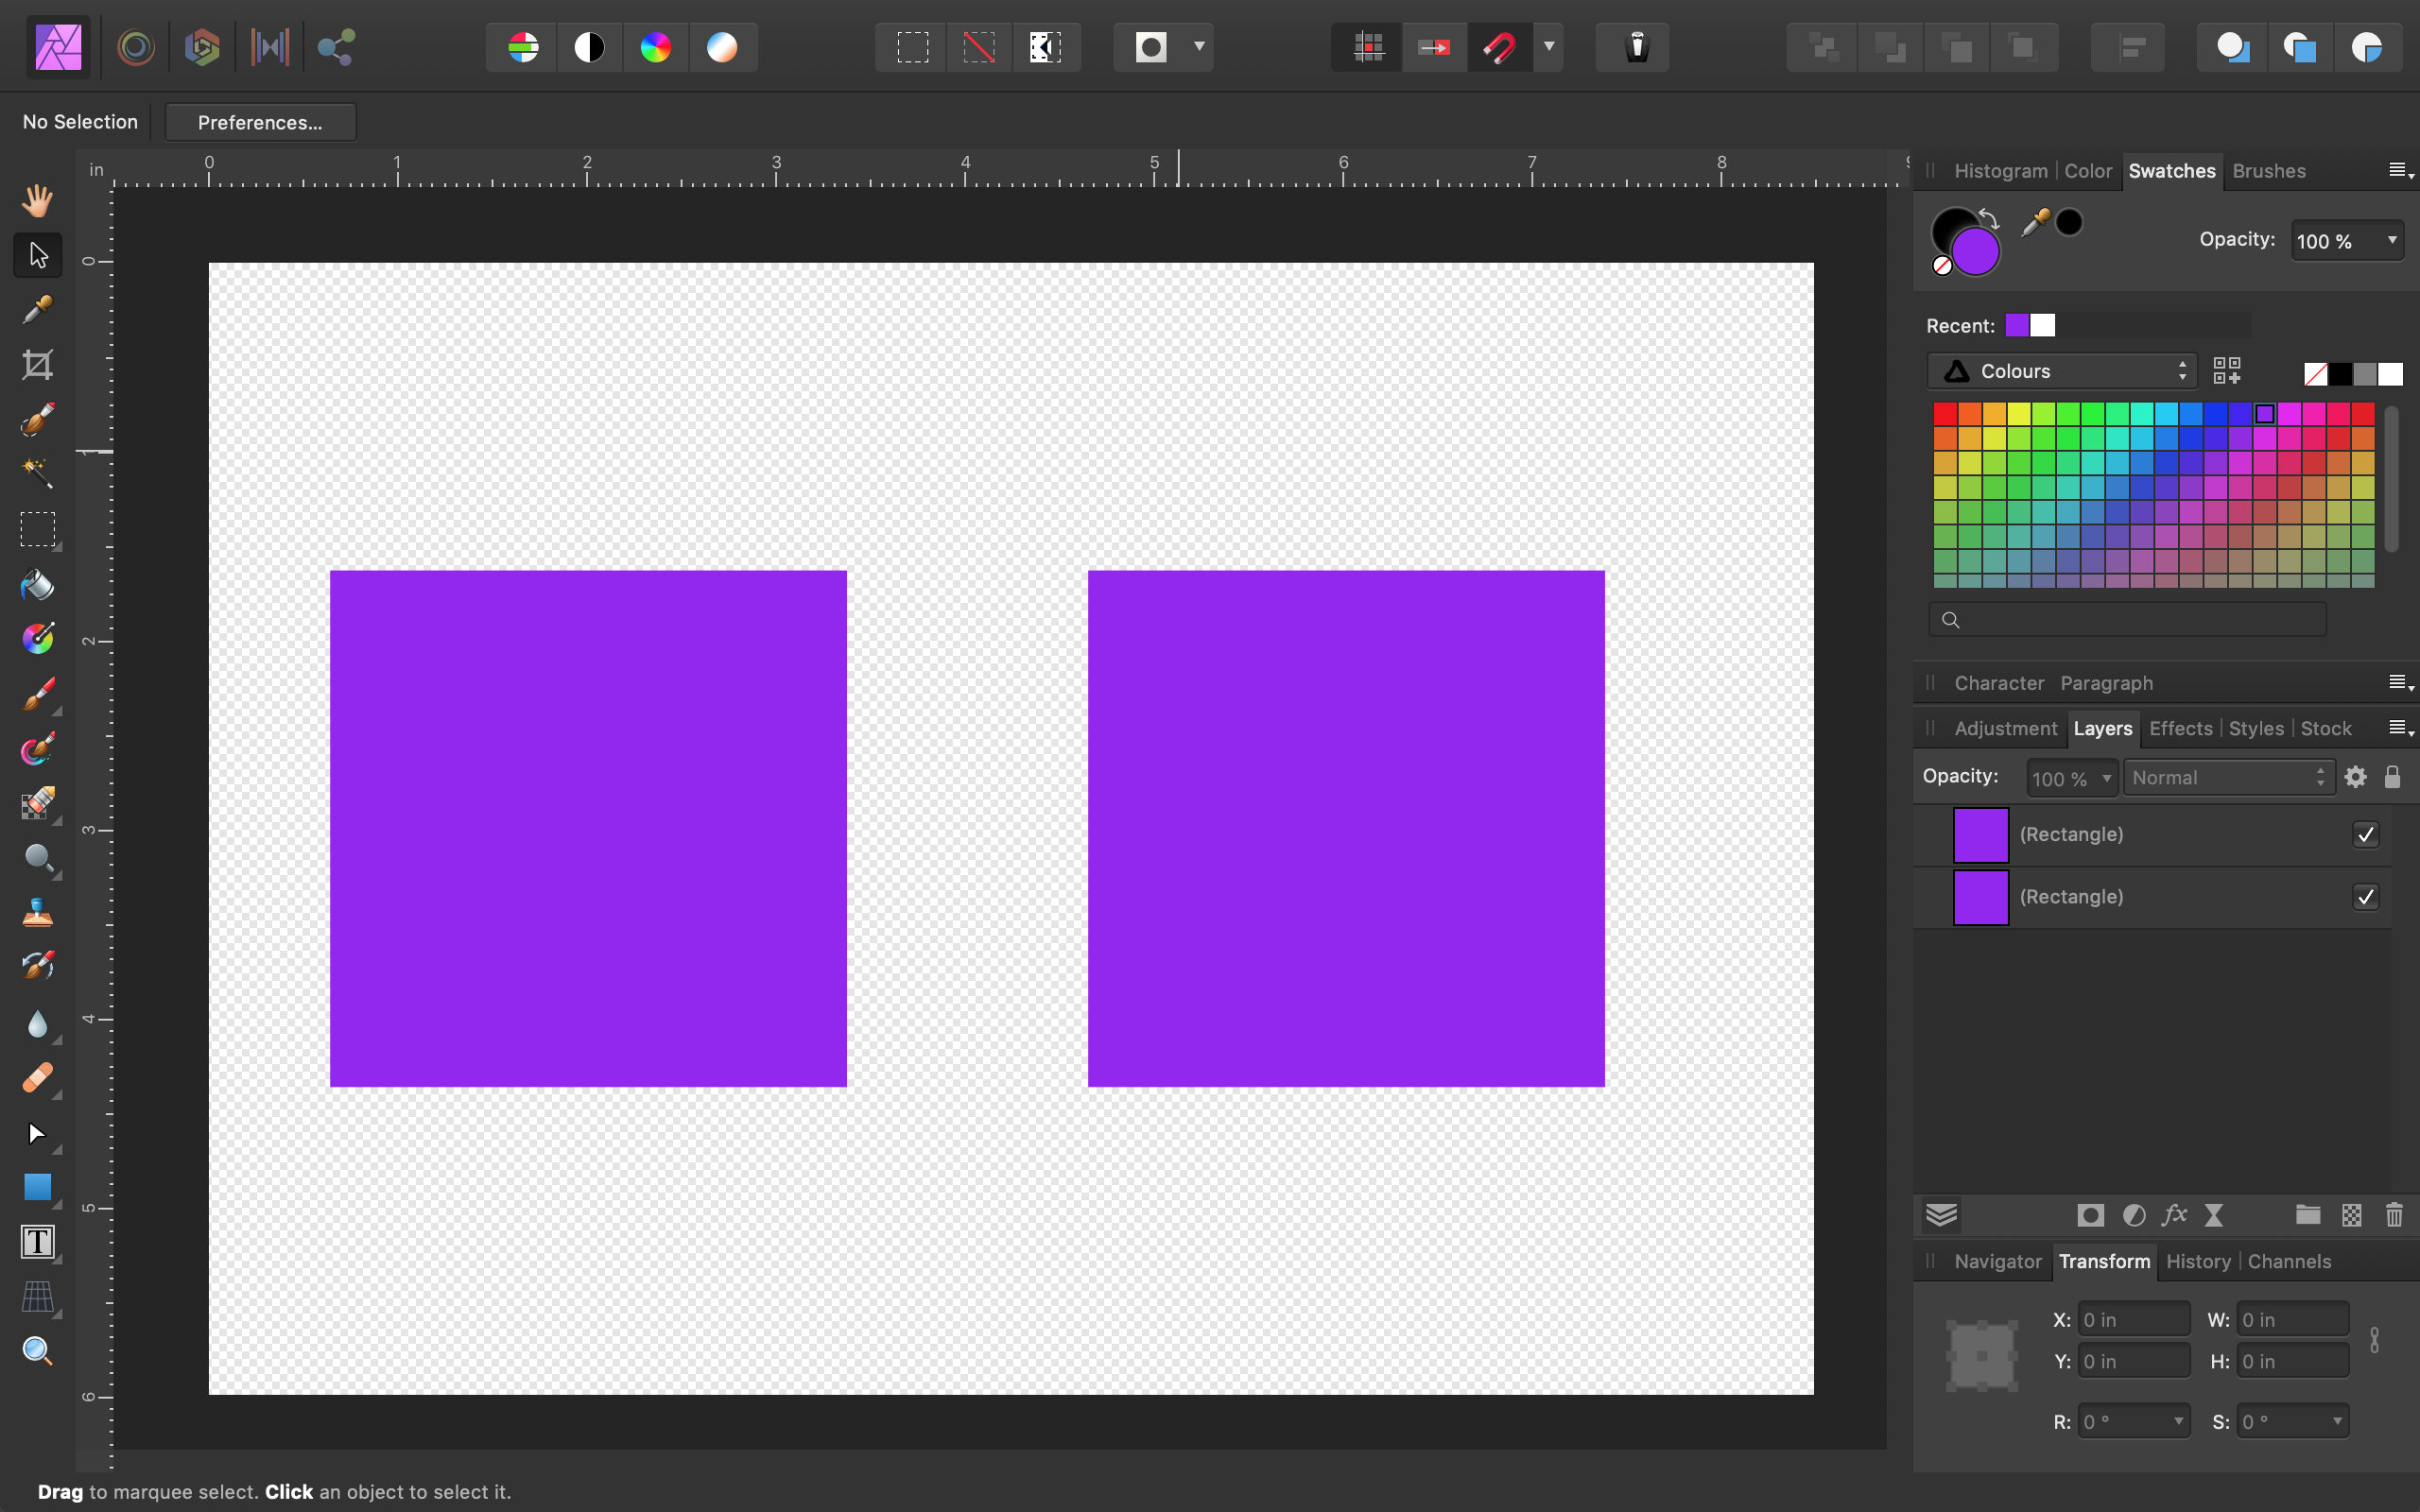
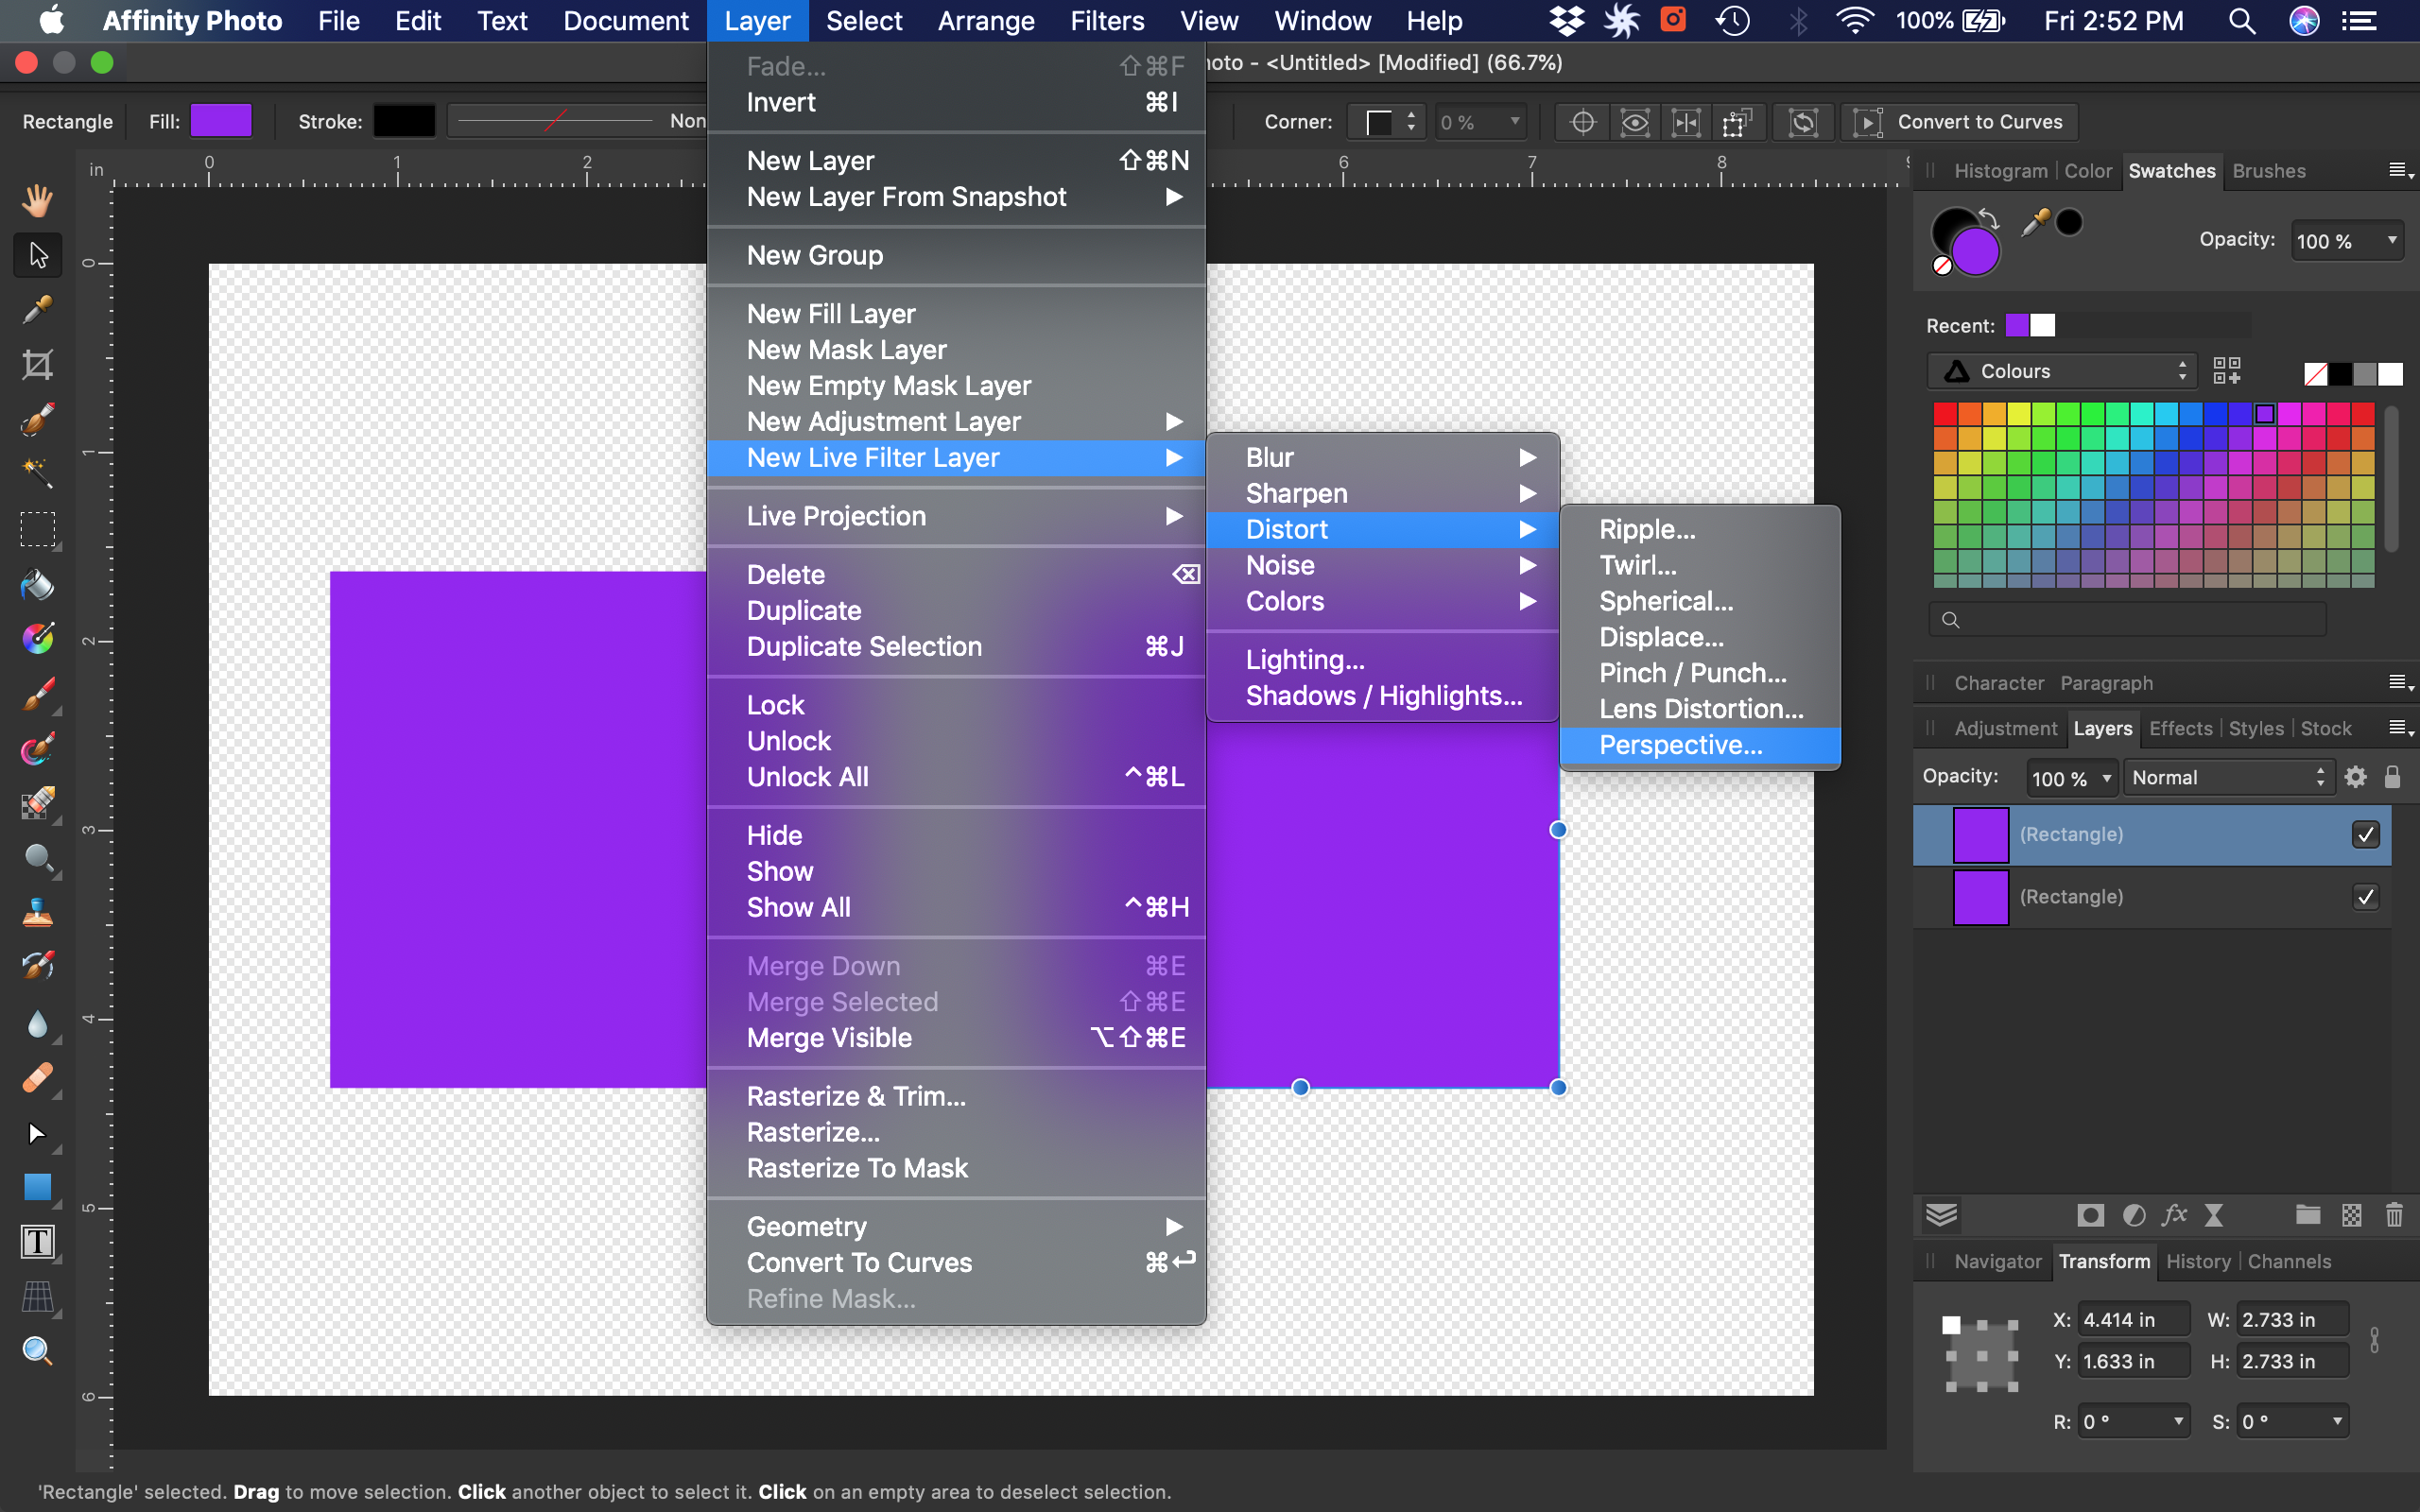
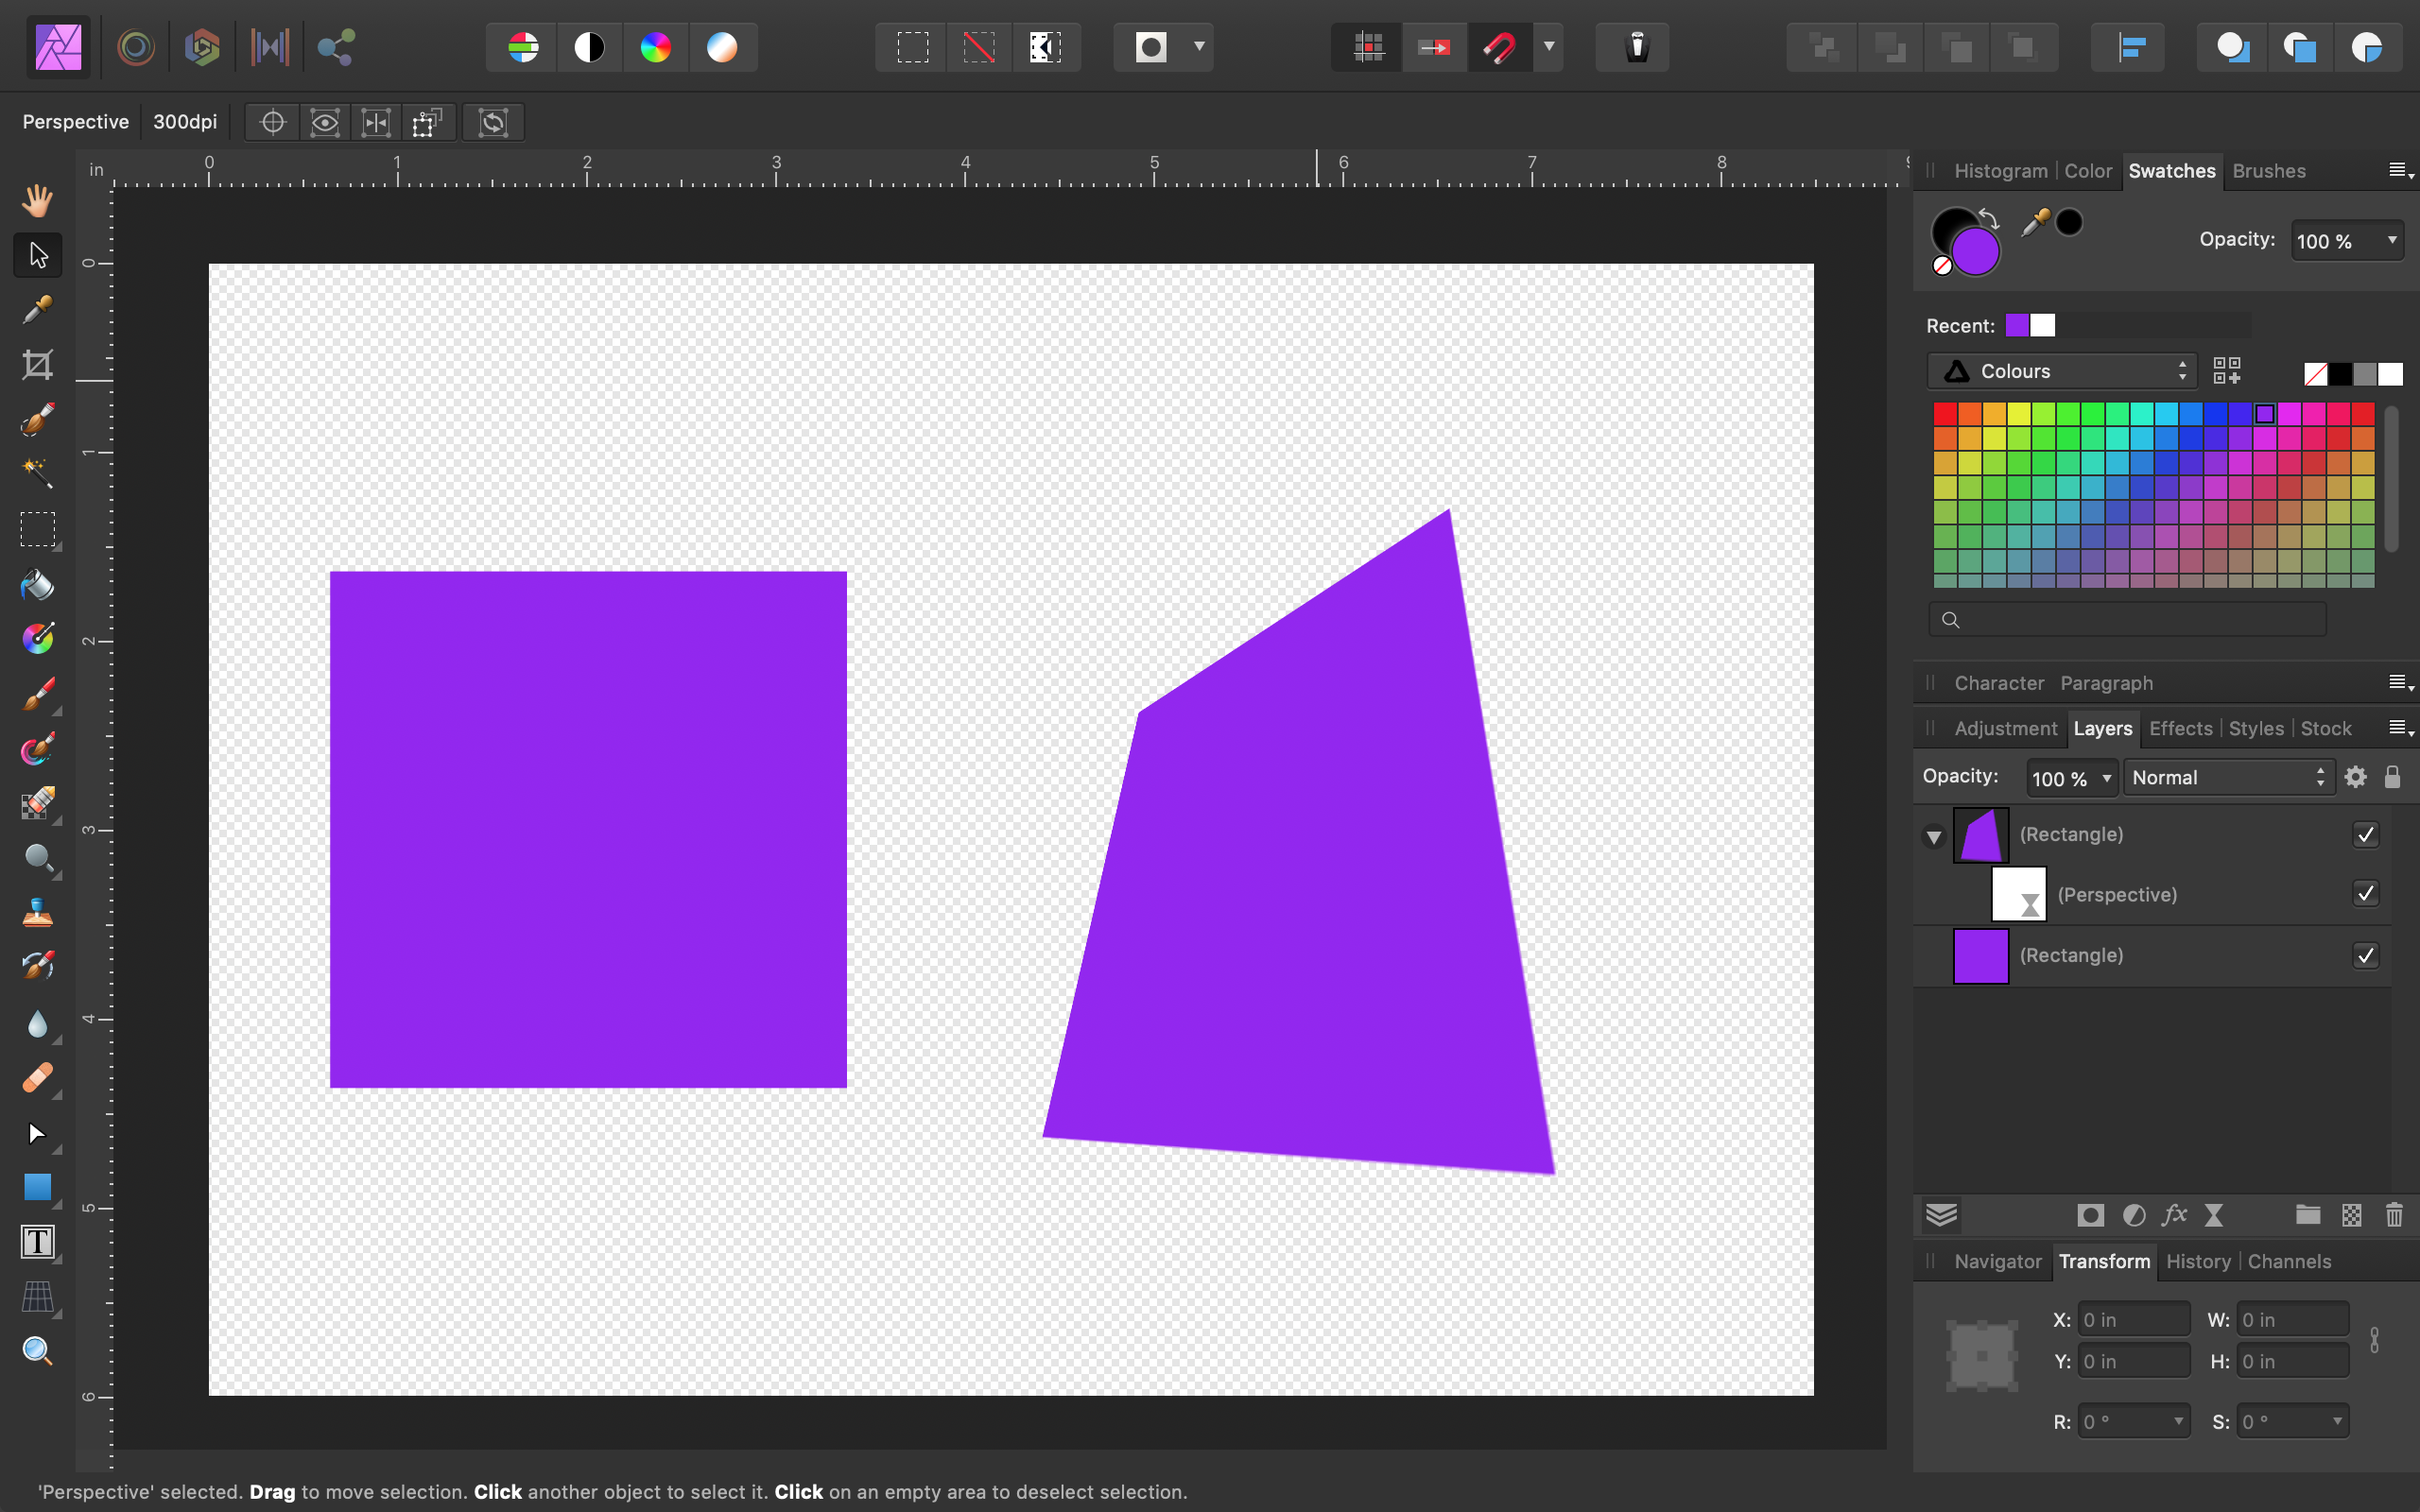
Yep, you're absolutely correct @v_kyr. Distort in Photo does not leave behind vector shapes with nodes, but instead a bitmap of the distorted art.
-
Distort / warp feature affinity designer
Reid Walley replied to a topic in Feedback for Affinity Designer V1 on Desktop
[UPDATE]: I couldn't get my version to fall apart like yours while in Affinity Photo. What's your export format? (I only ever export to PNG for my purposes). Also, the resulting distorted square does NOT maintain editable outlines/edges like it did when first created in Photo.
-
Distort / warp feature affinity designer
Reid Walley replied to a topic in Feedback for Affinity Designer V1 on Desktop
Ah, you might be correct. I hadn't thought about an export format beyond my need of a 300dpi PNG for print-on-demand t-shirt printing. The 300dpi PNG that I exported looks slightly more pixelated at the edges of the artwork when I zoom in 8x – compared to a straight Designer-to-PNG export. -
Distort / warp feature affinity designer
Reid Walley replied to a topic in Feedback for Affinity Designer V1 on Desktop
[UPDATED]: This was SUPER-helpful: it allowed me to use Photo to Distort my Designer 300dpi vector art. However, the resulting distorted art does NOT remain in vector form and gets turned into some kind of bitmap(?). And although I can view the distorted art's outlines (Designer: View > View Mode > Outline), the outlines are def NOT accessible/editable with the Node Tool. Still, at 300dpi, this fulfills my needs to upload to print-on-demand sites. -
Trackpad on MacBook.
-
(As of Photo v1.7.0 on Mac desktop): Right-clicking on the Spare Channel's thumbnail does not display the Options Menu. The only way to display the Options Menu is to right-click just to the left of the Spare Channel's trash can. At least this is my experience on my Mac desktop as of v1.7.0, June 10, 2019.