Search the Community
Showing results for tags 'tip'.
Found 7 results
-
 So I was searching around for any and every video on YouTube to give me a better understanding of how to use the pen/node tool. I stumbled across a video on YT: "AFFINITY DESIGNER CURVES FROM SINGLE STROKE. This tutorial helped me solve one issue (finding the easiest way to trace an image with a lot of curvy lines BUT with each curve flowing smoothly together from one to the next). I had created a logo (i can't show the whole logo) but as you can see some of the curves i created originally APPEARED smooth when i zoomed in close but some noticeable errors when i zoomed out/away from it. Once I zoomed out the logo had these subtle curves that made the logo look like it was starting to form corners. As I followed the tutorial, I got to where I was only using the SMART MODE tool, with these options selected: - ALIGN TO NODES OF SELECTED CURVES - SNAP TO GEOMETRY OF SELECTED CURVES - ALIGN HANDLE POSITIONS USING SNAPPING OPTIONS - MOVE BY WHOLE PIXELS - SNAPPING while I was working through, I was going by what I would always hear from the pros and amateurs "move the node handles around until you get as close as you can to the images/shapes. so that's what I did! Still wasn't perfect though. A-HA!!! THERES A PATTERN ("not sure if I'm just late to the party lol") Once you put your first node, you get the CURVE option after putting the second node which is your first line. You then go and make that line fit as perfect to the curve as you can which is the easy part. Then comes the hard part as soon as you add a 3rd node and however many more you want, trying to make that second curve fit PERFECTLY with the first curve usually doesn't match the way you want it to because at the same time you're also trying to make it fit with the 4th node. It then becomes this tug of war between the nodes LOL. node A. node B. = line/curve a-b node B. node C. = line/curve b-c node C. node D. = line/curve c-d node D. node E. = line/curve d-e **USING THE SHIFT KEY EVERYTIME (USUALLY)** **USING THE SHIFT KEY EVERYTIME (USUALLY)** **USING THE SHIFT KEY EVERYTIME (USUALLY)** Once you have the first curve (line/curve a-b) set to your liking , before adjusting the second curve (line/curve b-c) YOU WANT TO SELECT THE NODE (node C.) AND USE THE HANDLES ON IT TO START BUILDING THE END OF THE SECOND CURVE (line/curve b-c)...…..THENNNNNNN...…GO BACK TO THE PREVIOUS NODE (node B.) AND ADJUST THAT ONE TO MAKE THE SECOND CURVE (line/curve b-c) FIT and FLOW SMOOTHLY WITH THE FIRST CURVE (line/curve a-b). so therefore once you move onto the third curve (line/curve c-d) start by adjusting the handles of node D. FIRST then jump back to ex. node A. node B. node C. node D. node E. etc. line/curve a-b, line/curve b-c, line/curve c-d, line/curve d-e after the curve between node A. & node B. has been made (line/curve a-b), jump to node C. and using the handles to adjust the curve (line/curve b-c) to your liking THEN start adjusting the handles on node B. creating line/curve b-c which flows perfectly with the previous curve line/curve a-b AFD - nodes.mp4 HOPEFULLY I HELPED SOMEONE!
-
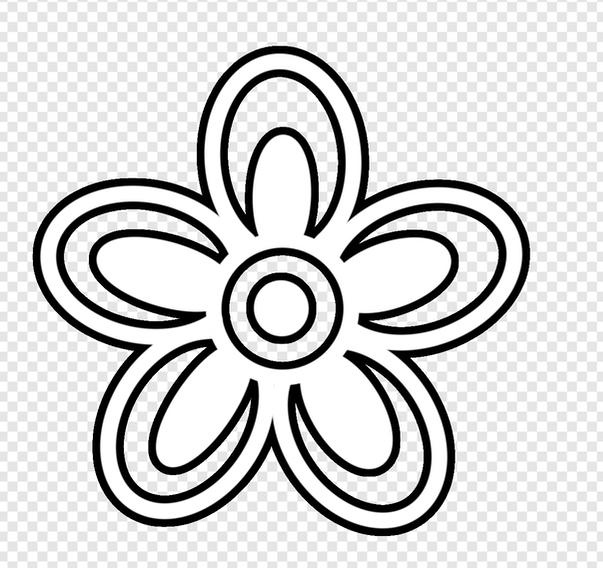
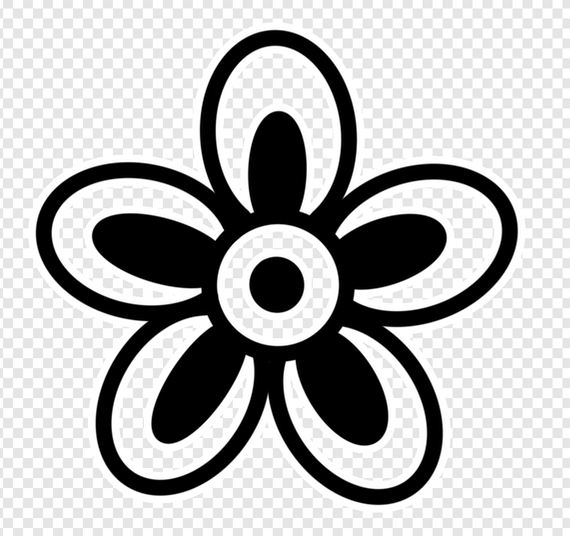
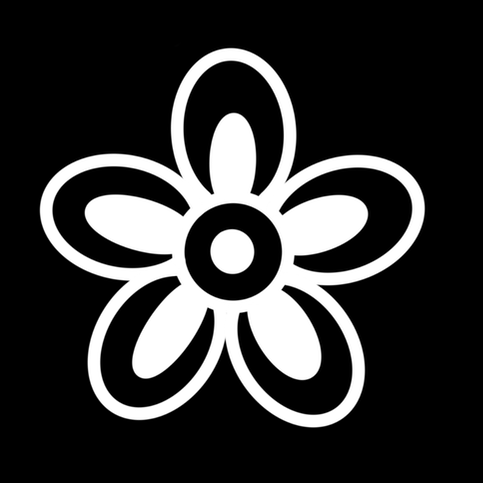
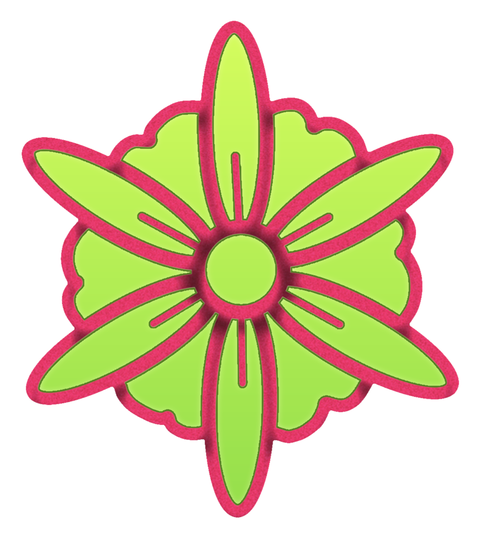
 There's this tutorial here on how to convert Procreate Brushes (working as of this date) to Affinity Brushes. It involves unarchiving the Procreate Brushset into it's respective Brush files / folders. In each folder is a PNG file (commonly "shape.png"). It's that file that is used and converted for use in Affinity Designer. Here (my examples) they are imported as "Intensity" Brushes: I've used this technique quite a bit. What I've also found depending on HOW you convert the image you get different results as well as possibilities. Example a Floral Brush: Using GIMP (Or the Photo Editor of your choice (not sure how to do this using Affinity Photo). I select by color, Shrink the selection (Play with the settings), delete the selection and get the following result. One is the direct result. The other is the colors inverted (one with a black border, the other with a white border): Using this method, I get results that give very different possibilities when using Styles and Layers to overlap the end results: Worth playing around with. Here's (attached) two AFD files to show you more clearly the possibilities. The first uses "Select by Color", "Selection / Shrink" the second uses "Select" (which just selects the surrounding exterior not "Select by Color" as above and "Selection / Grow" (Play with the settings). Enjoy. fleur9_9a_x2_a_Color_AFD.afdesign fleur9b_9c_x2_b_Color_AFD.afdesign
-
 This is just a small tip/warning but it took me a while to figure out what was going on. Since Designer has the Pixel persona one has to be aware that there is the second type of selection - the pixel selection. The first type is obviously the object selection (selection box). If you are working with both types of selections (switching to Pixel persona and back) at one point you may forget to clear the pixel selection (deselect) or you may create the pixel selection accidentaly. And that might cause problems/confusion later on. This happened to me: While in Draw persona I selected a pixel object and noticed that the selection (bounding) box is completely off the object and has a different size: I thought that it had to be some kind of a bug. It took me a while to figure out that it is in fact a forgotten (or accidental) pixel selection. So ultimately Ctrl + d solved this issue. So if something is off with your object selection box or you get any sort of weird behavior alway try Ctrl + d. Maybe this is too obvious but you never know... Anyway I just wanted to share this.
-
Just thought I'd share this. I frequently have to add dimensions to my design work to communicate to developers the specifics of a layout. Currently, there isn't a feature to create these in AD, so I've cobbled together my own workaround version using constrained objects. The benefit is it's pretty easy to resize the dimension to match the size of the element being measured. The downside, you will still have to enter all the numeric dimension manually. Ugh! I know, but a quick check of the Transform module will tell you what size to enter. One other flaw with this system is it doesn't work so well with very small measurements. Anything below 10px vertical and 30px horizontal will have to be manually adjusted because of limitations to how constraints work. Just resize one to below these thresholds and you'll see what I mean. If you know to avoid this situation, please share. To help with this, I made some smaller measurements to get you started. One other item I added to the file is a dark and light overlay to help make the dimensions easier to read. Use the dark one on dark interfaces and the light on lighter ones. There are a couple examples included that illustrate how to use them. It may seem that the downsides outweigh the benefit, but if you have to have dimensions, then even the seemingly small benefit of easy resizing adds up to hours of time saved on large projects. Hopefully, you find this useful. dimensions_template.afdesign
-
- 2
-

-
- constraints
- dimensions
- (and 1 more)
-
Affinity Designer 1.6 (some tips also apply to Photo 1.6) Since Affinity (Designer) is not the best tool when it comes to locking/unlocking objects and generally managing objects I have been searching and coming up with workarounds ever since I tried the Windows beta. Here they are: 1) Selecting and editing a locked object directly on canvas using Outline mode: + does away with endless searching in the Layers panel + the operation does not affect other (strategically) locked objects ... unlike Unlock All - doesn't work in case the object is hard/impossible to select in Outline mode (pixel image) - more work required if you want to quickly edit several locked objects 2) Selecting and editing a locked object directly (sort of) on canvas using Unlock All, Undo and focus in Layers panel (Preferences > User Interface > "Show selection in Layers panel" must be on): + does away with endless searching in the Layers panel + the operation does not affect other (strategically) locked objects + works for all objects - is not quick or straightforward (could be improved if Designer had scripting, maybe AutoHotkey/AutoIt could be used) - a lot of work required if you want to quickly edit several locked objects ... TIP: assign a keyboard shortcut to "Unlock All" for quicker operation Serif Should really improve the UX of the Affinity apps as far as locking and managing of objects is concerned. These are just workarounds. There are some now ancient apps with much better UX than what we have today. If you have any more "lock/unlock" or "show/hide" tips or workarounds, please share them.
-
 I noticed that if I double clicked on an Artboard thumb, the viewport jumps to full screen view of that artwork. NICE! Then, I tried double clicking on a thumb of an item in the layer panel, and BAM, element selected, zoomed in to full screen view! Is there a way to, when you select an element on your artboard, jump to that element in the layers panel while expanding the tree there if needed?
 -
 Hi I have made 12 new Affinity Photo Tips in german I hope you enjoy it. I am planning to make more.
.jpg.7691567c4f251b5af498d40143519916.jpg)