Sirenetta
-
Posts
29 -
Joined
-
Last visited
-
 Thanks everyone for all of these ideas!! This is very helpful!
 -
Thanks everyone! GarryP what settings did you use in your example? Thanks for your examples firstdefense and R C-R. This is very helpful! R C-R, how did you create the "Compound" folder group? I'm familiar with selecting objects and then selecting the "add, subtract, etc.," but I haven't created them in the way you did.
-
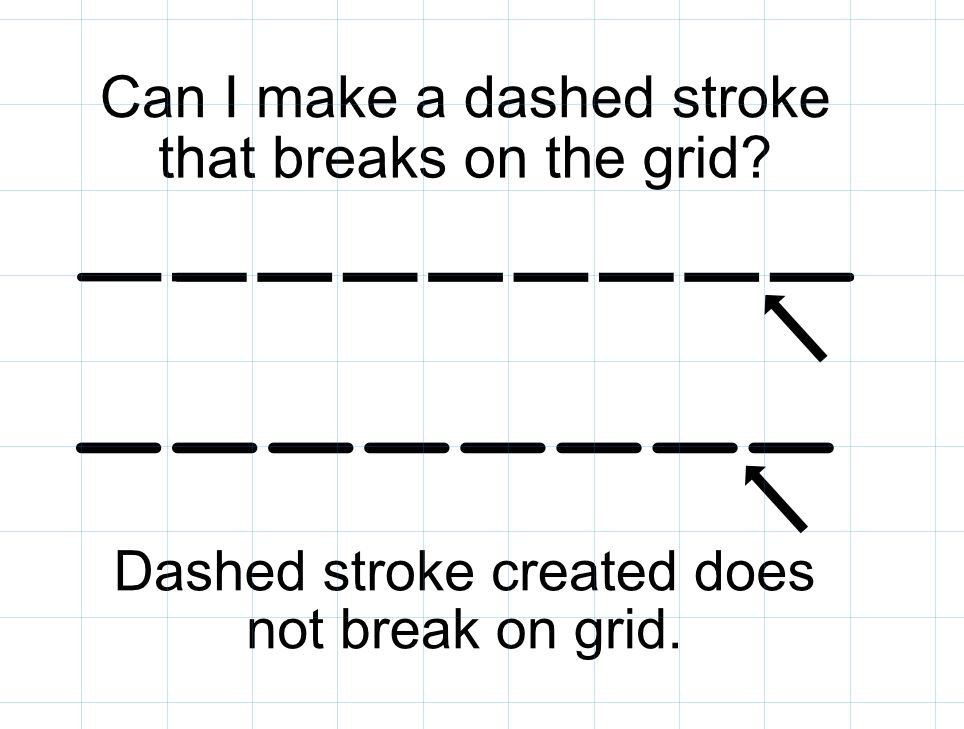
Hello, I have a 10X10 grid. Is it possible to create a dashed stroke that breaks on the grid? I tried different dashed settings, but I was unable to make the dash break where the grid intersects. Thanks! dashed line.afdesign

-
 walt.farrell reacted to a post in a topic:
AD: Missing object vector brushes after update
walt.farrell reacted to a post in a topic:
AD: Missing object vector brushes after update
-
Thank you!!
-
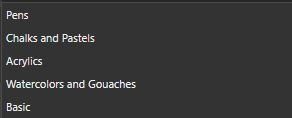
After updating to the latest Affinity, I seem to be missing the Affinity vector brush set that contained objects, like a rope, chain, etc. It doesn't appear on my brush menu anymore. Can anyone help me relocate those brushes? I'll attach a picture of the ones I have. Thanks!
-
Thank you for this information!
-
Hi all, I created a shape using eight square 10X10 symbols. I used the grid view and snapped the squares into a 10px spacing grid. Now I notice that when I turn the grid off, there are grid lines around the squares. The grid lines disappear when viewing the document at 1000%. When I export as JPEG, I can see the grid lines. There is no stroke around the symbol, but if I add a stroke, the grid lines seem to disappear. I'd rather not add a stroke unless I need to. And, I'd like to use squares instead of rectangles. Is there a setting I'm unaware of that I should select to remove the grid lines, or is this a bug that hasn't been resolved yet? My file is attached. Thanks for your help. gridlines.afdesign
-
Thanks for confirming this!
-
Hello, In AD, I created an artboard that is 8.5" X 11" (standard paper, 3300x2550px) and placed two 5"X7" images (1500X2100px) into the artboard. File attached. When I export to print, I see the option to automatically add crop marks and bleed to the artboard. However, it adds these marks around the artboard and not the actual images. In this situation, is my only option to add the crop marks and bleed to the file by hand? Or, is there some automation feature that could help me with this? If I need to do by hand, is there a preferred way to do that? The result would be a PDF that could be printed using 8.5"X11" paper and have marks where the image should be cut. Thanks! 8.5X11artboard.afdesign
-
 Michele H reacted to a post in a topic:
I Need Some Brushes
Michele H reacted to a post in a topic:
I Need Some Brushes
-
If you are asking how to apply a vector texture to your image, please take a look at the file I attached to see how it was done. The flag group was dragged into the texture group to constrain the textures to the flag.
-
ClimbnRox reacted to a post in a topic:
I Need Some Brushes
-
I see! Yes, try experimenting with vector grunge textures. I think a combination of those will help you achieve your flag graphic without having to find or create brushes.
-
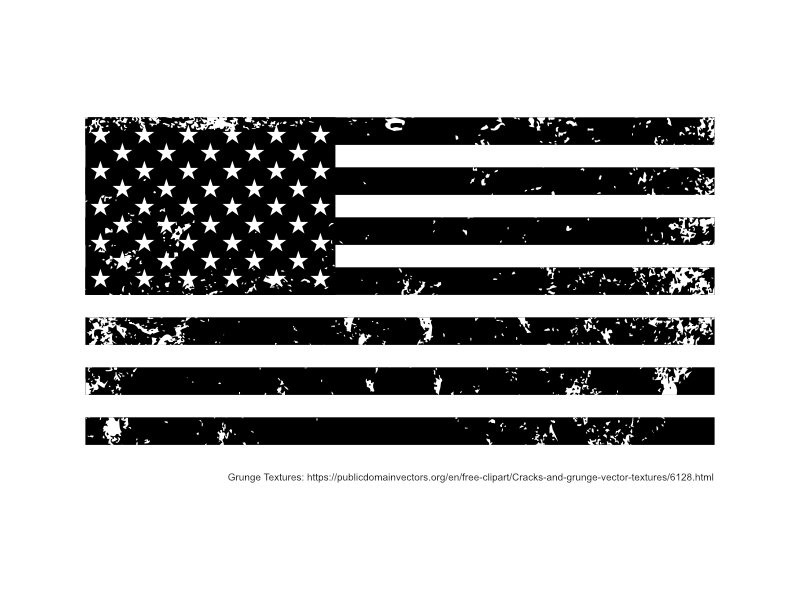
Another idea... If you create the flag using basic shapes in AD, you can apply a vector grunge texture on top of the flag to create that look. Attached is an example of an American flag with a vector grunge texture overlay. You can download free grunge textures online to experiment with. I hope this helps! American Flag.afdesign
-
Sirenetta reacted to a post in a topic:
Creating vector brushes
-
CreateSean, if you download the SVG, you can expand the document dimensions (File>>Document Setup) and then copy/paste the curve as needed until you have the size you need. Then combine the curves to create one background image. The attached file was created this way. It's 720px square, but it can be as large as you want with that method. To size it as a rectangle shape, create a rectangle that size and then in your layer's menu, drag the rectangle over the curve to make the curve constrain to the rectangle. See file attached. I hope this helps. floating-cogs.afdesign floating-cogs_rectangle.afdesign
-
firstdefence reacted to a post in a topic:
AD: How to maintain text size ratio when resizing group?
-
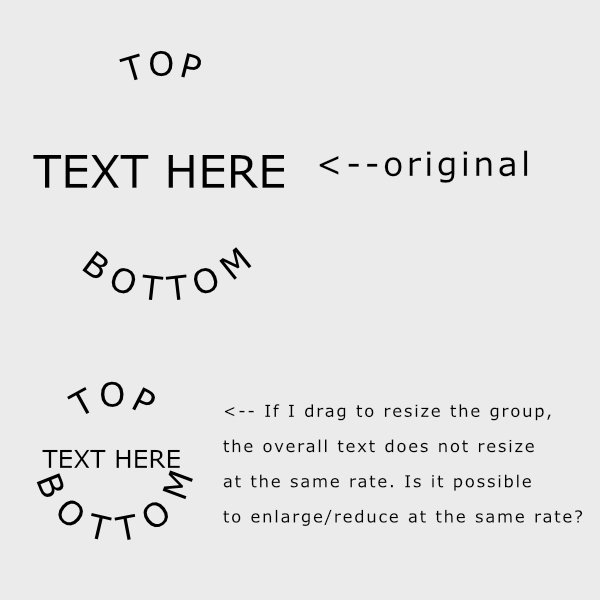
I'm using Affinity Designer. I have artistic text on a circular path and basic text in the center. I grouped all text together, but when I resize the group, the aspect ratio of the text changes. If I expand the group, the center text gets larger and the text on the path gets smaller. And vice versa. But, I'd like to maintain the ratio so that all text expands/decreases at the same rate. Is that possible? Is there a "scale with object" option for this? I will attach my file. text_path_resize.afdesign