rtloon
-
Posts
18 -
Joined
-
Last visited
-
Dashed border does not export properly to pdf when border width is set to 10.17. However, it does render properly for widths of 10.16 and 10.18. I needed this level of precision to get the dash to work almost perfectly around all 4 corners and different horizontal and vertical dimensions. Note that Publisher allowed me to set a border width to two decimal points (10.17) but will only display a width rounded to one decimal point (10.2) Attached is a file stripped of all extraneous label content. Red circle on pdf highlights improper border export. dashed-border-bug-report.pdf dashed-border-bug-report.afpub
-
 Alfred reacted to a post in a topic:
How to change an all black image to a Pantone color
Alfred reacted to a post in a topic:
How to change an all black image to a Pantone color
-
Didn't work on the greyscale tiff, but worked fine on the original Affinity Photo file! Thanks, Alfred!
-
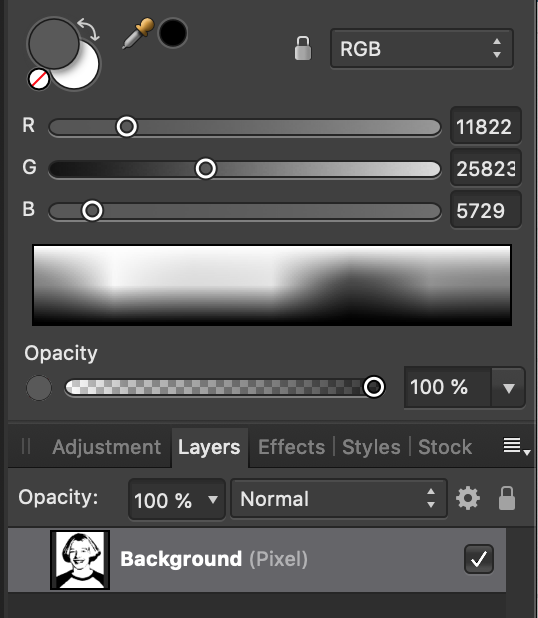
OK. Created a greyscale 16 bit .tiff file. Opened it in Affinity Photo. Unlocked the image. Tried to change the color profile from greyscale to CMYK or RGB. All colors remained greyscale. (see photo). This includes all swatches and Pantone colors displayed in greyscale. Adjusting the color of the black fill disk to grey did not impact the image: all the black remained black.

-
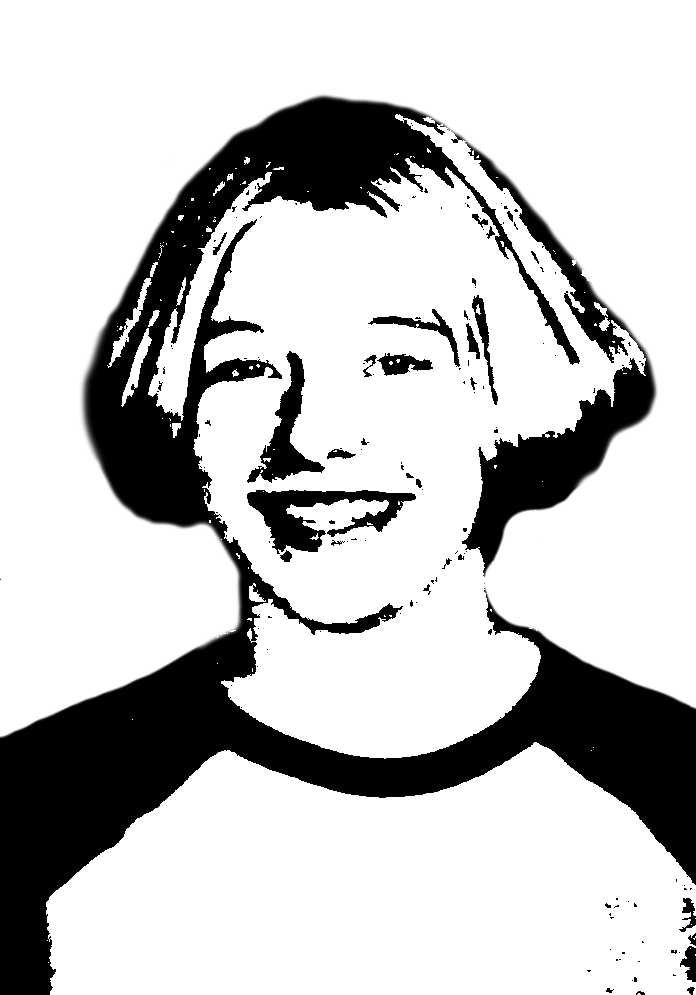
I have a quite posterized jpg image that is currently black on white. I'd like to change the black to a specific PMS color. I've got a swatch of the PMS color I want. But I don't know how to select all the full black and tinted black pixels, and once selected how to effect the change. Using the selection tool to choose areas and then the paint bucket tool to change each of them is cumbersome and problematic in capturing all the black pixels.
-
Ah. Found it. Just above the type tool, among all the shape tools
-
R C-R Where would one find the "arrow tool"
-
Font listing and AD crash problem
rtloon replied to rtloon's topic in Pre-V2 Archive of Desktop Questions (macOS and Windows)
The error message includes the following: "Application Specific Information: *** Terminating app due to uncaught exception 'NSInvalidArgumentException', reason: '*** setObjectForKey: object cannot be nil (key: NSFont)' abort() called terminating with uncaught exception of type NSException" -
Font listing and AD crash problem
rtloon replied to rtloon's topic in Pre-V2 Archive of Desktop Questions (macOS and Windows)
Any further suggestions on how to get AD not to crash when I select the FontBook validated Myriad Pro type fonts, and if that is fixed, to display a complete set of enable Myriad Pro fonts that are correctly labelled in the font option dropdown menu? -
Font listing and AD crash problem
rtloon replied to rtloon's topic in Pre-V2 Archive of Desktop Questions (macOS and Windows)
"10 fonts passed. These fonts should be safe to use." -
Font listing and AD crash problem
rtloon replied to rtloon's topic in Pre-V2 Archive of Desktop Questions (macOS and Windows)
AD 1.4.1 MacBook Pro 15-inch, Mid 2014 2.5 GHz Intel Core i7 16GB 1600 MHz DDR3 NVIDIA GeForce GT 750M 2048 MB Would the crash report be of any value? -
I have opened and am attempting to edit a .pdf file created outside of Affinity Designer (AD) and change the typeface of content in the file to Myriad Pro. On my computer through FontBook I had 10 Myriad Pro .otf faces enabled: 6 normal width, 4 condensed. Not all faces showed up in the dropdown menu in AD, and they were mislabeled. So, for example to get the normal width bold I had to select condensed width regular italic. My guess as to the problem was that there were too many face options for AD to handle. So I went to FontBook and disabled the condensed face options, as I wasn't planning to use them. After doing this, AD crashes any time I attempt to change a typeface to Myriad Pro. In another forum entry, I became aware of the "reset fonts" button in AD under Preferences>Miscellaneous. Clicking that button does NOT fix the problem. Nor does closing AD and reopening, or creating a new version of the file. CCHDModel-complete-PLv2.afdesign
-
Perhaps there is a workaround I haven't discovered, but when I have a line element aligned with a guide and I try to grab the line to drag and duplicate, I can only drag the guide, not the element. Various solutions possible for this: lockable guides and guide layers that are lockable come to mind.
-
A_B_C reacted to a post in a topic:
How to center a radial fill in a circle?
-
Alex: My issue was even more basic. I hadn't discovered the fill tool in the toolbar: having only been aware of a less complete set of tools in the fill dropdown menu. Thanks to your mentioning of "gradient handles" I discovered it.
-
crabtree: Rotation wasn't the issue, the position of the center of the radial gradient was the issue. I found that Madame's second suggestion worked. Alternately, creating a circle with a normal fill then clicking on the radial fill option in the swatches palette gives one a centered radial gradient. What doesn't work is starting with a normal fill, choosing "gradient" in the drop down fill menu from the band at the top of the page, which gives you a linear gradient, then switching it to radial, which centers the radial gradient vertically but puts it at the left edge of the circle horizontally. When I enabled snapping I couldn't find a way to drag the center of the radial gradient from the edge to the center of the circle.
-
I am trying to create a radial fill that is centered in a circle. When I create a circle, give it a fill, and change the fill from linear to radial, the center of the fill is vertically centered, but horizontally it is at the left edge of the circle. I have tried to adjust the variables in the gradient fill dropdown dialog box, but can't find a way to change the horizontal center point of the radial fill to the circle center point. Anyone figured this out? It is the default position on most apps that support radial fills, so I figure there's a way. Or does it need to go on the request list?