jhoy
-
Posts
177 -
Joined
-
Last visited
Everything posted by jhoy
-

Color correction for old faded photos
jhoy replied to sanoy's topic in Pre-V2 Archive of Affinity on iPad Questions
Hi sanoy I am afraid not, I have been recolouring old black and white pictures for some time now and it does take a lot of time to get a good outcome but it is worth it when you see the finished photo. -
Color correction for old faded photos
jhoy replied to sanoy's topic in Pre-V2 Archive of Affinity on iPad Questions
Hi sanoy It is possible to recolour a photo but I do not think the instructions from the link you provided will help you with this task, I have put a short description of what to do to recolour a photo, I would try this out on a picture to get used to the way this works. To recolour an image first select the selections persona, select the tool you wish to use I selected the smart selection brush, select the area on the photo. To recolour select the adjustment studio on the right hand tool bar (square with three dots). Scroll down and select recolour. The adjustments are on the context tool bar at the bottom. To deslect the selection you have made so that you can select another area make sure you are on the Selections person, touch the commands menu, touch deselect. -
Opening PNG files with transparent background
jhoy replied to dupguy's topic in Pre-V2 Archive of Affinity on iPad Questions
Hi dupguy Thank you for the above explanation, please you got to the bottom of the transparency issue. -
Designer Doesn't Open
jhoy replied to seanf's topic in Pre-V2 Archive of Affinity on Desktop Questions (macOS and Windows)
Hi seanf Thank you for the screen shot Sean, the error is a Windows error not a program error I am afraid, I have put a link to a wiki article that explains, they have a fix tool you can download but I do not know if this works as I have never tested it, you could try running the Windows SFC system file checker, this scans your Windows files and attempts to make a repair, the link below will explain how it works and the next link is to the Wiki page. https://support.microsoft.com/en-gb/help/929833/use-the-system-file-checker-tool-to-repair-missing-or-corrupted-system-files http://www.wiki-errors.com/wiki-errors.php?wiki=0x80131534 -
Hi Ian It may be Monday before I can get back to you as I am not in work until then, I am sorry for delay.
-
Hi iPa64 There is no direct way of altering the line thickness but there is an indirect way. With the shape selected, select the pen tool, use the pen tools context tool bar to alter the width.
-
Hi Ian Could you export your macro and send it to me please and I will take a look to see what it does on my PC. Right click the macro and select edit macro. Select the export option on the top of the macro tab.
-
Opening PNG files with transparent background
jhoy replied to dupguy's topic in Pre-V2 Archive of Affinity on iPad Questions
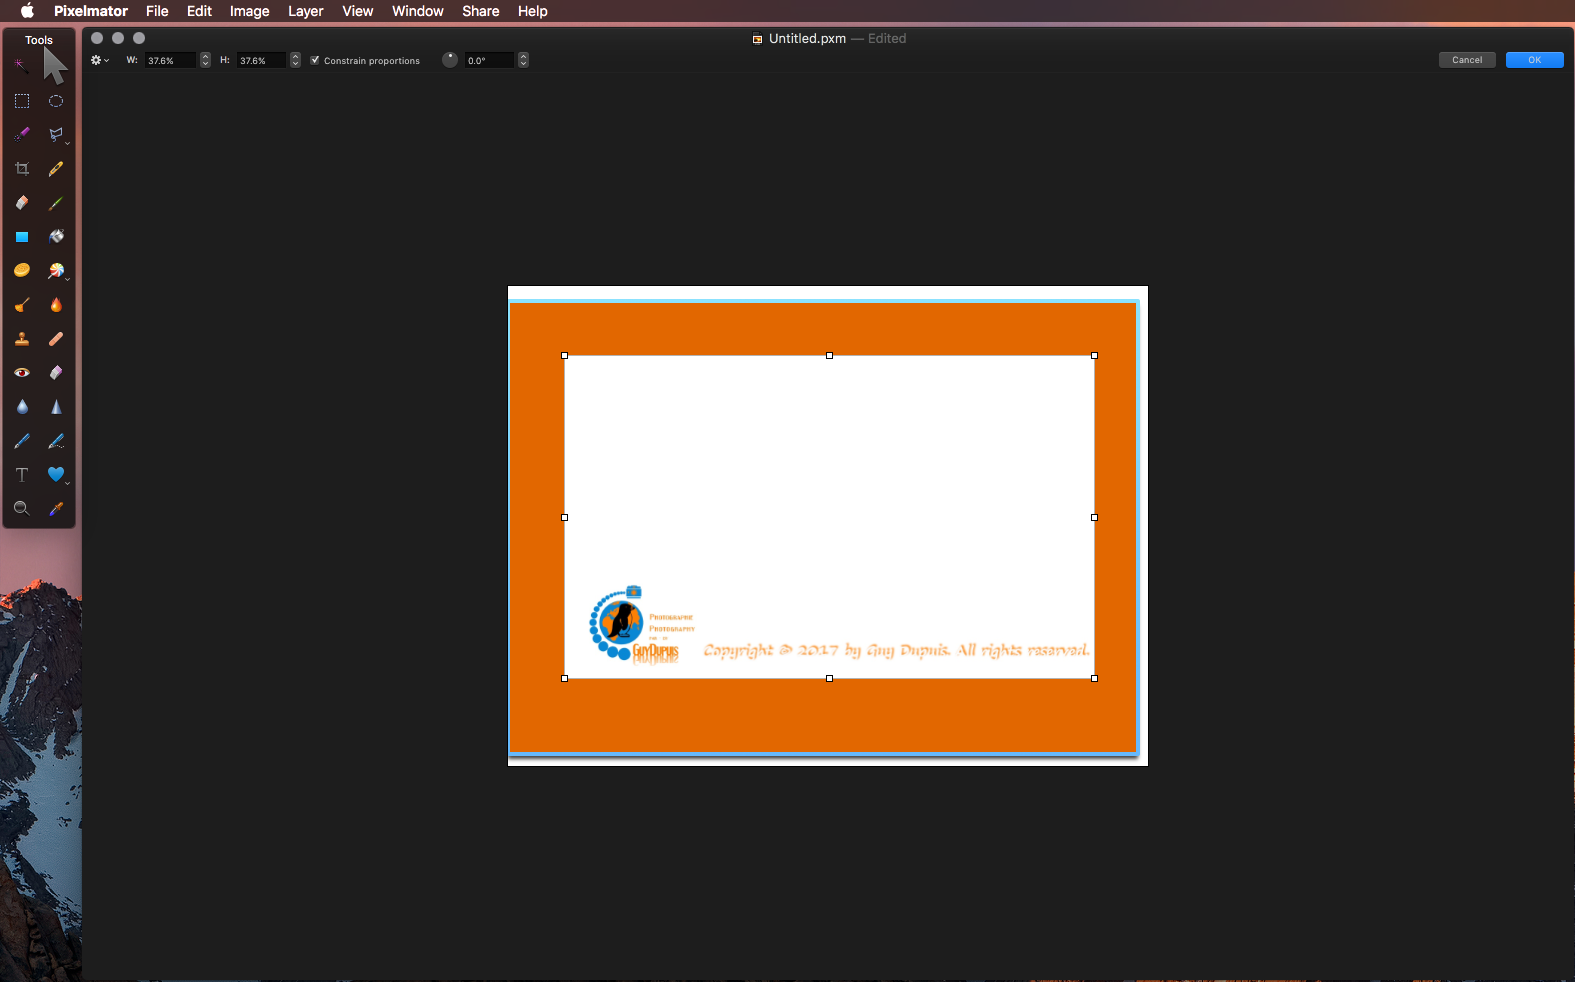
Hi dupguy Thank you for the picture, I tested this on my iPad, MAC and Windows on several none Affinity Apps and in Affinity designer and the background is white in all the apps, its as if the file had not been saved with a transparency, I also tested it in Pixel Mator on my MAC and there is no transparent background, I also attempted to open in PhotoShop mix and it was unable to open the file. I have attached a picture from pixel mator showing the white background.
-
Hi geodan06 I have just tested this on my Windows 10 64 bit and the short cut keys work fine, I did tab between several programs worked in them tabbed back and short cut keys still work ok, I could not replicate the problem you are having, it does look like it is unique to your setup, I do not think it is your Windows but it could be another piece of software that is running, there is a couple of things to try, when you reset the program can you click the select all and clear, you could also try a clean reboot also maybe worth seeing if this happens in safe mode as most programs are closed in safe mode.
-
Hi Danie The only limit apart for hardware would be set by the Adobe reader, I have put a link to their forum post that may help explain. https://forums.adobe.com/thread/1041350
-
Hi Ian I created the text on a small transparent canvas, I then exported as .png to the desktop but you can save it anywhere as long as you can get to it when needed. I then opened an image, started recording my macro, making changes as required and at the end just select file and place navigate to the exported png signature and placed it on the picture where i would like it to be. Stopped and saved the macro. When run it places the signature .png file on the picture along with any other changes applied to the macro.
-
Copy and Paste
jhoy replied to PJW's topic in Pre-V2 Archive of Affinity on Desktop Questions (macOS and Windows)
Hi PJW There is a tutorial on Panoramas that covers the subject of filling in missing areas using the inpaint missing area brush tool, I have put the link below for you. https://vimeo.com/147727411 -
Hi IanColley I did find a work around Ian, I created a new transparent background then put my text on a transparent background, export it as a PNG then opened a picture and recorded my macro and did a file place to place the text picture onto the document as the last object in the macro then saved it, when run it places the text in your document.
-
Hi Mista_sleeps Place the shape onto your canvas/picture and with it still selected go to the colour studio, select the swatches (on the bottom of this panel) change to the outline (circle on top of this panel), select the transparency (no colour, white circle with a blue line running through it) option from the quick colours section.
-
Opening PNG files with transparent background
jhoy replied to dupguy's topic in Pre-V2 Archive of Affinity on iPad Questions
Hi dupguy I have tested this and cannot replicate the white background you get, could you send me one of the .png files that has the transparency so that I can test this on one of our iPads, I have put a link below for you to send me the .png file. https://www.dropbox.com/request/PHa3ba6CITKVIhmaTVUR -
Exporting
jhoy replied to DavidEW's topic in Pre-V2 Archive of Affinity on Desktop Questions (macOS and Windows)
Hi DavidEW I would recommend exporting the file to a standard picture format such as .jpg or .png, you can also export the file as a PDF, then just attache the exported file to the email. Click file, export, select your required format and click the export button. -
Hi davush The top layer is already rasterised as such flattened,, the only way to make the colour solid would be to take away or lower the transparency and this would stop the texture showing through.
-
Hi davush The only way I could get this to work without adding a type of overlay and manually deleting the parts over the land which would be very time consuming is to do the following. Uncheck the Parchment background layer to hide the preview. Select the coastline layer group and on the swatches tab select the line colour to change it to the parchment colour. Make a copy of the coastline layer. On the copy right click and rasterize the layer. Hide the coastline layer so that only the copy rasterise layer is visible. Go to the pixel persona. Select the flood fill tool, change the colour to your desired colour and fill the sea. Go back to the draw persona Re-check both the Parchment background and coastline layer. Set the opacity of the rasterised layer so that the details shows through.
-
Hi davush Thank you for the file, if you select the coastline layer then change the blend mode from passthrough to normal the outlines should then show their normal colour and not the parchment background layer colour.
-
Hi davush Thank you for the update, could you send me your AD document so that I can see it in the APP, I have put a link below for you to send me the file. https://www.dropbox.com/request/dUv4pa1XUwGTNgpd4P5b
-
Hi davush Could you make sure that the shape you are putting on to change the colour is below the other objects but above the background layer. There is another option using recolour, could you let me know if you are on a desktop version or iPad version and I can put some instructions together for you.
-
Hi davush I would use existing pictures that you can get online, I typed in royalty free parchment texture and there are lots to chose from, I found some on the link below. https://www.google.co.uk/search?q=royalty+free+parchment+texture&biw=1164&bih=834&tbm=isch&tbo=u&source=univ&sa=X&ved=0ahUKEwjZme6R27rUAhUBOsAKHXJpBakQsAQINA
-
Affinity iPad copy selection to new layer
jhoy replied to Cyberstu's topic in Pre-V2 Archive of Affinity on iPad Questions
Hi Cyberstu First go into the selections persona,make your selection. Go back into the photo persona, select the commands menu, pasteboard, copy. Go back to the selections persona, select the commands menu, deselect. Go back into the photo persona, select the commands menu, pasteboard, paste. This creates a new pixel layer with the selection on it. -
Hi marekwarek You can use both Apps for this type of work, it is hard to advise as it depends on your needs, you could download the trial versions to see which one suits, please use the links below, scroll to the bottom of the page and click the Free Trail link. https://affinity.serif.com/en-gb/photo/?utm_source=www.serif.com&utm_medium=referral&utm_campaign=serif%20top%20nav https://affinity.serif.com/en-gb/designer/?utm_source=www.serif.com&utm_medium=referral&utm_campaign=serif%20top%20nav
-
Hi peacebear Could you attach a picture of the postmark please and I will see if it can be improved.