Greyfox
-
Posts
312 -
Joined
-
Last visited
Everything posted by Greyfox
-
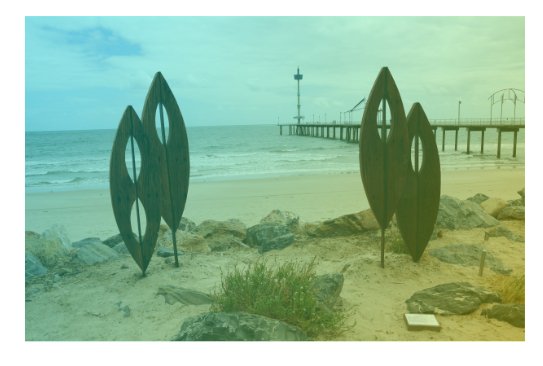
 Still can do it in version 1.9.0.932 1. Place picture frame 2. With frame selected, in context bar click on Fill 3. Select Gradient Tab and set up your gradient colors to taste 4. Select the frame 5. In the context tool bar make disable the "Clear fill on populate" (it's enabled by default) (I do wish the indication was more evident, definitely not good for us oldies). 6. In the context tool base, click on Replace image 7. Select an image 8. Now in the layers pane, open up the Picture frame layer to expose the image layer 9. Select the image in the layers tab (make sure the Picture frame above it isn't selected (toggling the image layer on and off will expose the gradient color background if you got step 5 right) 10. With the image lager selected reduce the opacity to taste. Steps 8-10 wouldn't be necessary if you used a partly transparent image. I used a normal JPG I'm not impressed by the effect in my demo image, but it does show the idea
-
Correct, I can reproduce that consistently here. It occurs with portrait photos where the Exif Orientation =6 (Rotate 90 CW). This would be standard for most smart phones as well as ordinary cameras rotated CW to take portrait shots. A work around (and it is a work around not a fix) is to Rotate the image 90 clockwise, then 90 anti clockwise, then export the image. This forces the software to change the Exif Orientation value to 1 (normal). If the exported image is then opened in Affinity Photo, the Perspective Dual Pane will be correct way up.
-
Thank you, happy now😃
-
I'm disappointed that the cat isn't the same as the one in the help file 😭
-
Wow, I didn't imagine my query would open up such a debate on font licencing. I'm not an Apple developer, nor an iPhone user, and I have no use for any of the Apple assets. I would imagine that there might be more Windows users of Serif software that are not Apple developers, than those that are. It just seems incongruous to me that Serif would market a Windows version that provides Apple related assets that don't work unless one already has, or gets the Apple fonts, legally or otherwise. Those assets could have been made available by Serif as a downloadable "Apple Developers pack" for those who specifically need or want them, and I and maybe others would not then have had to wonder whether something had gone wrong with the installation. But thanks to those who took the time to respond to my query. The Apple assets are gone, and for me the problem has been solved.
-
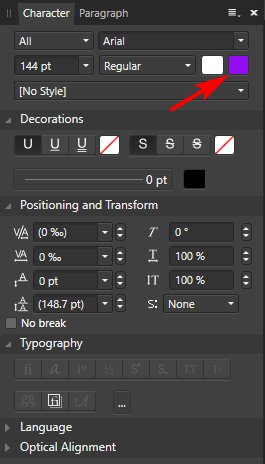
Perhaps - Character Settings, Background Color If you can't find the Character settings, try View->Studio->Character
-
Thanks, exported the IOS-12 and saved "just in case", deleted the IOS-12 and started my own. Now to get on with coming to grips with the differences between this and DrawPlus.
-
As long as the installation is as it should be, and not an installer problem where it has linked to Apple Assets instead of Windows assets. And yes, seeing if I can delete the IOS-12 category will be my next step.
-
OK, so the Asset Category is IOS 12, and that is the only category available. It's fairly obvious that the greater part of that category is Apple based, which seems strange for a Windows product.
-
Not quite sure what you mean by category. In the Assets tab there is a pull down with a single option of IOS 12, then individual sections, Controls, Alerts, Context, Widgets and Notifications etc which is what I would call categories, an rhese are what I listed in my reply to Walt. The IOS 12 at the top is obviously Apple, but that is the only choice. The Designer Version is 1.9.0.932
-
Virtually all the Alerts items, Messages, Widgets and Notifications. Activity views, UI Bars. I think virtually any of the assets that have text
-
Have recently started a trial of Affinity Designer. When a lot of the assets are dragged onto the screen, there is a warning that fonts are missing. Mostly this seems to be SF Pro Text and SF Pro Display but there may be others. I would have expected that "canned" assets would be complete. Is this normal or a problem with my particular installation. I do have full licenced versions of both Affinity Photo, and Affinity Publisher installed. Windows 10 Pro, 20H2 build 19042.804 i7-10700 CPU, 32GB RAM, GTX 1660 6GB Graphics
-
Thanks for the quick response. Unfortunately no, that brings up the Rectangle Tool, which strangely has the same tool tip letter [M] as the move tool. OK, found it - the default assigned key for the move tool is actually V, so Esc then V does the trick. Minor bug showing M on the tool tip.
-
I have basically full page text frames, with text interspersed with images. Having added some text, I click on the place image tool to insert the image. I can get back to the text tool by pressing T on the keyboard, (or by double clicking in the text frame), but the only way I can see to select an image if I subsequently want to resize it, or reposition it, is to click on the move tool, then click on the image. If the mouse is positioned over the move tool, it shows "Move Tool [M]" however if M is pressed whilst in text mode it inserts an M into the text, it doesn't change to the Move tool (which probably is a good thing because otherwise I wouldn't be able to type in any words that had an M). So, is there a keyboard shortcut to change from the text tool to the move tool?
-
I've made a couple of Paragraph Text styles, and saved the styles as default. Happy with that. Haven't yet looked at templates or importing styles - still much learning to be done. Again many thanks
-
Thank you Joachim, that works and having saved the defaults now seems to be remembered for new documents. Again that works, and I've made a couple of new Hanging Indents Paragraph styles, and saved them as defaults. I'm guessing that these "custom" changes will disappear if the application has to be reset. I'm hoping there there is a way to save them and reload them if that becomes necessary. Thank you for your quick response.
-
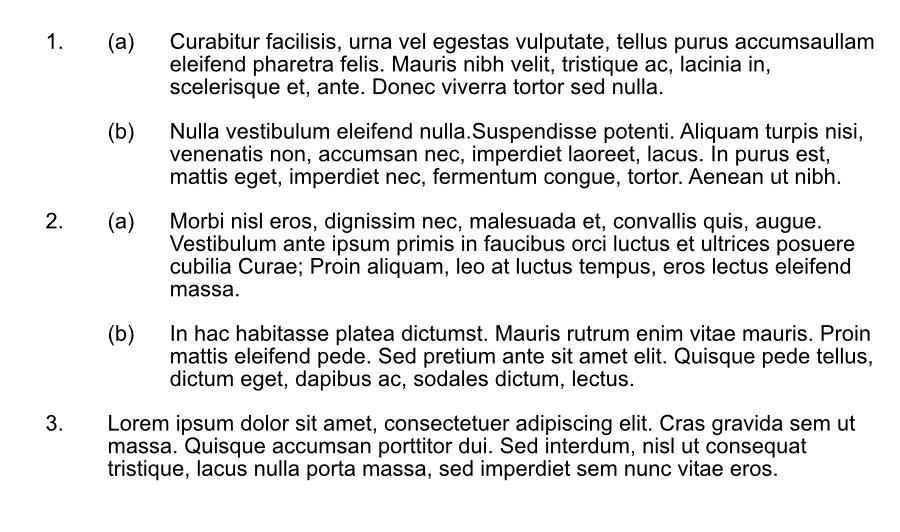
I've been using the many versions of PagePlus since around 2008, with the last being PagePlus X9 but now think it is probably time I moved to Affinity Publisher, so have installed the trial version of 1.9. I've run into two immediate issues. The first is that the spell check doesn't work. It tells me that there is no dictionary for en-Aus. I've tried setting Affinity to English UK, and English US, but still get the same message. So how do I fix that. As an Aussie, I'm quite happy to accept either UK or US spelling. I The other issue is in relation to Hanging Indents. I frequently work with documents that have multiple levels of indents. The screen shot below shows an example of "2 level hanging" indents. PagePlus had a "Hanging Indents" options in its paragraph settings, however I haven't been able to find anything specific about hanging indents in either Paragraph or Text Styles in Affinity Publisher. What is the recommended way of handling Hanging Indents? Any help would be appreciated.
-
When I open an image in Affinity Photo, it opens by default "Zoomed" to fit (and I'm not aware of any setting to change that default) For a 4032px x 3024px image, that is zoomed to around 25%. DPI doesn't come into it, that value is for print purposes. (Yes, changing the DPI will affect the width/height as displayed on the rulers, but doesn't affect the way the image is displayed on the screen. "Zoomed to fit" will give exactly the same displayed size for any given image regardless of what you set the DPI to.) A computer monitor has a fixed number of pixels. On my 21.5" monitors that is 1920px x 1080px. The monitors have a pixel spacing of 99 pixels per inch, so at 25% zoom, my 4032px wide image will display physically about 10.18 inches wide. At 25% zoom effectively one out of every 4 pixels in the image is being displayed. I can of course zoom the picture to say 100%,, which will then display all of the pixels, but then only a portion of the image can be seen at any stage without panning.
-
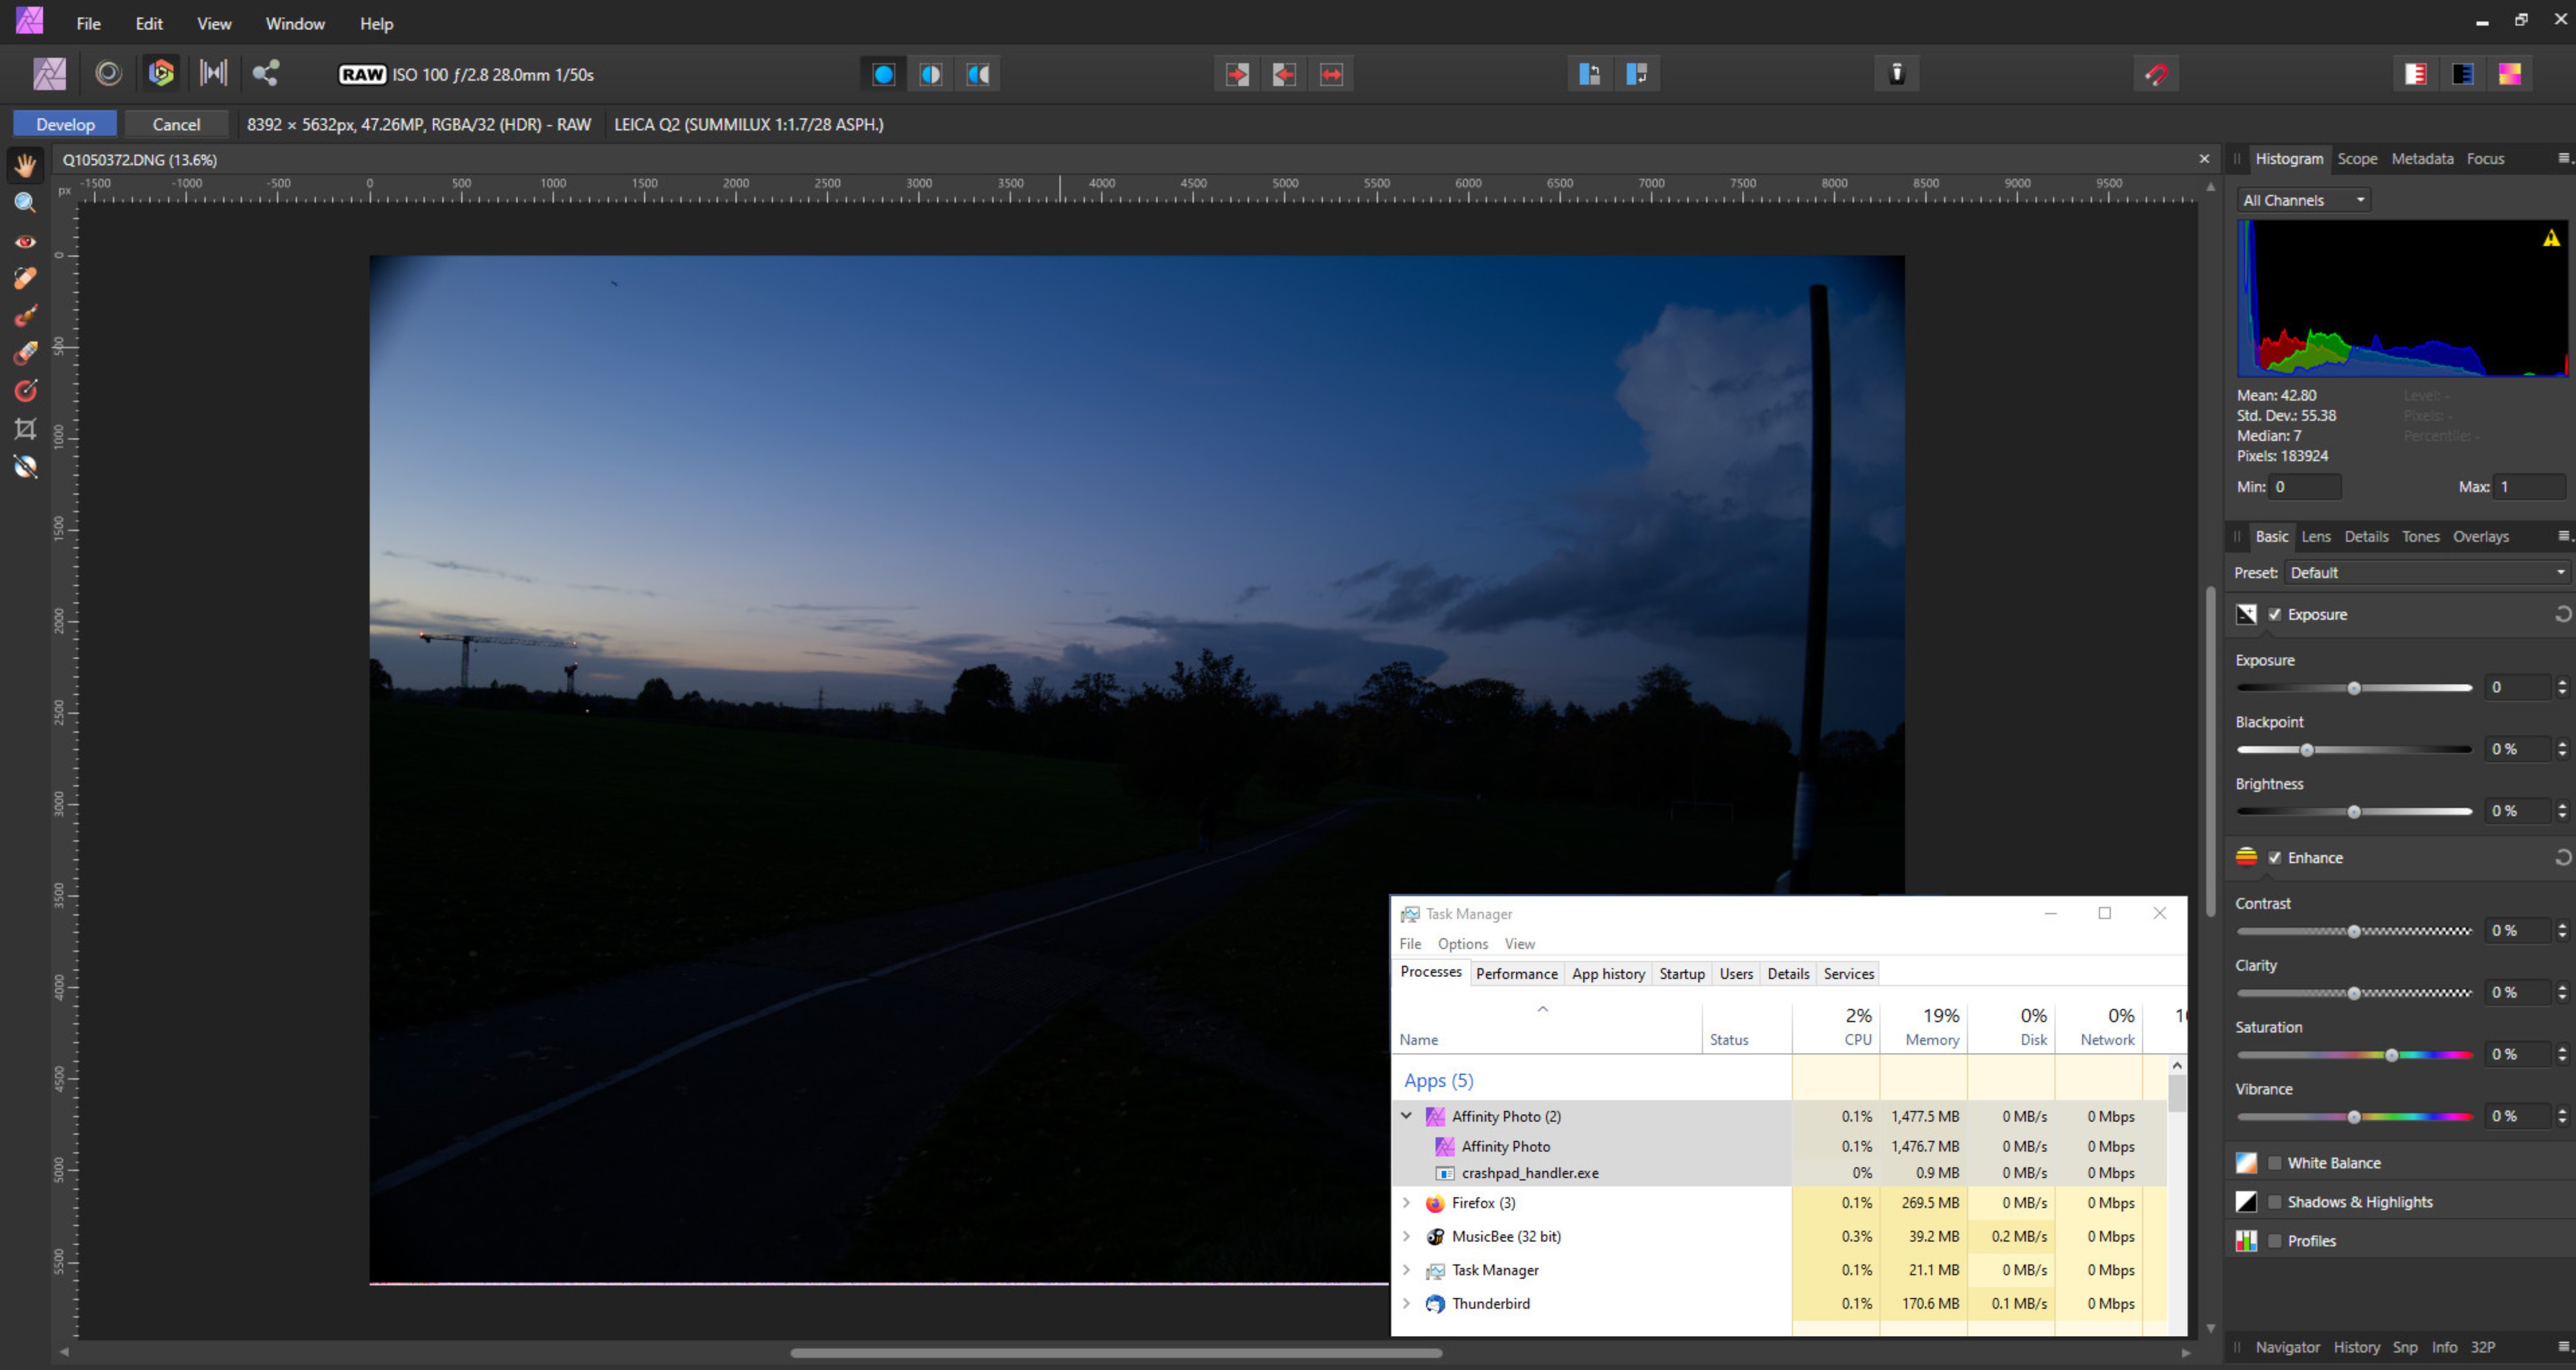
David, Your image is opening OK here in Affinity Photo 1.8.5.703, on Windows 10 Pro 2004 build 19041.572 and as you can see from the Task Manager insert, with a number of other apps open. The PC here has 32GB RAM, and the graphics card is a 6GB GTX1660. What are the specs of your PC.
-
Crash when loading Sony RAW (ARW)
Greyfox replied to Martin Palecek's topic in V1 Bugs found on Windows
@Martin Palecek Windows 10 Pro, 2004 build 19041.508, 10Gen i7-10700 CPU with H470M chipset, GTX1660 OC, Affinity 1.8.5.703 For what it is worth, I'm using the latest Nvidia 456.38 game ready drivers, with Affinity Photo renderer set to GTX1660, and not having any issues with Sony .ARW raw images, including your DSC02455.ARW image. -
@Mike Webb In retrospect, my post missed the point. My problem or lack of understanding stems from the way I used the histograms in the old Serif PhotoPlus series. For an RGB Image in photo persona, my understanding is that the histogram in the curves pane simply shows a static mono display representing the combined RGB spread from shadows through mid tones to highlights, rather than it showing lightness. In the old Serif PhotoPlus series the static histogram in the curves pane closely matched the main histogram when that was set to display combined RGB, so to me the main histogram was able to provide the same starting point information as the static histogram in the curves pane, but also showed live the result of changes to the curves. So for me, the static histogram in the curves pane was sort of superfluous. In Affinity Photo, the main histogram isn't able to be set to show a single display of the combined RGB spread, or to show lightness as was possible in PhotoPlus. As I understand it the lighter blue only shows the overlap between R, G and B) and so I can't see the result of changes to the curves in the main histogram in the same way as I could in PhotoPlus.
-
@Gabe Hi Gabe, OK, with no selections, can you tell me what the purpose is of having the histogram in the curves pane, when it doesn't respond to changes made to the tone curves?.
-
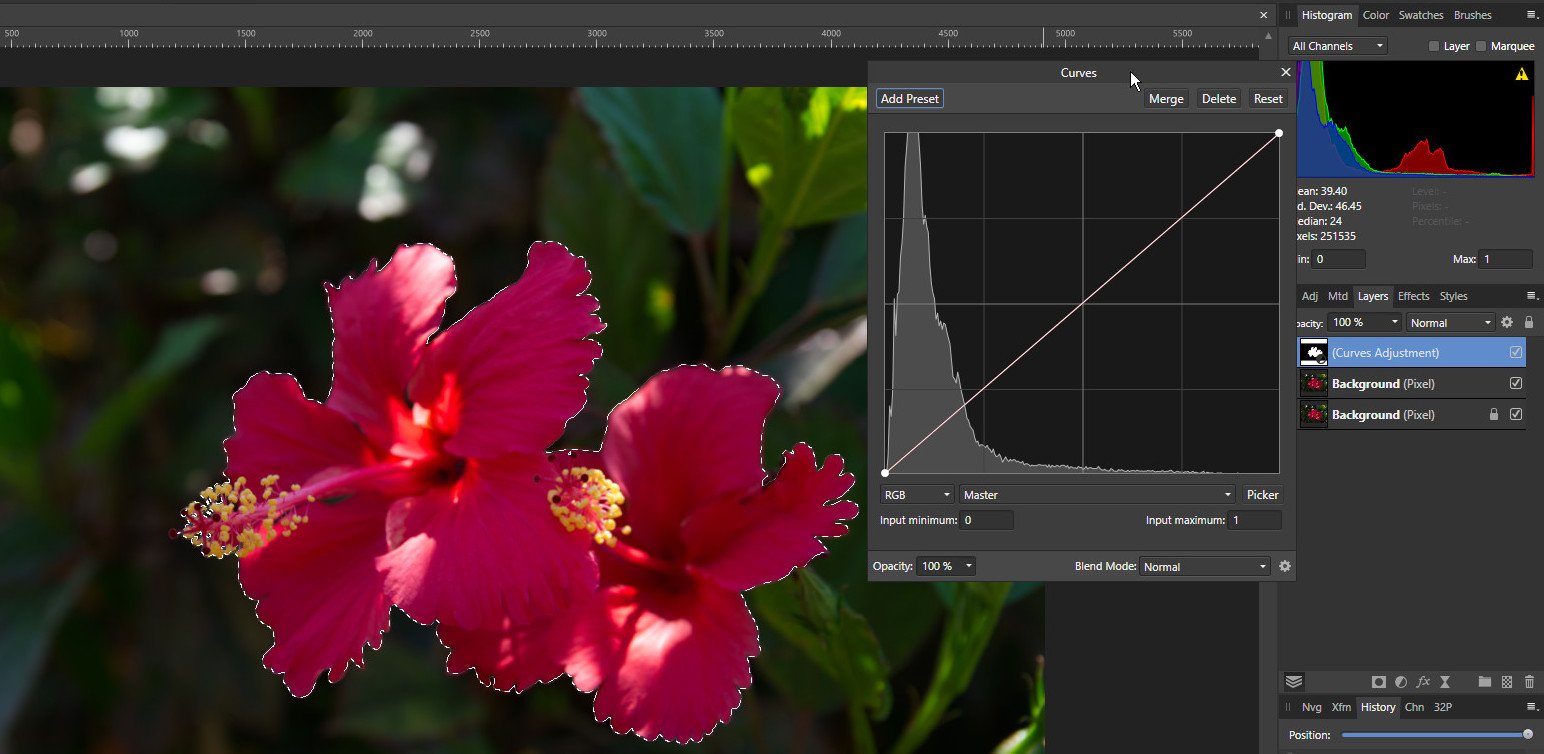
I think it is a bug, but I actually don't see much if any benefit of the present histogram in the tone curve display. I refer to the main histogram when using curves.. The histogram in the curves pane doesn't change to reflect any changes made to the tone curve itself. (I seem to remember something about that being by design, but I really don't understand why that should be) and it doesn't appear to represent the condition within a selection like the one in PhotoPlusX8 did. I think there have also been issues raised in the past as to why it isn't in color in the Windows version, and why it can be really slow to appear (when it does appear). Maybe someone could explain to me exactly what it's purpose is meant to be.
-
@Mike Webb With selections seems to be a bit hit and miss as to whether the curves histogram is shown here too, as can be seen from the two screen shots. Edit: Also just noticed, the curves mask icon in the second screen shot doesn't appear to be showing the selection.
-
@Mike Webb Mike, for the image in your first post, what Nik plugin was involved. I have Nik Collection 3 here I can try.