h_d
-
Posts
1,610 -
Joined
-
Last visited
Everything posted by h_d
-

Affinity Photo
h_d replied to Myzlopez's topic in Pre-V2 Archive of Desktop Questions (macOS and Windows)
Hi @Myzlopez! Affinity Photo is primarily an image editor. If you want to create print products, Affinity Publisher is a page layout program and may be better suited to your needs. -
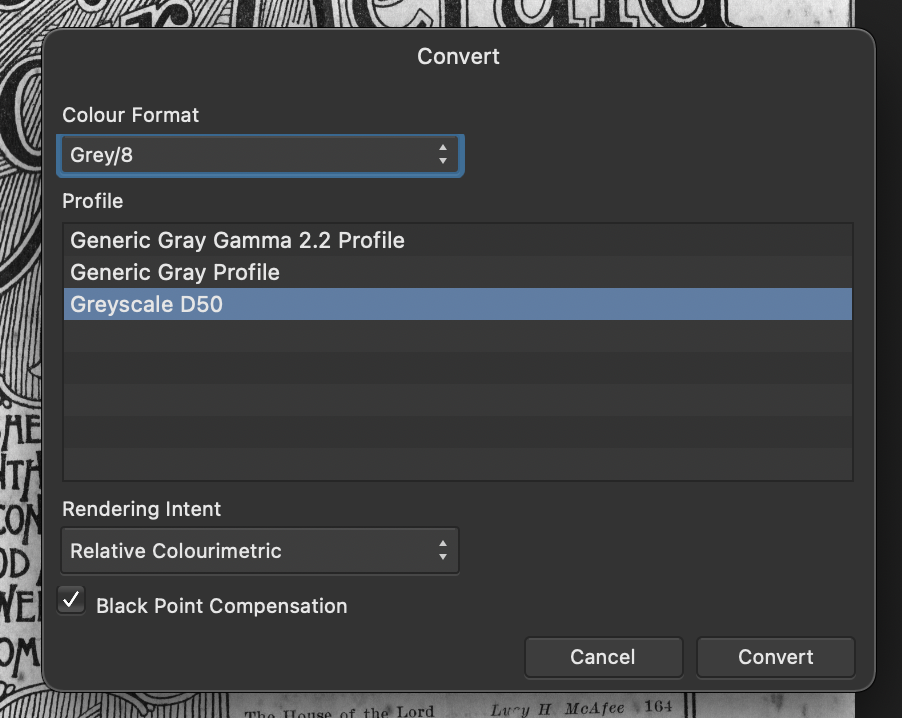
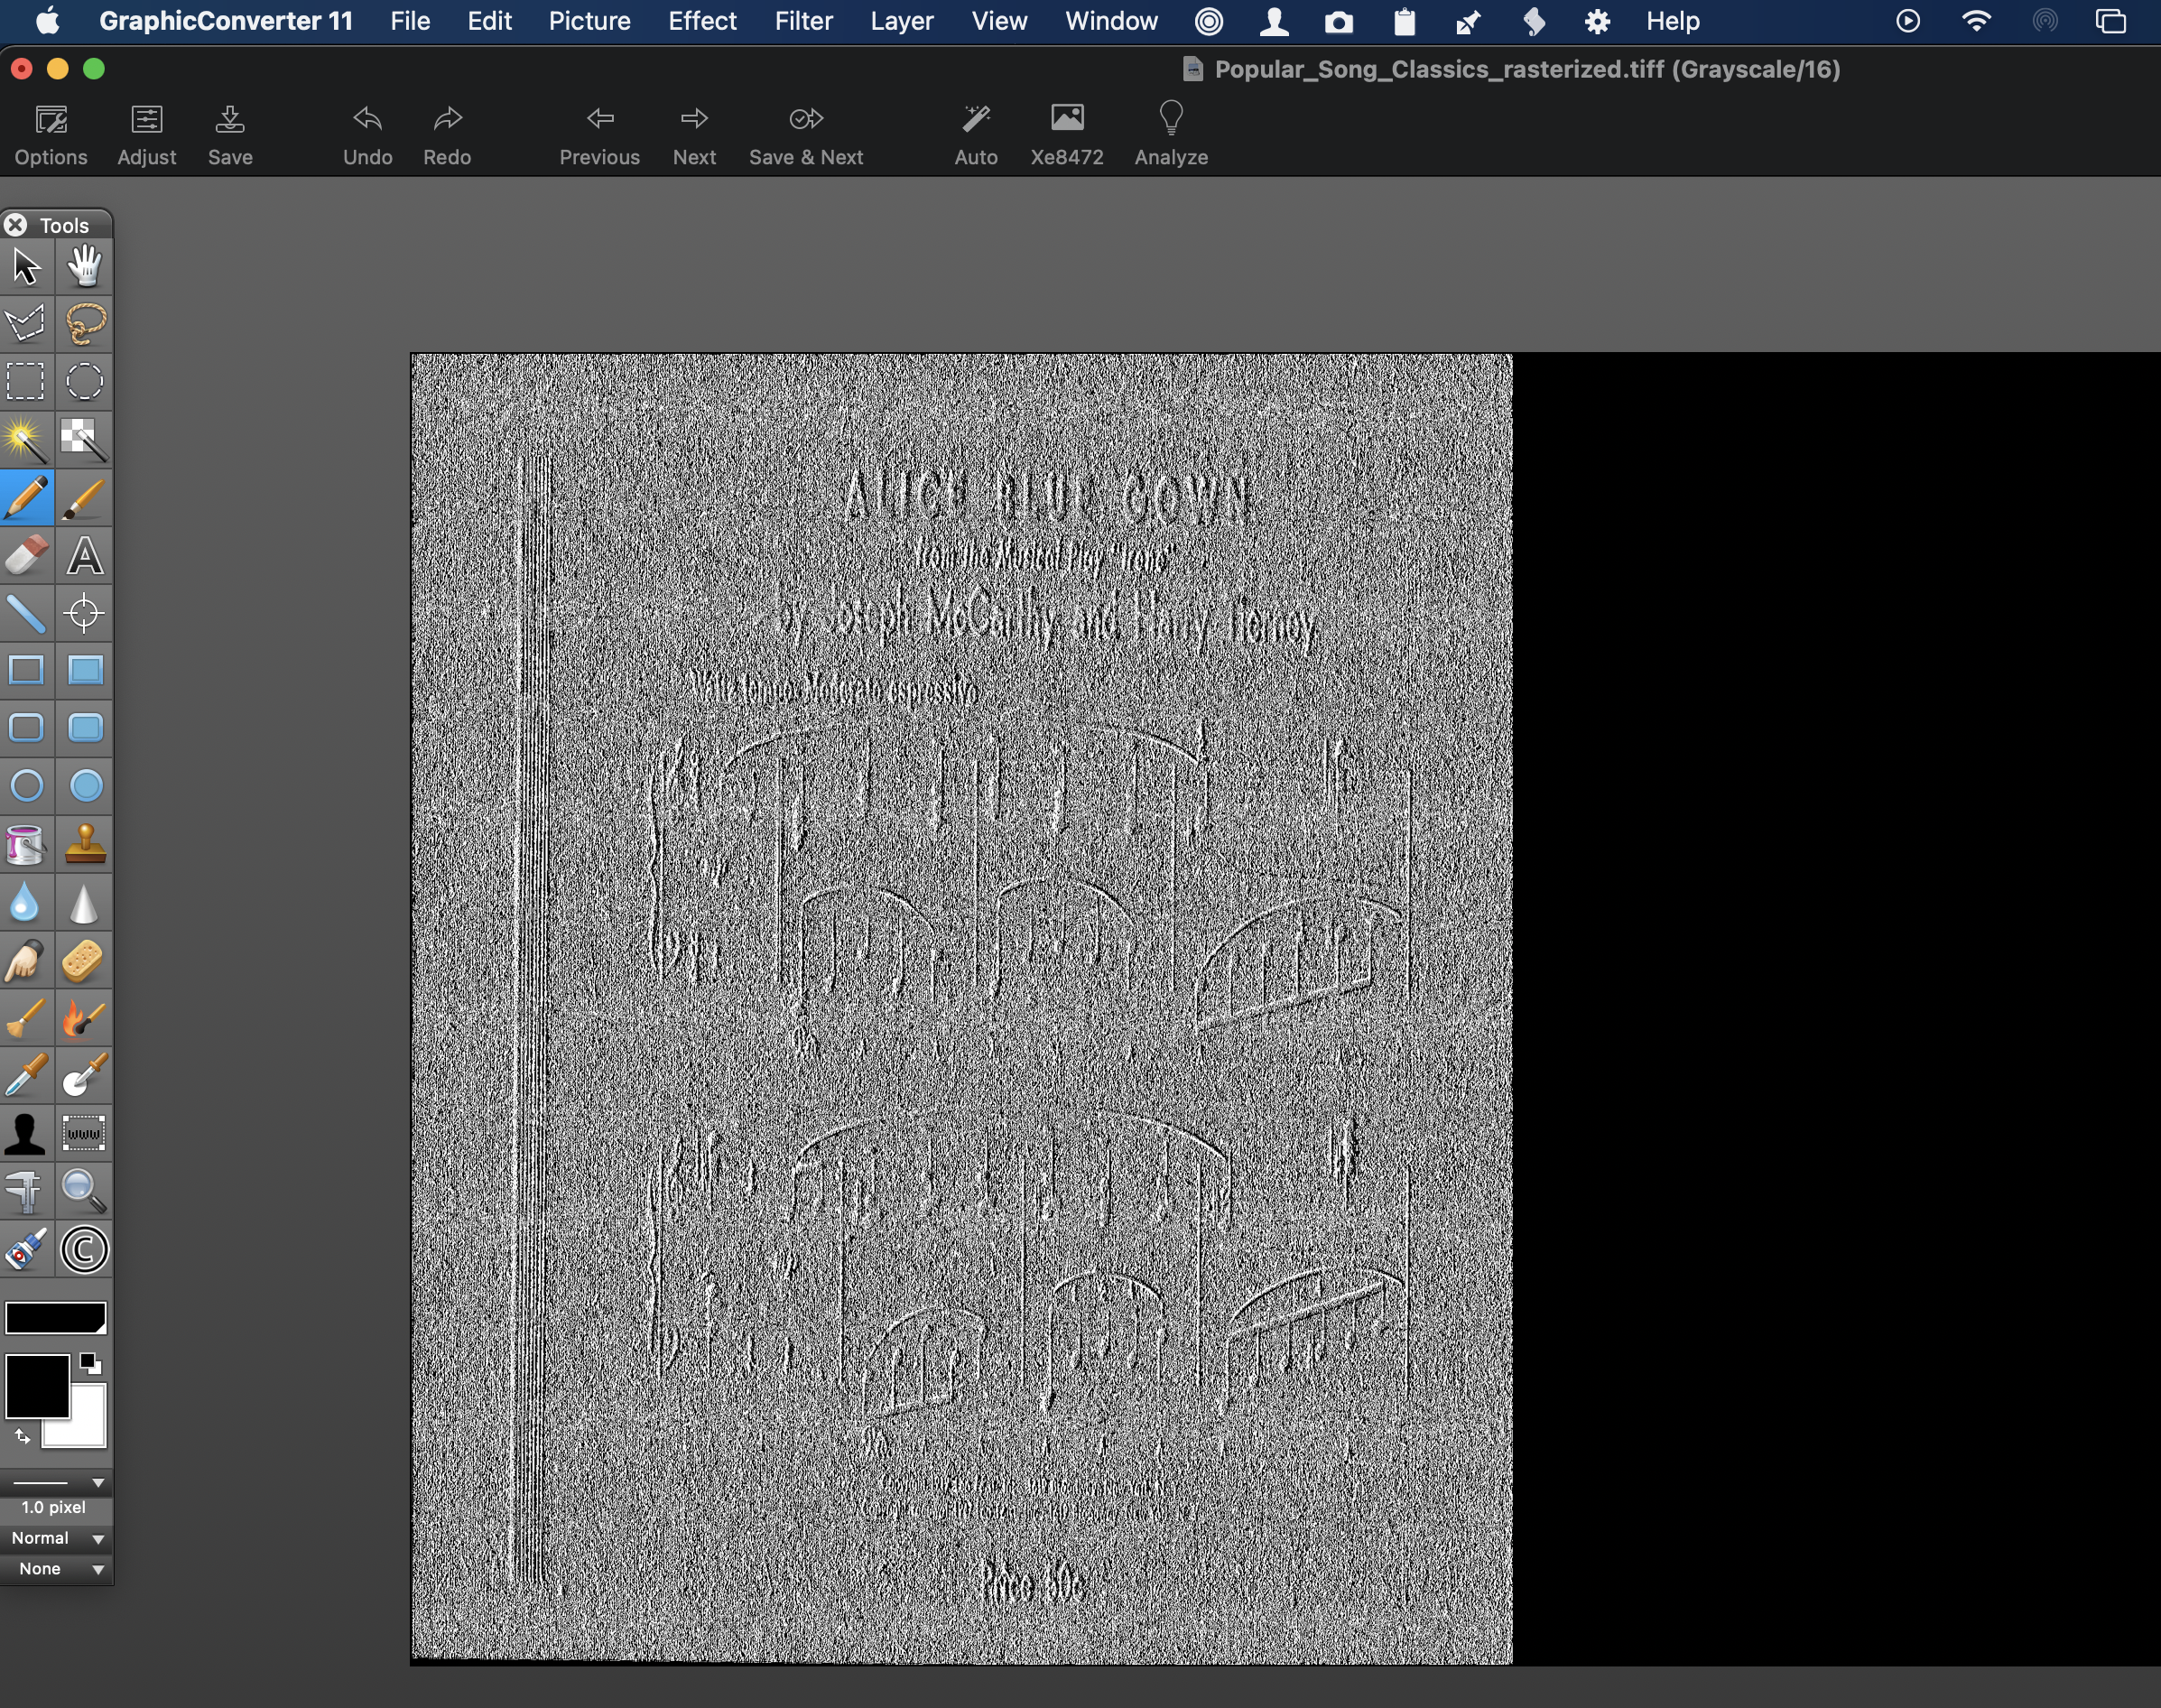
Try converting the Colour Format to Grey/8 from Grey/16: Choir_Herald_April_1921 now looks like this in GC: And no I don't understand why GC says it's RGB... Wonder what IA thinks? I've attached the converted TIFF. The_Choir_Herald_April_1921_0000_8bit.tiff

-
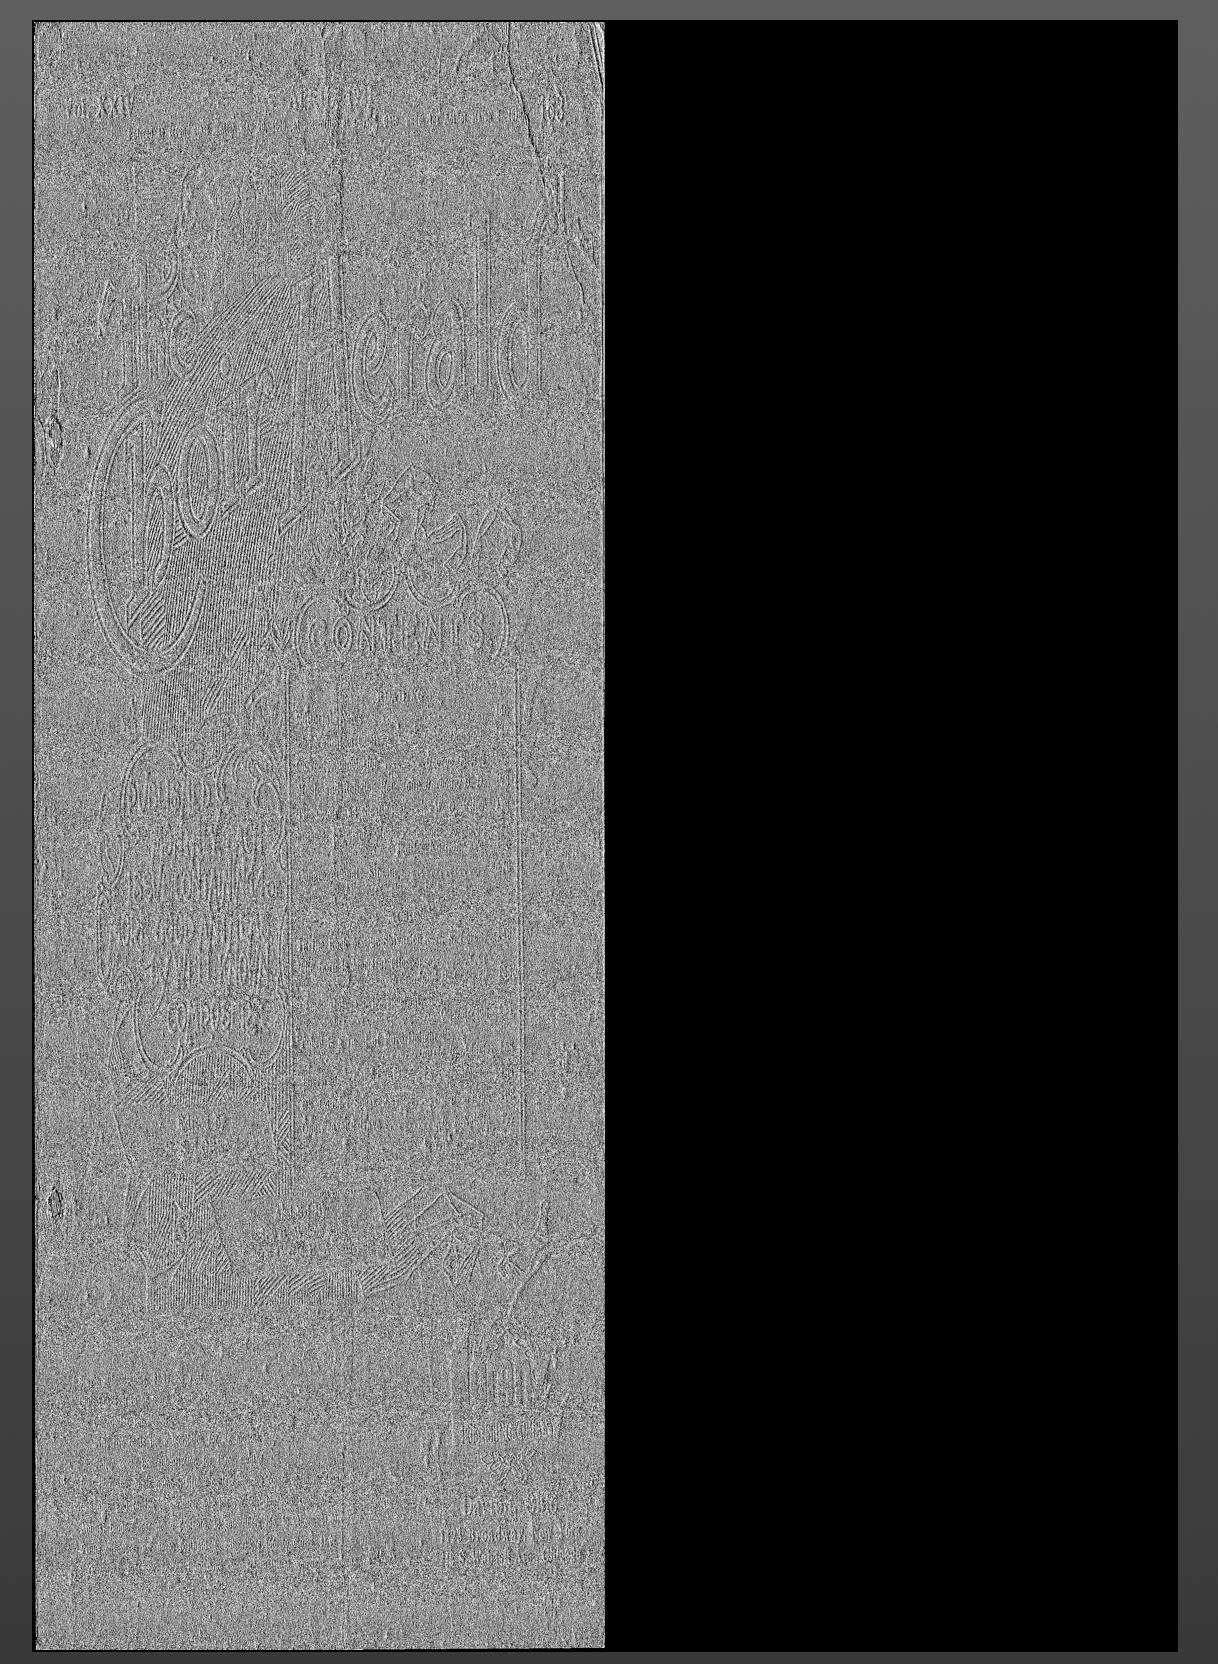
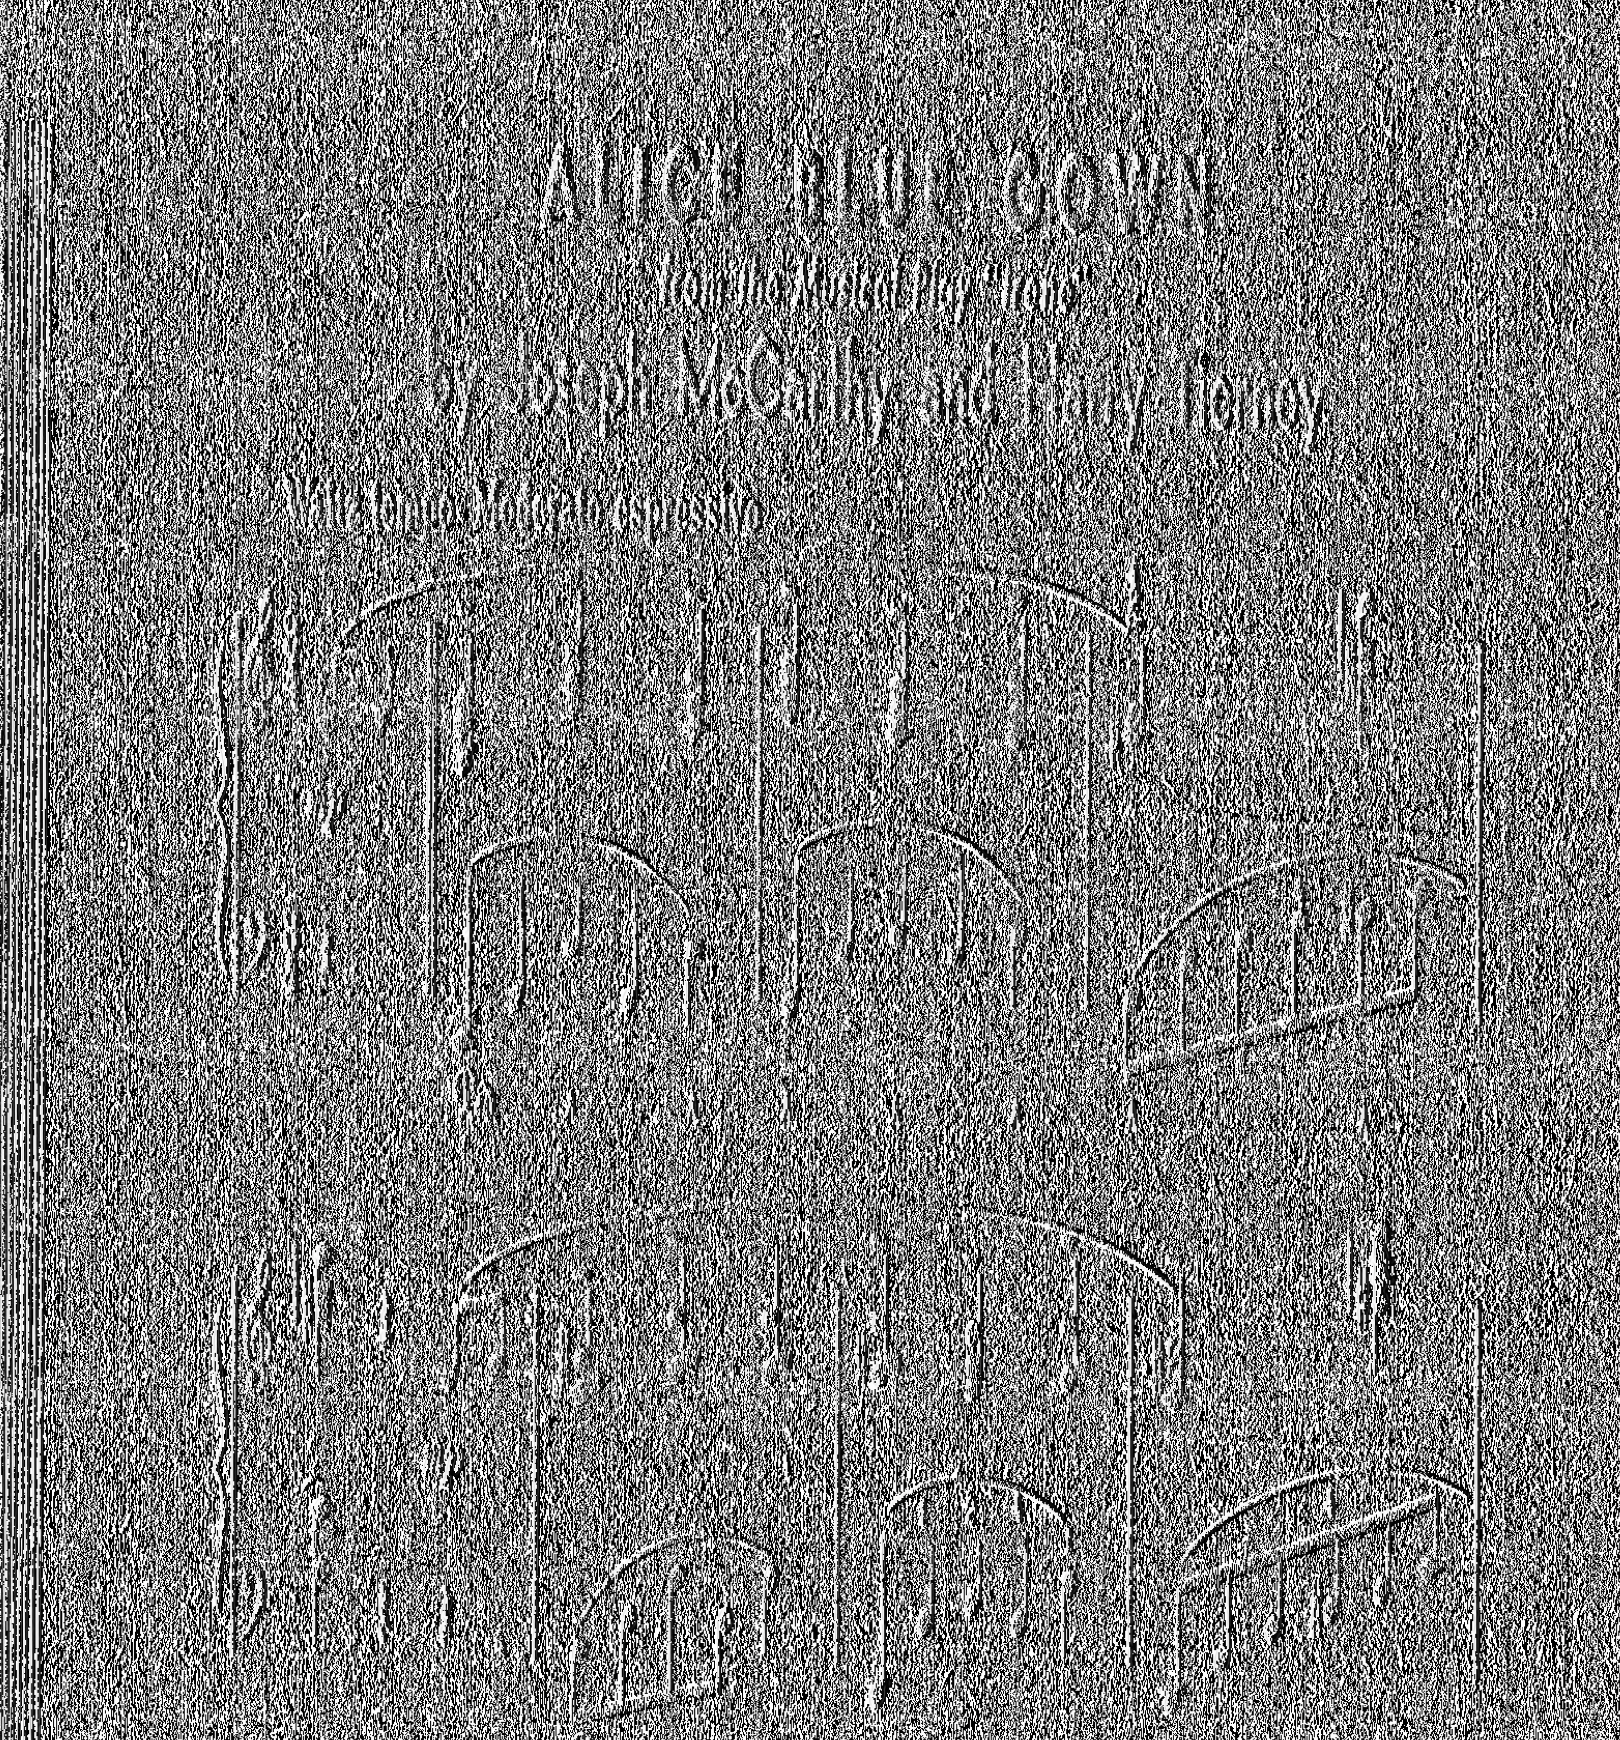
Am I right in thinking that the originals are getting squashed to 50% of their original width in the GraphicConverter/IA versions?
-
Yeah but... Tomorrow morning someone will come along and suggest something obvious
-
Yup, grungy in Graphic Converter, every other editor I have displays fine.
-
Your 0000 shows the same as 0002 in Channels so I don't think it's that.
-
Saw that, still fiddling with it. I have an image editor on Mac called Graphic Converter. It opens 0002 like this: So there's cropped content in your .TIFF which isn't displayed in AFPhoto but is still there in the file. I'm still struggling to imagine why - did you rasterise after cropping?
-
I would ask your contact at Internet Archive about how it copes with alpha channels.
-
Selection bug
h_d replied to Daniel Cremers's topic in Pre-V2 Archive of Desktop Questions (macOS and Windows)
You sure? Cmd-5 does nothing for me and Shift-Cmd-5 does not offer the option to save to "pasteboard" (Clipboard on macOS). -
On a Mac, the option (alt) modifier does this. Not sure how it would work out on a PC but I would give alt a try.
-
By default, the QuickLook preview for .afphoto files is smaller than that for .jpg, .tiff, etc. Dragging to enlarge an .afphoto QuickLook preview results in a slightly pixellated view. IMH though the previews for .jpg, .tiff etc are too big and the QuickLook preview for .afphoto is just right. So to say is a personal opinion. I would say it's no more than a minor irritation.
-
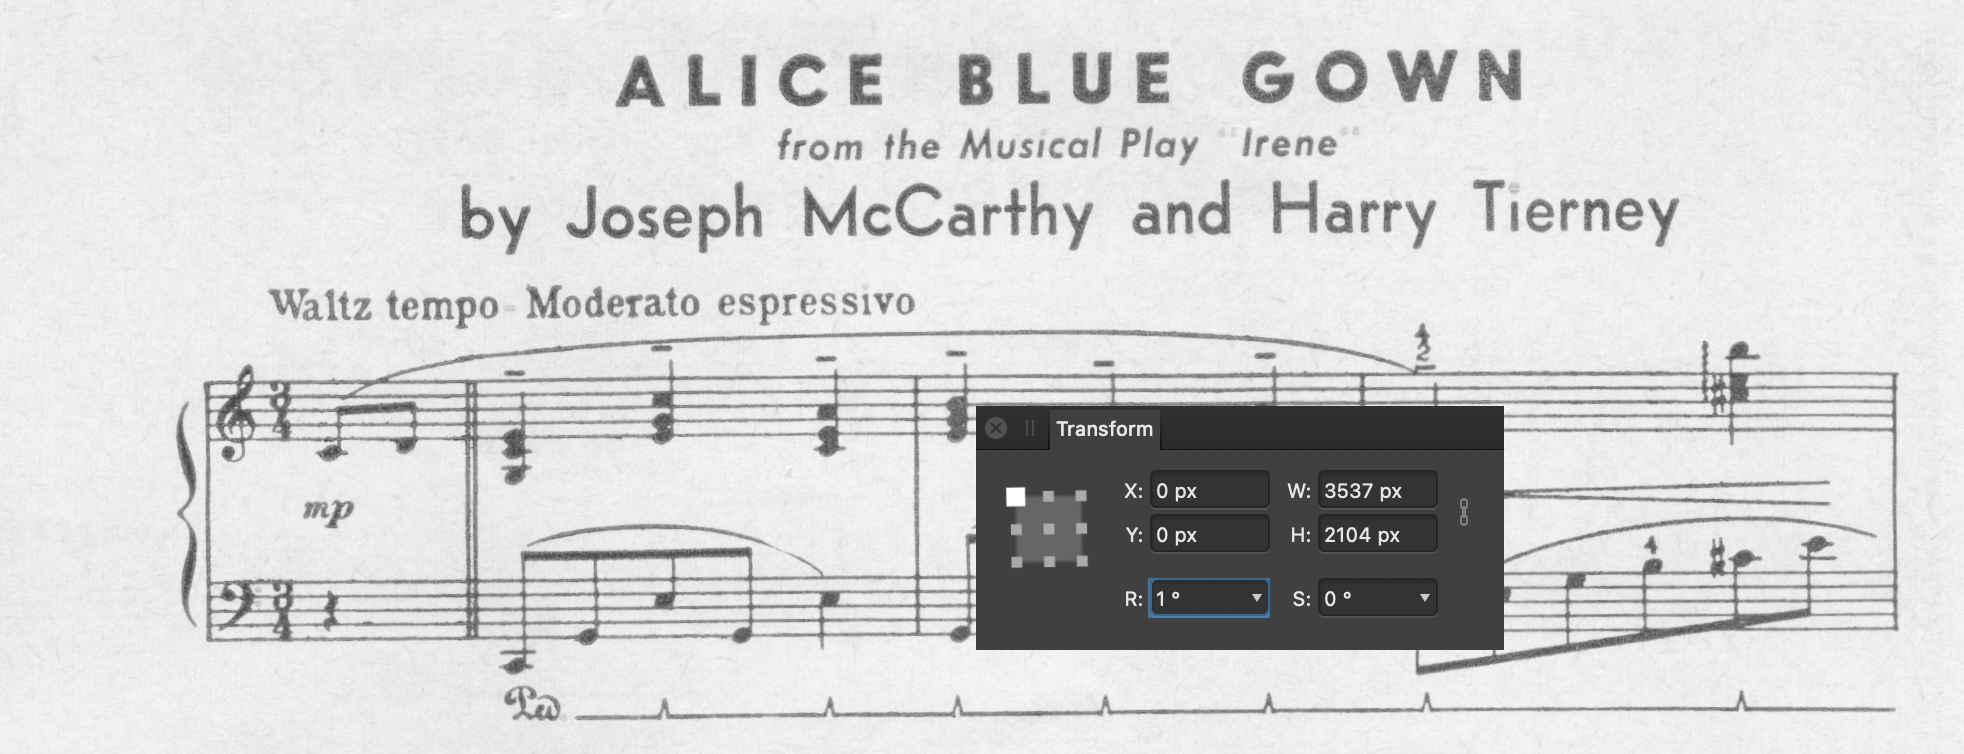
It's cross-platform. The Transform panel is another option:
-
Crop Marks Not Touching Image
h_d replied to pattmayne's topic in Pre-V2 Archive of Desktop Questions (macOS and Windows)
True enough. -
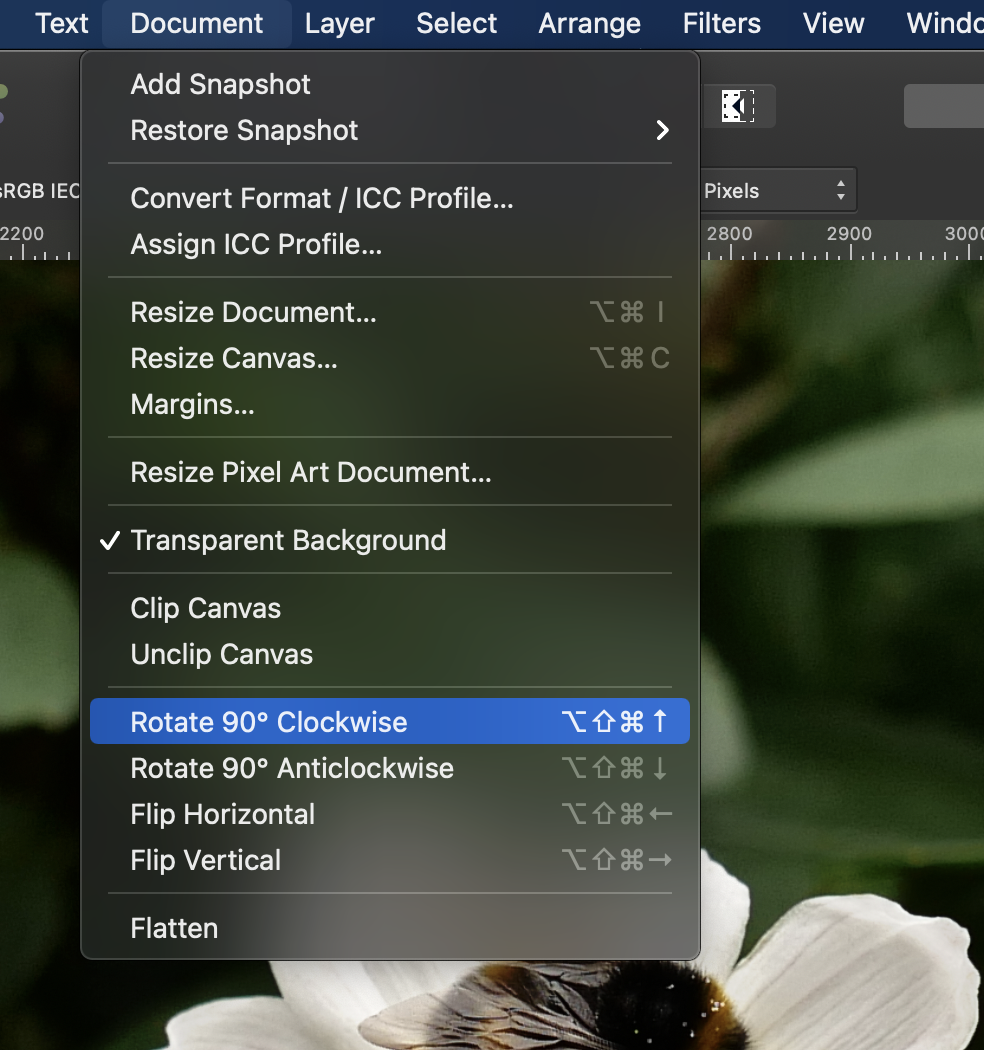
Hi @thecompu and welcome! Document menu - Rotate 90º in your chosen direction: Is quicker, especially if you modify the shortcut to something that doesn't wrench your fingers out of their sockets Using ExifTool I can see a couple of differences between your .tiff files Samples per pixel in 0000 is 1, in 0002 it's 2 Bits per sample in 0000 is 16, in 0002 it's 16 16 There's also an Extra Samples tag in 0002 which reads "Associated Alpha" and isn't present in 0000 There may be other differences, but I'm not clever enough to tell you what they mean, or whether they would stop a file rendering properly on the Internet Archive. It may be that 0002 has an alpha channel that isn't present in 0000. But I'm speculating wildly...
-
Help please: Save photo as JPEG
h_d replied to Footloose's topic in Pre-V2 Archive of Desktop Questions (macOS and Windows)
Hi @SydBee and welcome! No, if you export then your original file remains intact. Just close it and don't save. If you've made adjustments, added layers, masks etc to an original file, and you choose to save, you'll create an additional .afphoto file and again the original will remain unchanged. -
Swapping from Windows to Mac
h_d replied to Eddie Chapman's topic in Customer Service, Accounts and Purchasing
Strict practice... See the FAQ -
Crop Marks Not Touching Image
h_d replied to pattmayne's topic in Pre-V2 Archive of Desktop Questions (macOS and Windows)
As far as I'm aware, there is not. It's a photo-editing program, not a page layout program. -
Crop Marks Not Touching Image
h_d replied to pattmayne's topic in Pre-V2 Archive of Desktop Questions (macOS and Windows)
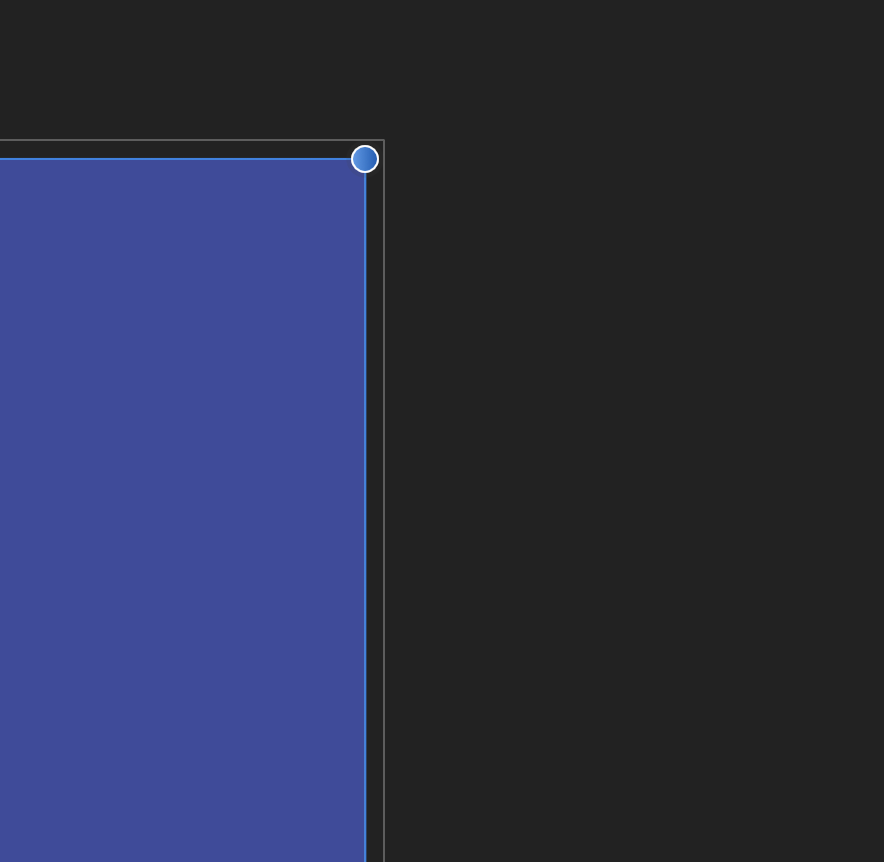
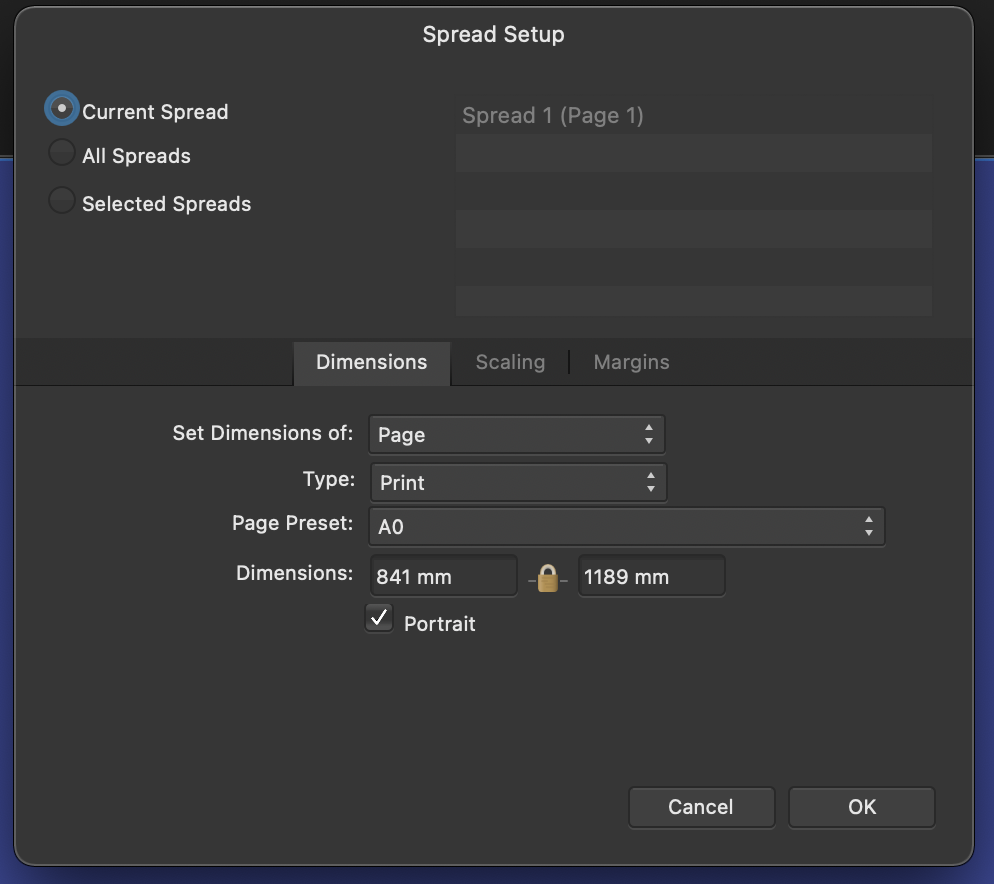
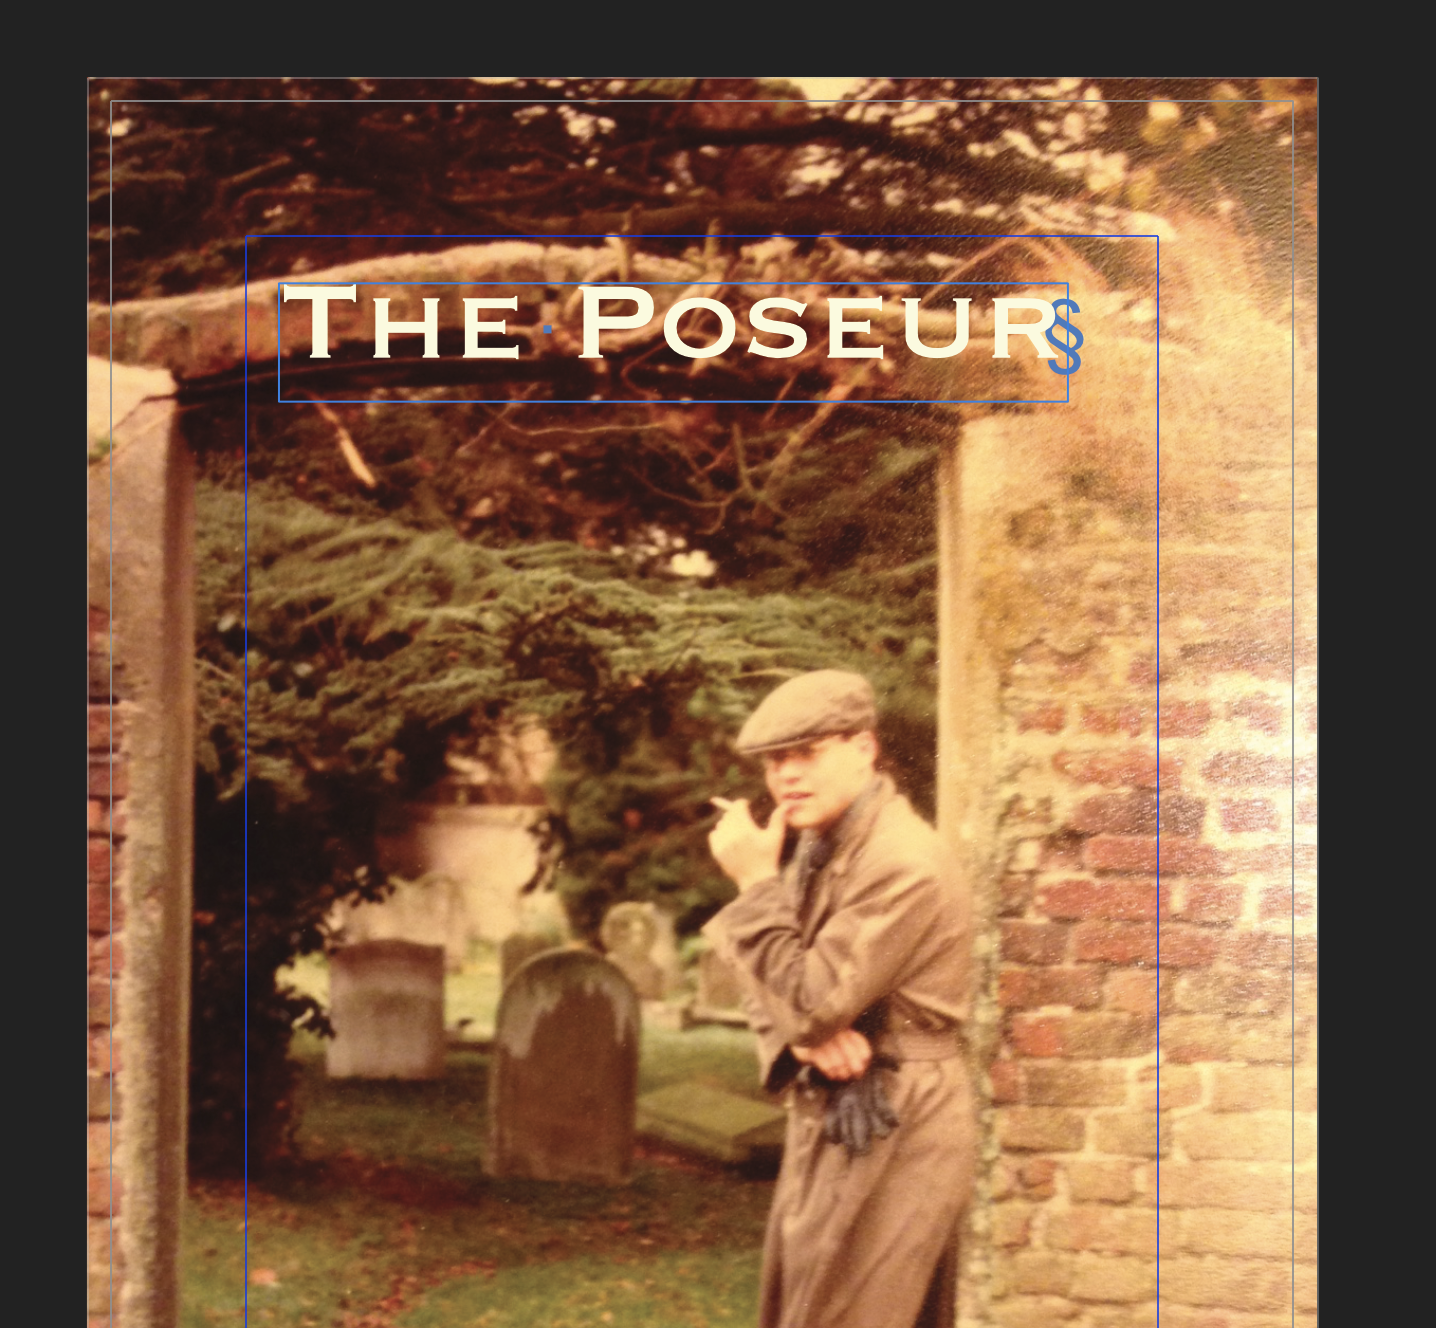
See my previous instructions. In Publisher, you need to extend the background image to the external bleed line, This is your Publisher document: This is the "lightly coloured border" that I referred to in my previous post. The probable reason that you've missed it is that your Publisher page is absolutely colossal:, you've chosen a Page Preset of A0. Check out your Spread Setup: When you create the Publisher document, it needs to be at the same size as your printed product. If you get it right in Publisher, you won't need to use Photo for this.
- 16 replies
-
- 1
-

-
- affinity photo
- exporting
- (and 3 more)
-
Crop Marks Not Touching Image
h_d replied to pattmayne's topic in Pre-V2 Archive of Desktop Questions (macOS and Windows)
Can you upload the Publisher document? -
Crop Marks Not Touching Image
h_d replied to pattmayne's topic in Pre-V2 Archive of Desktop Questions (macOS and Windows)
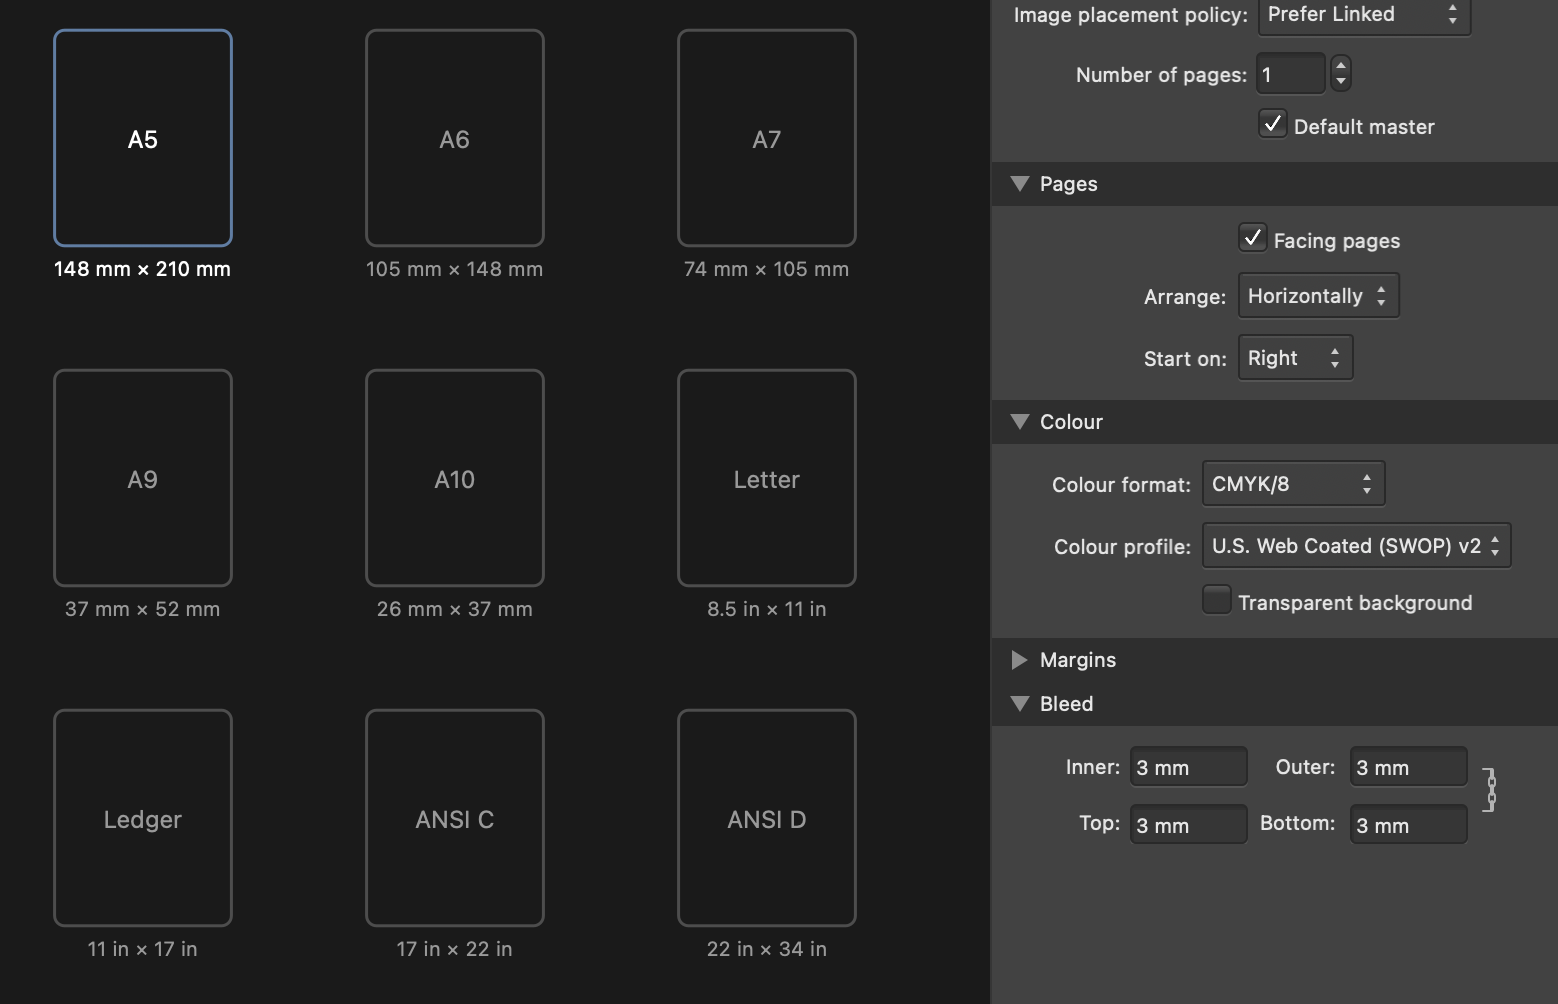
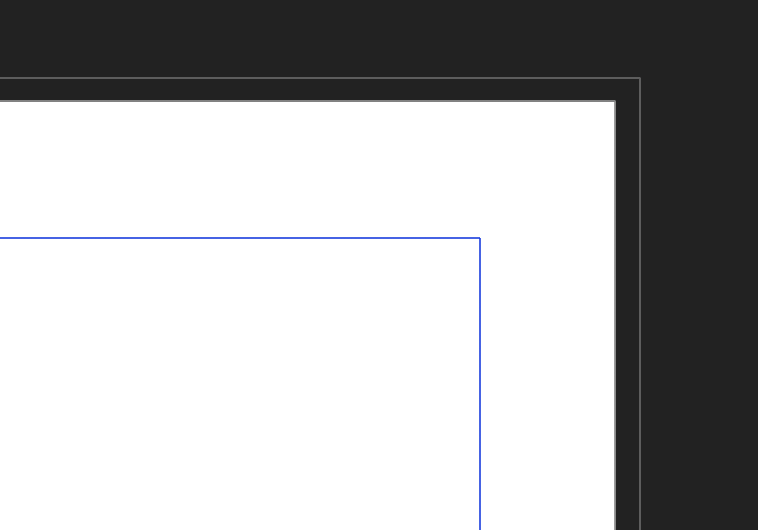
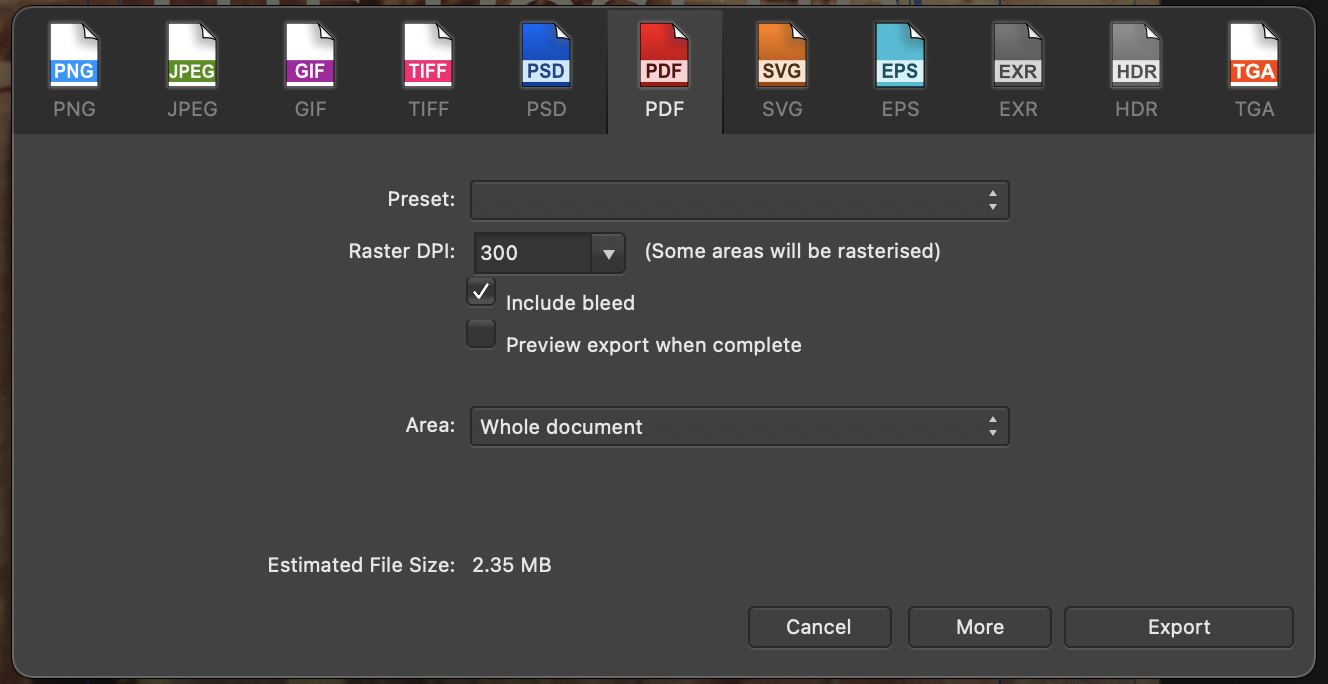
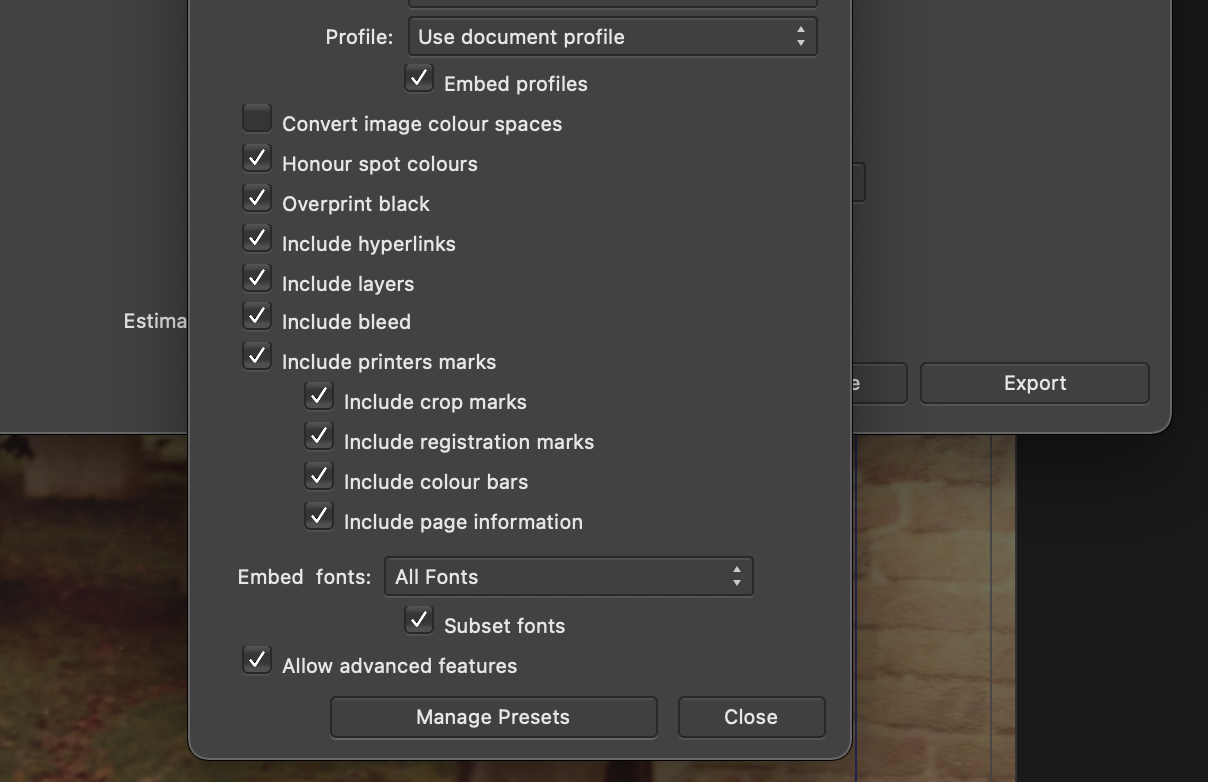
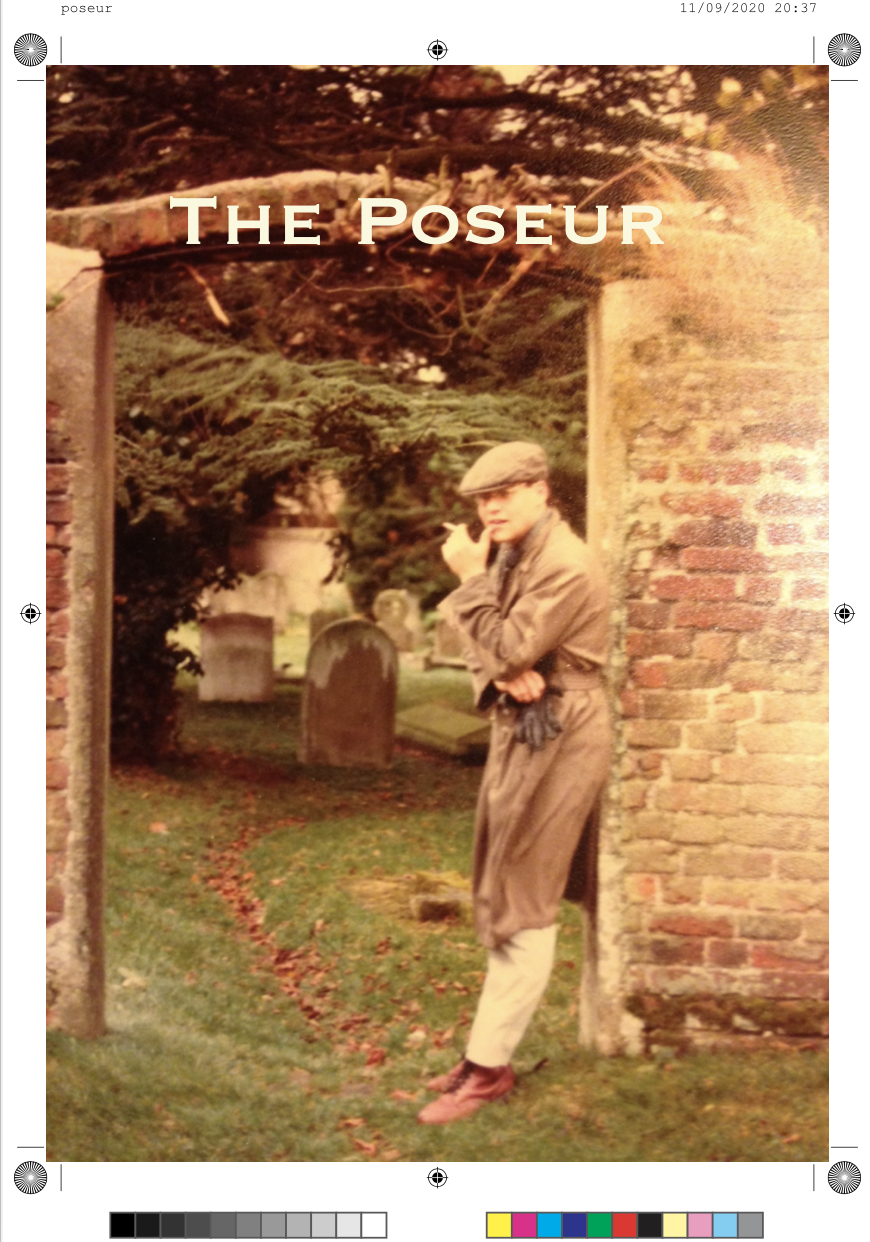
I personally would use Publisher - it's geared towards print output whereas Designer is more directed at web graphics/user interfaces etc. But either would work. In Publisher: Create a new document, and set the bleed as specified by your printer (3mm all round is typical in the UK): When the document opens, you'll see a lightly coloured border outside the main white page area: When you design your page, make sure that the background image extends to this line, all the way round: Don't place any important text or image detail closer than 6mm to the bleed line. Export the document, set to PDF, check Include Bleed: Click the More button and check Include Printers Marks: Click Close in the dialog box, then click Export That's about it...
- 16 replies
-
- 1
-
-
- affinity photo
- exporting
- (and 3 more)
-
Crop Marks Not Touching Image
h_d replied to pattmayne's topic in Pre-V2 Archive of Desktop Questions (macOS and Windows)
In the long run, for producing CMYK print material, you might want to invest in Affinity Designer or Publisher. Both let you set bleed dimensions and output pages in the way that you hope to achieve. -
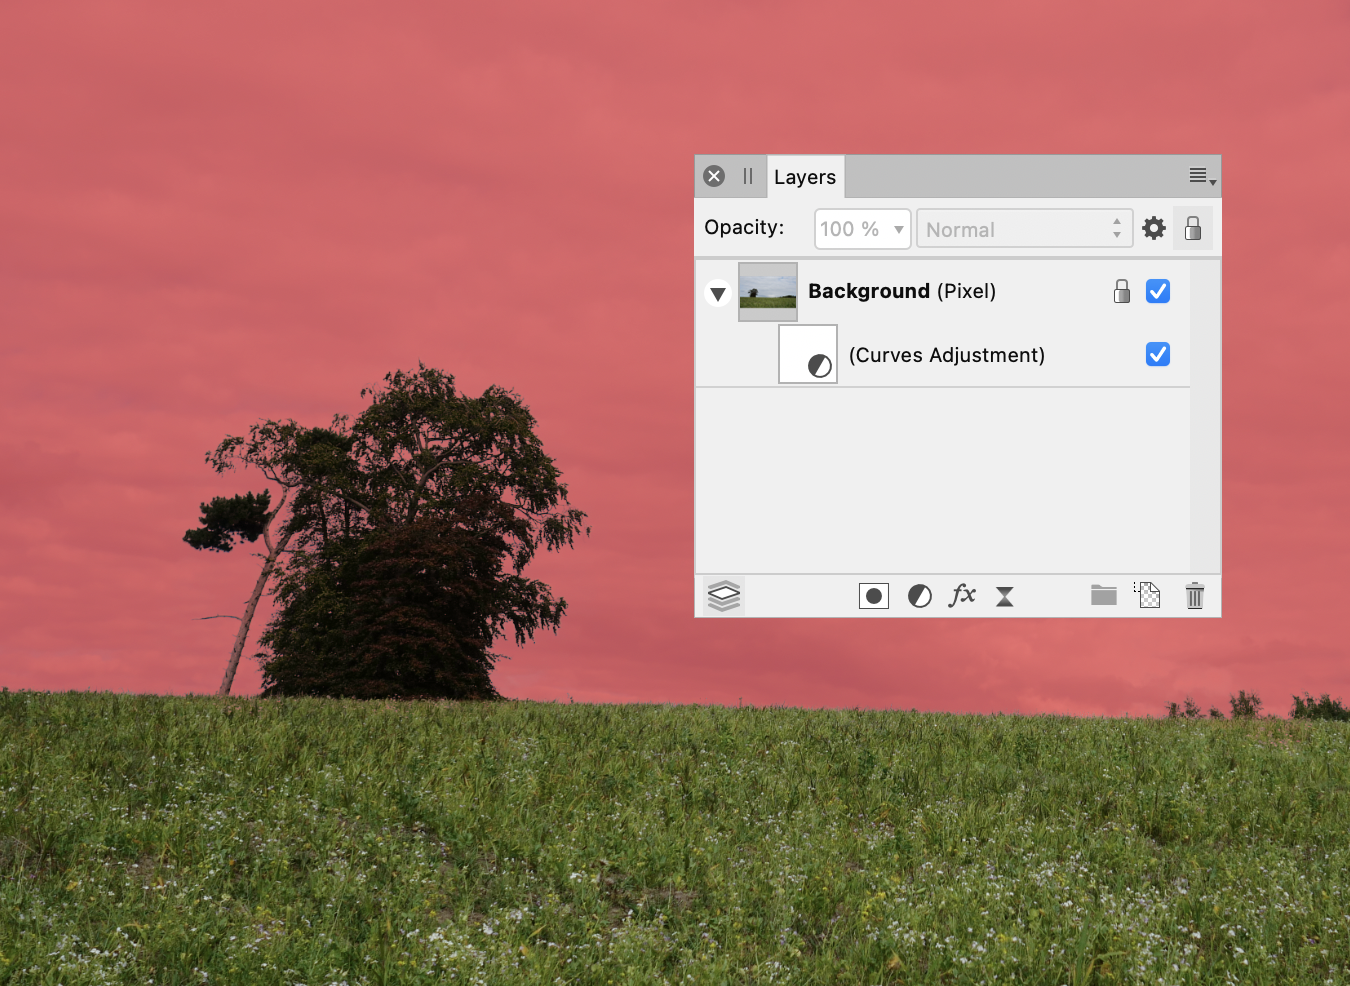
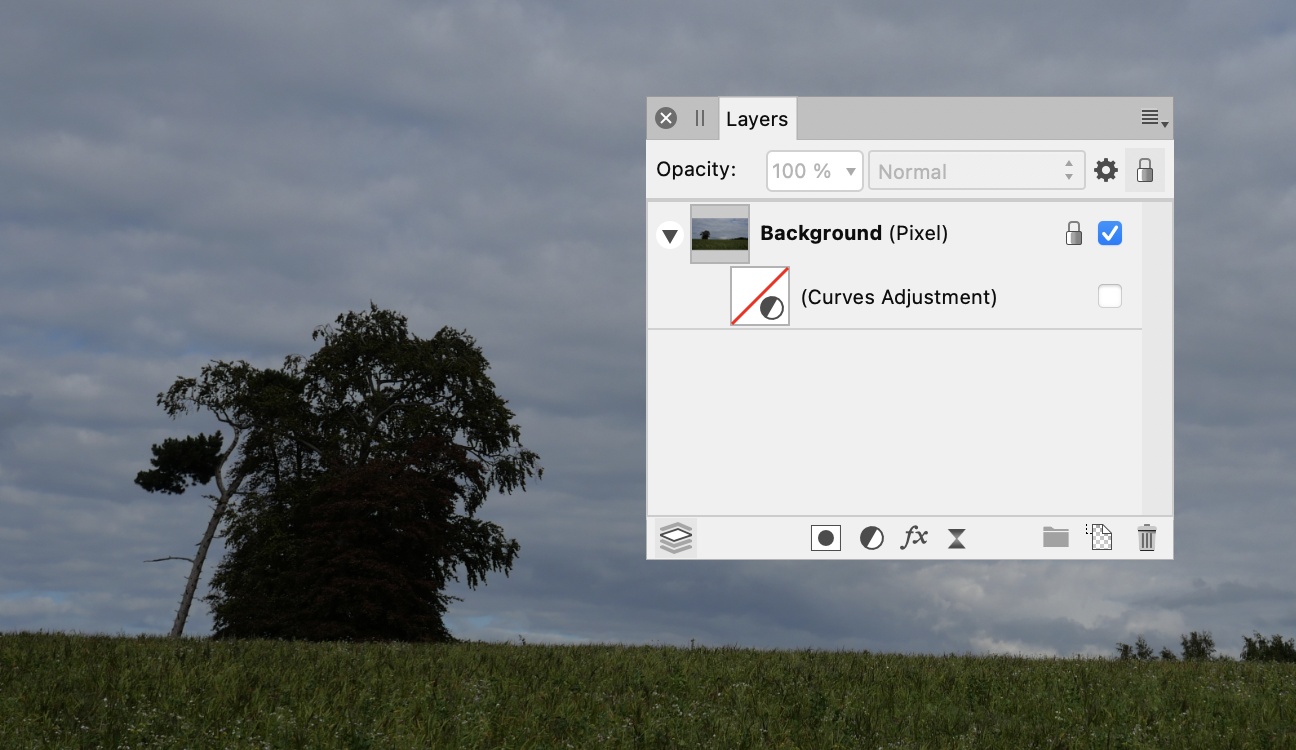
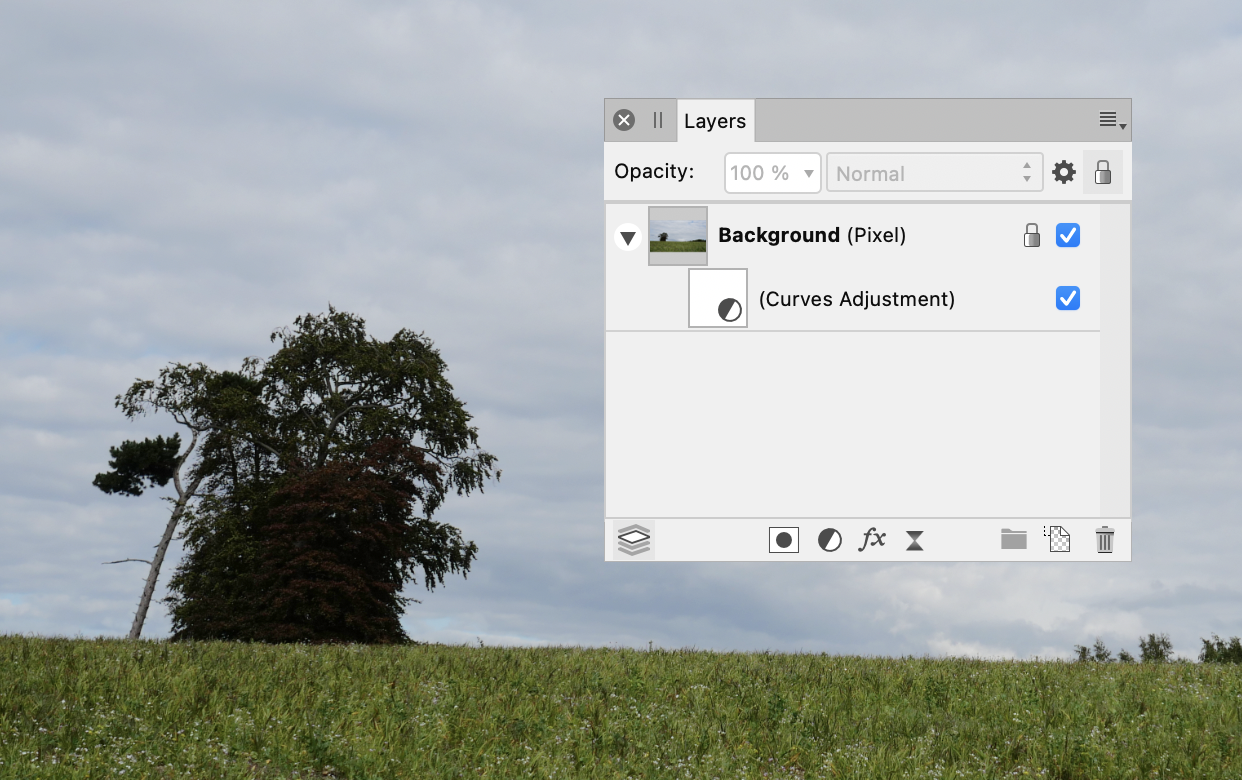
Should work if you nest the adjustment layer inside the image layer before you go into the Refine dialog: (Original - curves adjustment nested but hidden) (Curves adjustment applied) (With Refine Selection dialog active though not visible in screen grab)
-
Create Guides (Like in inDesign)
h_d replied to PepGold's topic in Pre-V2 Archive of Desktop Questions (macOS and Windows)
Thanks @Alfred I just realised that I'd posted a very vague link, but you beat me to the correction- 13 replies
-
- 1
-
-
- guides
- guide lines
- (and 2 more)
-
Create Guides (Like in inDesign)
h_d replied to PepGold's topic in Pre-V2 Archive of Desktop Questions (macOS and Windows)
Hi @pattmayne It's in the help: https://affinity.help/photo/English.lproj/index.html Cheers, H- 13 replies
-
- 1
-
-
- guides
- guide lines
- (and 2 more)