Scott_11A
-
Posts
10 -
Joined
-
Last visited
-
That's what I was concerned about. The photo doesn't really have a lot of detail or resolution unfortunately. Can anything be done to soften the glare in the background or is that the same problem? Thanks for the responses.
-
I have Photo 1.10.5 on Windows 10 and have been attempting unsuccessfully to remove as much of the reflection in the eyeglasses of this photo (I don't have the option of re-taking the photo). I am also wondering if there is a way to lessen some of the glare from the light in the background. Thanks for any suggestions on how I might achieve both.

-
 Gnobelix reacted to a post in a topic:
Having Problems Changing These Two Objects In Photo
Gnobelix reacted to a post in a topic:
Having Problems Changing These Two Objects In Photo
-
Thank you so much for this. I'm still a long way from being as facile with Affinity as you clearly are!
-
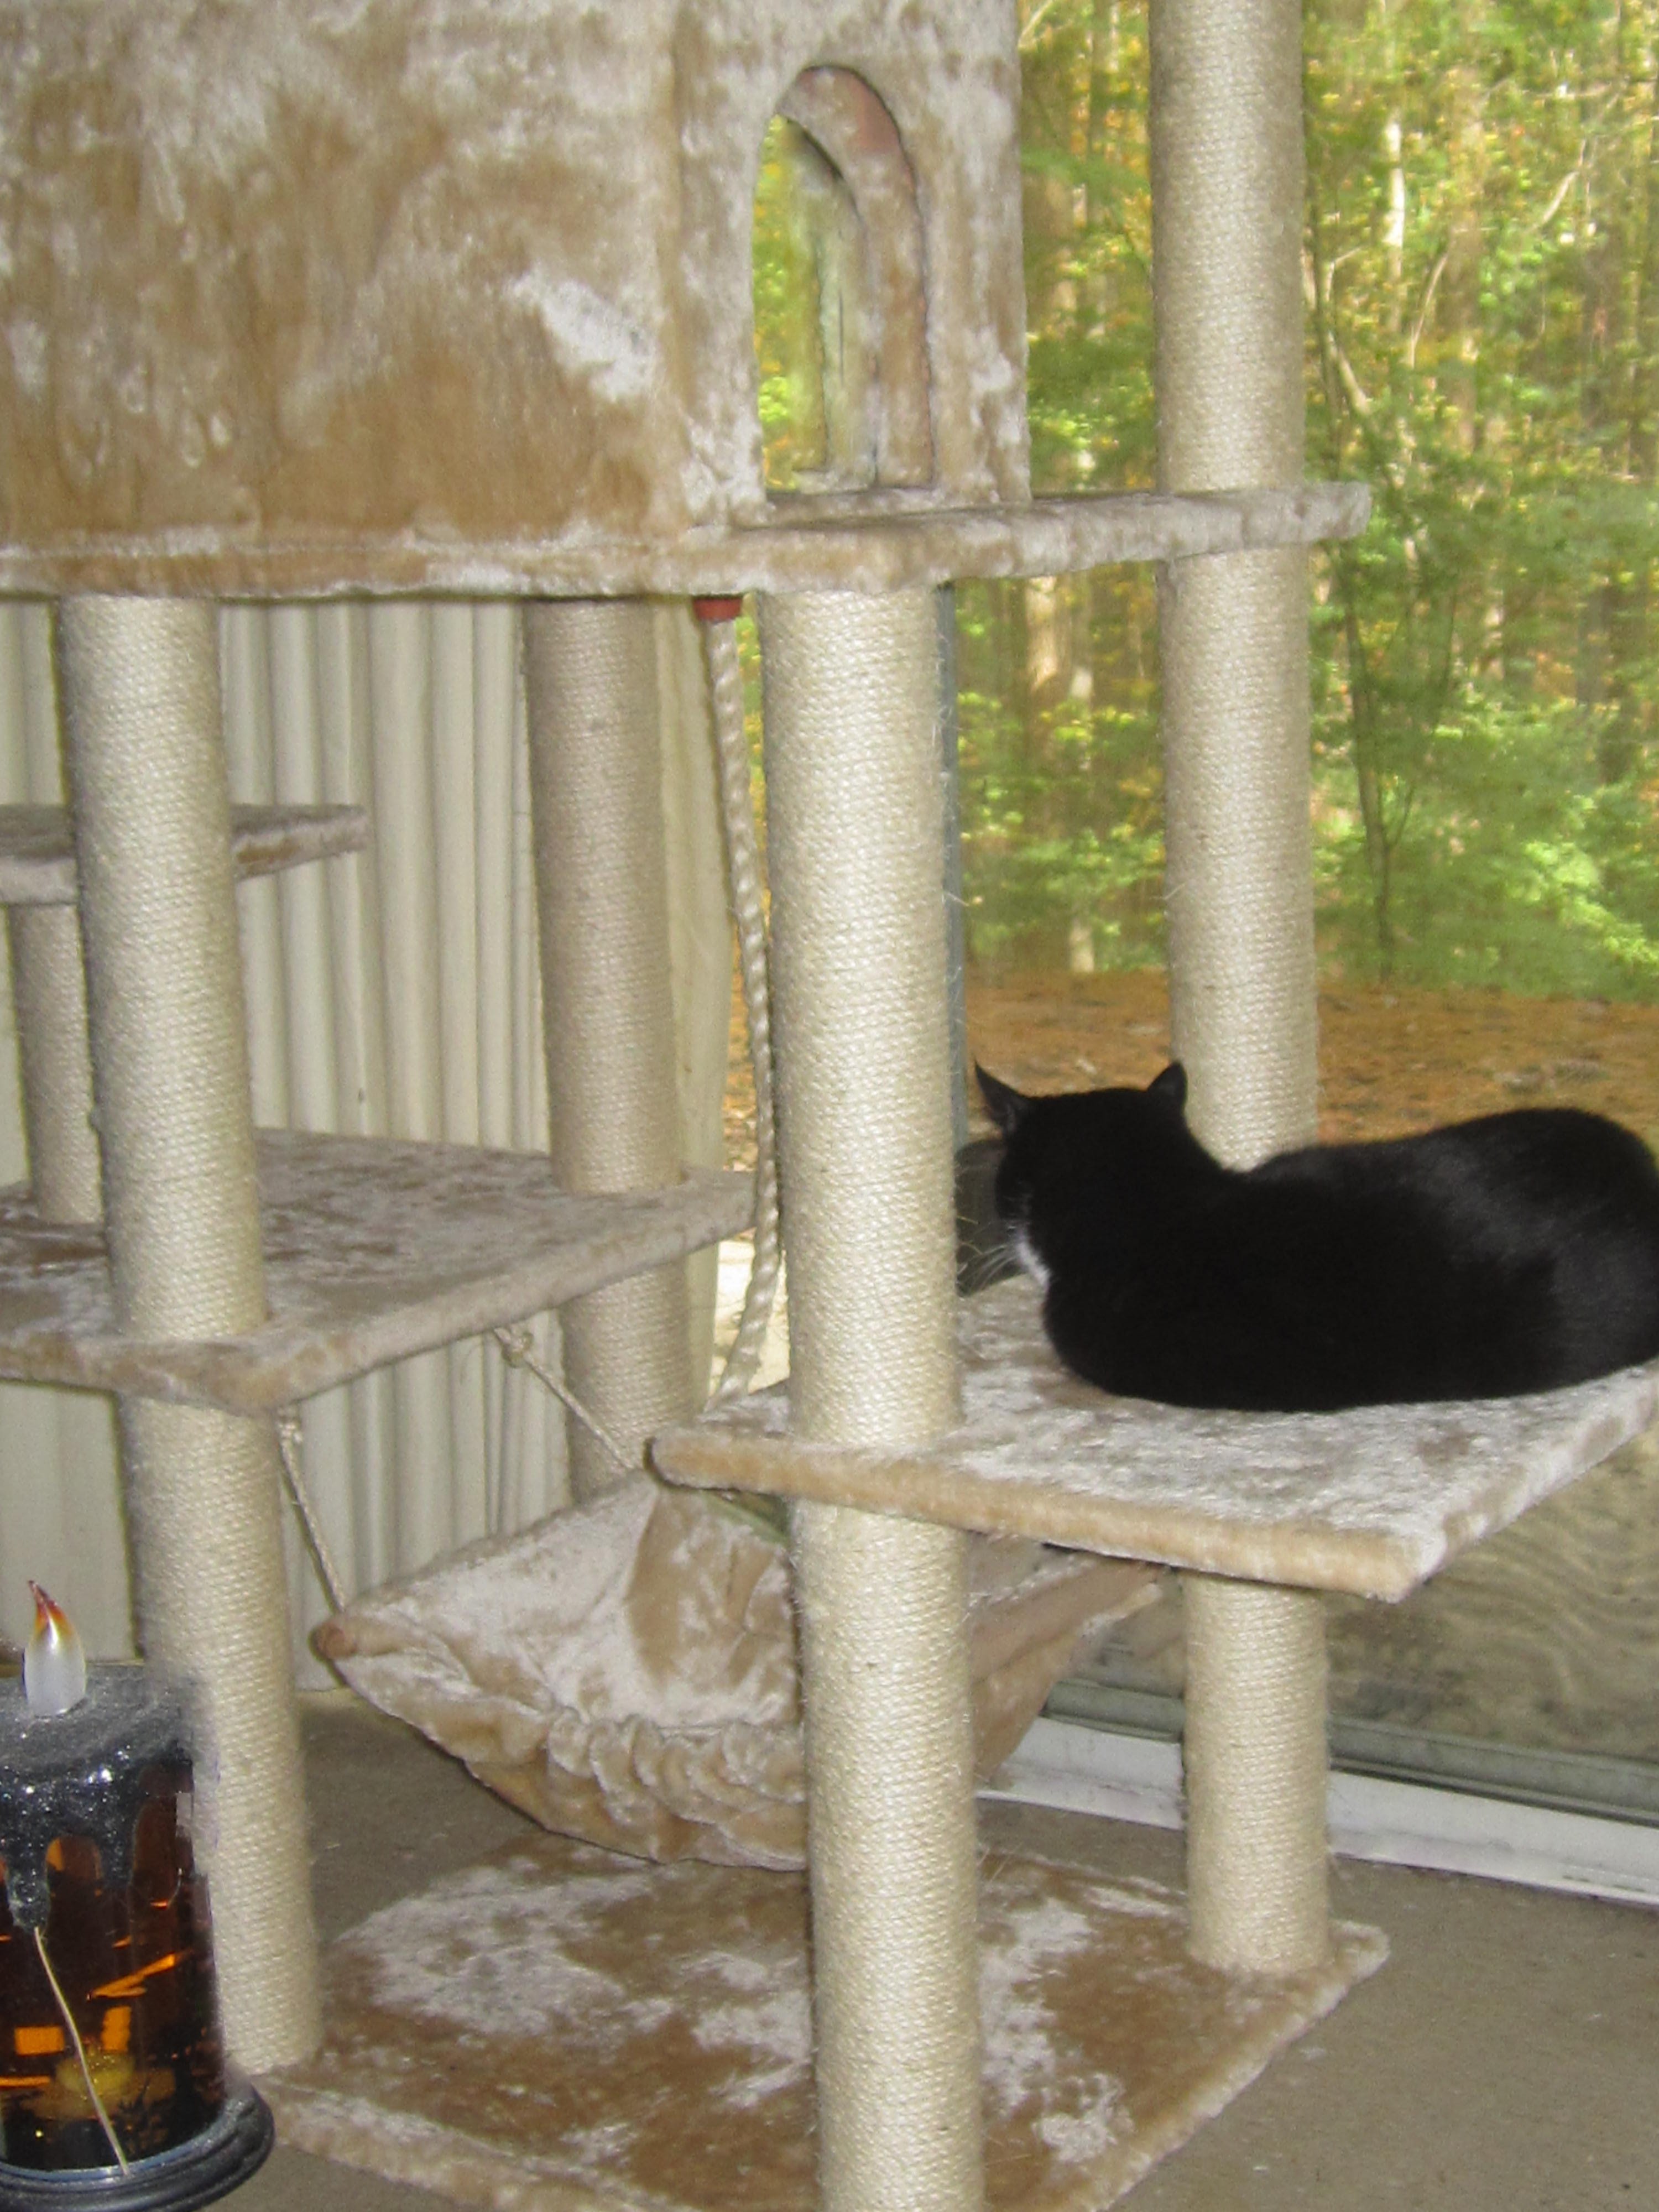
I am still pretty new to Affinity, have been studying the tutorials and have successfully made a number of changes to this photo already. There are still two problems remaining for me and I haven't successfully been able to accomplish them. The first one is the brown rectangular shaped area along the left side of the cat's face. I would like to change it to match the brownish-orange pine needles on the ground outdoors or even to change its color overall. I haven't been able to find a way to do that without losing the cat's whiskers. That should be easy enough to do using the clone tool but my problem is that I would like to keep the cat's whiskers and the left side of it's head unaffected while changing just the dark brown portion of that area. While I am sure there must be a way to do that, I have been unable to find it. The second problem is to completely remove the candle from the lower left corner of the photo. It would seem that this should be simple using the inpainting brush tool if the candle had one solid background such as a sky, ocean, etc. My problem has been that the candle's background has 4 different components, i.e. the sisal post, square base, rug and drape. It would seem that some combination of the inpainting brush to remove the candle and the clone tool to rebuild the remaining areas should do the job. I have been unable to get that to work however, since some of the area such as the square base and sisal post is somewhat detailed. I would appreciate any suggestions on how I could accomplish these. Thanks very much.
-
walt.farrell reacted to a post in a topic:
Can I Purchase Photo And Publisher Prior To Computer Arriving?
-
Thank you so much for the response. That was certainly lightening fast!
-
I currently have Photo and Publisher installed on my main Windows 10 computer as part of the 90 day free trial and am planning to purchase them by the end of the June 30, 2021 sale date. I have just ordered a second Windows 10 computer for my daughter who is in a different city. I want to purchase Photo and Publisher for her before the June 30 sale end date as well, however her computer is not due to arrive until July 6, 2021. That obviously means she can’t download the Affinity software onto her new computer and purchase it that way until after the June 30 end date. Is there a way that I can purchase the two packages for her in advance prior to her computer arriving and downloading them? If not, would I be able to download Photo and Publisher again but this time to one of my separate Windows 10 computers (different from my main computer), purchase the two packages on that computer then transferring those two licenses to her computer when it arrives? That would mean that I would have two different copies of both Photo and Publisher (paid for), one copy of each on my main computer and another copy of each on a separate computer (also of mine) for a period of about a week. All of my downloads and purchases have been (and will be in the future) from the Affinity (Serif) website.
-
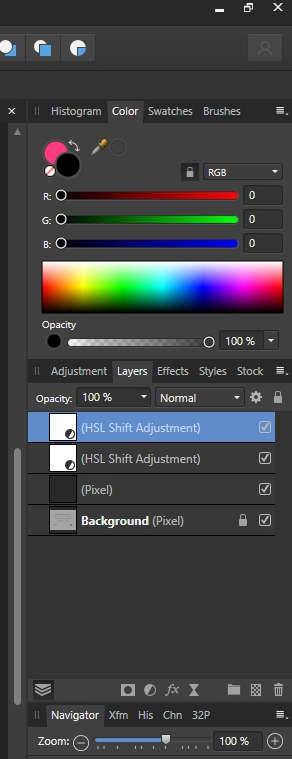
Thanks for all the help. I've pasted a shot of my layers panel below. The layers are what they looked like at the time of my original post. I realize that it would be helpful if I could show the entire image but it contains personal information regarding my family that I would rather not post on a public forum. I've been able to solve a major part of my problem and create the effect I want by using the brightness/contrast adjustments however I'm still not able to lighten the black on the graphic the way I would like to. As you can see, I can use the marquee rectangle pointer to select the graphic but when I attempt to lighten the black in the graphic everything within the rectangle (including the grey) lightens as well. That means that the grey within the rectangle now stands out against the shade of grey used against the grey used as background in the rest of the image. What I would like to do is be able to lighten everything black in that graphic without changing the shade of the grey either in the background surrounding it. I don't mind if the grey areas inside the graphic change slightly when lightening the black although it would be great if I could keep them unchanged as well. As far as my original question goes, I may have confused people about what I was trying to ask by using text as an example of what I was trying to change globally. Basically what I was asking was if I could do a global color change in photo. It could to anything in the image and not just text. Suppose I had an image with multiple cars of the same shade of red in it. I would like to be able to click on the red in one of the cars, re-colorize that car from red to blue for example with the color wheel and have ALL of the red cars in the image turn to blue as well. So far I haven't been able to find a way to do that in Photo.
-
I think I found my problem. It looks as if the color black cannot be replaced with another color in Photo.
-
Thanks for such a prompt response. The text tool that you suggested didn't work, probably because as you suggested, the text is really a photo of text. It was created on MSword then a screenshot was taken of it into a .jpg format. That was then converted to a .png file which is what I am using now. The text and the graphic are the only objects in the image so I guess that means they are not separate from the rest of the image. I have uploaded a .jpg of the graphic below. I want to be able to change the black portions of it to a different color. Also, I would like to be able to relocate the graphic and portions of the text (i.e. move them) to different locations in the image. How would I do that? Thanks again.
-
I am brand new to Affinity Photo and Publisher. I am a true rookie here. Using Photo on Windows desktop, I have an image which has black text and a black graphic on a light grey background. I would like to change everything that is currently colored black (i.e. the text and graphic) from black to a shade of grey that is lighter than full black but darker than the grey in the background. In other words, I want to globally replace everything that is currently black to a different color that I can select myself. It seems as if this should be a very easy thing to accomplish but I have searched high and low and haven't been able to find a way to do it. I just want to be able to set my new color to replace everything that is currently colored black. For example, I should also be able to change my all of my black (or any other colored objects for that matter) globally to all red, blue, etc. in the same way if I wanted to in the future. How can I accomplish this without having to go through and having to select and/or paint individual objects? Thanks for any help.