jmudglove
-
Posts
14 -
Joined
-
Last visited
-
 ttcfcl reacted to a post in a topic:
Crop tool hotkey features and Original ratio
ttcfcl reacted to a post in a topic:
Crop tool hotkey features and Original ratio
-
The crop tool would really be very helpful to have any of the following as a feature. Shift key switches between constrained and unconstrained aspect ratio. Resizing already has this feature. Why can't the crop tool also have this feature? Other photo editing software, name rhymes with "tophoshop" have this feature. Crop setting remembered, I almost never use unconstrained crop. If you think about it, it make sense that most would not use this as a default as most people don't actually want to change the aspect ratio of they're photo, and if they do, it's most likely to another common standard aspect ratio. Change the default crop setting to "Original Ratio". It stands to reason that this would be the default as noted above.
- 1 reply
-
- 1
-
-
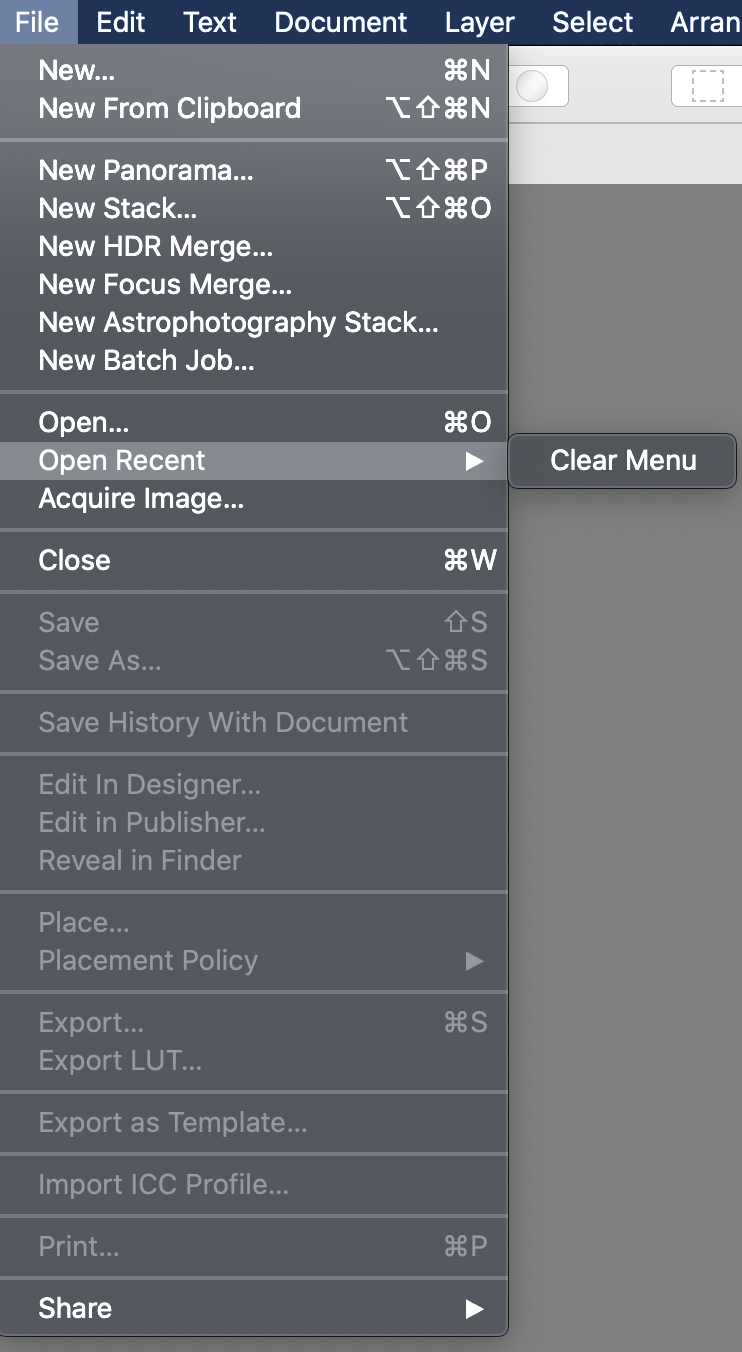
I don't know if this is a bug or a feature request but it would be extremely helpful if the File -> Open Recent menu would populate with recent files. This is actually a problem in Affinity photo and affinity designer. It's very helpful to be able to quickly open files that are on the system. This functionality works fine in all my other programs, but for some reason it does not in any of my affinity products.

-
Show/set size of selection
jmudglove replied to osi's topic in Feedback for Affinity Photo V1 on Desktop
Awesome, thank you, this works -
Show/set size of selection
jmudglove replied to osi's topic in Feedback for Affinity Photo V1 on Desktop
I guess this is still an issue in April of 2021. It's wild that Affinity does not address this issue. It's obvious they know the information in their programming. Is there really still no way to simply select an object on the screen and know it's pixel dimensions? One work around i often do is copy the object and paste as a new file then I get the canvas dimensions. This doesn't work if the object has live effects like drop shadow on it because the new document will include the dimensions of those effects. Another helpful option is to hold down the command key and move the mouse around over the item, this will sometimes show a layout indicator that will give the dimensions. In my screenshot you can see nothing is displayed even though an object is selected.
-
Hey, all good, sorry if my use of the word "Professional" came off as snarky in anyway. I was only trying to get across the idea that seeing the text while typing is critical for me to do my work. Thanks for the tip on using the spacebar. I didn't know that one and it will help me.
-
Thanks, yep, I know how to use text styles in all these programs. That's not my workflow in this case. Geez I was just asking to be able to see the text clearly when I changed it. This is also a feature all the programs you just named have. I guess this forum is not actually a place to post enhancement requests.
-
I'm sorry but I'm not really sure what you are saying.
-
Sorry but zooming in closer is not a solution. When professionally evaluating typography for a layout, it's helpful to be able to try different fonts and characters in a placement and see the results clearly. Having to zoom in just to see what you are typing and or to get a feel for the typography is not a good option, hence the request for a way to clearly see what is being typed without the resize bars being in the way. You can't resize or rotate while typing anyway, so it would only enhance the product to have this feature.
-
Thanks for the tip, I found an option to make them smaller but the text is still somewhat obscured. Would be great if the resize handles disapeared when editing text.
-
I'm not sure how it could be solved but the resize handles obscure the editing of text, especially if the text is small. My recommendation would be to disable the resize dots completely when the text tool is placed inside the box for editing. Currently at the size seen in my screenshot, it's impossible to even see the text preview while editing the text.
-
John Rostron reacted to a post in a topic:
Add a checkbox to rasterize and trim in the Affine filter
-
Hi John Thanks, I do see the (pixel) denotation in the layer name now, and that makes sense, however the larger idea of the problem is more important. If I do not rasterize, there is no tiling effect, even though "Wrap" is on, the image is simply offset with no tiling. In order to make it work I had to apply "Rasterize and Trim" as seen in this video. To make the texture, i opened a larger photo, marqueed an area i want to make a texture from, then hotkey copied, then file -> new file from clipboard. This made a new doc with the section i needed. The layer was set to pixel but running "affine" with a 50 50 offset did not tile. I then have to close the dialog and hunt down "Rasterize and Trim". The workflow would be much smoother if it either just handled this or allowed for a checkbox. I understand I don't know everyone's workflow but I can safely say that for 3d designers trying to make seamless textures, this is tedious and not intuitive. PS I know what "affine" means and stand by my original statement, but this is really not a problem. I can learn what affinity calls anything if the steps are smooth.
-
It's nice to be able to make seamless textures in Affinity but one thing that makes the process overly complex and hard to remember is that in order to use the "Affine" tool most people will want the pattern to repeat. To acheive this, "rasterize and trim" must be applied first. It would be super helpful just to have this as a checkbox on the filter dialog and on by default. Honestly I'm usually frustrated when I go to use this filter and its not working as expected, then I have to google why it's not working, then I find that it has to be rasterized. I'll admit 90% of my hangups with this product is the mystery surrounding rasterizing layers to get what I want. Why must I constantly rasterize already raster content and why is not more obviouse when a layer is not raster (even though it technically is just a raster image)? Also not to be too harsh, but the word "Affine" is not a verb nor does it mean anything as in relation to the performance of the filter. Why not just call it "offset"?
-
Your Affinity 2020 wishlist
jmudglove replied to AITCH's topic in Feedback for Affinity Photo V1 on Desktop
After playing around with it, I decided to change the export hotkey to "command + S", then I changed "save" to "command + shift + s" then "save as" to the crazy 4 key combo "command + alt + shift +s". This works much better for me as I don't prefer to save files in the .afphoto format when possible since they're not supported by other graphics programs and to be honest the extension is annoyingly long. I will repeat, I do love this software and own multiple coppies of AfPhoto and AfDesigner but .afphoto and .afdesign are rediculous file extensions and there isnt a single other format i've ever seen this long. -
Phil_rose reacted to a post in a topic:
Your Affinity 2020 wishlist
-
Your Affinity 2020 wishlist
jmudglove replied to AITCH's topic in Feedback for Affinity Photo V1 on Desktop
First let me say Affinity Photo has been a big help. I've been using photo editing software since photoshop 3 (20+ years) and while there are some idiosyncrasies to get over with Affinity photo, the product is a good fit for me. Now for the request I imagine 99% of people using photo editing software innevitably export their files in some format other than the native .afphoto format and yet the action to export the files is both burried in a complex set of hotkeys and way down the file menu. So, why can't you make life easier and more efficient for everyone by removing export all together? All you need to do is change the save dialog screen to be more like the export screen and have the default tab be the native file format. This would be a tremendous speed up, especially when half the time I've opened a png file, added a layer and now can't remember if im supposed to click "Save" or "Export" just to get back to my edited PNG.