

uncle808us
-
Posts
502 -
Joined
-
Last visited
Posts posted by uncle808us
-
-
I'm just wondering how much the next updates will cost. (If anything)
Solved Thanks for the replies.
-
Thanks R C-R: That solved the issue changed the project to pixels every where now the dimensions are all 1024 x 1024 everywhere. Thanks
-
I see no way to change the export to points....
-
Is it possible to save dynamics settings? In brush settings?

-
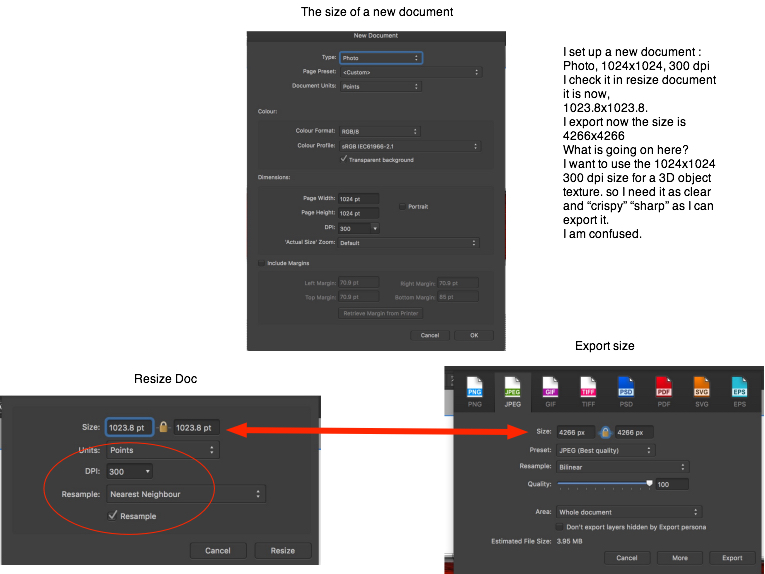
I set up a new document :
Photo, 1024x1024, 300 dpiI check it in resize document it is now,1023.8x1023.8.I export now the size is 4266x4266What is going on here?I want to use the 1024x1024 300 dpi size for a 3D object texture.I need it as clear and “crispy” “sharp” as I can export it.I am confused. -
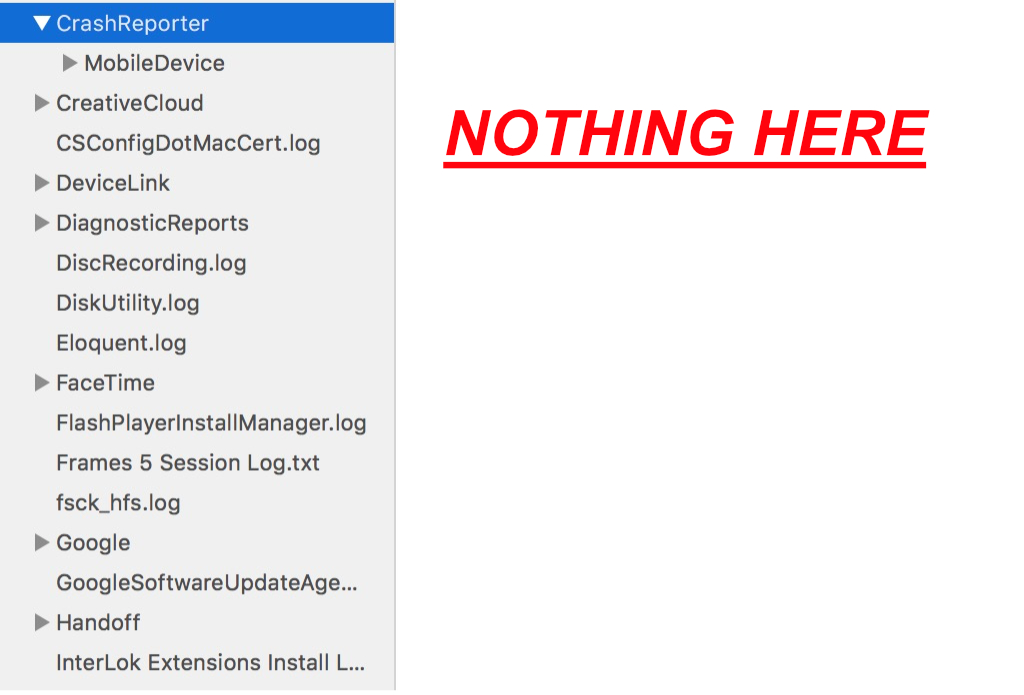
Thanks there is nothing there!
-
I crash Photo every time I try to copy a layer with a live filter . So #$@king annoying!! Where are the affinity crash logs? So I can send one to the developers.
-
Solved: File > Save As can reduce the file size from either app. Our file format is optimised for speed, and sometimes appends changes to the end leaving unused space in the middle of the file. Using File > Save As gets rid of that no-longer needed space.
This must have been what happened.
Thank you.
-
-
-
-
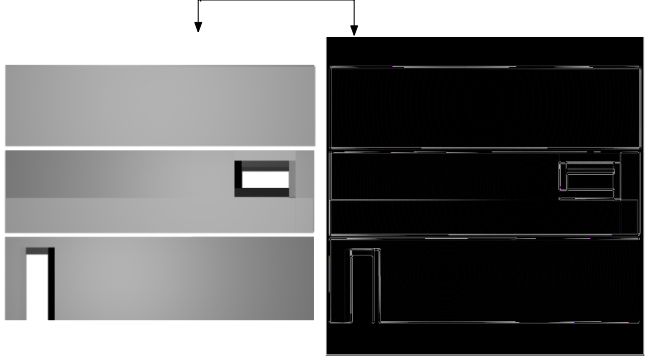
When I use edge detect with an ambient occlusion bake map it works fine.
My question is:
is there a way to thicken the white lines? I've been blurring them then using unsharp but may be there is a better way.
If you know of one please let me know.
( also if there is a quick and easy way to remove the black this I also would like to learn.)
-
-
On my Mac El cap MacBook Pro Retina, Mid 2012 15 in. OS X 10.11.6, One button mouse I can zoom with the mouse if I hit alt/option and scroll.
I no longer use the Magic mouse, too unreliable too many batteries. They no longer sell Magic mouse charger etc. I switched to a Kensington wired mouse. and now use the pref: >Tools> use scroll wheel for zoom( don't know what scrubby zoom even means but left it checked.). Works great.
-
Compress files from Affinity Designer and Photo so they are not so big. some kind of auto compress.
-
-
Missed that sorry.
-
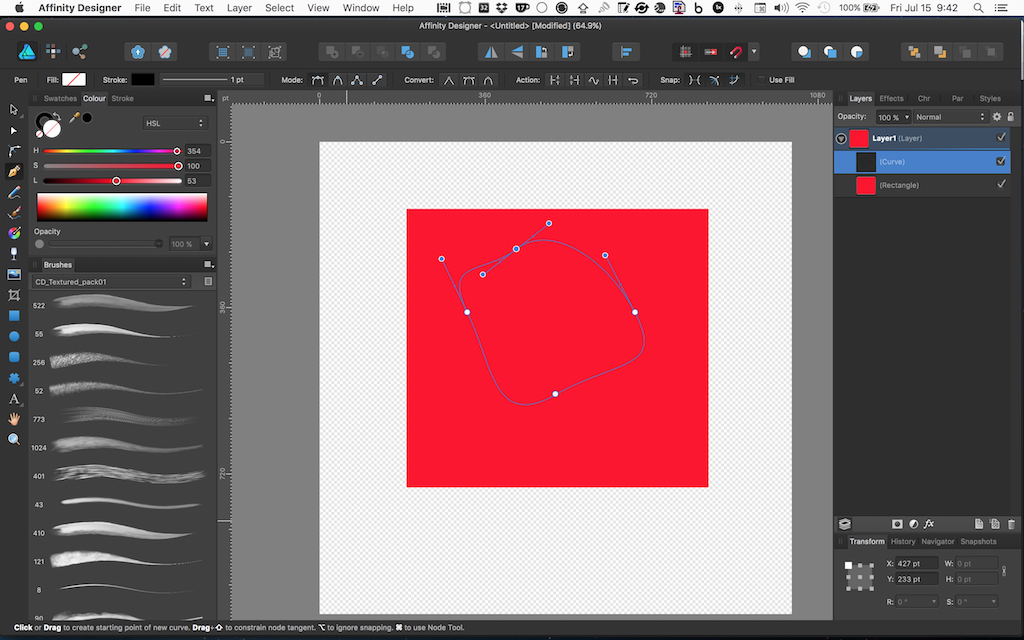
Here's a simpler way: duplicate the sword, remove the FX of the duplicate, create rectangles over the areas of the sword that should be above the dragon, add those rectangles (boolean operation), then drag the duplicate layer of the sword over the resulting layer of the boolean operation in the Layers panel to use it as a clipping object (a single layer does all the clipping).
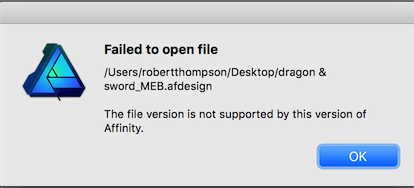
Note: File must be opened in Designer 1.5.
File won't open: AD v. 1.4.2.
-
Yea I guess I did not understand what you were saying.Didn’t I say just this above, uncle808us? ;)
https://forum.affinity.serif.com/index.php?/topic/9539-polygonal-lasso-tool/?p=105816
To answer your second question: unfortunately, you can use the Pen Tool Method only in the way I indicated, when you are using Affinity Designer. These options are available only in Affinity Photo. The context toolbar has no “Selection” button in Affinity Designer, and there is no “Quick Mask” mode. :)
-
-
People should be using the Pen Tool (in straight line mode - from the context toolbar) - then using the "Mask" and "Selection" buttons to turn it into a selection.
Where is a tutorial on this? Where is the context toolbar?Are the"Mask" and "Selection" buttons in the context tool bar.
People want to know. :wacko: Using Designer
-
-
Can you change from curve to selection in Designer? I don't see how to do it.
-
Thanks very nice .
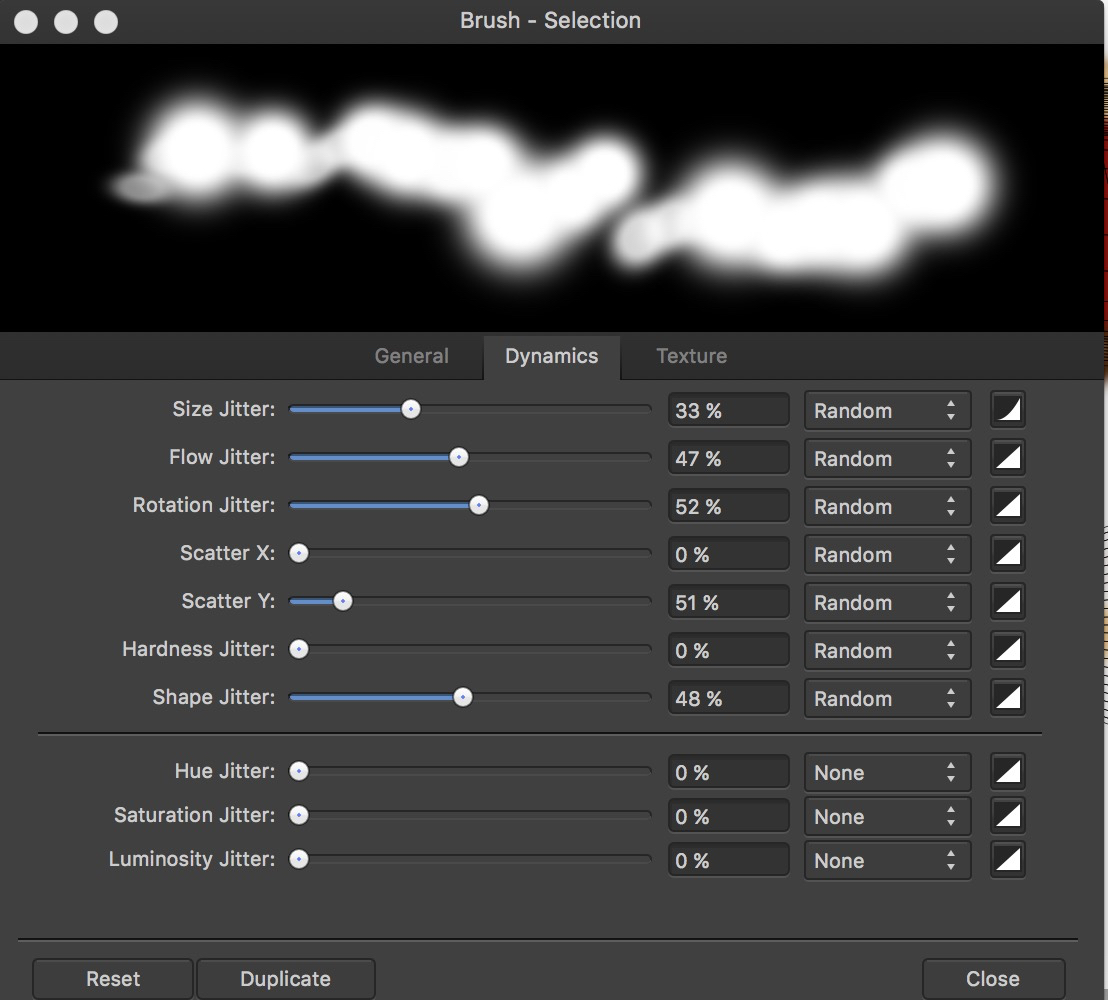


Save dynamics settings
in Pre-V2 Archive of Desktop Questions (macOS and Windows)
Posted
Where are they saved to? Can I recall them from some where and use them on another brush?