Petr Stanicek
-
Posts
23 -
Joined
-
Last visited
-
I know that, I occasionally use it, but usually in full screen. I would swear I've never experienced this in windowed mode so that even the window itself disappeared…
-
I see! And I'm surprised (and confused). I used to use TAB pretty often, but it hid only tools panel. Now it hides everything, including the main top toolbar and also the window controls. Perhaps I don't understand the logic. Can I set somewhere what should be hidden and what shouldn't?
-
omg, you were right! It's everything there, everything switched off, including the window controls. I've been using mac for 30 years and I've never seen an application able to turn off the window frame keeping its content alone, that's really weird. The question is, why did this happened. Why all the panels and toolbars were suddenly hidden when I updated to a new version. Nevertheless, thank you Walt, you saved my day!
-
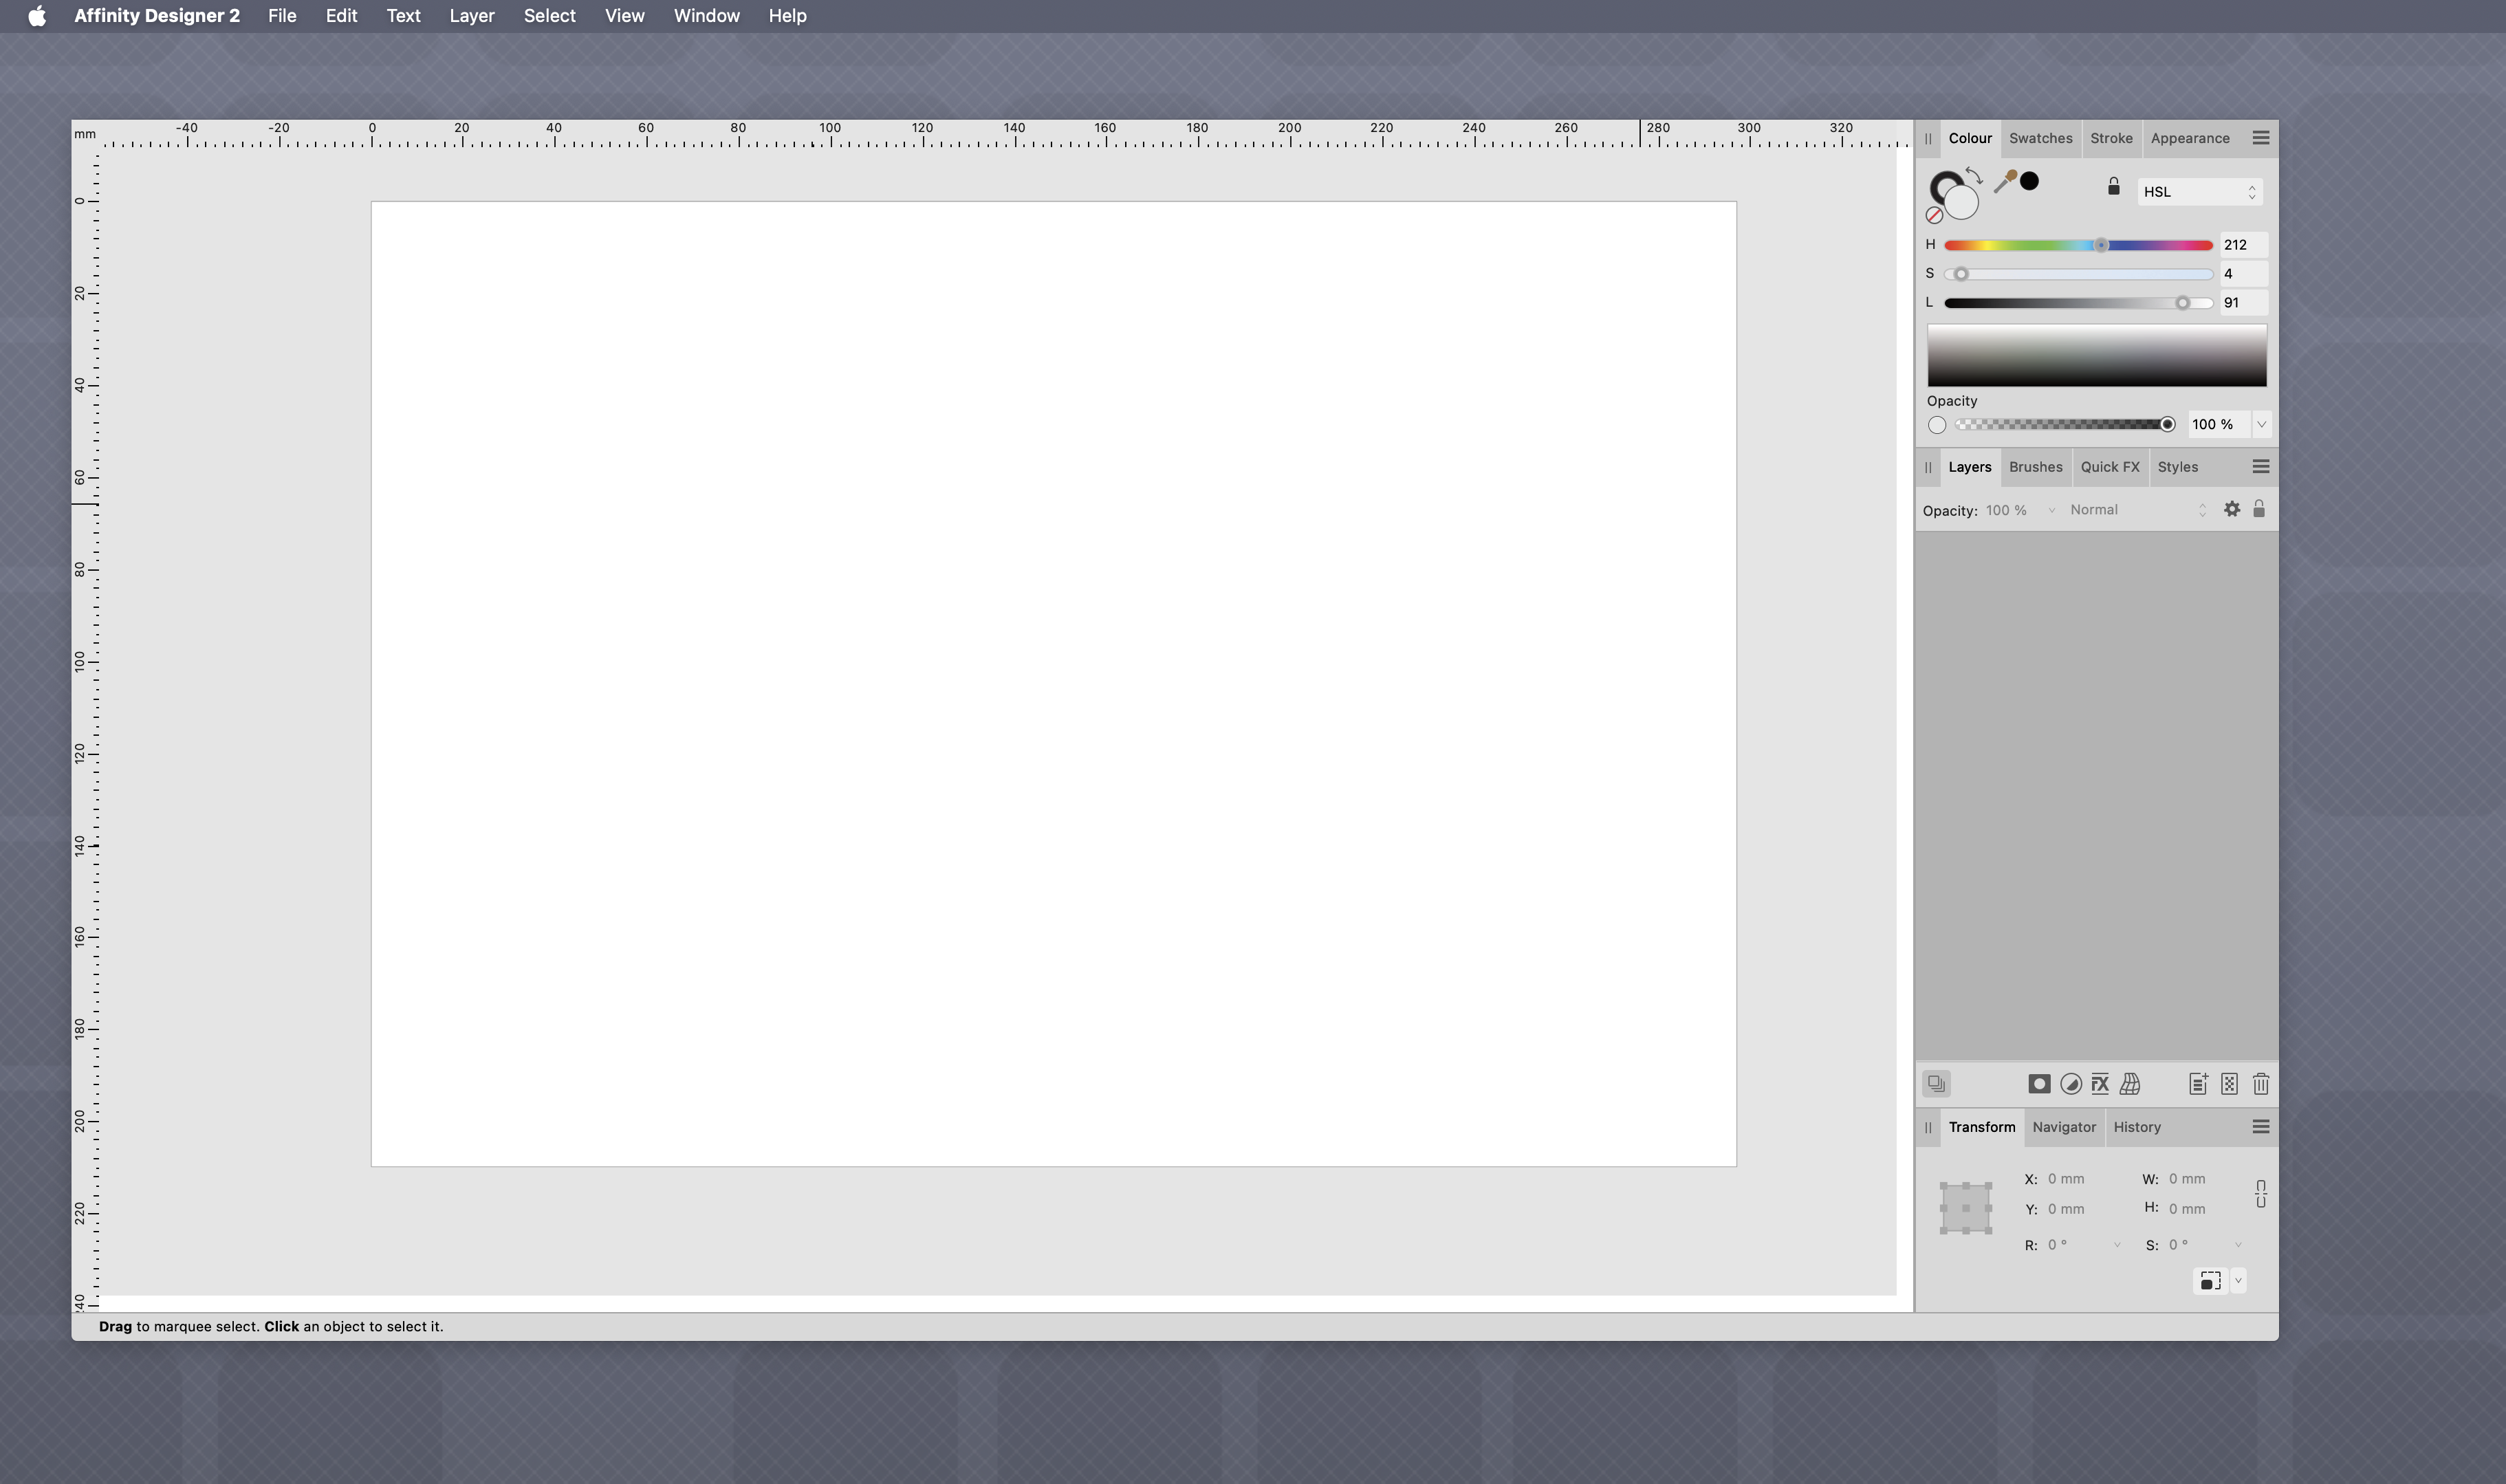
After updating Designer to 2.5.3, all window frames and toolbars disappeared. The left vertical tooIs panels was visible first, but when I pressed tab, it disspaered as well, and never shown again. The tab key hides/shows the panels on the right since. I can resize the "window" by dragging the bottom-right corner, and I can move it on the screen by dragging the bottom status bar. That's pretty all I can do. I tried to reinstall, tried to downgrade to previous version (2.4.2, using TimeMachine), the same result. Neither Photo or Publisher are affected, they seem to work fine. Please help someone asap, I badly need to a lot of graphics for tomorrow presentation!

-
Is there a shortcut or button to hide selection frame and text selection to quickly preview the edited object? I.e. if I fine-tune a color of selected text, I have to select the object, select the text, set the color, the click somewhere outside to preview the result — and then repeat the process if I'm not satisfied. A quick preview shortcut/button would be very useful, but I couldn't find anything like that.
-
 AlanPC reacted to a post in a topic:
Missing basic tutorials. Is Affinity a prepress tool?
AlanPC reacted to a post in a topic:
Missing basic tutorials. Is Affinity a prepress tool?
-
No no no, I'm done, this is absolutely insane. If I edit a text frame, everything is deformed and moved, if I finish, the same deformation happens. I have to scroll the page a bit to fix the view (see the attached video). My book has a complex layout and I have to edit this a hundred times per hour, and I'm going mad of that… Plus many other bugs… The same thing as with AfPhoto. I hated to do that, but I had to buy Photoshop – and now I have to buy InDesing to finish my book. Affinity Publisher is not suitable for a serious work. Screen Recording 2022-07-03 at 4.41.36.mov
-
This problem still persists. I'm creating a book with tons of text frames and this is very annoying.
-
I'm affraid I can't rely on such a buggy thing with my book. I'm not happy, but I'm going to buy Photoshop again…
-
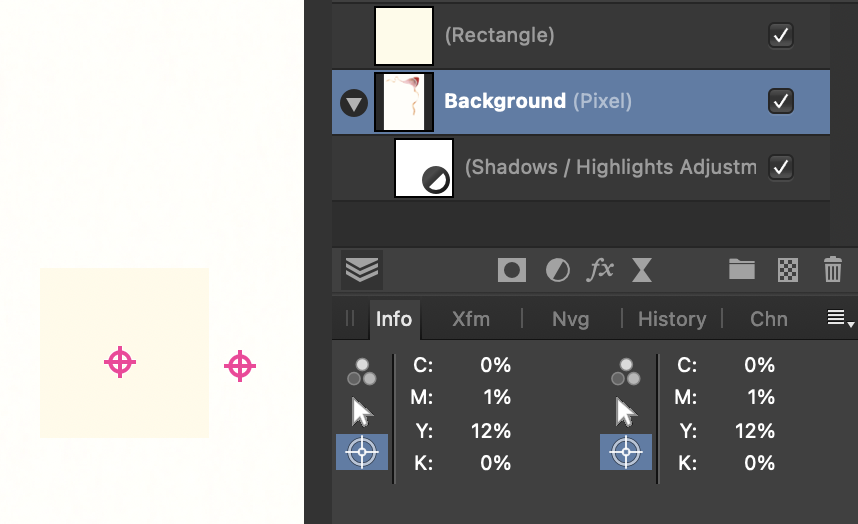
I know that @thomaso, but that's not the point. You can see it even on the screenshots – with Highlights on, the background color is noticably brighter, almost white, but the Info panel says it's even more yellow Y=4 → Y=12. That's the problem. The difference betweeen native RGB values shown by ColorMeter is like the RGB 254–253–256 vs 254–253–257 difference. This Y=12% (or RGB 253–251–232 vs RGB 255–255–251) is a huge difference, and it's a pure nonsense. A bug, I guess. See this – I added a square with real CMYK 0-1-12-0 which Info identifies the background. The Hightlights adjustment is applied to the background only. 😱
-
Thanks a lot, yes, it seems to be usable method. I'm just struggling with the nonsense color values the Info panel shows to me (as above) – if I can't solve/fix that, I'm affraid I can't use of the suggested methods…
-
NotMyFault reacted to a post in a topic:
Missing basic tutorials. Is Affinity a prepress tool?
-
Chiyonosake013, of course I did. It's not easy to find specific info there, but I'm trying. However, I couldn't find how to solve this problem. Or description of all features and menu items…
-
It seems there would be only one way how to solve this…
-
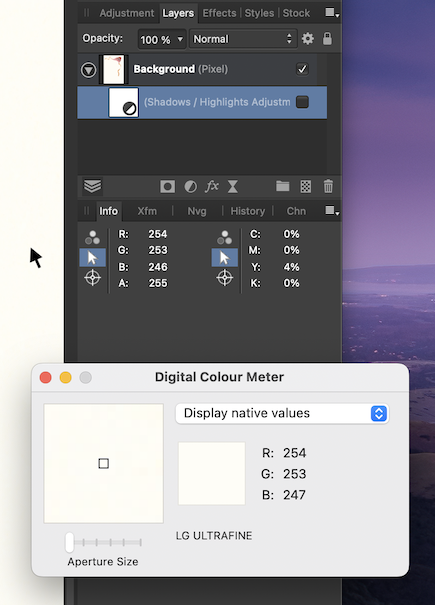
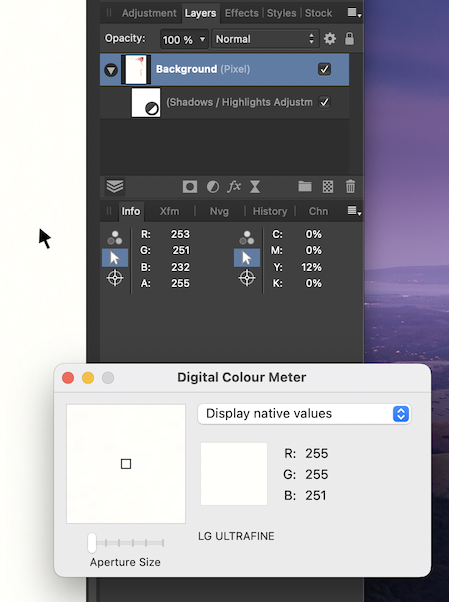
Common, this makes no sense at all… An original background pixel has a 4% of yellow. The RGB values seem plausible (even if Color Meter shows slightly different value). Then Highlights are applied. The background color becomes visibly brighter, Color Meter shows almost white – but APhoto says 12% yellow. 🤯😵🤪 This must be a bug, right?
-
Thanks! I knew and checked the official info, Online help and Affinity tutorials. I didn't know there are other tutorials than those linked on Affinity website. And I also would like to buy a book – if I knew there is a book to buy… I'm going to watch those other tutorials now. Thanks again!
-
Thank you both, yes the White Balance picker could be it. The first problem was, the picker did nothing when I tried it. I restarted APh and it works now. OK. However, I don't get white background this way. If I just click with the picker, a CMYK 0-0-5-0 pixel becomes 1-0-4-0, that's it. I can move the sliders manually and click and try, but still have not a solid white. The same way I can use Brightness&Contrast or other tools, I can just try randomly. I'd prefer a more exact method…