DeanThwaite
-
Posts
15 -
Joined
-
Last visited
-
If I export a PDF with a stroke applied using the "effects panel" on a text box (like an outline) it does not render unless I allow the PDF output to render it as an image. If i turn off 'unsupported properties' in the more section of the PDF output options, the outline simply disappears. If i create the outline using the text frame options, the outline then renders. So there is a mismatch between the effects panel outline and other applied outlines.
-
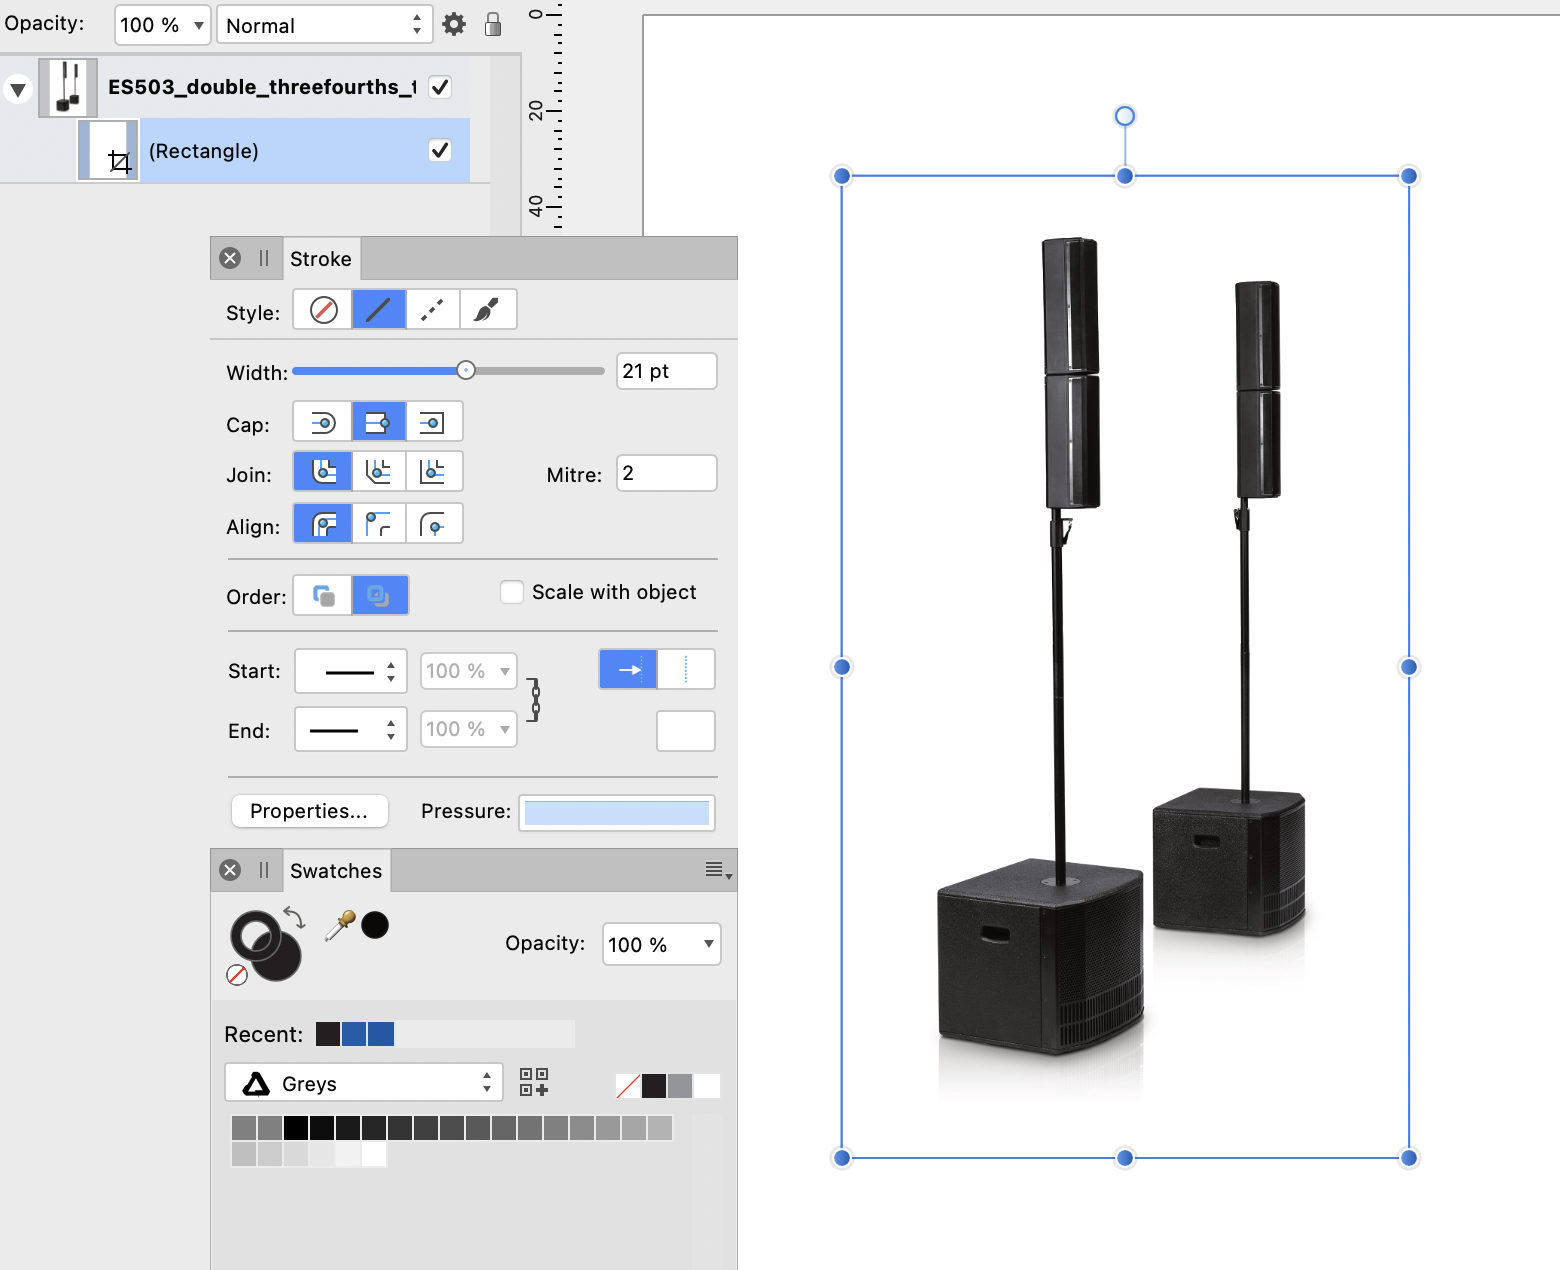
Sorry but this is not clear at all. Firstly, Gary P supplied a link to a specific video, but the link takes you to every video in Affinity Publisher Tutorials (V1) and i can't find one about picture frame strokes. I'm very confused between the functions of a Picture Frame, Curve and Rectangle. Why does there have to be three method of containing a picture? I dragged an image into my document which when looking at the layers panel is cropped by a rectangle. If I try to stroke that image it strokes the image canvas not the rectangle. If I then open the layers panel and force it to the rectangle, then apply a stroke nothing appears at all. I've tried the same process on Picture Frame, Curve and Rectangle, but unless the picture canvas is selected no stroke appears. This is totally illogical. Is there a clear guide to all this anywhere on the support pages please?

-
 GalaxySurfer reacted to a post in a topic:
How do I resize picture box frames?
GalaxySurfer reacted to a post in a topic:
How do I resize picture box frames?
-
English UK Dictionary
DeanThwaite replied to DeanThwaite's topic in Pre-V2 Archive of Desktop Questions (macOS and Windows)
Hi Walt, thanks for your reply. Yes your correct, it wasn't set to UK in the character panel. Must have been because i pasted it from an old PDF. Thanks so much! -
Im running the latest version on publisher 1.7.3. Preferences show dictionary as English (United Kingdom) and yet when typing english UK spelling, like the word 'realise' it want to correct it to US spelling 'realize'. My imac system prefs are also set to UK english.
-
text being rasterised
DeanThwaite replied to DeanThwaite's topic in [ARCHIVE] Publisher beta on macOS threads
Yes I already rasterized the image an the problem went away. -
text being rasterised
DeanThwaite replied to DeanThwaite's topic in [ARCHIVE] Publisher beta on macOS threads
Ive uploaded the file as requested to Dropbox. -
text being rasterised
DeanThwaite replied to DeanThwaite's topic in [ARCHIVE] Publisher beta on macOS threads
Some of the text was overlaying the image but as i said, once the image was flattened all text etc rendered OK. -
text being rasterised
DeanThwaite replied to DeanThwaite's topic in [ARCHIVE] Publisher beta on macOS threads
Thanks for all replies. I have discovered the problem. It lies with a placed PSD image, which is worrying as this shouldn't affect type rendering on a PDF. The PSD file had a base image layer with a levels adjustment layer. I merged the file (therefore removing the adjustment) and saved it as both a flattened PSD and a layer PSD. I replaced the image using resource manager and In both cases the type in the document and the clipping mask around the image rendered perfectly in the PDF. I know this is a BETA version but this really shouldn't happen. I could completely understand if it was font related but its not. There were no fonts in the PSD image either. -
crop marks space
DeanThwaite replied to DeanThwaite's topic in Feedback for Affinity Publisher V1 on Desktop
Hi fde101 and thanks for your reply. Yes there is a very slim chance the tips of the crops could been see in print but i've done this before with success. Anyhow, that wasn't the root of my question really it was more to do with controlling the area that the crops actually sit in. I've since noticed that if you turn off the tick box for 'include bleed' but still have 'include crop marks' then the area used by the crop marks reduces a little. -
Despite checking all settings on PDF output and trying all variations, some text in my document is being rasterized. There are no effects applied to the text frames etc. Also, I have an image that is clipped by a rounded edge box and the edge of the box is being rasterized rather than kept as vector. This looks really bad on output. I've been experimenting a fair bit with PDF output from Affinity Publisher and it's very hard to bolt down exactly what's really going on and somewhat confusing. I do want to like to app, but finding it's taking up so much time to do what should be a really straightforward thing where print output is concerned. It's catching me out and i'm sending things to prints which are not correct which on a large print job could cost me thousands so this stuff to me is VERY important!
-
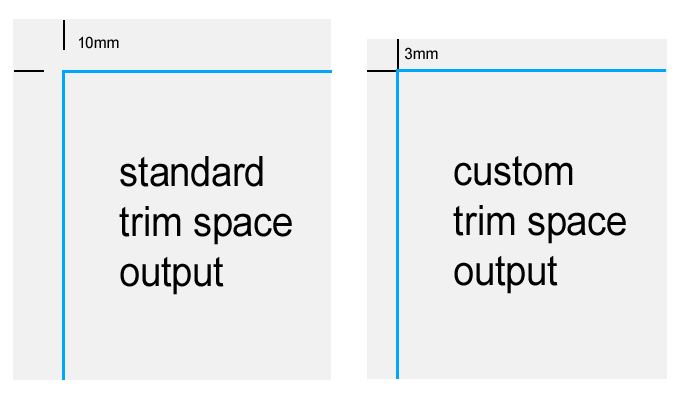
If I set a document to include only crop marks (no other printers marks), is it possible to adjust the space crop marks use? Example: I have an A4 document with 3mm bleed and crop marks selected on PDF output. The space that's allocated for the crop marks is currently 10mm all round. I want to reduce that to 3mm so effectively the crop marks are touching the outer edges of the trim area. I've attached an image to show what I mean.
-
Hi all, in general i really like affinity but the whole way it handles pictures just confuses me! Despite researching it before i can't find again how you adjust a picture box without distorting the image. Im a very experienced designer of over 30 years having used all of the major software over the years, i build websites and retouch images to a very high level so i'm not a luddite. Yet I feel you've just made the image control just too confusing. Why cant you simply have a frame thats adjustable independently of the image on one tool and adjustment for the image itself on another tool? It's so logical why would you confuse it by having a properties box?? I still can't change the image frame and im pulling my hair out!
-
nodeus reacted to a post in a topic:
Linked Images
-
I've think I've got clarity on it now. When exporting any PDF preset, click on 'More' next to the 'export' button. The settings here override defaults and control what is RGB or CMYK etc. You can then save your own custom preset with great precision. You can even save as a photoshop file!
-
I found a top menu under 'window' called 'separate mode'. Not sure if this affects elements or is just a screen preview function?
-
not sure if this has already been suggest.... Would be very useful to have a right click on image or button in resource manager, that allows you to go to image in finder without cutting and pasting image reference. I use this all the time on indesign.
-
- 1
-