skylamar
-
Posts
59 -
Joined
-
Last visited
Recent Profile Visitors
1,183 profile views

-
 nickbatz reacted to a post in a topic:
Having problems when my screen resolution is set to 1920X1080
nickbatz reacted to a post in a topic:
Having problems when my screen resolution is set to 1920X1080
-
I switch resolutions using an app called Displays. It may be similar to SwitchResX. https://www.jibapps.com/apps/displays/
-
That worked! Thanks so much.
-
Hi. I’m using the Affinity apps on a Mac. I usually keep my screen resolution at 2560X1440. Sometimes I switch to 1920X1080 when I’m having a hard time seeing small items on the screen. I find Affinity’s interface and icons to be pretty small so I’ve tried switching my resolution to 1920X1080 but Affinity doesn’t intelligently resize everything. Instead most everything, including the toolbar, is offscreen. Is there a quick way to fix this? Thanks, Skylamar
-
Hootie reacted to a post in a topic:
Are Templates available?
-
Pixelated reacted to a post in a topic:
'Replace Colour' - How? (Affinity Photo)
-
Pixelated reacted to a post in a topic:
'Replace Colour' - How? (Affinity Photo)
-
That works for me! Thanks, walt.
-
I own all three Affinity apps for Mac. I found an older thread saying that custom vector brushes are only available in Designer not Publisher. Is that still true? Is there a way to manually install my vector brushes for Designer into Publisher? Thanks.
-
Okay, sorry, I realize I was just confused. When I created a 300DPI blank document and dragged the photo into that document, the photo was automatically shown at about 3X4 inches at 300DPI--the same size as when I had resized it from 72DPI to 300DPI. I was confusing myself because I wasn't understanding completely how documents of different DPI are displayed onscreen.
-
John, thanks. Will try the macro tomorrow. However, I'm thinking that maybe I'm just confused. When I change the units of my photo to inches and then change the DPI, the inches for width and height do get smaller. And when I hit the Resize button, the rulers show that the photo is now about 3 inches by 4 inches at 300DPI. So Affinity Photo did resize the photo the way I wanted. However, I got confused because the rulers are zoomed in. Is there a way to set the rulers so they are not zoomed in and are showing their exact size?
-
Hi. I read through most of this thread and I may not be understanding it completely. But I believe I have at least a similar issue/question. I'm using Affinity Photo version 1.8.3 on a Mac: I have a photo that is 960X1280 pixels at 72dpi. I opened it in Affinity Photo. I want to turn it into a 300dpi image, but with the same number of pixels. So, basically I want to shrink the picture so it's much smaller in dimensions, but has a greater pixel density. I tried doing that with "Document>Resize Document..." by entering 300 for the DPI and unchecking "Resample," but that didn't seem to work. I am able to use the Move tool and drag the resize handles of the photo and decrease the photo's size until Affinity Photo's information in the upper-left corner says "300dpi." It's just a little tricky doing that because it requires some trial and error to get the size of the photo so it's exactly 300dpi. So, is there a way to resize it the way I want using Resize Document, or is using the Move tool the only way? Thanks!
-
Convert Shape to Text Frame Loses Stroke and Fill
skylamar replied to skylamar's topic in V1 Bugs found on macOS
Okay, good to know. Thanks. -
Convert Shape to Text Frame Loses Stroke and Fill
skylamar replied to skylamar's topic in V1 Bugs found on macOS
walt, that's good to know too. Do people at Serif read these posts, or do I need to submit the bug to them another way? -
Convert Shape to Text Frame Loses Stroke and Fill
skylamar replied to skylamar's topic in V1 Bugs found on macOS
thomosa, thanks! That's good to know. But it seems like a legitimate bug to me that the stroke/fill is retained one way but not the other. When I created the text frames back in August, I'm pretty sure I right-clicked using the move tool the same way I did it last night. I didn't even realize you could do it your way, by selecting the text frame tool and clicking on the shape. -
Convert Shape to Text Frame Loses Stroke and Fill
skylamar replied to skylamar's topic in V1 Bugs found on macOS
Walt, yes I'm sure I'm using Publisher. I first tried in Designer and then read a post in these forums that the stroke and fill are not retained in Designer. So I then tried in Publisher and was surprised that I was experiencing the same issue in Publisher too, especially because I didn't experience that behavior back in August. I have attached a screen recording. Publisher Video.mp4 -
fde101 reacted to a post in a topic:
Would Like Better Call-Out Shapes for Making Comics
-
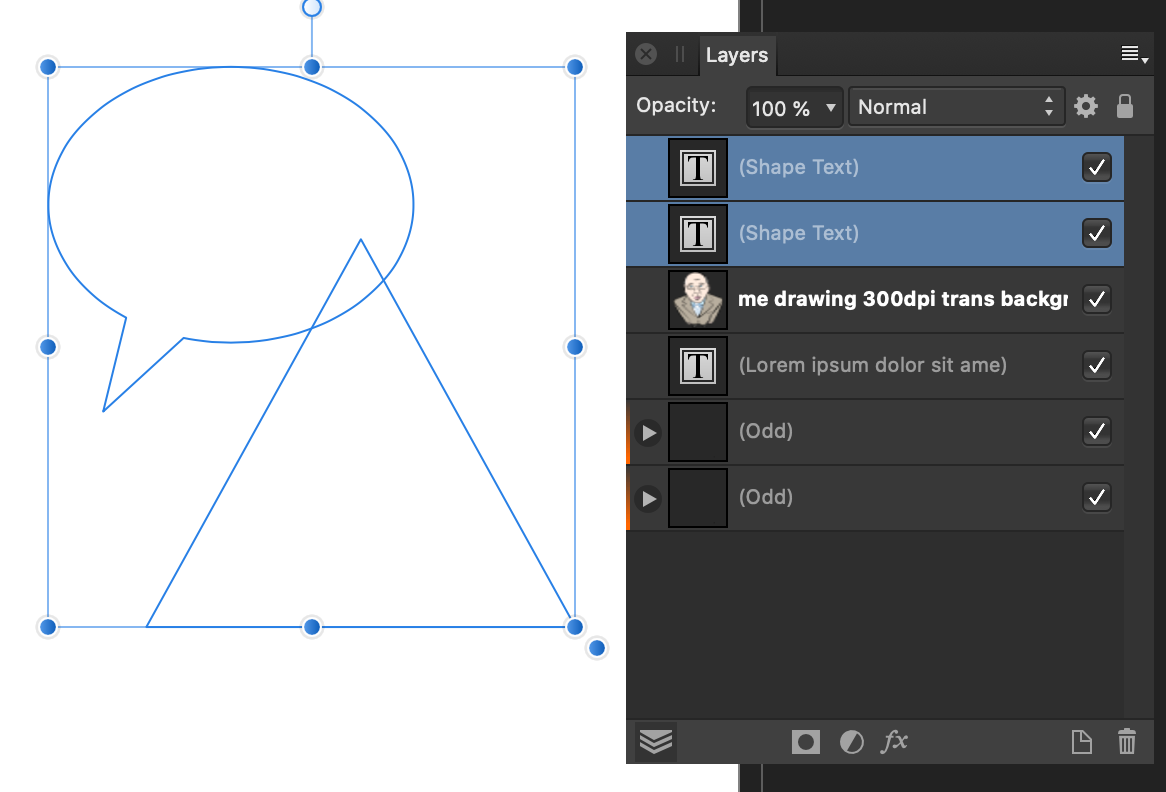
Hello. I'm not 100% sure this is a bug. Maybe I'm just confused. But here's what's happening: when I create a shape and then give it a stroke and/or fill and then convert that shape to a text frame, the shape loses the stroke and fill. When I first bought Affinity Publisher in August of last year, I didn't experience that behavior. Back then, when I created a shape and converted it to a text frame, the shape's stroke and fill remained. I've attached two screenshots: the first is from a document I made right after I bought Affinity Publisher in August. In the screenshot, you can see that an elliptical call-out and a triangle have both been converted to a text frame and their strokes and fills are visible. The second screenshot is from the same document, but on a different page that I added today. On that page, I put two shapes: an elliptical call-out and a triangle. I converted them both to text frames but they lost their stroke and fill. So it seems that Publisher's ability to retain strokes/fills of shapes converted to text frames has changed since August. Are you using the latest release version? Yes (here's how to check) Can you reproduce it? Yes (if you cannot then we may struggle to also, making it even harder to fix) Does it happen for a new document? If not do you have a document you can share that shows the problem? It happens for a new document If you cannot provide a sample document then please give an accurate description of the problem for example it should include most of the following: What is your operating system and version (Windows 10, OSX Mojave, etc)? macOS Catalina 10.15.4 What happened for you (and what you expected to happen) See above description at very top of this post describing what I did Provide a recipe for creating the problem (step-by-step what you did). See above description at very top of this post describing what I did Screenshots (very handy) or a screen capture/video. Attached and described in second paragraph at top of this post Any unusual hardware (like tablets or external monitors or drives that may affect things) or relevant other applications like font managers or display managers. No Did this same thing used to work and if so have you changed anything recently? (software or hardware) It used to work as described at top of this post

-
Also, I realize it is possible to create a non-destructive compound shape containing the oval and the triangle, which makes it somewhat easier to change the location of the triangle when needed, but a smarter call-out shape would be better.
-
When I was in elementary school (I'm decades older now), I used to spend hours each day drawing comics. My art skills were mediocre, but I had fun. A few years ago, I bought Clip Paint Studio, the Japanese anime/comic-book software, to play round with making digital comics, but I found the software unintuitive and so hardly used it at all. Fast forward to today and I own all three Affinity apps. And I realized I could easily make comics with them, using Publisher as the main app for accessing all three. However, Affinity Designer's Call-Out shapes, which I would like to use as speech bubbles, are unnecessarily limited. The main problem is that the tail of the shapes can only be moved left and right. I wish the tail could be dragged to any position on the circumference of the shape. Yes, I could easily create some speech bubbles myself, since they are basically just ovals with a triangle attached. And that's what I'll do. But it'd be easier to use the call-out shapes, especially if I were creating a comic with numerous pages.