Elluvon
Members-
Posts
24 -
Joined
Profile Information
-
Gender
Male
-
Location
Virginia USA
-
 Alfred reacted to a post in a topic:
Trying to Replicate a PS tutorial.
-
 Elluvon reacted to a post in a topic:
Trying to Replicate a PS tutorial.
-
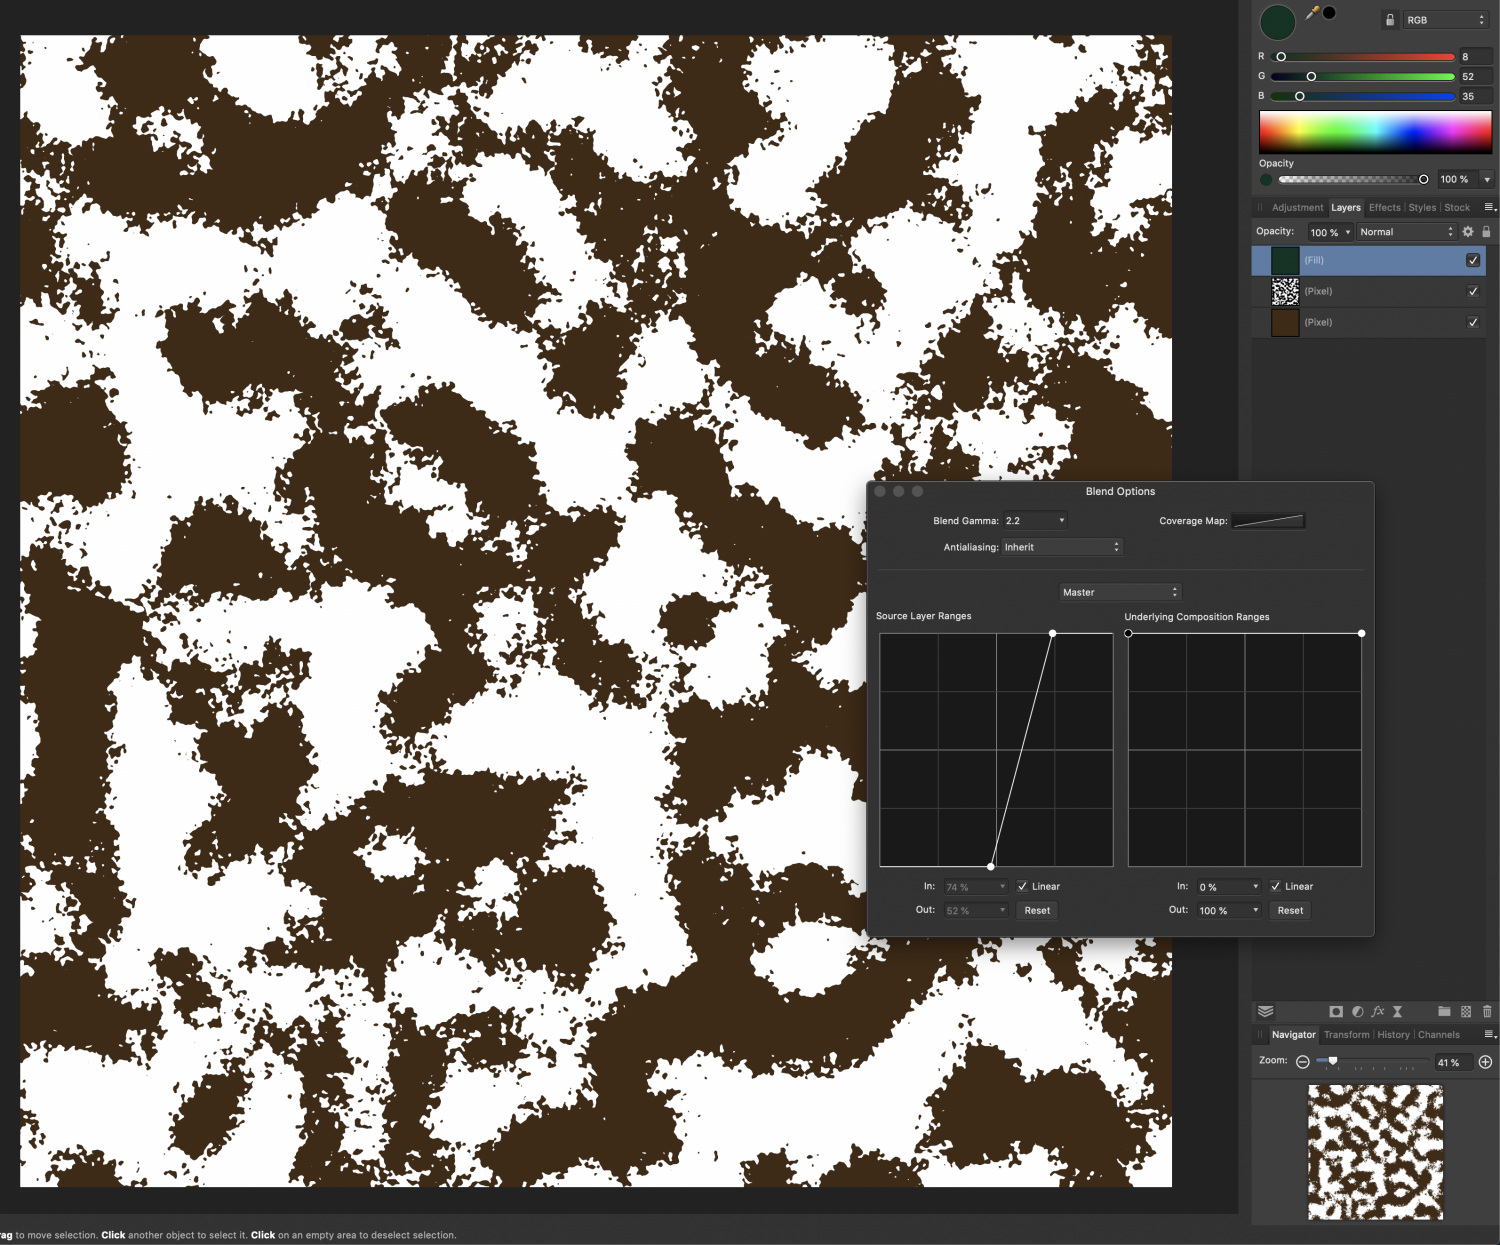
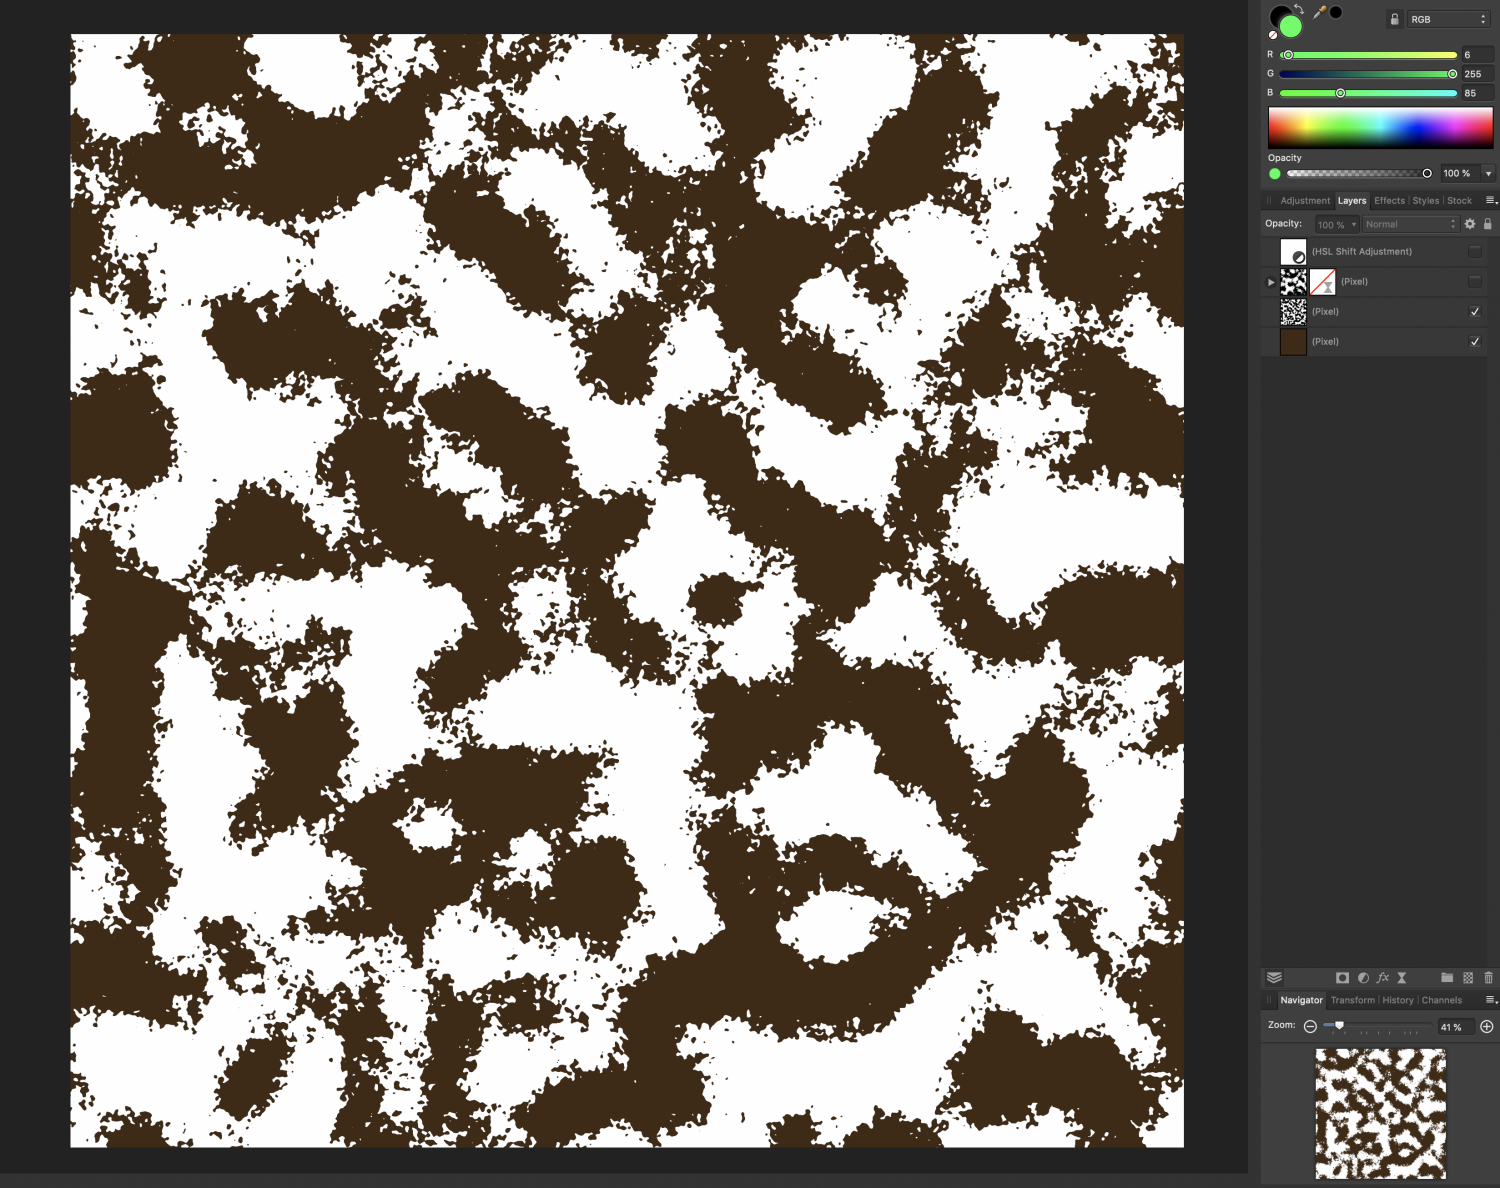
Hello all. A long time ago I stumbled upon an excellent tutorial on YouTube by Spoon Graphics that detailed how to create a custom camouflage pattern in Photoshop. I've been trying to replicate it somewhat closely in Affinity Photo, but since I've never been able to fully learn the program, I'm taking baby steps. One of my problems is trying to modify the lighter white color in a layer of perlin noise. Using blend ranges I was able to make the black selections transparent so my brown undercoat would show through, but I can't figure out how to recolor the white (background?) without much hassle. I attempted using the HSL layer, but I feel like I'm overcomplicating things. Image for reference. The brown splotches should be good to go because of the blend range, since they're showing the color of the layer below it. My issue now is trying to change the white dominant color to something more "camo"-esque. Ignore the two hidden layers, those were doodles and I'm still using them as a testbed. Any sort of help in recreating this video in Affinity Photo would be much appreciated. Having a resource to design custom patterns of this sort would help me tremendously. Thanks all!
-
Howdy. I've been doing some random historic doodles recently for alt-history projects and one of said projects was making a fictional military rank chart. I realized too late, however, that my document was much too small and I needed to rescale it. When I attempted to resample the document from 1280x720 to 3420x2160, I had an issue with the lapels losing much of their upper bevel. Here was the document before I resized it. After resizing, the bevels appear much flatter. Any way to "lock" geometry or some other similar function so that this doesn't occur?
-
 Elluvon reacted to a post in a topic:
Combining two vectors into back-to-back image
-
 Elluvon reacted to a post in a topic:
Combining two vectors into back-to-back image
-
Howdy folks. Currently working on a piece of fictional currency as a prop, but I want to print both the back of the banknote and the front without having to cut them out later. Is there anyway I can "combine" the two pieces so that the paper prints it double-sided at the right proportions? Screenshot attached for context. Sorry if this doesn't make sense, let me know if you need clarification.
-
 Elluvon reacted to a post in a topic:
What Did I Just Do to My Document And How Do I Fix It
-
I seem to be posting quite a few "dumb questions" recently, but how do I revert this document back into the rectangle that it was? I can see the outline but cannot make everything around that rectangle disappear. I also want to know what keybind I accidentally pressed to do this, since it would help me not make the same mistake again.
-
 Elluvon reacted to a post in a topic:
Convert Shape Group to Path
-
 PixelPest reacted to a post in a topic:
Convert Shape Group to Path
-
Convert Shape Group to Path
Elluvon replied to Elluvon's topic in Pre-V2 Archive of Desktop Questions (macOS and Windows)
Thanks. Appreciate it. -
 Elluvon reacted to a post in a topic:
Convert Shape Group to Path
-
Convert Shape Group to Path
Elluvon replied to Elluvon's topic in Pre-V2 Archive of Desktop Questions (macOS and Windows)
I finally figured it out, thanks for your help trying to understand my idiotic mind. -
Convert Shape Group to Path
Elluvon replied to Elluvon's topic in Pre-V2 Archive of Desktop Questions (macOS and Windows)
No, I don't. I have only recently begun to learn. -
Convert Shape Group to Path
Elluvon replied to Elluvon's topic in Pre-V2 Archive of Desktop Questions (macOS and Windows)
Okay, I get that but when your mouse disappears I have no idea what you are doing. Would be nice if you explained that. I understand the add key. Now, how the heck do I delete the excess inside the shape and actually convert it to a path in the first place? Starting to get confused and frustrated. -
Convert Shape Group to Path
Elluvon replied to Elluvon's topic in Pre-V2 Archive of Desktop Questions (macOS and Windows)
I have already tried what you have told me and what he says to do on his site but for some reason the program refuses to let me.


