juliang
-
Posts
22 -
Joined
-
Last visited
Everything posted by juliang
-
screen symbols
juliang replied to juliang's topic in Pre-V2 Archive of Affinity on Desktop Questions (macOS and Windows)
solved thanks. I was in Bullet mode and needed to set text to zero as suggested by Old Bruce - Thanks -
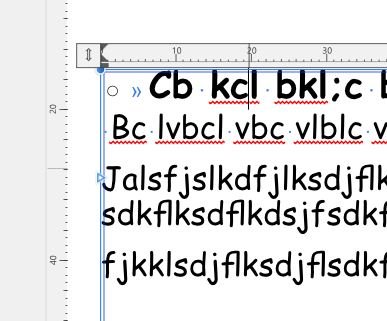
I am devloping styles for use with a newsletter. Why is the first line indented with a circle and a chevron? I cant see any indent on the text box ruler

-
this puzzled me Turns out there is a simple answer. When you select the Pen tool the line width is zero. Increasing the line width makes it stay. Easy to say this a beginners mistake. But I suggest a zero line width is a special case and as such this should not be the default condition. Why not make the default width say 10. The pen tool is a tool that for a beginner takes some understanding. Anything to make it easier would be welcome. (using it in Photo)
-
'now move the cursor slightly' Thats the bit I was not doing - thanks
-
Its actually a paid for tutorial so I have attached a screen grab showing how it looks in the tutorial. (ps I am learning a lot via the tutorial)
-
I am failing to get the Picker to add points to the curve. I note that when return is pressed in Simon Fosters tutorial over the selected point in the photograph a double circle appears. It does not appear on my photo. Any idea why not?
-
Zoom in Publisher
juliang replied to juliang's topic in Pre-V2 Archive of Affinity on Desktop Questions (macOS and Windows)
seem to be ok this morning - thanks -
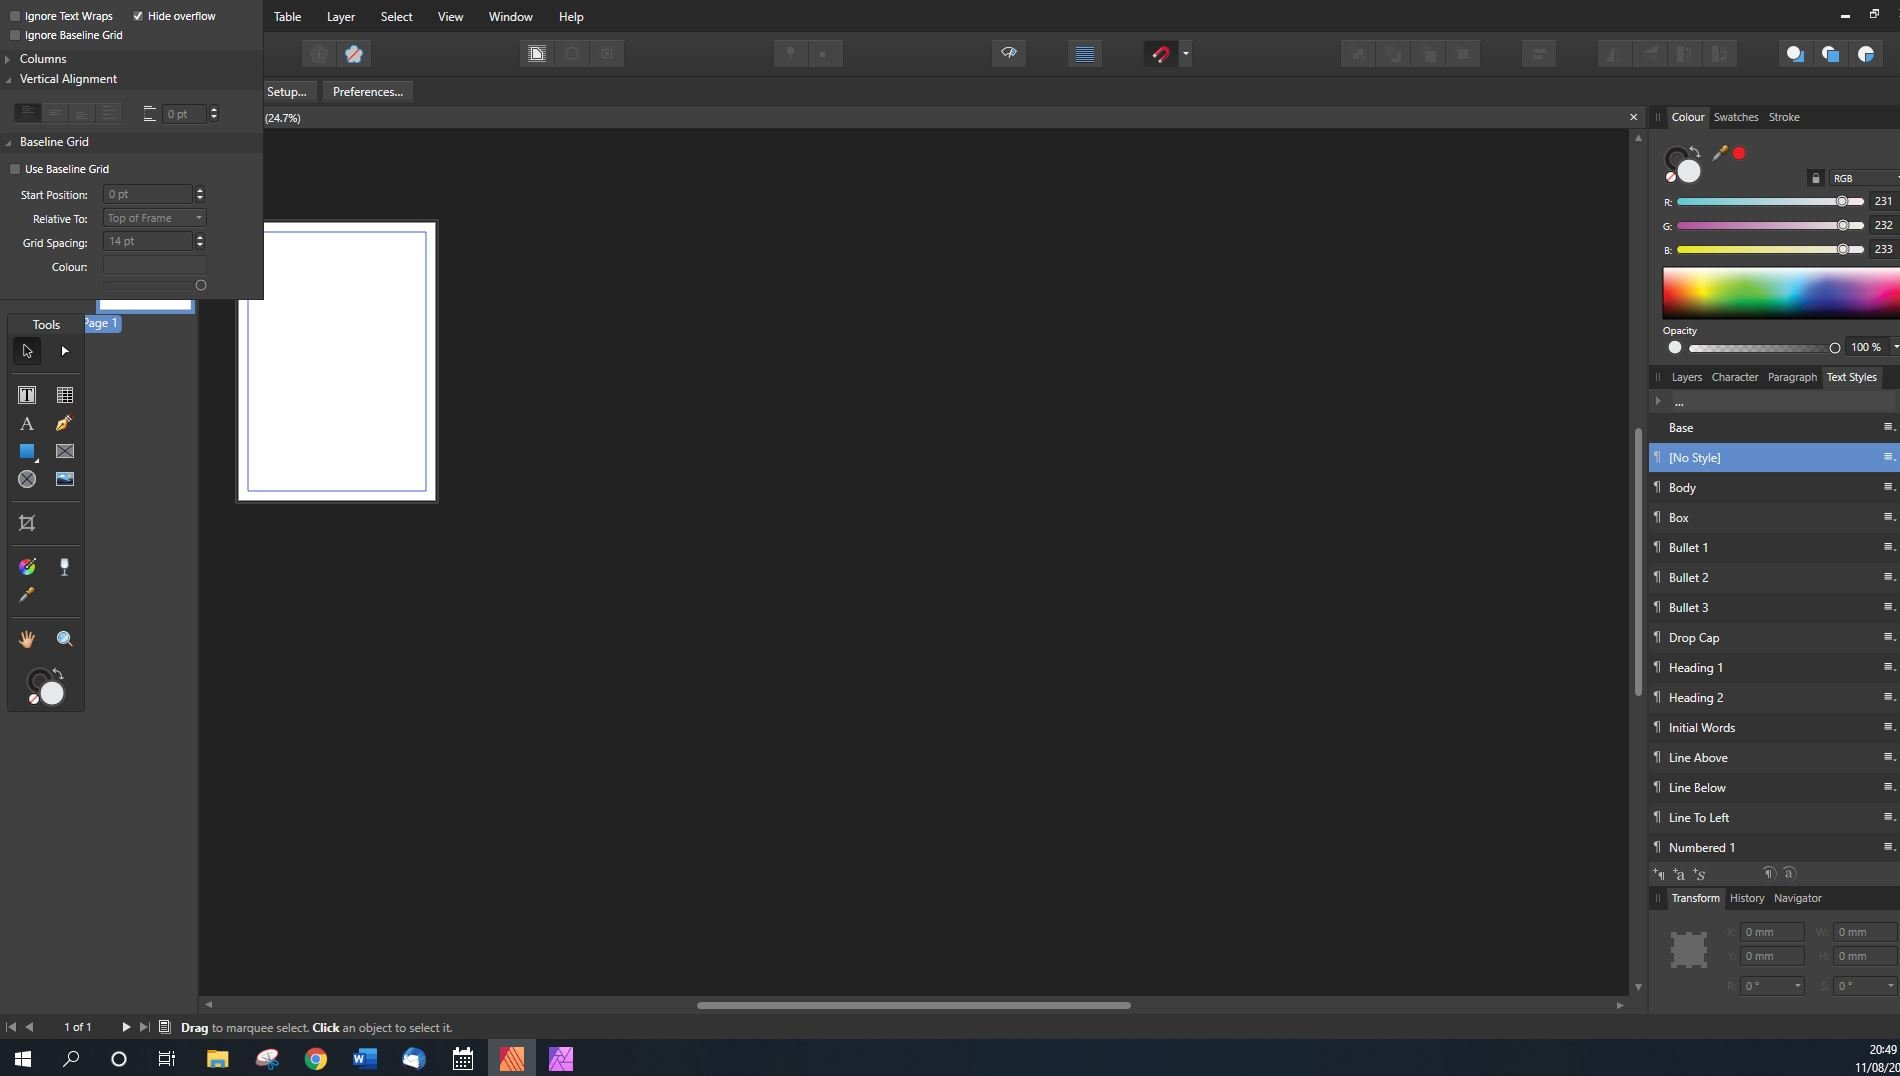
I've had a problem with the zoom facility in Publisher. I open a new A4 print document. I use the command control 8 to make the page go to it actual size. The image on the screen changes to appear about 2 centimetres by 1 1/2 cm approx. The zoom pointer is in the middle of the bar saying 100-percent. This is too small to edit so I have to magnify it by approximately 800%. All of this seems very odd. What is going on?
-
yes it was that one I was righting about. One suggestion would be to make the mouse pointer as large as possible and possibly with a fill in colour.
-
Just been watching the image v pixel video tutorial and found it frustrating. I have two screens and run Affinity Photo on one and the video on the other. I try to carry out the actions in the video on my copy of Affinity, pausing as required. But the pointer in the video is very small, its difficult sometimes to see where it has been moved too. The text in the video is small, and sometimes does not fill the screen, because it has not been maximised when filmed. Also for me I find you go on too quickly to introduce the ‘bells and whistles’ of a feature before I have absorbed the basic concept.
-
changing the point a text frame is pinned to meant to say changing the point a picture frame is pinned to
-
The video tutorial says I should just be able to drag the 'pinning line to a new location. Yet if I click on the pin, hold the left mouse buton down and drag to a new location the pinning line disappears. When I release the button the pin is in the same position. What am I doing wrong? What am I doing wrong?
-
publisher
juliang replied to juliang's topic in Pre-V2 Archive of Affinity on Desktop Questions (macOS and Windows)
Done a bit more exploring. I think this behaviour occurs when you have deselected 'Dock Tools'' I believe the program does not know where to put the new box. When you move publisher the box stays in place and sometimes the part of it is off the screen. -
publisher
juliang replied to juliang's topic in Pre-V2 Archive of Affinity on Desktop Questions (macOS and Windows)
thanks - that worked - -
publisher
juliang replied to juliang's topic in Pre-V2 Archive of Affinity on Desktop Questions (macOS and Windows)
certainly The other annnoying thing is that the box insits on staying on top. To gain access to File etc I have to resize Publisher
-
When I try to use Publisher I find a properties box gets stuck to the top left corner, obscuring the file menu option. I try to drag it using the mouse but it will not move. some times part of the box is off the top of the screen. Resizing Publisher or dragging Publisher to my other screen has no effect. How do I deal with this?
-
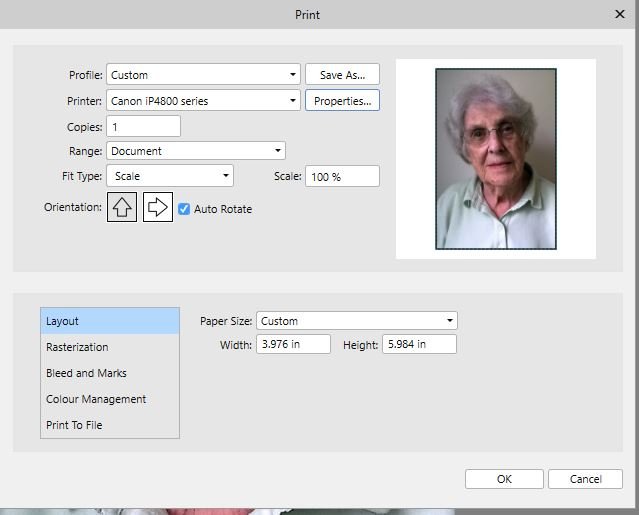
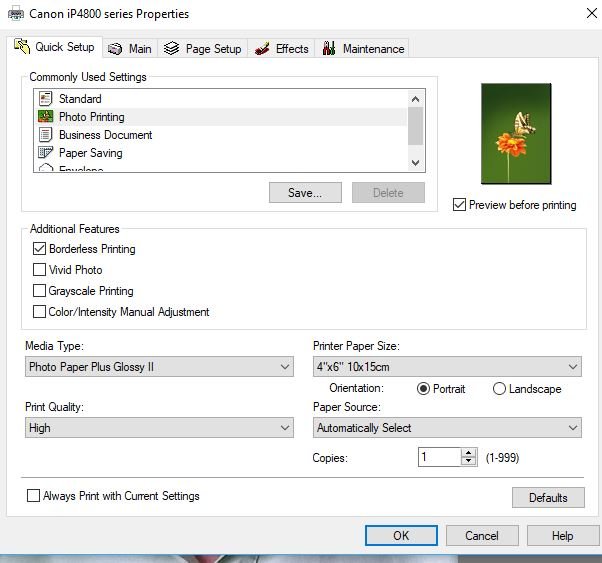
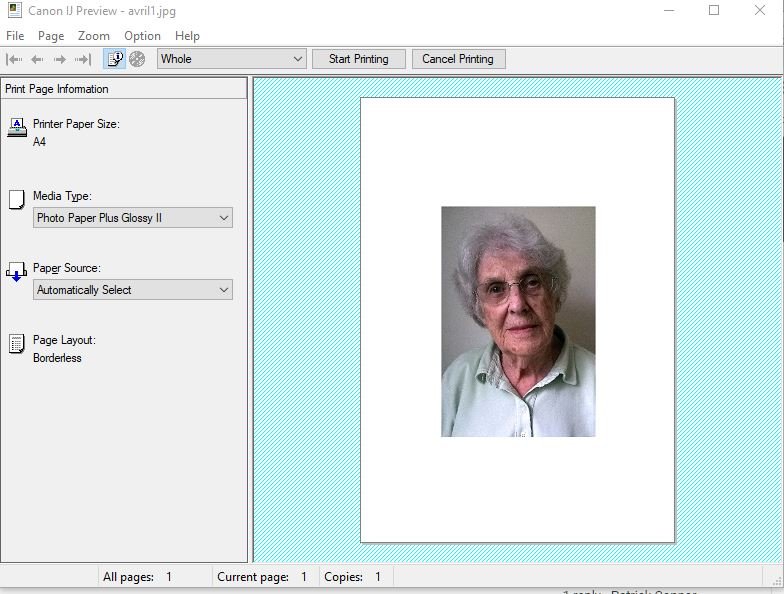
thanks for the comments. It does appear that by setting the page size in the Canon printer driver I can get it to print ok. Not sure why this is necessary but it appears to work.
-
I am trying to print a 4in*6in photo from Affinity Photo to my Canon IP4800 (win10) I set it to print 4*6 but the printer driver changes that to A4. Where am I going wrong? I have attached three screen dumps. To get round the problem I saved the photo as a .jpeg, opened in win10 Photo and it printed ok.
-
I think I now realise what has confused me. It is that in the Aligned selected case the + symbol does not move in the pause between clone clone strokes. While the stroke is being done it does move but returns to the starting position I now see that in the non Aligned case it does not move with the clone brush., Perhaps I have got there at last!
-
The Help file states: Aligned—when selected (default), the origin of the sample remains a fixed distance from the pointer. If this option is off, the origin of the sample always returns to the sample location defined initially. Yet I can not see any difference in behaviour. When I release the mouse button having done some cloning the source pointer always returns to the starting position whether Aligned is ticked or not.
-
Thanks - I was following the instructions too closely!
-
In both 'Initial tone Shaping' and 'Creating a Moody Sky' you are invited to make a selection and then deselect it before applying either the Saturation shift or the change in clarity. Surely as there is then no area selected the changes will apply to the whole image? Or does the absence of the marquee not indicate that the areas have been deselected?