jstnhllmn
-
Posts
80 -
Joined
-
Last visited
Everything posted by jstnhllmn
-
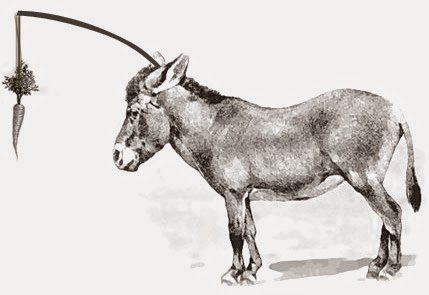
This is taking so long, I will unfortunately need to switch to Illustrator to get a job (or jobs) done. I suspect a large number of the user base that needs this and other funcionality (like blend/fit to envelope) listed on the 1.x roadmap will lose patience with a sales pitch that is never delivered. Sad donkey.

-
who will get this man his millimeter? — trying all approaches. endeavor to report in. might forget.
-
Hi. I have a simple 10x10 area I want to fill with a 1x1 pattern without stretching or distorting the pattern. I have drawn the initial pattern in AD. I can rasterize it, but the fill tool insists on stretching it to make it fit instead of repeating the raster. I'd prefer to keep the pattern 'live', like a symbol, so I can still edit it after setting up the file. Should I aim to work with the source pattern as an asset? a source? a bitmap fill (which seems like the worst option)? Thanks folks. Dying here.
-
Thanks, @owenr. I'm investigating. Not totally sure I understand how your example works, but it works. I'll kick this around a little more while I also look for comprehensive documentation.
-
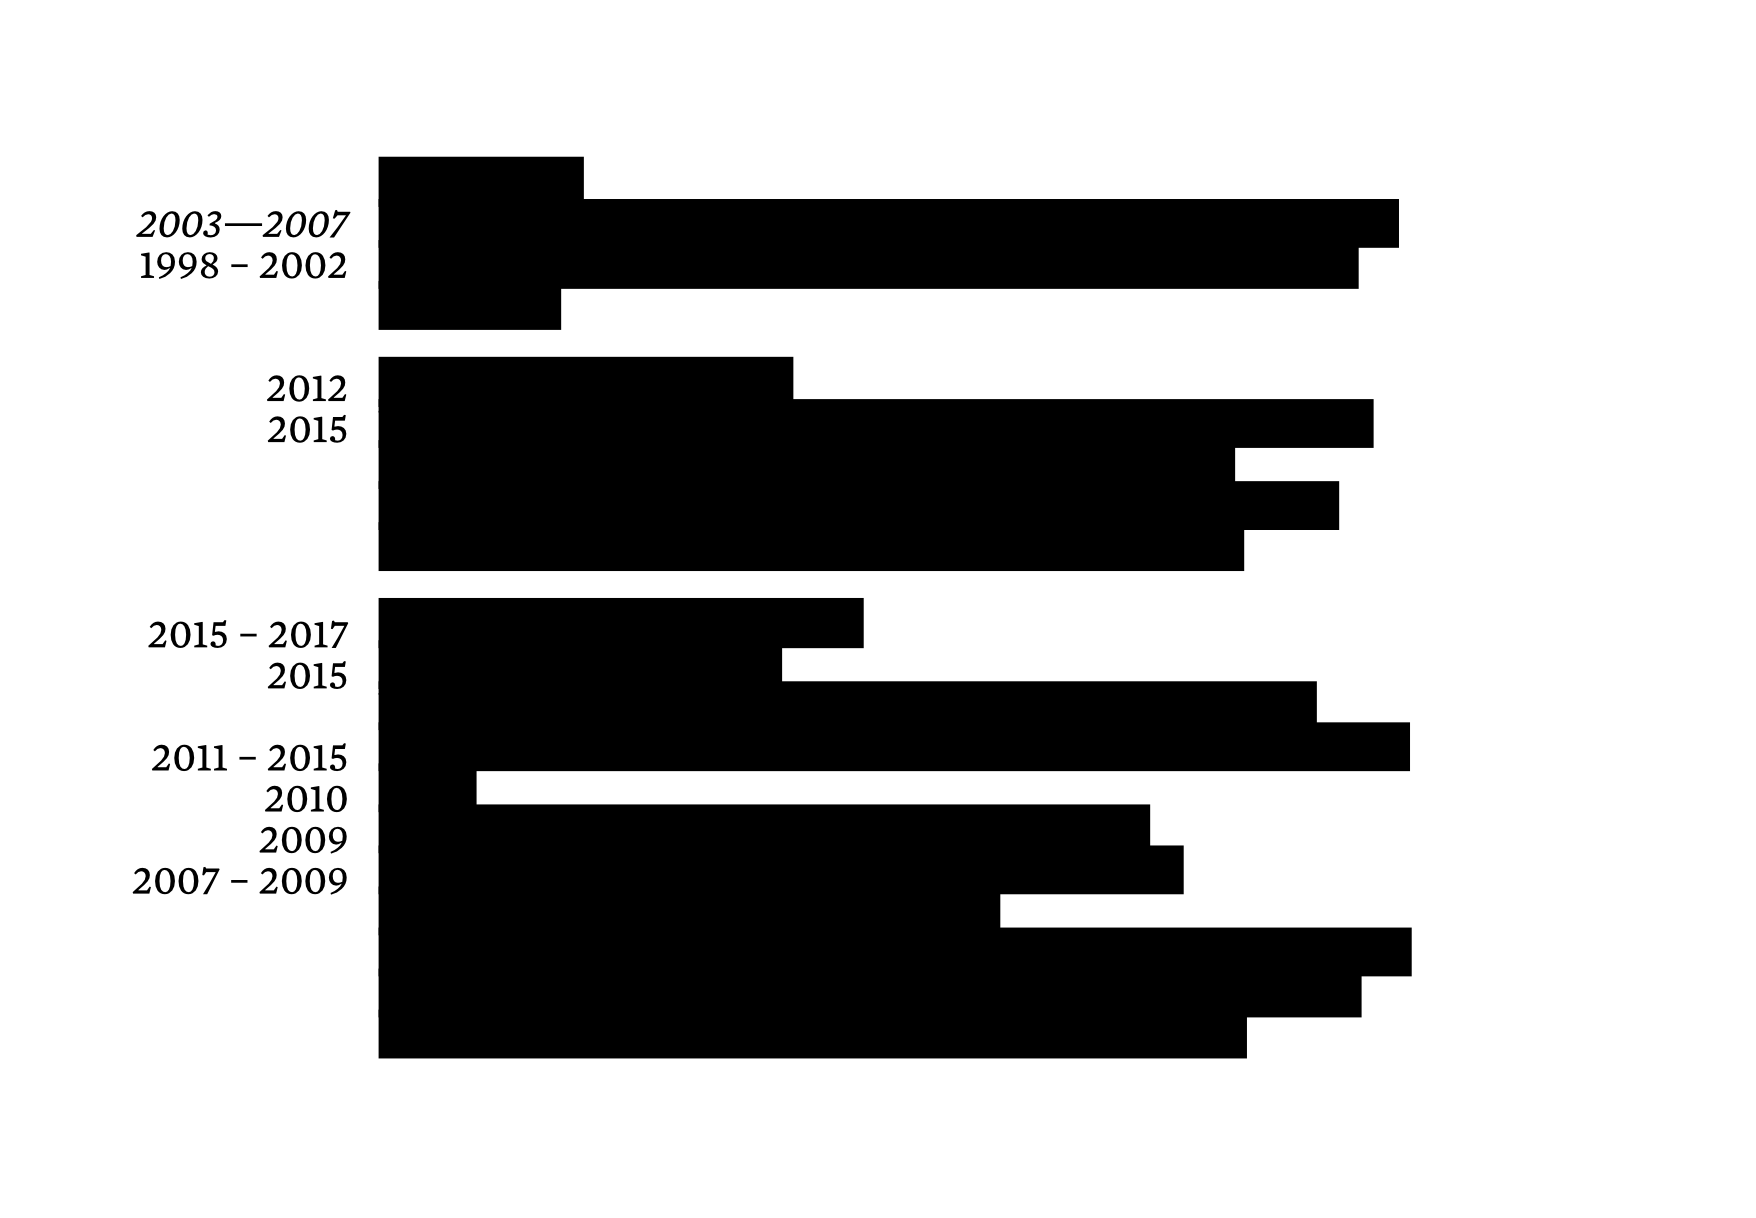
Okay! The black bars on the right are text. On the left, dates! You knew that. I want all of this in one text box. I tried to set up two stops — the first is a [ flush right/rag left ], to align the dates on the right side. The second is [ flush left / rag right ], for the regular text. Small patches of my head are now without hair. Assistance rewarded with Namaste.
-
I am the destroyer of magenta worlds. namaste.
-
I've been trying to duplicate the above tutorial for 3 hours; now I hate myself. I have to run, can't explain what isn't working for me. Quickly, it's the part of the tutorial that explains how to protect the edge and a bit inside of the edge from the texture via an inner glow on a higher layer. Please help in exchange for a lifetime namaste.
-
Thanks for getting back to me, folks. I'm diving back in now — the non-destructive approach (live adjustments) will be experiment number 1. Crossing me fingers.
-
Hello folks, I've collected a number of images from flickr that resemble the two attached here. I have two (simple?) questions: 1. What is the best way to remove the shadiness from the images so the drawn dark areas have common 'darkness' and the backgrounds (the page, essentially) are clean and simply white? Actually, one question only. I'm not sure if the easiest way to do this is: lasso, mess with curves, or mess with blend ranges, etc. I find knowing and choosing the 'right' way to do simple functions like this to be terribly challenging. So many choices.
-
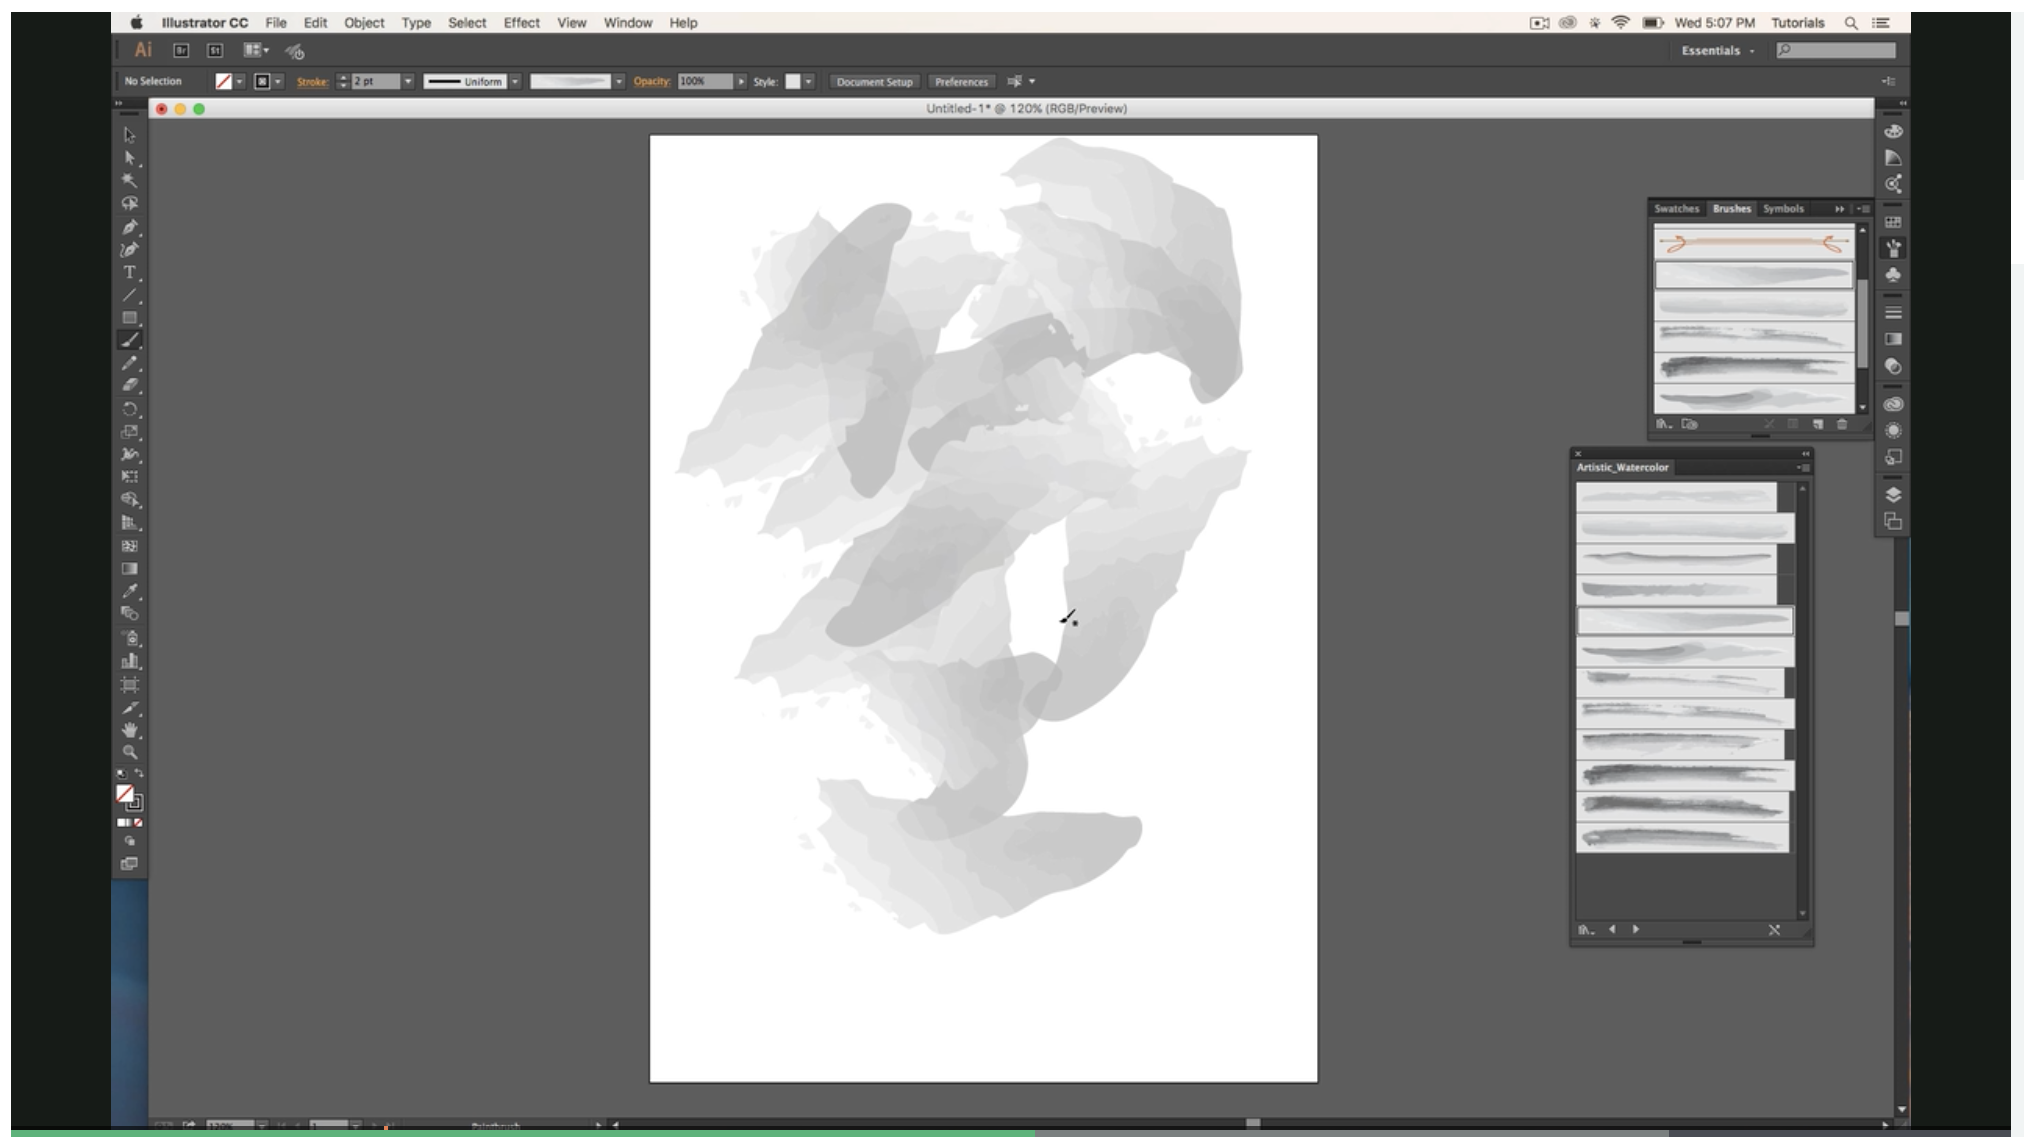
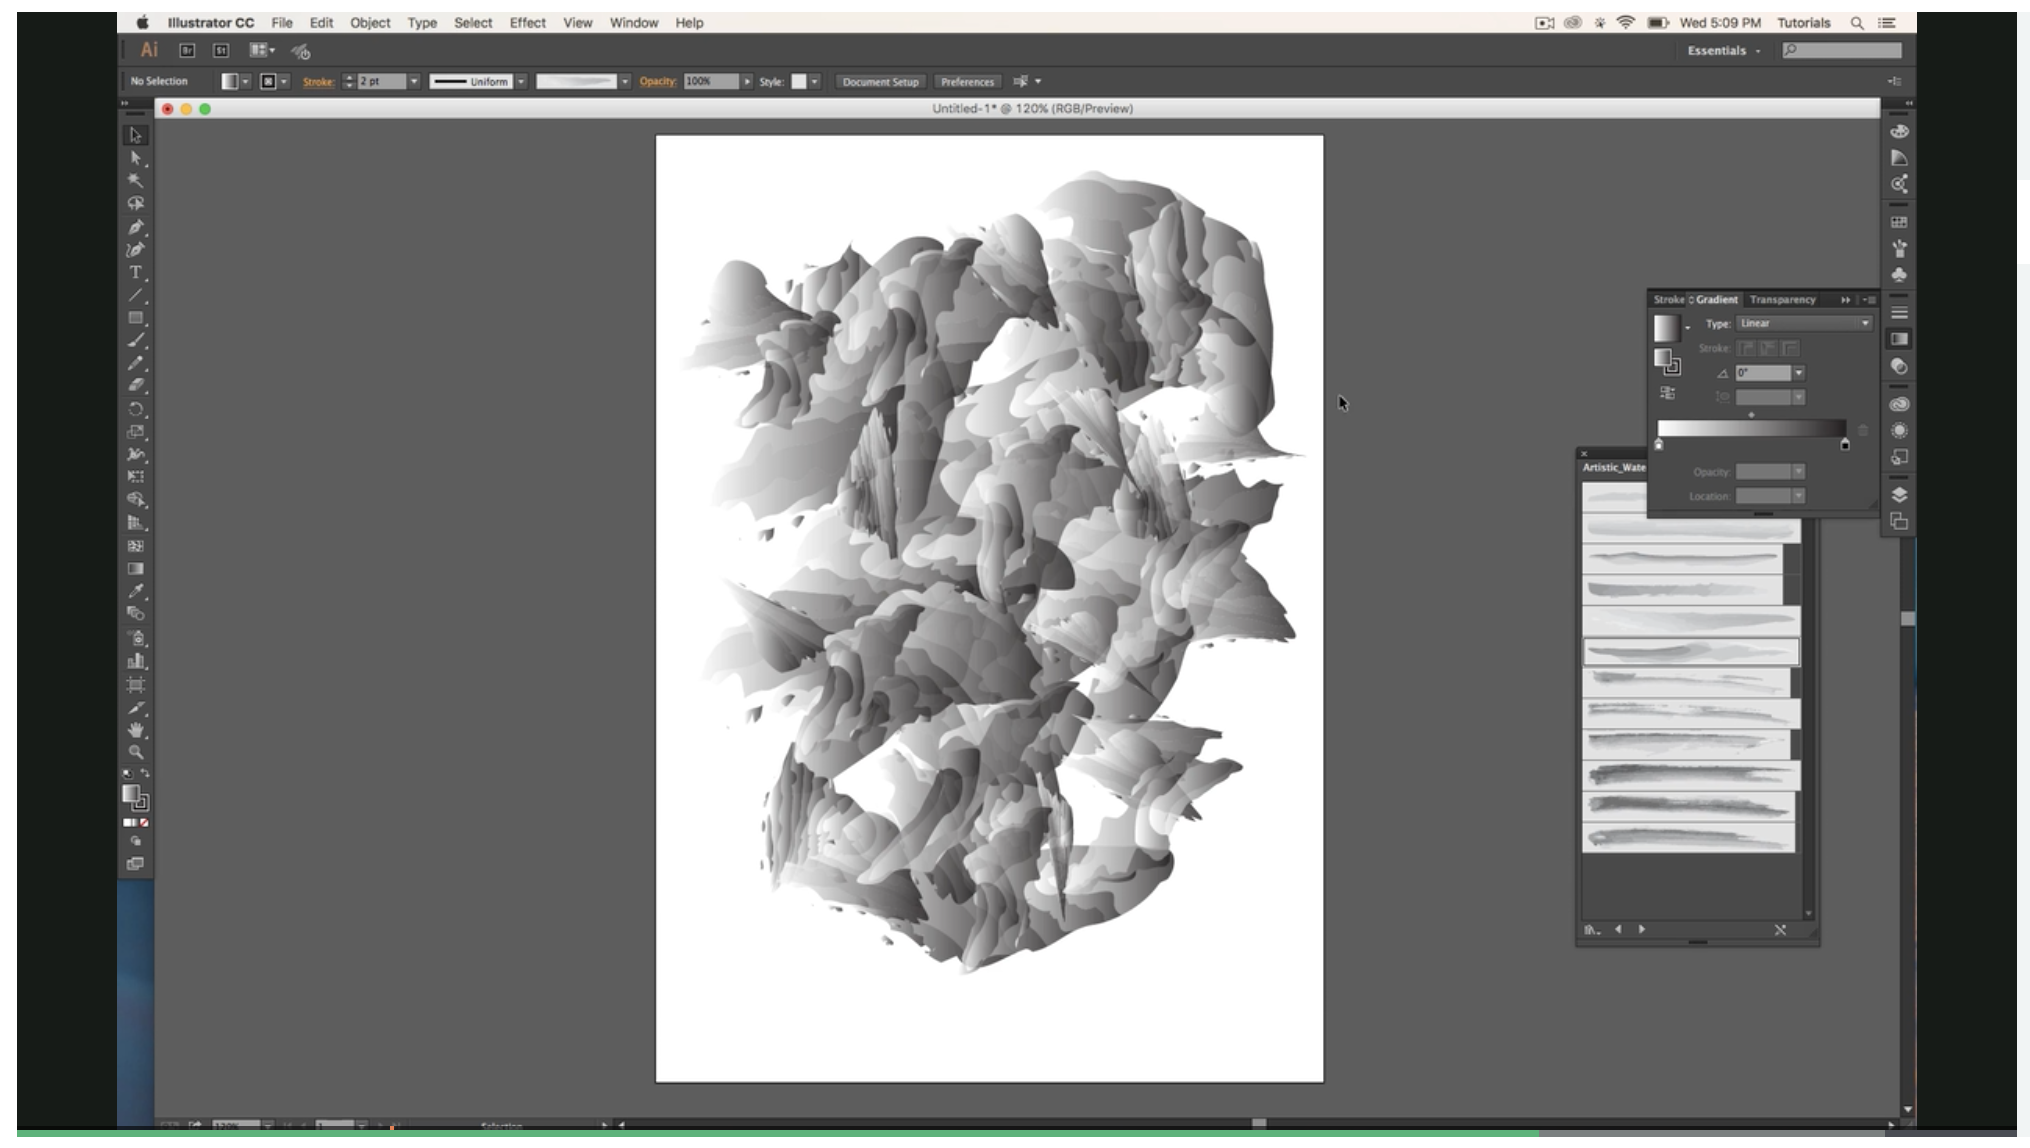
I'm working on a SkillShare tutorial to un-stuck myself and get back in to design. This problem seems silly, but I keep running into little hurdles in Affinity Design that I am having trouble surmounting. The current lesson has the vector watercolor strokes you see in picture one being turned into gradient strokes in picture 2. Picture 2 can probably be accomplished easily with a gradient map, but I'm failing to get the white-to-black transition in either pixel or vector brushes (Designer or Photo). I play with the controller and luminosity settings to no avail — my strokes all look flat and only show lightness or darkness when I overlap them. Suggestions warmly greeted! West Coast Namaste!
-
Greetings all. I might be wrong (I'm probably wrong), but I think the file associated with ENHANCING LOW-LIGHT IMAGERY (p. 228; enhancing_low_light_imagery.afphoto) already has a brushwork pixel layer that is supposed to be executed by the reader.
-
Ahoy kind respondents. Thank you for taking the time to get me through this. In addition to the useful tips above, you can really abuse RIPPLE tool to get this to interesting — though not with the the most control over things.
-
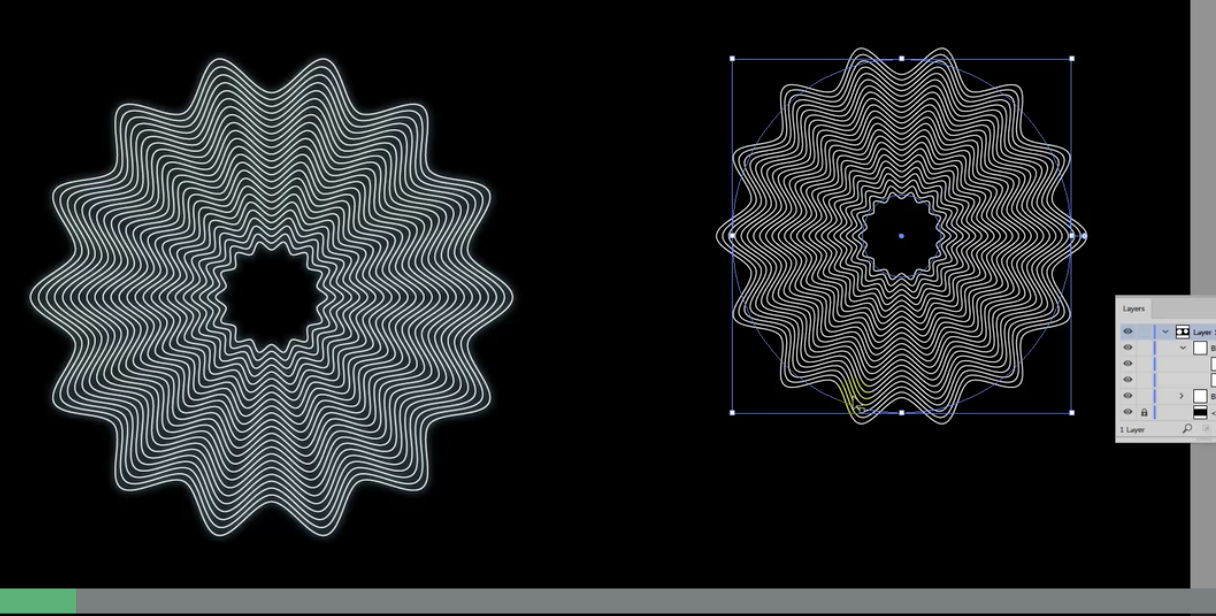
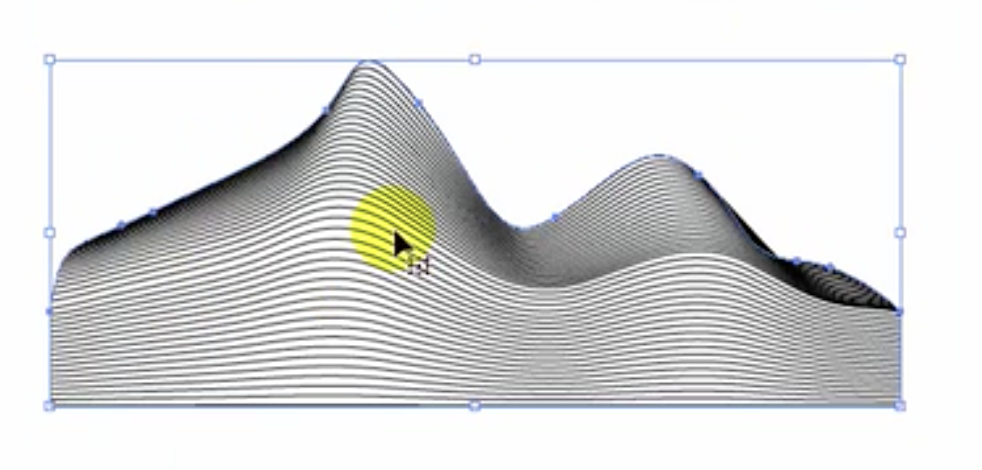
Hi Folks, I'm trying to create a moire or guilloche pattern to create fictional currency, but I'm not having any luck finding a way to do this in either program - something like blend or the envelop tool, or in photoshop,
-
I want to cry, that was so easy. My thanks. Namaste!
-
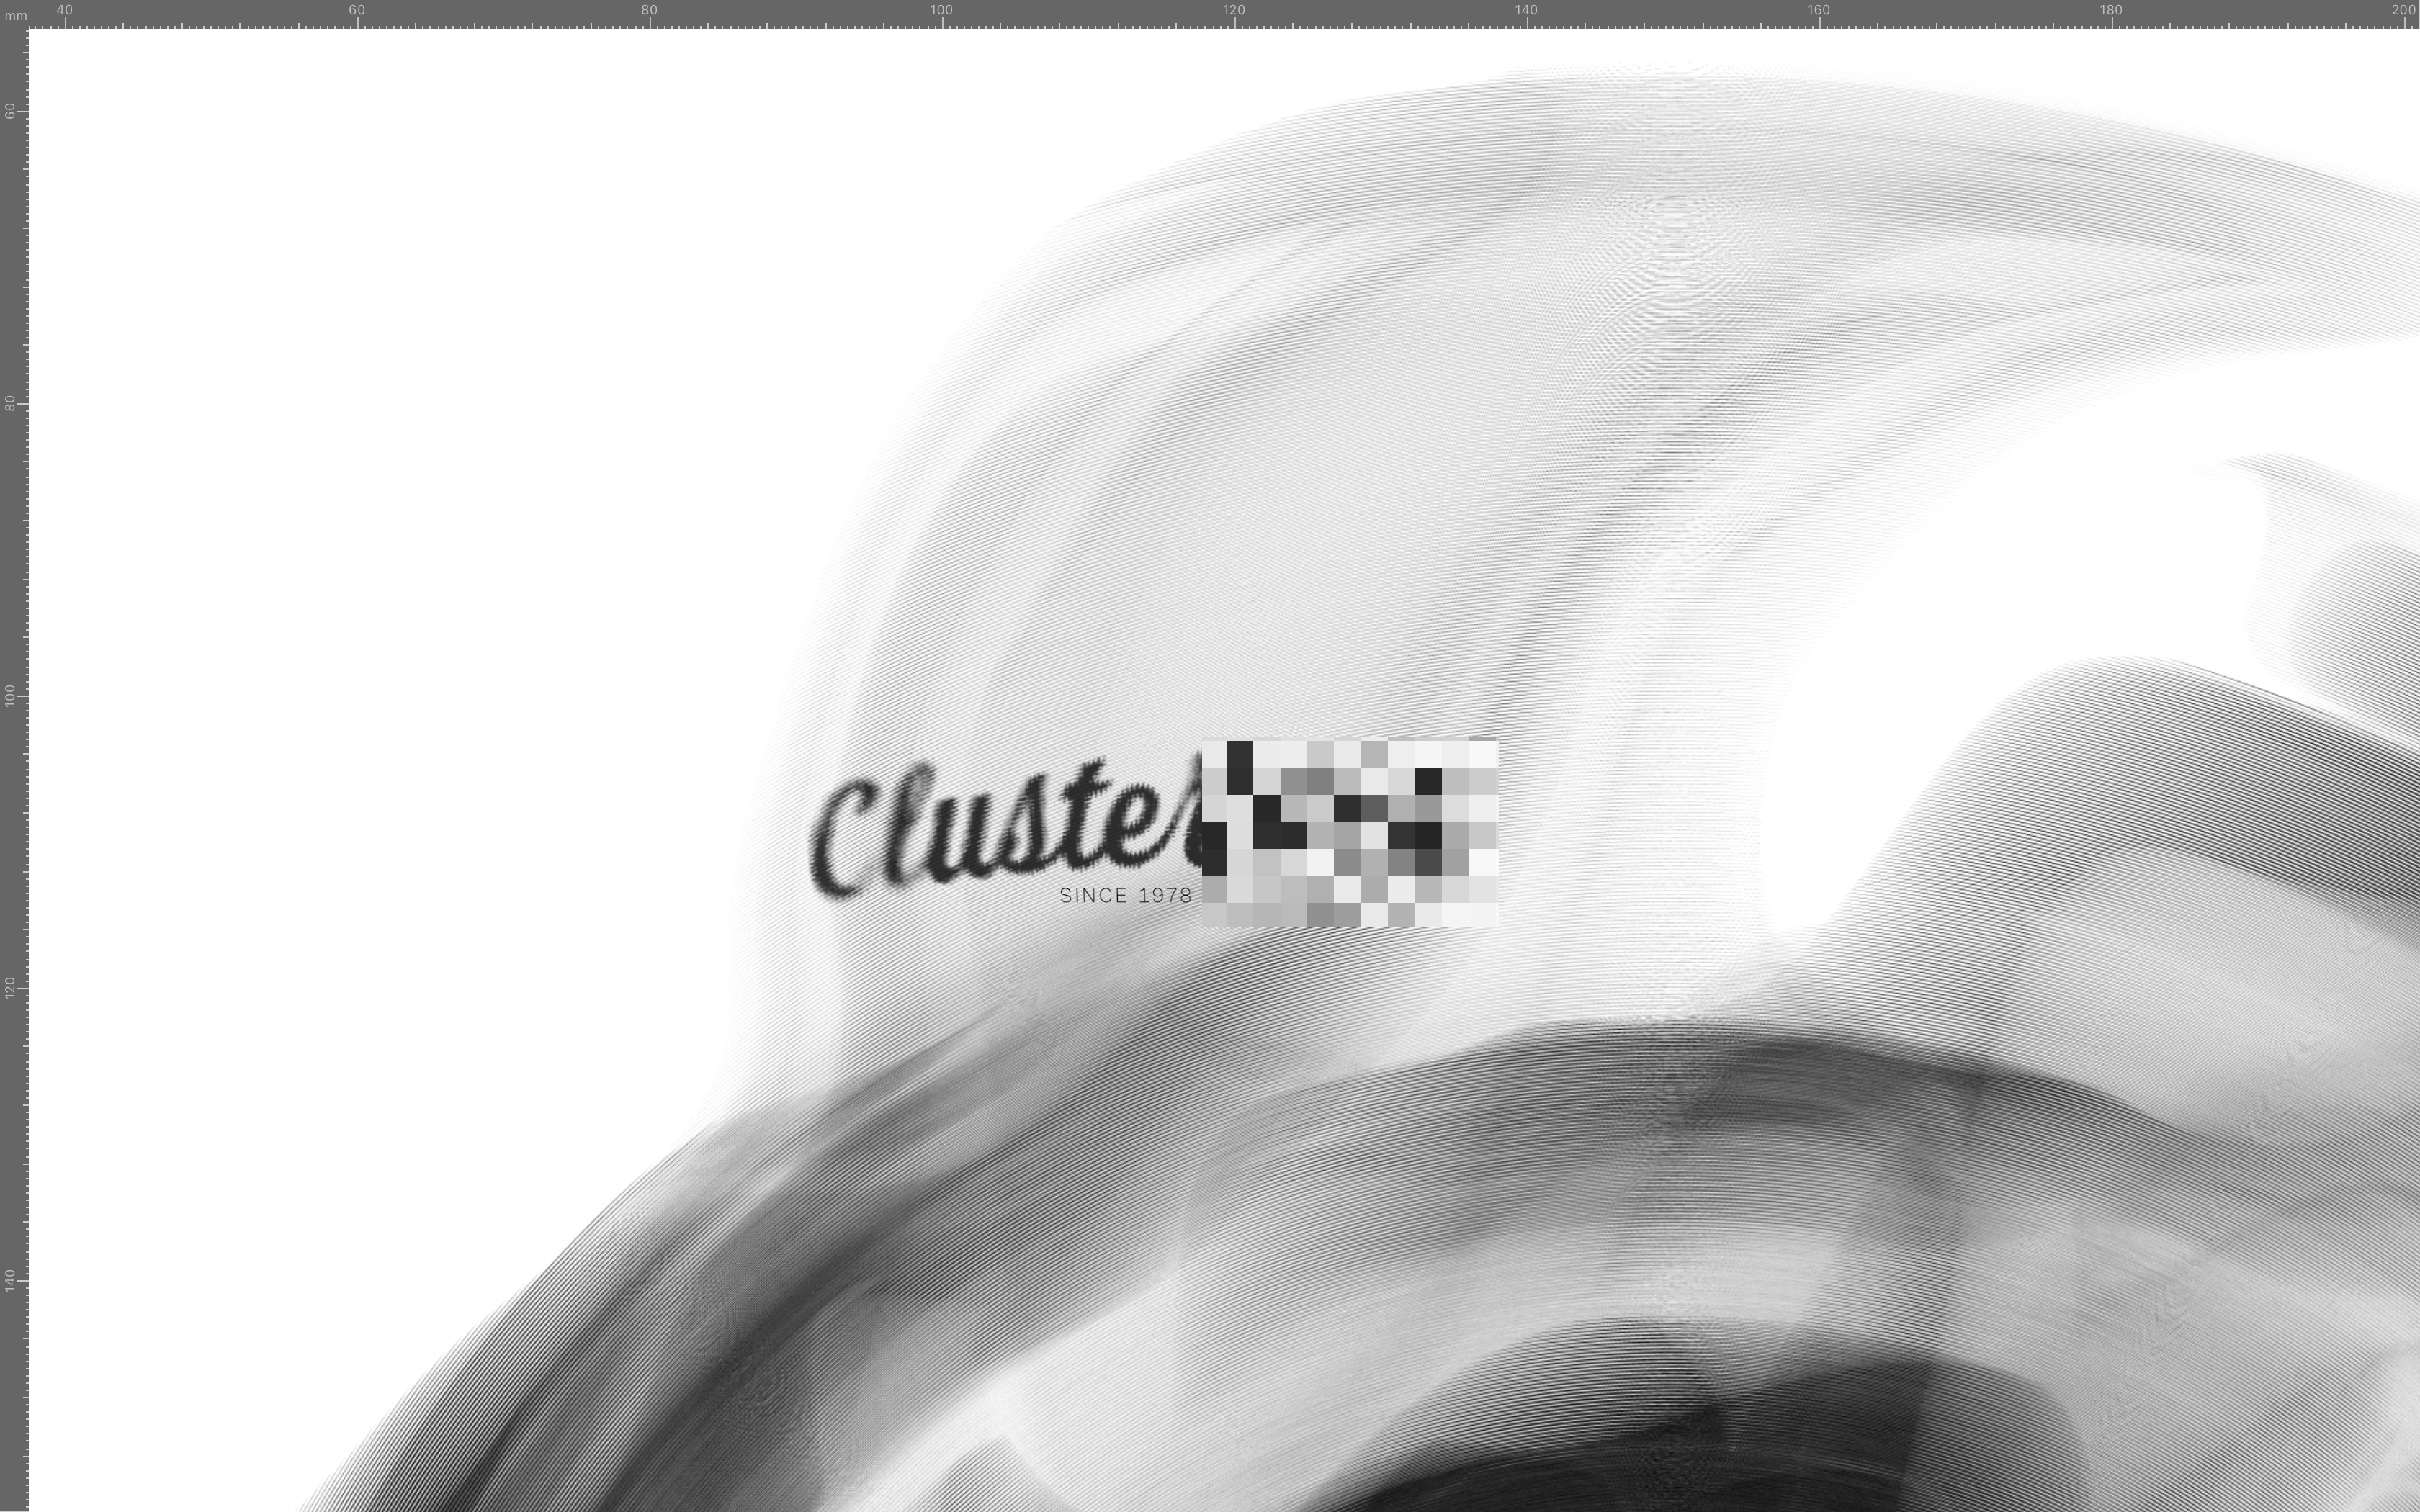
Hello, everyone. I dove in and bought all the programs. Now, I have a 'best practices' inquiry: How do I set-up the artboard so that the white dirt on the 'K' (a texture file) is actually erased (a layer mask? a clipping ask?), allowing the pink circle to be visible? Sorry - I am completely befuddled by this.