gumbo23
-
Posts
273 -
Joined
-
Last visited
Posts posted by gumbo23
-
-
29 minutes ago, NotMyFault said:
This is great - would you mind sharing the file with me? I couldn't figure out how to mask it. I'm way out of practice!
-
-
1 hour ago, Dan C said:
Apologies - I had misread your initial post as delete and not move.
If you wish to make any Transform changes to a Master Page object on a Document Page, you will need to do this in the Master Page itself, or using the Edit Detached option as referenced above.
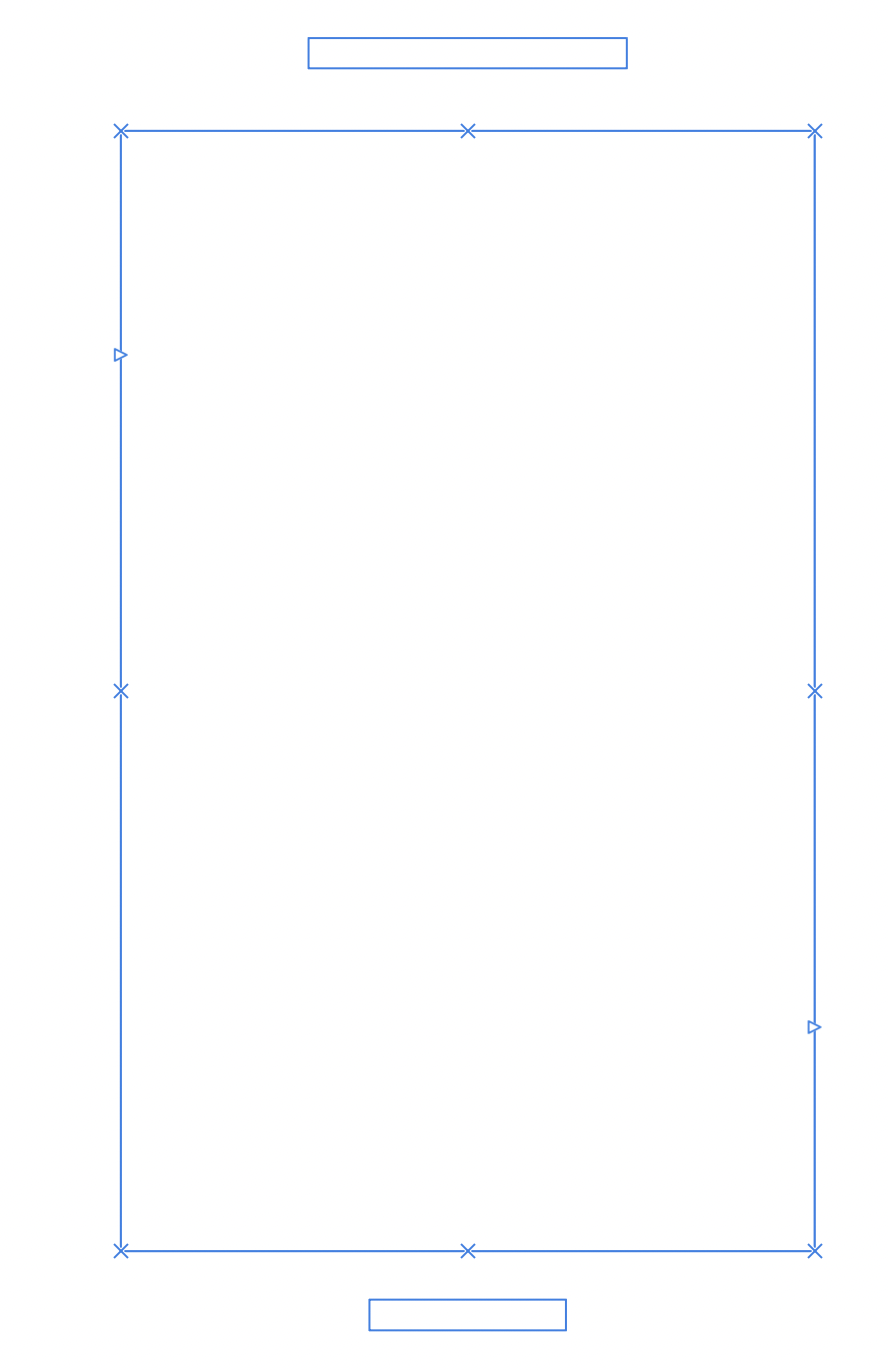
This is the reason that the 'blue Xs' are shown on the Text Frame, to indicate it cannot currently be transformed in it's current state (ie part of a Master Page, or Locked).
So once the MP is created, you cannot transform the text box in the document itself?
Has it always been this way? I feel like I've only noticed this a few times, but not all the time.
Good to know - thanks Dan.
-
6 minutes ago, Dan C said:
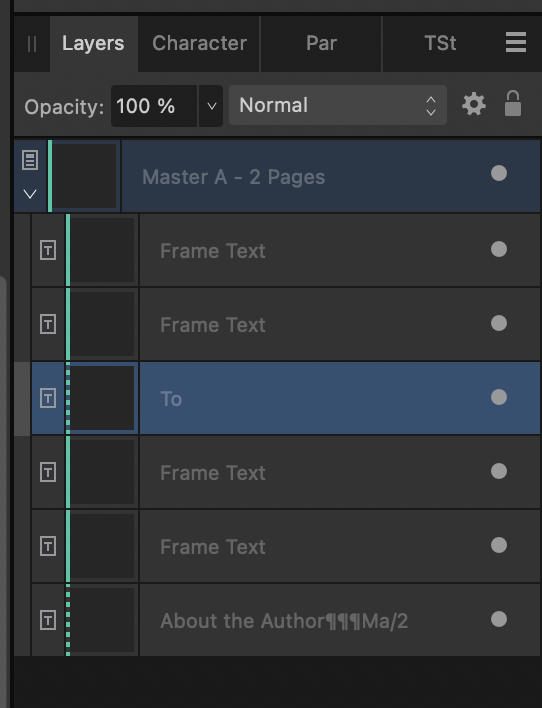
Your screenshot shows that your Text Frame is part of a Master Page, applied to your document page. You will either need to delete the frame from the Master Page directly, or use Edit Detached to remove the Text Frame from the Master Page object on your document page.
You can find out more about this below -
Detaching and linking Master Pages
I hope this clears things up

Thanks - but why would I delete a text frame from a Master Page, when the whole point is that any MP will have a text frame in it?
And how do I avoid running into this again?
Or - is it not supposed to matter that the text frame cannot be detached?
It's been a while, and I'm not sure if this is a v2 thing.
-
-
-
18 minutes ago, GarryP said:
The ‘X’es usually mean that the layer is locked, or it’s on a master page (and you’re not currently editing the master page).
How can I unlock it?
-
-
And now it will not work

Steps: I paste in the full text and it overflows. I then hold shift and click the little arrow, and it produces enough pages to carry all the text. But it does not actually flow any text in.
How can this be fixed?
-
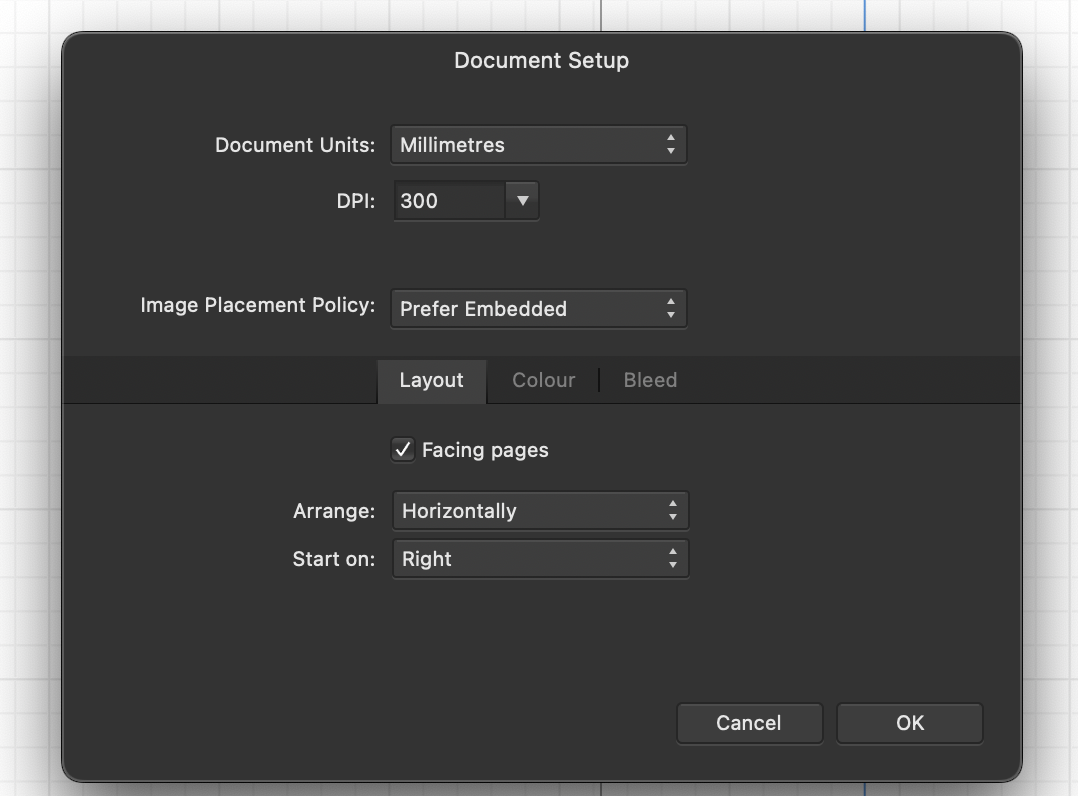
I wanted to move my margins out - getting text of a novel to sit further out from the gutter.
But, when I moved them in the document setup, then moved out the text boxes in the master page to sit in line - the rest of the book has not followed suit. I have different blue lined boxes with text in one place, and margin boxes elsewhere.
The correct master page is applied.
How do I fix this? And what is causing it? It seems like it should work.
-
31 minutes ago, NathanC said:
Hi @gumbo23,
Are you possibly looking for the text auto flow function? This can be activated on your frame containing the overflowing text by shift + clicking on the text frame arrow. I've linked the help guide below for a more detailed overview of this feature.
https://affinity.help/publisher2/English.lproj/pages/Text/flowingText.hml
Works perfectly! Thanks Nathan
-
To save myself linking every spread by hand, how do I quickly link all text boxes when generating many new pages?
I'm on v2 and can't recall how this is done. Thanks.
-
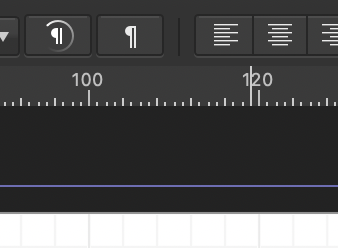
I've tried changing the units in Publisher to mm, but the ruler is subdividing in units of 4. So the larger markings are not for every 5 mm, but for every 4. So between a 20 mm gap there are 5 sections of markings, rather than 4, which is confusing. See images if this is as unclear as it sounds.
Is there a way to fix this?
-
I'm beginning a new project, and am rusty. I've created a master page for an image on the left and text on the right. But, dragging an image into the image frame, and switching to Photo persona, I cannot add an outline to frame the image.
If I click fx in the main panel on the right every fx option is greyed out.
How can I fix this?
All my images are PNG. Would this affect the process?
Thanks.
Using 1.10.6 and Ventura 13.2.1
-
Lots of new stuff to learn here - thanks so much V
-
-
Thank you V. I know nothing about vectors, but will investigate!
If you see the image attached in the response to Anto, I have another question. How do I make the white background inside the lettering transparent?
-
1 hour ago, anto said:
I do know if i understood. Look at video.
That was a huge help Anto - thank you.
Do you know how I could make the background inside the letters transparent?
I attach the current version.
-
See image: I need to have letters on a white background, with an image showing through them, but masked by them.
The goal is to create a PNG of the two letters, which have the design within them. The important thing is to end up with the outlines of the two letters.
I need to be able to move the image around within the letters to get the right composition.
Lacking the technical terms for any of this, the explanation may be a bit vague. Hopefully it's evident what I'm going for.
-
I have pasted a PNG image onto a new document, and wish to cut out part of the image to use for something else. How do I do this?
-
I seem to have a vanilla setup in Designer, but there is no sign of any selection tools. And there is no help in the help menu - it does not tell me where to find them, only how to use them.
So where/how do I find them?
Thanks.
Update: In case anyone else is lost on this - I found that you have to hit pixel persona in the top left, next to Designer persona, which is next to the traffic light buttons for Mac.
It would be very helpful if Affinity could put this location info right at the top of the Help section.
-
-
I have a scan which is saved as a jpg, but when I open it in Photo it opens as a pixel layer. I want to separate it from the background using erase white paper or similar, but it seems I can't do these things with a pixel layer. How can I get where I want to go with this?
-
3 hours ago, Dazmondo77 said:
Looks like you have all the elements already in your document - here's a screen recording which will hopefully, help you
Just to clarify you can use anything as a mask by just dragging it to right of the layer or group
This is excellent - thanks so much. Between all you guys on the thread I got the job finished. Much appreciated


How to remove background fully?
in Desktop Questions (macOS and Windows)
Posted
Amazing! Much appreciated. And you're right: Hamburg is pretty great. St. Pauli rocks