pixelman
-
Posts
26 -
Joined
-
Last visited
-
 walt.farrell reacted to a post in a topic:
Why can't Copy/Paste
walt.farrell reacted to a post in a topic:
Why can't Copy/Paste
-
That solves this mystery. Thanks all.
-
pixelman reacted to a post in a topic:
Why can't Copy/Paste
-
pixelman reacted to a post in a topic:
Why can't Copy/Paste
-
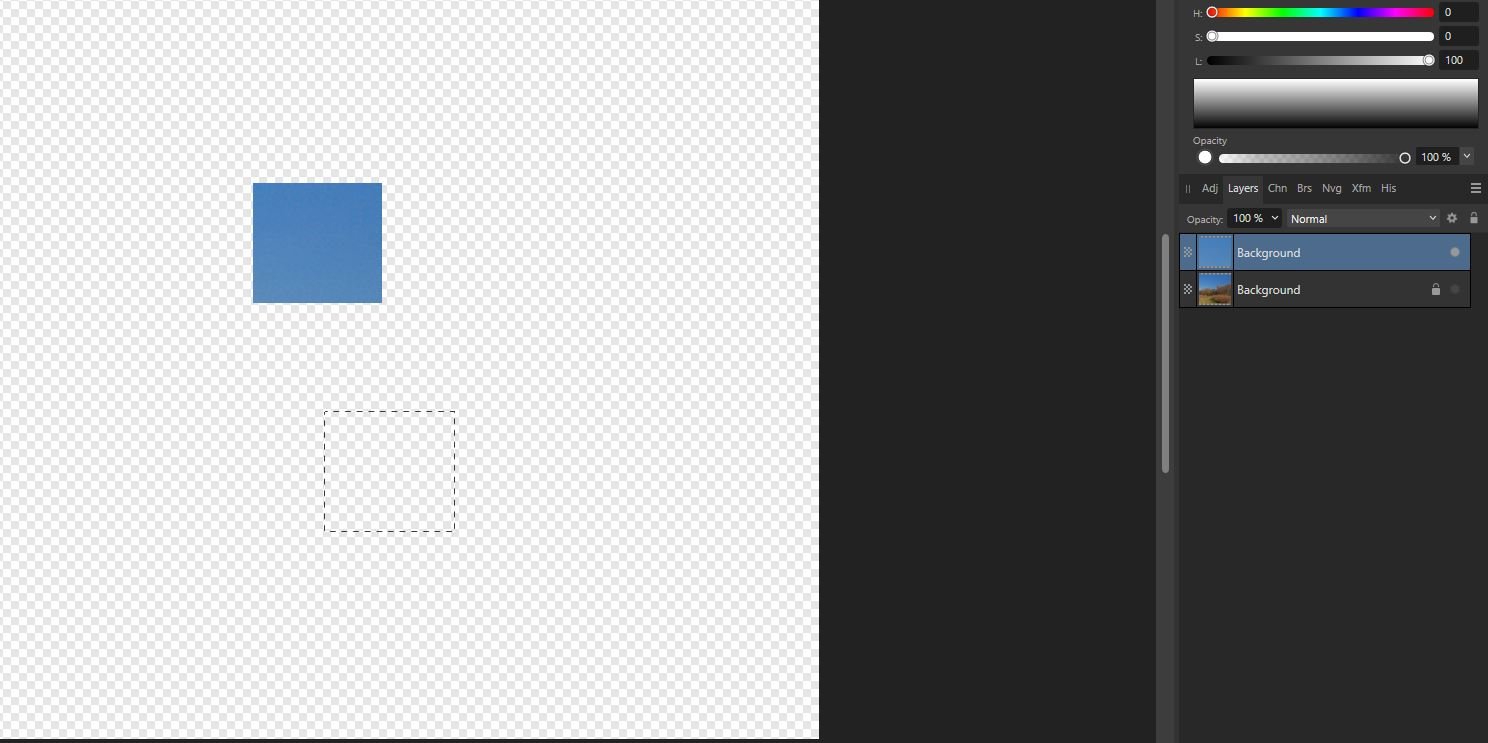
@Old Bruce The marquee is in the woods because that's where I tried to paste. I'm just doing this as an example, not for any actual image editing purposes. Here is what I see after pasting and turning off the visibility of the bottom layer (a different random marquee selection than in the above). What is that supposed to show me? Why is such a simple operation so inscrutable? I can use the Cloning Too without any problem. In a sense it's doing something similar to copy/paste. Can someone reproduce this issue - open a JPEG and try copy/paste?

-
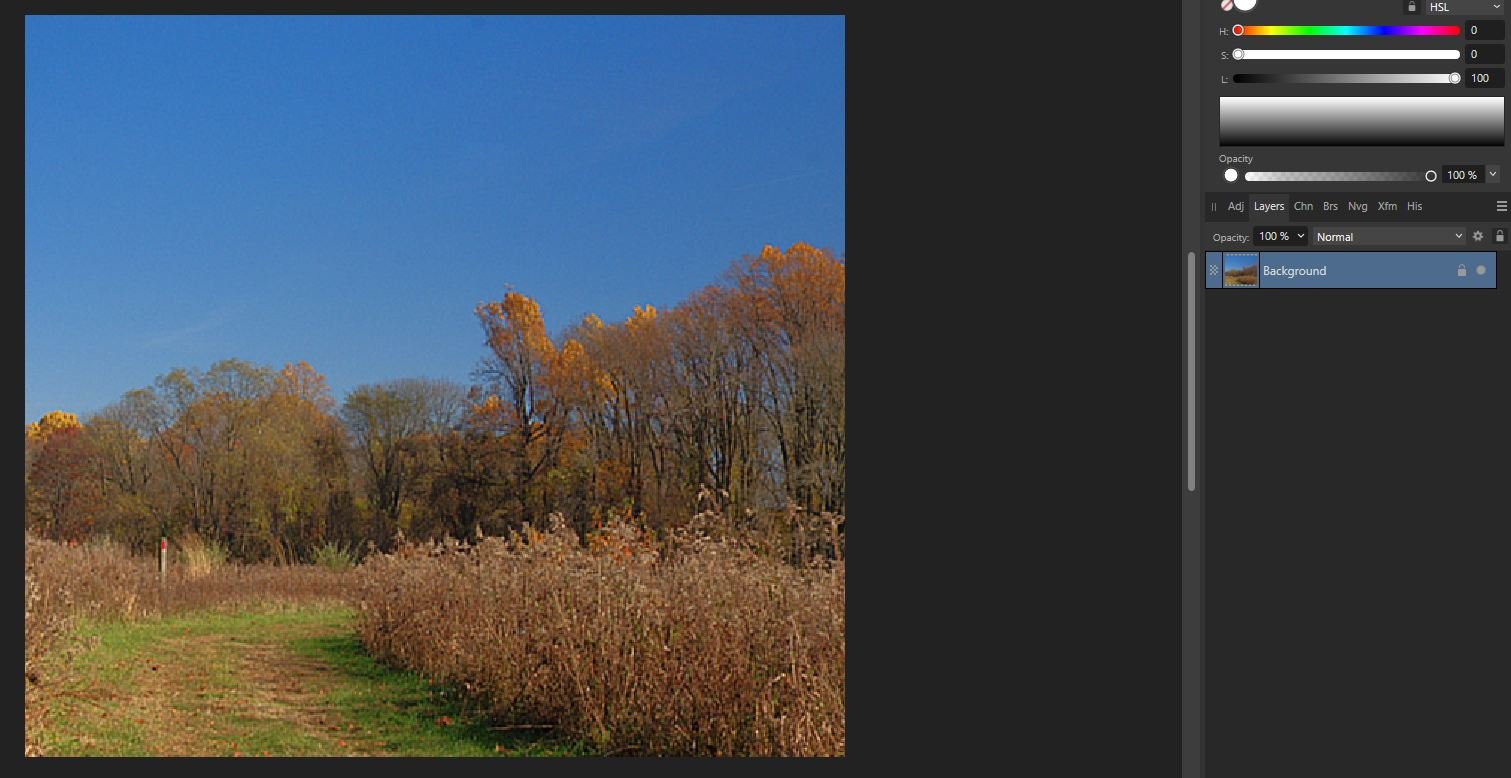
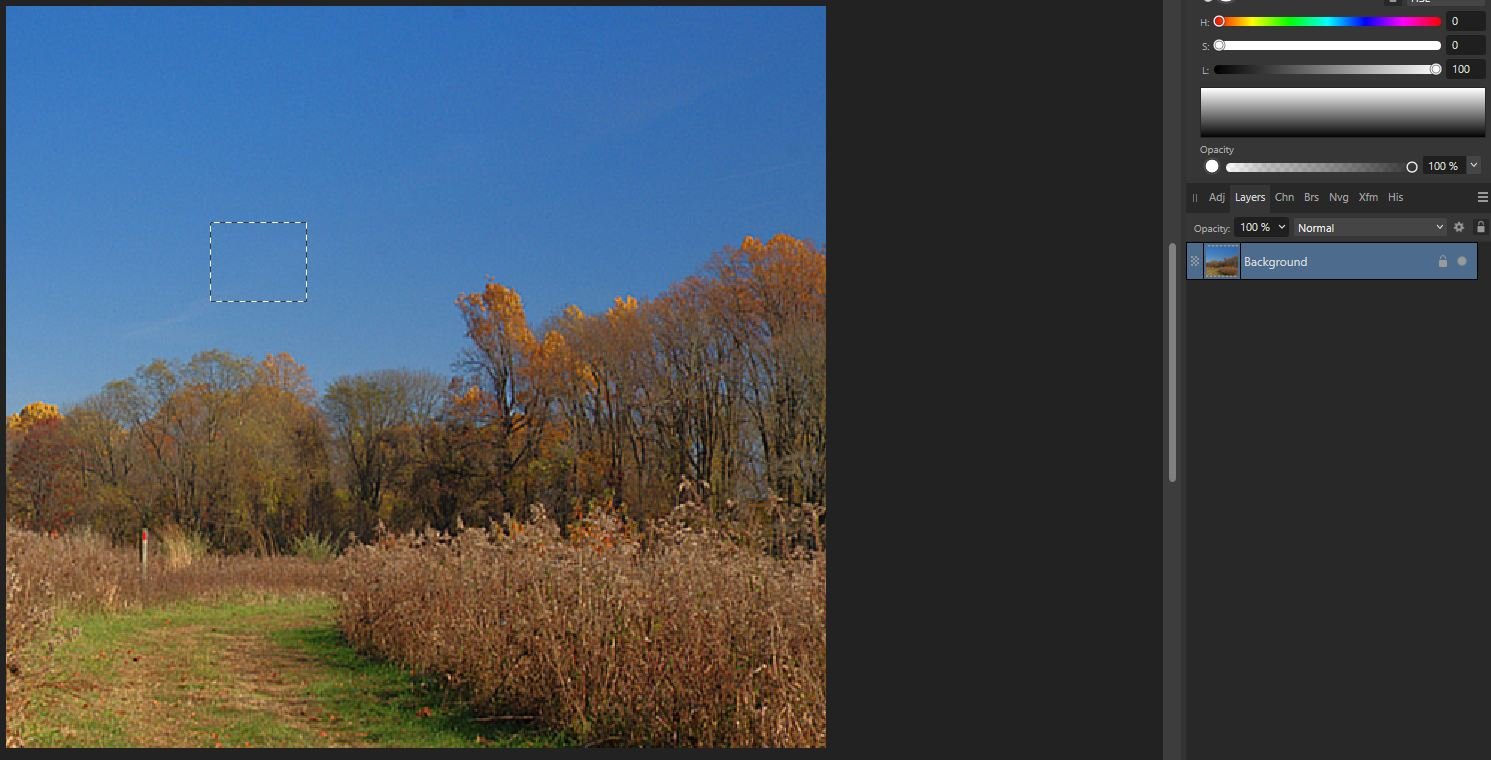
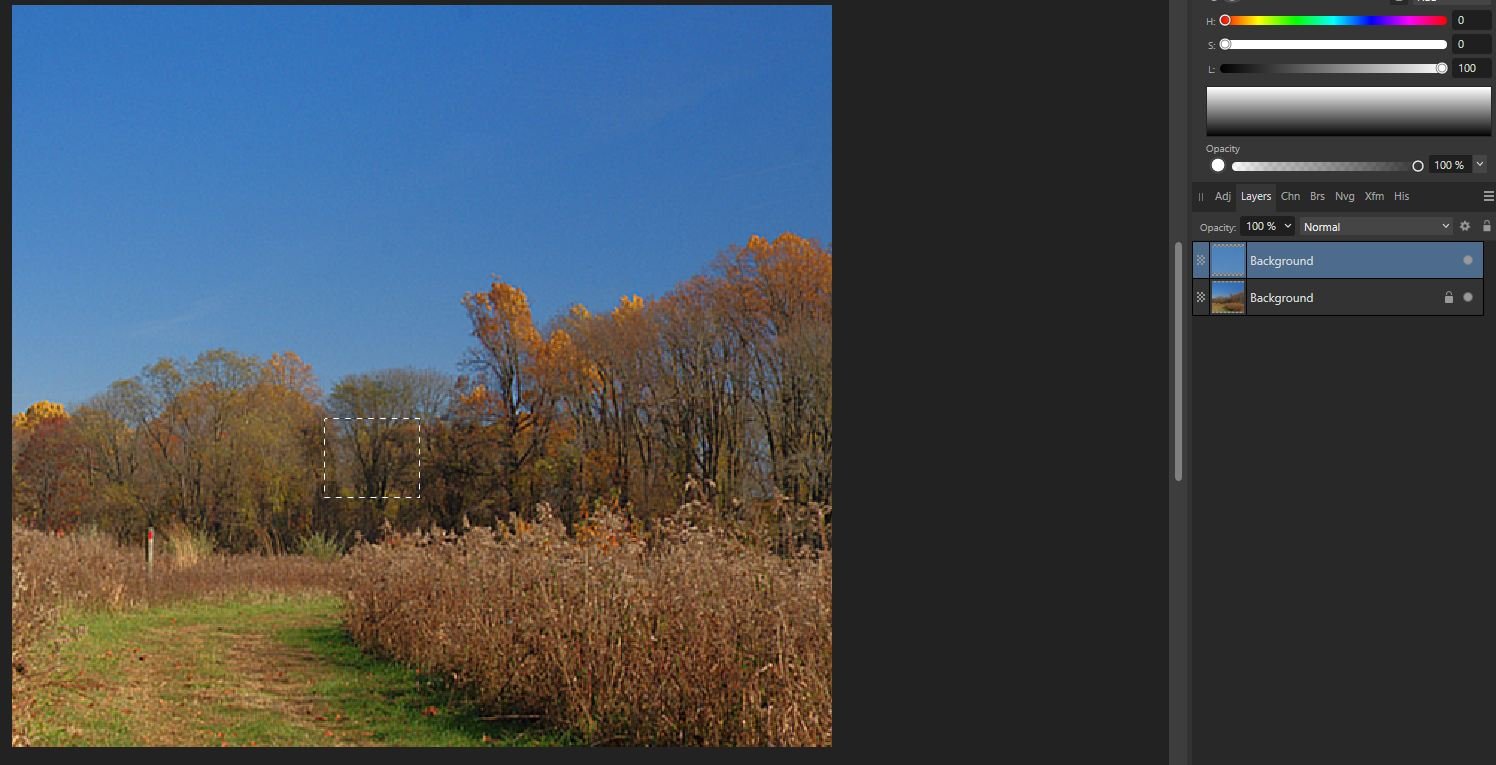
@walt.farrell The first screenshot is just before doing Copy. The second shows where I am selecting and copying. The third is just after the Paste. I noticed that after opening the image the Background layer is locked. I tried the same after unlocking with the same no result.
-
Affinity Photo 2 on Windows 11. I use the Rectangular Marqee tool to select an area of the image and do Copy. I then move the area to somewhere else in the image and do Paste but nothing happens. Same for Freehand Selection tool etc. This is such a basic set of operations that it's puzzling why it won't work. And it happens with any image I open. Can someone explain in simple terms why this doesn't work? Thank you.
-
Using Select Sampled Color
pixelman replied to pixelman's topic in Desktop Questions (macOS and Windows)
Okay, I get it - the Sampled Color is not the color from the Color Picker Tool. -
pixelman reacted to a post in a topic:
Using Select Sampled Color
-
 R C-R reacted to a post in a topic:
Using Select Sampled Color
R C-R reacted to a post in a topic:
Using Select Sampled Color
-
Using Select Sampled Color
pixelman replied to pixelman's topic in Desktop Questions (macOS and Windows)
I wasn't, but doing so leads to green being selected, as I wanted. Glad that works but it seems like an unnecessary step if green is the sampled color and you want to select it. Thank you. -
pixelman reacted to a post in a topic:
Using Select Sampled Color
-
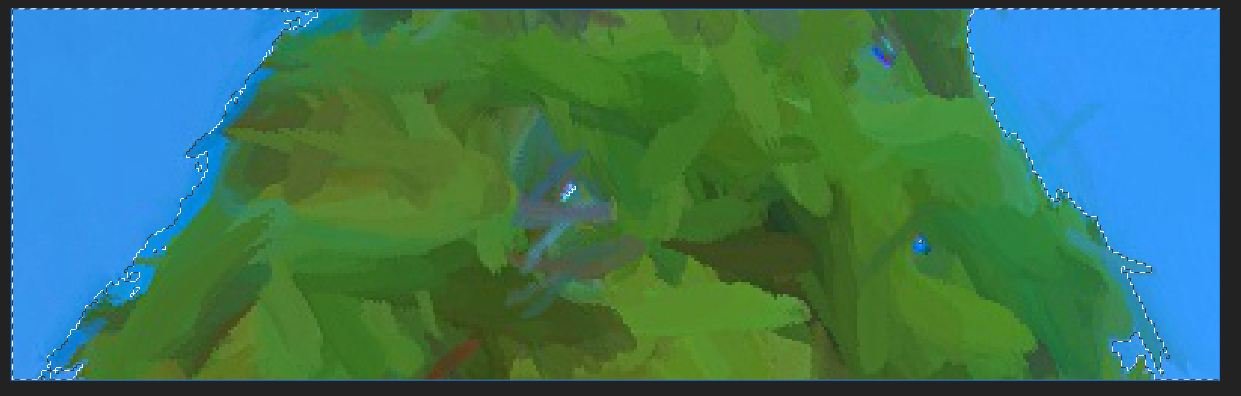
Using AF 2 in windows 11. Attached is a 407x125 image - a crop of a larger image to focus on the issue I am having. I use the Color Picker tool, averaging 5x5, to select the green color, as verified by the green primary color in the Color tab on the right side of the window. However, if I use Select/Select Sampled Color the blue areas in the image are selected, not the green, as shown in the second attach image. This is verified by using an adjustment, e.g., exposure, and only the blue areas are affected. I have to use Select/Invert Pixel Selection to select the green. What am I missing here? Thanks. Edit: ignore the different sizes of the attached images - just a result of taking a screen shot to show the selection.
-
Image with Difficult Selection
pixelman replied to pixelman's topic in Desktop Questions (macOS and Windows)
Thanks. I started watching the video and it quickly went above my head. What I did (above) was simpler and got the result I was after. -
Image with Difficult Selection
pixelman replied to pixelman's topic in Desktop Questions (macOS and Windows)
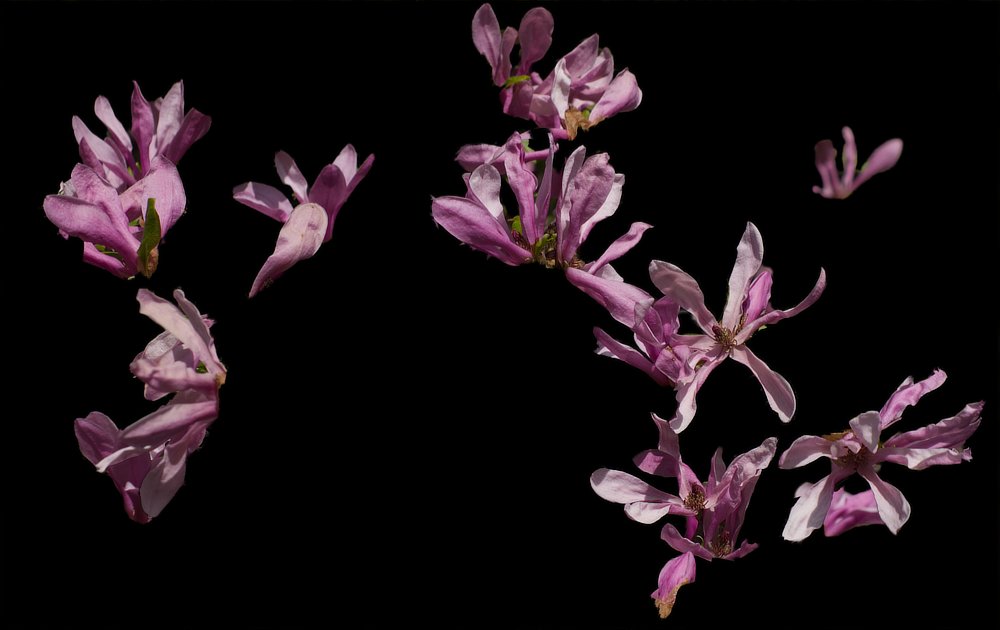
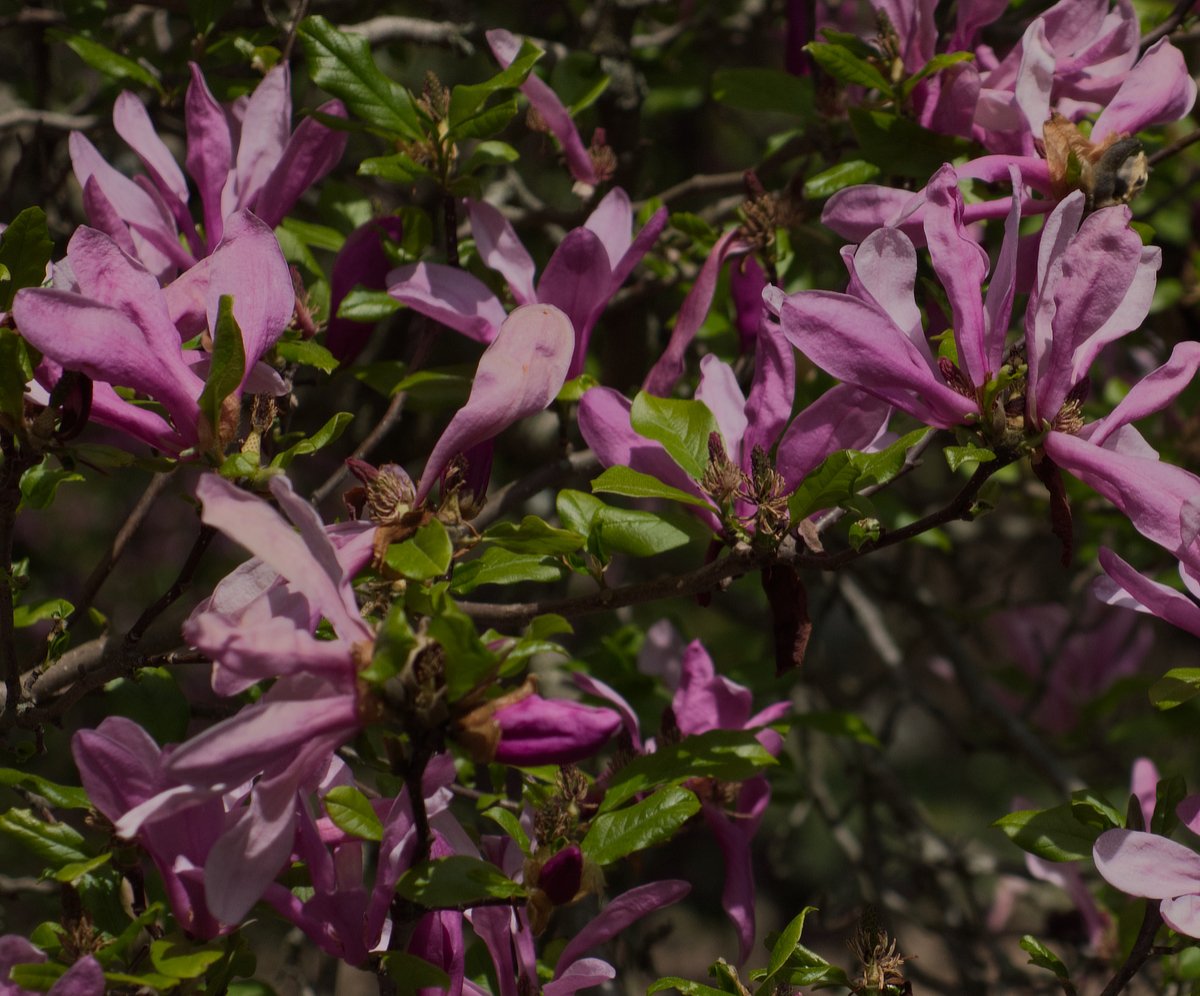
This was an interesting learning experience working with the new Object Selection Tool. I wish I had previously known that you're supposed to press ALT when hovering over the object you want selected !! Knowing that, it went fairly quickly. After selecting some flowers in a crop of the original image I did an Invert Pixel Selection and Edit/ Fill with Secondary Color, which was black. The result is attached.
-
Image with Difficult Selection
pixelman replied to pixelman's topic in Desktop Questions (macOS and Windows)
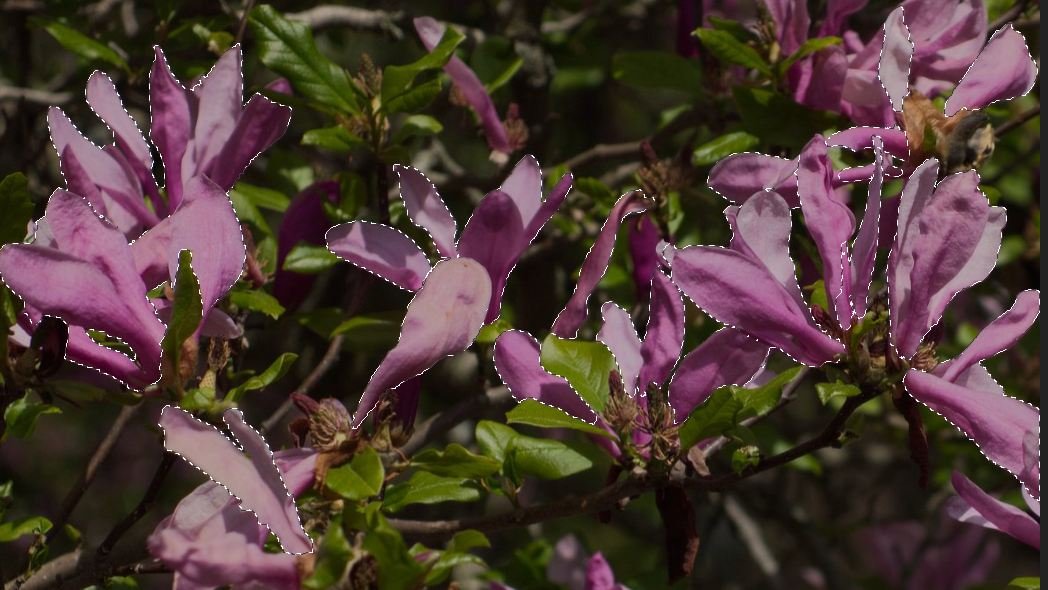
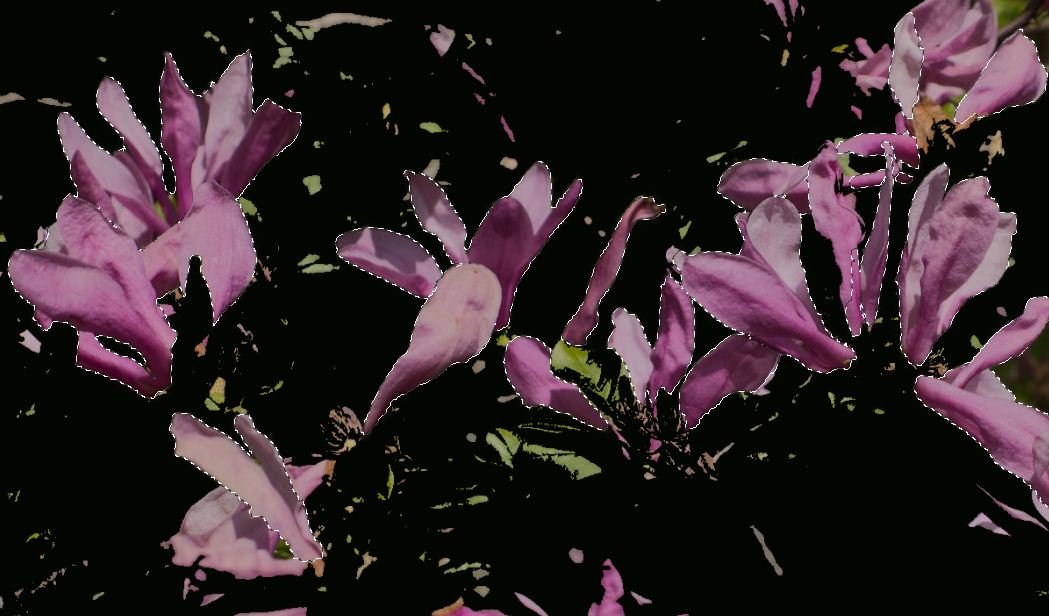
I'm still playing with this image and don't understand something. I have part of the original image where I've selected the pink flowers and then did Invert Pixel Selection (first attached image showing selection around flowers but after invert is done). So what should be selected is everything except the pink flowers as there are no other items showed as selected. I then set the primary color to black and used the Flood Fill tool as well as Edit/Fill with Primary Color. As can be seen in the other attached image, some of the green leaves survived this step whereas I expected everything except the pink flowers to be black. What's going on here? Thanks.
-
pixelman reacted to a post in a topic:
Image with Difficult Selection
-
Image with Difficult Selection
pixelman replied to pixelman's topic in Desktop Questions (macOS and Windows)
@R C-R Again when I open this with AF v.2 it brings up the original image. What's happening here? -
Image with Difficult Selection
pixelman replied to pixelman's topic in Desktop Questions (macOS and Windows)
Sorry if I was not clearer about what I wanted to do. By "flowers" I mean the more prominent pink ones, not including the dark ones in the shadows. Also, I don't consider the green leaves to be flowers. @Ldina I'd have to take a while to understand what you did. I checked out the .afphoto file you attached and it appears to be the original image. @NotMyFault Yes, the image capture was not ideal (it was very sunny that day). However, given what I have I thought it would be an educational opportunity to learn how to deal with it. @nickbatz You are selecting all the green leaves also, which I hadn't made clear was not what I wanted. why would it also select the green items if presumably your selected color was pink? -
pixelman reacted to a post in a topic:
Image with Difficult Selection
-
I would like to have the flowers on a black background, so I have to select just the flowers. I've tried the Flood Select and Selection Brush tools but neither has worked well. No doubt the difficulty arises from parts of some flowers being saturated. I was just curious what someone might recommend. Thanks.
-
pixelman reacted to a post in a topic:
White Balance Merge affects sharpness
-
White Balance Merge affects sharpness
pixelman replied to pixelman's topic in Desktop Questions (macOS and Windows)
I've been trying to provide an example but so far having trouble getting consistent results. Meanwhile, can you explain why using Merge in the WB window gives different results from using Document/Flatten while the WB window is open? How is Merge different from Flatten? -
White Balance Merge affects sharpness
pixelman replied to pixelman's topic in Desktop Questions (macOS and Windows)
I'm not sure I understand all this. Is the issue that I resized the image before doing the WB adjustment? As a test, I opened an image, cropped it as before and resized. Before doing WB, I right clicked on the background layer and selected Rasterize. (It was a bit confusing as the menu item is Rasterize... as if another window would open with options but none did). Anyhow, I then did the WB adjustment with Merge and it again blurred the image.