
anemos
-
Posts
56 -
Joined
-
Last visited
Posts posted by anemos
-
-
NotMyFault
thank you very much for your help
Greetings from Japan
-
Thank you very much for your quick response but I still would like to know why Affinity Designer 2 displays the design in a different way.
I did not know about this problem until recently when I opened a design (which I made a long time ago with Affinity Designer 1) with Affinity Designer 2.
-
I created this Test Sample with the Blende Mode DIVIDE in Affinity Designer 1
But if I open this Test Sample in Affinity Designer 2 I get a different result (see my screenshots)

-
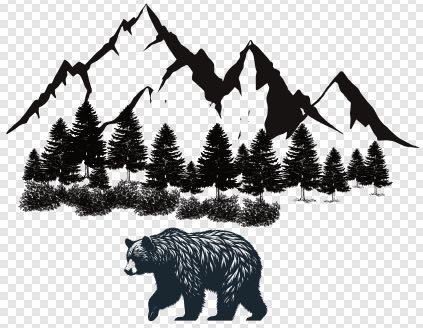
Yes, I would like to use it on a black t-shirt. I tried to invert the design to white but that doesn't look good.
Yes, it is possible to use some other colours for the bear, the mountains and the trees. Any suggestions?
I was also thinking about creating a background with a different colour behind the design. Maybe something like a big brushstroke as a background (but I don't want a shape like square or a circle as a background)
About production technology I don't know. I never created a t-shirt. This is the first time I would like to create a t-shirt.
-
NotMyFault, I can see in your picture that you are using Affinity Photo. Can I do the same in Affinity Designer. And what are the steps to get to that panel.
-
59 minutes ago, NotMyFault said:
Just note that the cmyk colored layers don’t have identical black colors.
when adding an invert adjustment on top and a white backfill layer on bottom the colors differ strongly between bear and landscapeNotMyFault, thank you very much for the response.
Can you please explain it to me a bit better
-
thomaso, thank you very much for the response.
Your instruction sounds a bit complicated for me. Can you please write a step by step instruction for me to understand.
There are may things I don't understand in your instruction.
-
I would like to use this design for a black t-shirt
how can I do that?
-
GarryP Thank you very much for showing me an alternative method for creating the design
-
Thank you very much for your quick response.
I tried it and it worked
-
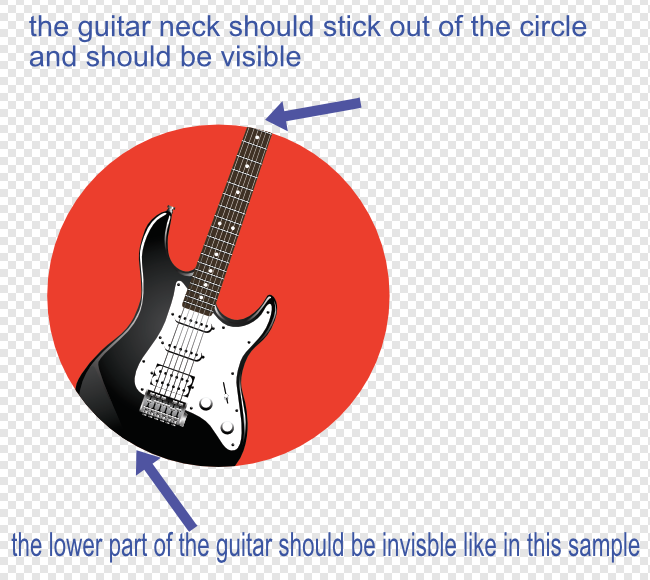
How to clip only part of an object into a circle
Please see my sample file
the lower part of the guitar should be invisible like in the sample
the top of the guitar neck should stick out of the circle
-
thank you very much everybody for your comments
I was able to create the first (blue) swoosh using the Compound function
but I find it difficult to create the second (red) swoosh with the gap between the 2 swooshes always the same
Can somebody please post a more detailed step by step instruction
thank you very much
-
-
NathanC
thank you very much 😀
-
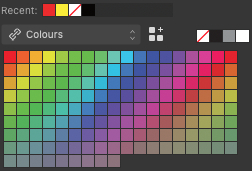
how can I increase the size of the swatches in the Swatches Panel?
-
GarryP
thank you very much. Your advice worked
-
-
thank you very much
-
thank you very much to all of you for helping me out!
-
I would like to clip the Grunge Group into the Flag group
-
G13RL Thank you for your reply.
-
Thank you all for your quick reply
-
Is there a way to do it properly?
In my sample design I just placed the stars by eye
I am sure there is a proper way to do it
-


how to place 5 stars along the middle of the ribbon with the same distance between all the stars
in Desktop Questions (macOS and Windows)
Posted
how can I place the 5 stars along the middle of the ribbon with the same distance between all the starsFile Affinity Forum.afdesign