brandbrilliance
-
Posts
51 -
Joined
-
Last visited
Everything posted by brandbrilliance
-
 Hey everyone. I've tried to create a Magazine cover with some of Designer's features to see how they stack up with what I'm used to. I've tried a variety of elements to see what can be done. Hope this could help someone. Various Text Type/Character kerning/Paragraph stuff Gradient Strokes, Fills FX: Glow, Shadow, 3D Pen: Custom Brush style with Pressure profile. Curves: Shape Geometry Add/Fill Download the Affinity Designer File (21 MB).
-
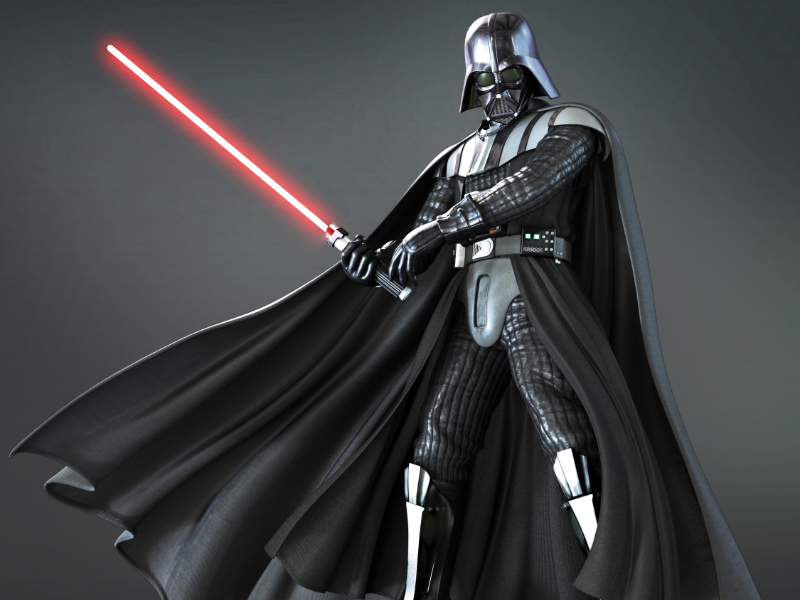
I saw this on a video editing site. Basically they created a white thick stroke line and then added a glow to it using the right color. I've used a line stroke, mask, group with glow effect, all editable. You can play with the glow settings and blend mode, i've used screen (for a lighter more realistic effect), but you can try others. (sorry there might be some in-painting issues on the background, as I've first had to remove the existing lightsaber). Here's a JPG preview. lightsaber.zip
-
Affinity Photo and Designer icons...
brandbrilliance replied to r10k's topic in Older Feedback & Suggestion Posts
Have you seen the amazing Adobe icons ;)
-
Thought I was doing something wrong, like missing some setting or something.
-
I also noticed that Affinity doesn't support blends (color variations from one shape to another) which is exported to PDF as individual elements (not a editable blend), so there are bound to be incompatibilities.
-
I see that Circle, Square, etc. Marquee Selection Tools have anti-alias in the menu, but when you use Flood selection and brush selection, they don't. Any reason why? Normally anti-alias is the preferred way to select, but there is no way to "enable" this for these two selection modes.
-
Affinity has already committed to fixing this behaviour. They just don't have the time while working on Photo. The current workaround to Convert to Curves is not acceptable as a professional tool. You should be able to mask and work with Mask, Contents and BOTH independantly as I can in any other design program. I'll rather wait until they fix this.
-
METHOD 1 - PASTE INSIDE I have found a workaround for now. To adjust the rectangle while the object is PASTED inside, you can still (1) adjust the rectangle's corners OR (2) you can convert the rectangle to curves and adjust the rectangles control points individually. This is a pretty cumbersome way as you have to select both control points to adjust a rectangle. Also, If you adjust the rectangle in Affinity when the image is inside, e.g. height/width of the rectangle, the inside image distorts (as I think Affinity is actually using a FILL inside the object, so it distorts). In any other program, you can simply select the rectangle and then scale/size the rectangle and the inside remains the correct aspect ratio. Also, in Illustrator (and Sketch), I can go back to the rectangle, adjust it's size, and THEN add corners. Affinity Paste Inside Method - Showing Distortion To avoid the distortion, in Affinity, you can choose option (2) to convert the rectangle to curves (as this preserve the aspect ratio of the contents), but then you have to individually adjust each control point or to add corners, you have to use the corner tool and enter the same corner values as the object is no longer a rectangle shape where you can adjust the rectangle with corner percentages. The only other way is to remove the image from inside the vector (drag the image inside out of the obect) and then re-paste is once you have made the control points / corner adjustments. Affinity Paste Inside Method - Adjust Mask without Distortion METHOD 2 - MASK METHOD If you use the vector MASK method, which is actually how it should be done, you can still adjust the mask, but now you can't adjust the contents anymore, unless you UNMASK it first and then re-size the image and then RE-APPLY the mask. In this case you can't see the applied mask while you make adjustments to the content - so it's MASK/UNMASK until you get the crop right.
-
Ok, now leave the mask alone and move the baby inside around or resize the baby while it's already masked to find the best place crop the face - can't do that. In Illustrator, InDesign, Sketch and even Photoshop you can move vector mask, inside contents (image/other vectors) and the grouped masked-content (both mask+image) all independently. Often you place the mask first - in my case I have lots of pre-set templates where the mask is already in the correct position -- so I can't move it around, otherwise it goes out of alignment. Now I have to drop in a new image, resize and move it around to find the perfect crop position for that template. Here is how it works in Illustrator (video) Starts with a Vector Masked Image I can select the inside and then enlarge that and move it around, WITHOUT moving the actual mask around by moving/adjusting the contents (the image) to suit the vector mask I show like with Affinity that you can move both together as well Then I can also adjust the vector mask after masking, by adding roundings, moving control points to further enhance the crop Illustrator Crop Video
-
In Affinity Designer, you cannot move the contents around once you've applied the vector mask. You have to unmask the contents (eg image) first, then move it into the new position and then re-apply the mask. In all the other drawing applications you can move the vector mask (or even edit it), the inside contents (eg image) independently and also move them as an masked group, depending on which mode you're in or object you select.
-
Another Tip you can use is to try to see how Apple Pages has done it, which is quite similar to the way that Illustrator and Indesign does it. There you can also edit each component (mask and contents) independantly. Even Sketch allows you to use move the vector mask and content image independently from each other, by placing them in a mask group -- similar to Illustrator's Clip Group and InDesign's default Frame behaviour. You can then also edit each individual point (or add more points) in the vector mask. This is pretty much a deal-breaker to switching at the moment (although I've purchased my copy already).
-
Thanks. Hopefully it will be available shortly.
-
I find this limitation quite severe. I use vector masking in almost every single design to crop images. Having to unmask an image to move them independently is kind of a deal breaker for me. You should be able to click on the image and move that around and then click on the mask and move that around. Then you can still click on the layer (the composite of the two) and move them both around. Illustrator uses the "mask" and "content" buttons to allow you to move each one individually. I'd suggest you put this on the Feature List immediately. This feature will be requested by almost every designer out there. Especially since you can use vector masks to mask parts of your design (not just images) and then without the ability to edit/move them independently, it's going to become a real pain to edit large designs. Please fix this thanks.